Fiery Fox – a flaming fox sculpture


My friend find a really neat night lamp in the shape of a low poly fox. It diffuses the light super good and makes a good base for some addressable LED’s.


I wanted an easy way of attaching the WS2812 LED strip inside the hollow sculpture and decided to laser cut out a base out of transparent acrylic. SVG cutting image can be found here: InnerStandForLEDStrip.svg


I place the LED strip on the edges of the acrylic base and soldered them in a continuous bus.


Then I soldered the bus to an Arduino Nano, and hooked up a Plejd light controller that gives out 1-10V that I read of the Arduino via resistor divider.

The program for the Arduino uses the WS2812FX library and reads the 1-10V input via an ADC: FieryFox at Github.

Signs for our village camp at Borderland


Our camp at Borderland festival is named “The Elements”, and a nice sign will make it stand out.


I laser cut out the letters out of plywood, and the mounting holes in the back plate as well. I screwed in the letters with a few centimeter spacers between.


I made a nice control interface for setting light levels and modes of the sign. I encapsulated it in a great looking aluminium case with rubber seals for weather protection.
The control interface was also engraved by a fiber laser.


WS2812 LED strip was attached to the underside of the letters, aimed to reflect the light towards a light background that would diffuse the light around the letters.
And lastly the letters painted with corresponding colors to make the sign visible in daytime as well at night.

Alco Bong revisited


I previously made Alco Bong 9000, but it had some flaws. The alcohol chamber was too small and it need some volume to hold more alcoholic mist. It also run on a 6S LiPo battery that was stepped down to 24V.


So with the improvements in mind I started out on a new alco bong. I found a big beaker in a second hand shop and started out from that.


Another problem with the alco bong was that people who used it didn’t understand that they could release the vape-button. So by introducing a progress bar it would be more clear. I installed a analog volt meter and controlling it by PWM.


Because a non-LiPo-knowledgeable person would be using it I installed a battery pack holder using ordinary AA battery.

Alco Bong 9000

IMG_6771
This is an alcoholic bong, two ultrasonic elements forces the water into small particles that forms a mist. The elements is normally used for water in decorations or water humidifiers.

IMG_6772IMG_6774
I got this old Ikea bowl from a second hand store. It holds the electronics for driving the ultrasonic elements, as well as an MCU to drive some leds.

IMG_6773IMG_6775
There’s two systems that is powered from a single 6S LiPo battery.
The ultra sonic elements is apparently sensitive about over voltage and will fry if the voltage exceeds 24V. The first system consists of a buck that caps the fully charge voltage of 25.2V down to 24.0V. That system is activated by a momentary switch on the front.

The second system drives the RGB LED’s. A nice party bong should look good. A small Arduino Nano is driving some WS2812 RGB leds around the glass pitcher. A buck converter caps the voltage at 5V that is used by both the WS2812 RGB strip and the MCU.
The led lights is slowly breathing when the alco bong is idle, and rotates the color hue when in use.

IMG_6776IMG_6777
The glass pitcher was glued on the bottom with epoxy and seemed to bound well with the wooden bowl.

Orkide Random – A IoT flower with pretty random power

A video posted by Tim Gremalm (@timgremalm) on


Probably the most random plant in the world, it fetches a “true” random signal and display pretty colors on a WS2812 addressable LED strip.
The seed is based on one of the best randomization generators; cosmic background radiation from random.org. Yet another Internet of Things device made out of the ESP8266, the dirt cheap powerful WiFi enabled microcontroller.
IMG_6704
IMG_6705IMG_6706IMG_6707

IMG_6708IMG_6709IMG_6710IMG_6712IMG_6713IMG_6714IMG_6711

IoT Nalle dances to Twitter feed

IMG_6683
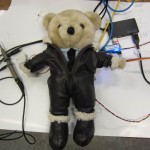
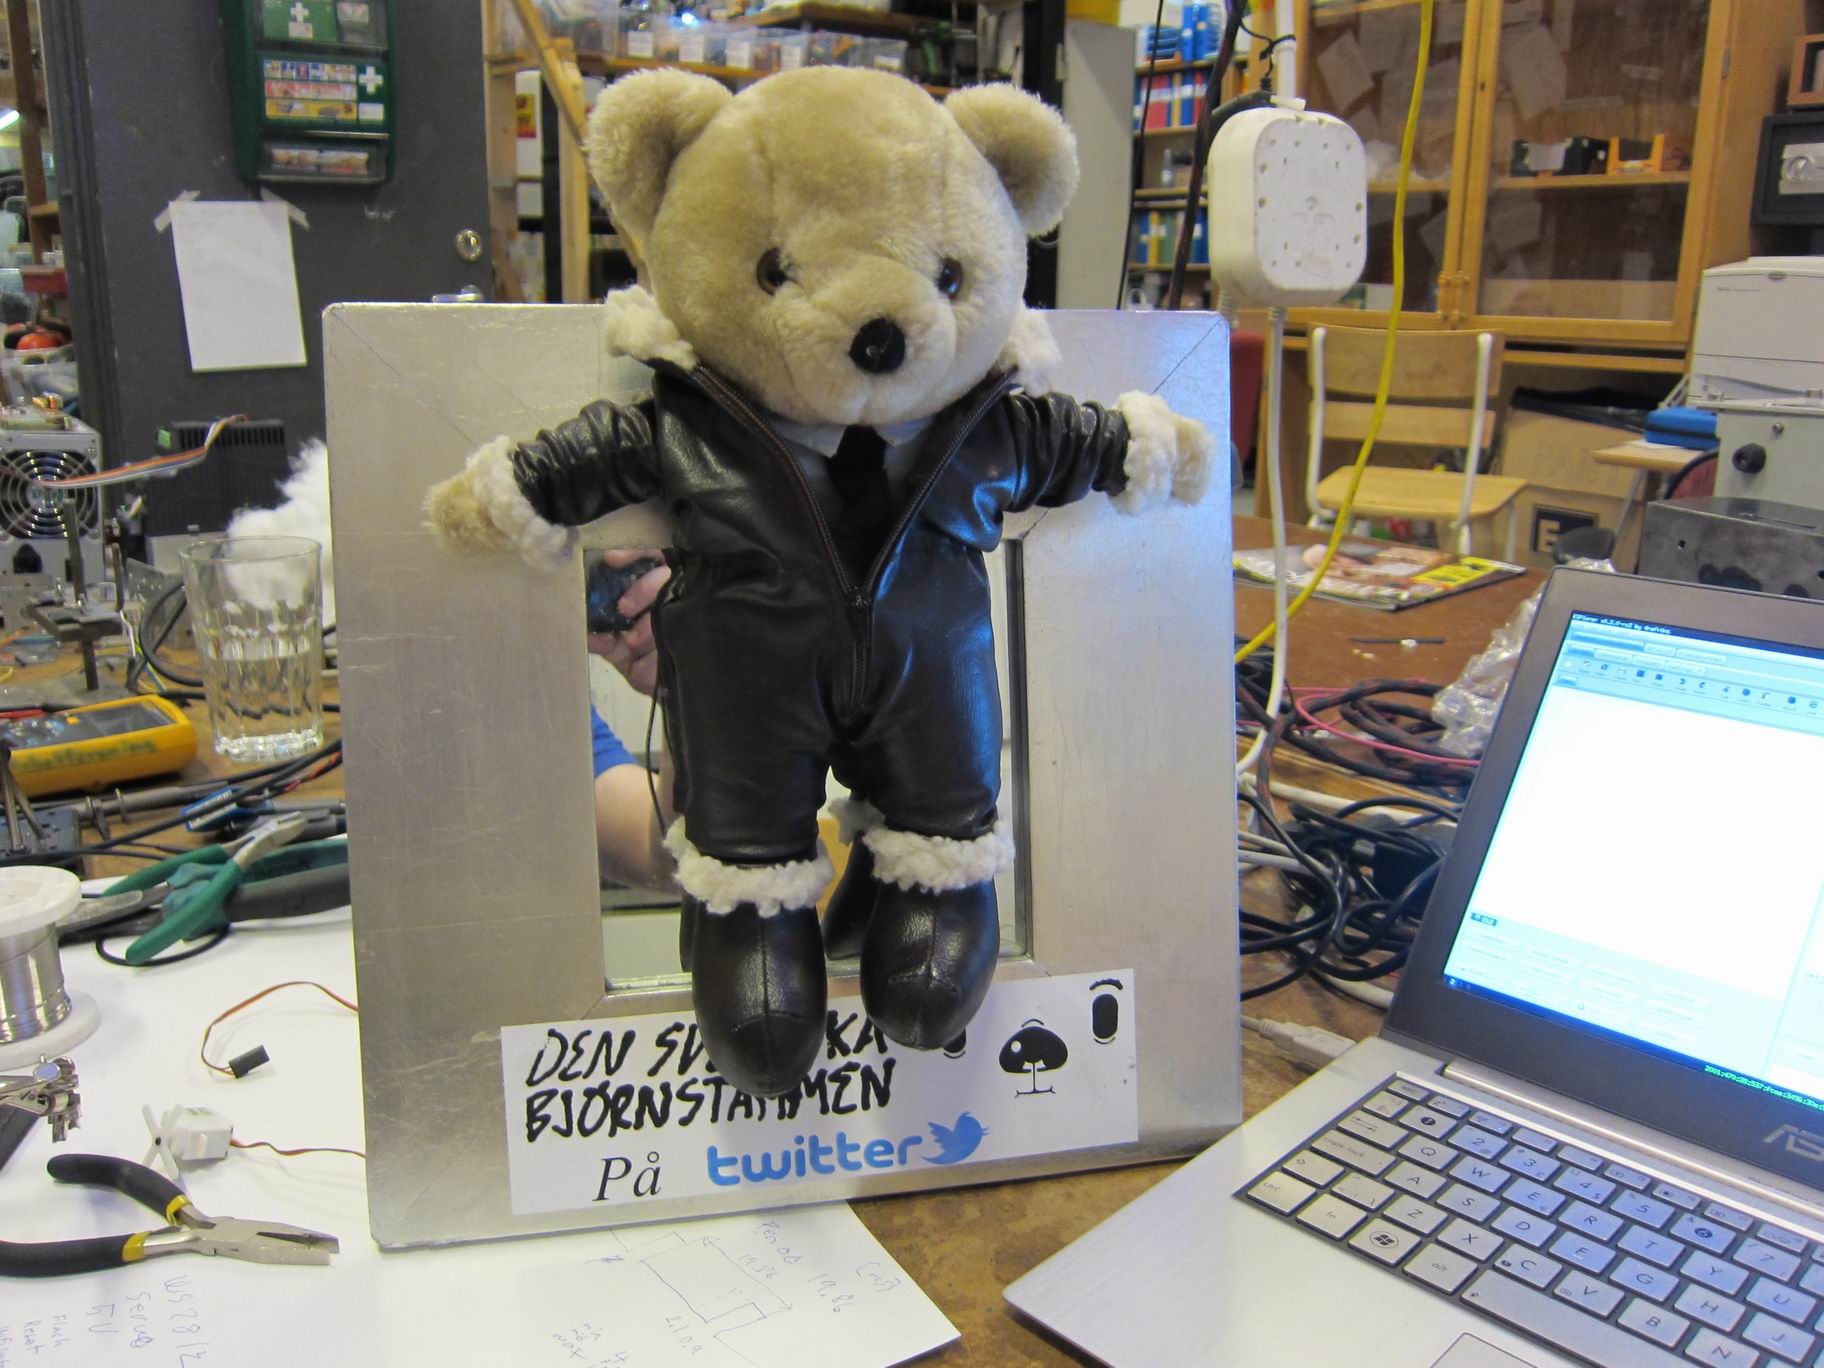
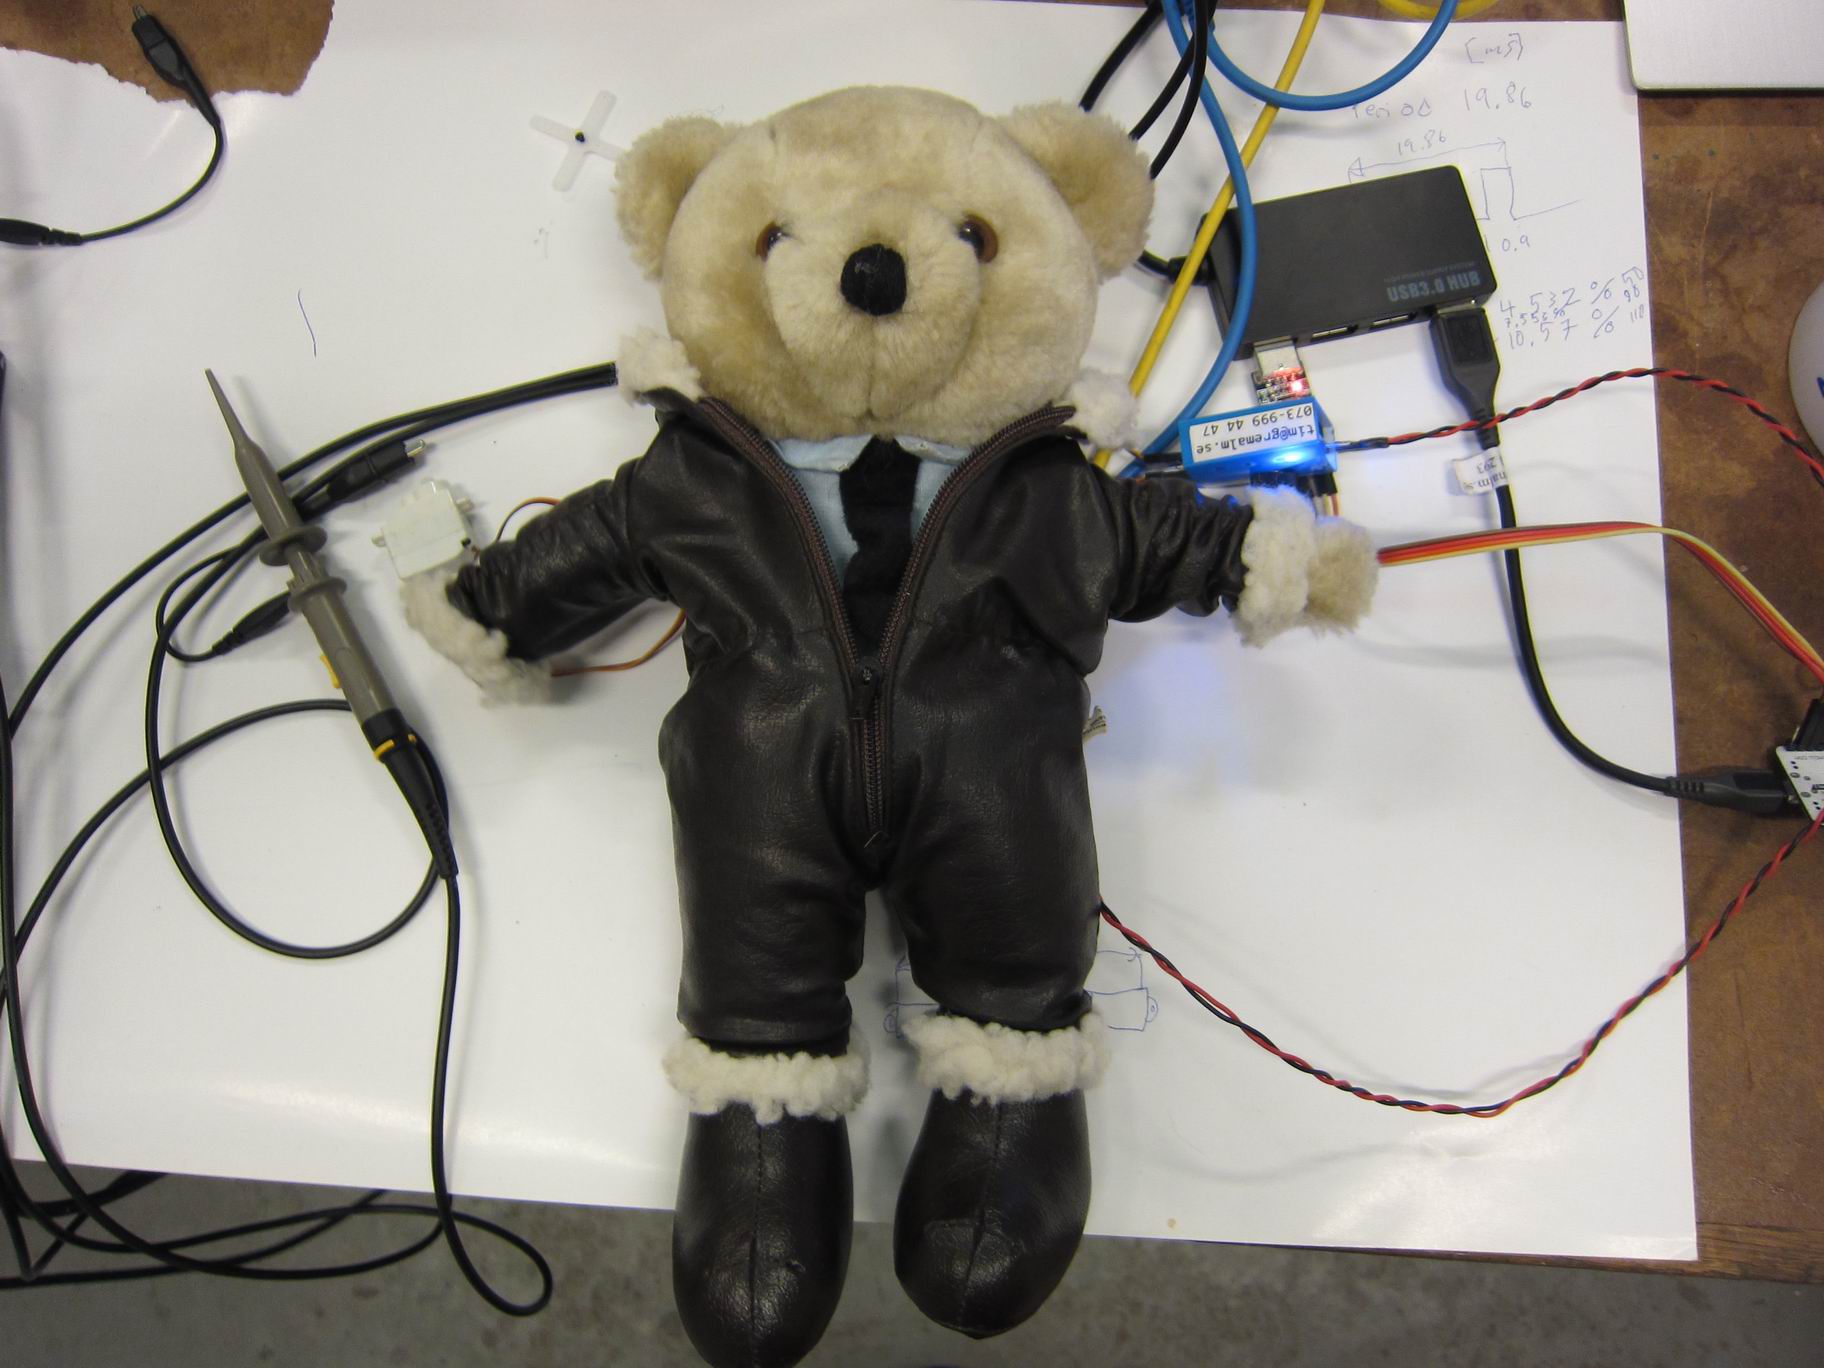
An Internet of Things enabled teddy bear that dances at filtered Twitter statuses.

IMG_6684
IMG_6685IMG_6688IMG_6686IMG_6687
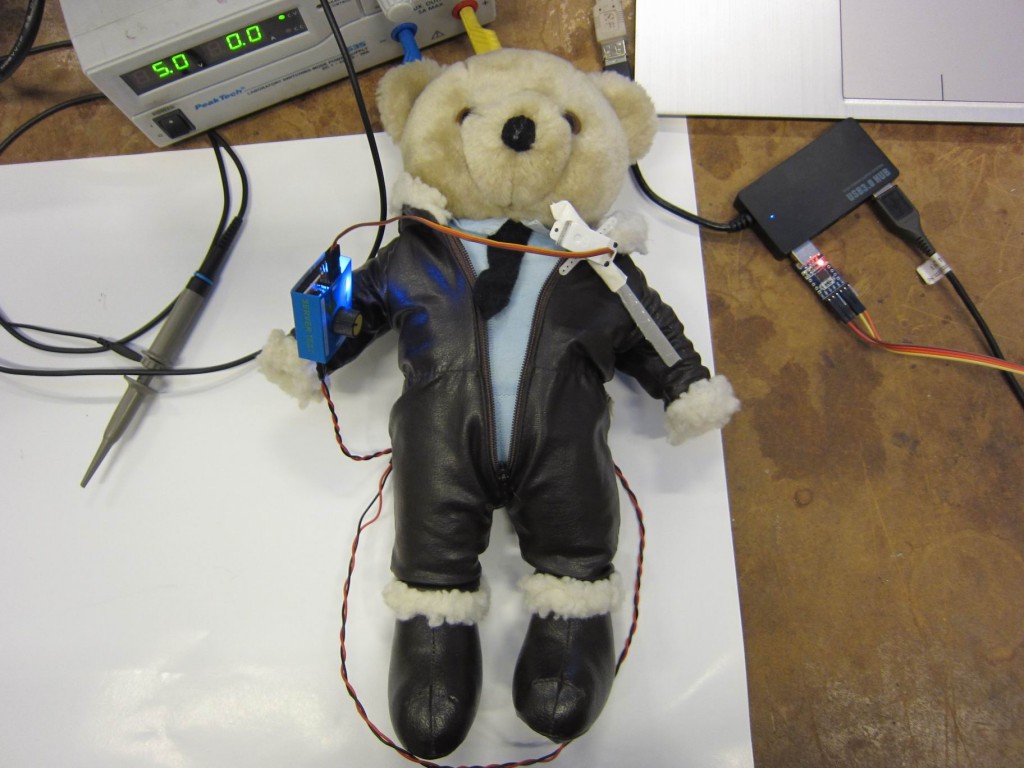
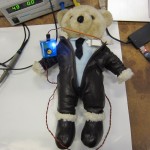
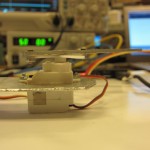
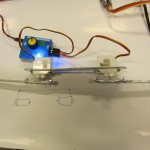
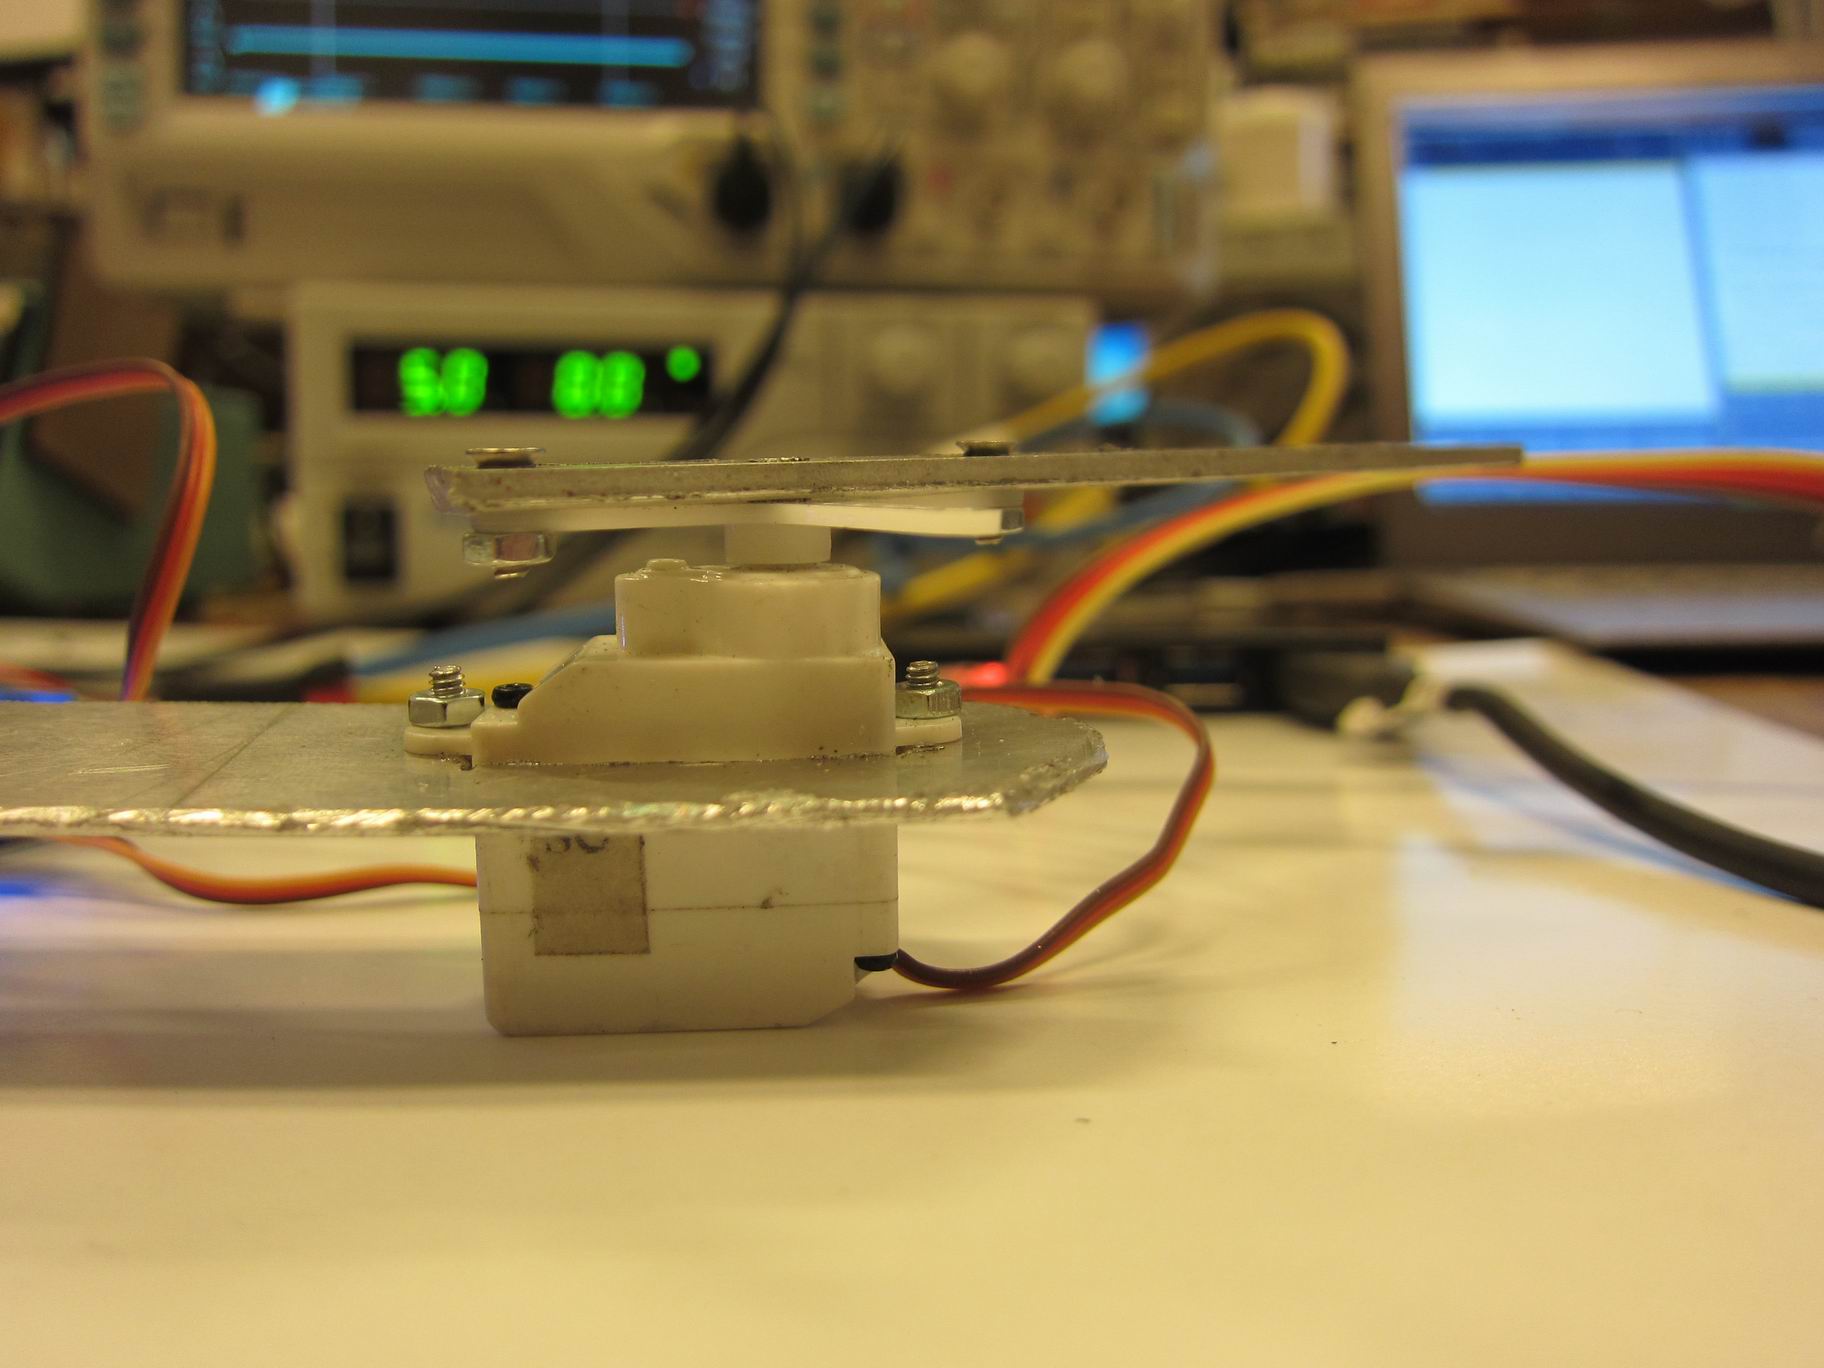
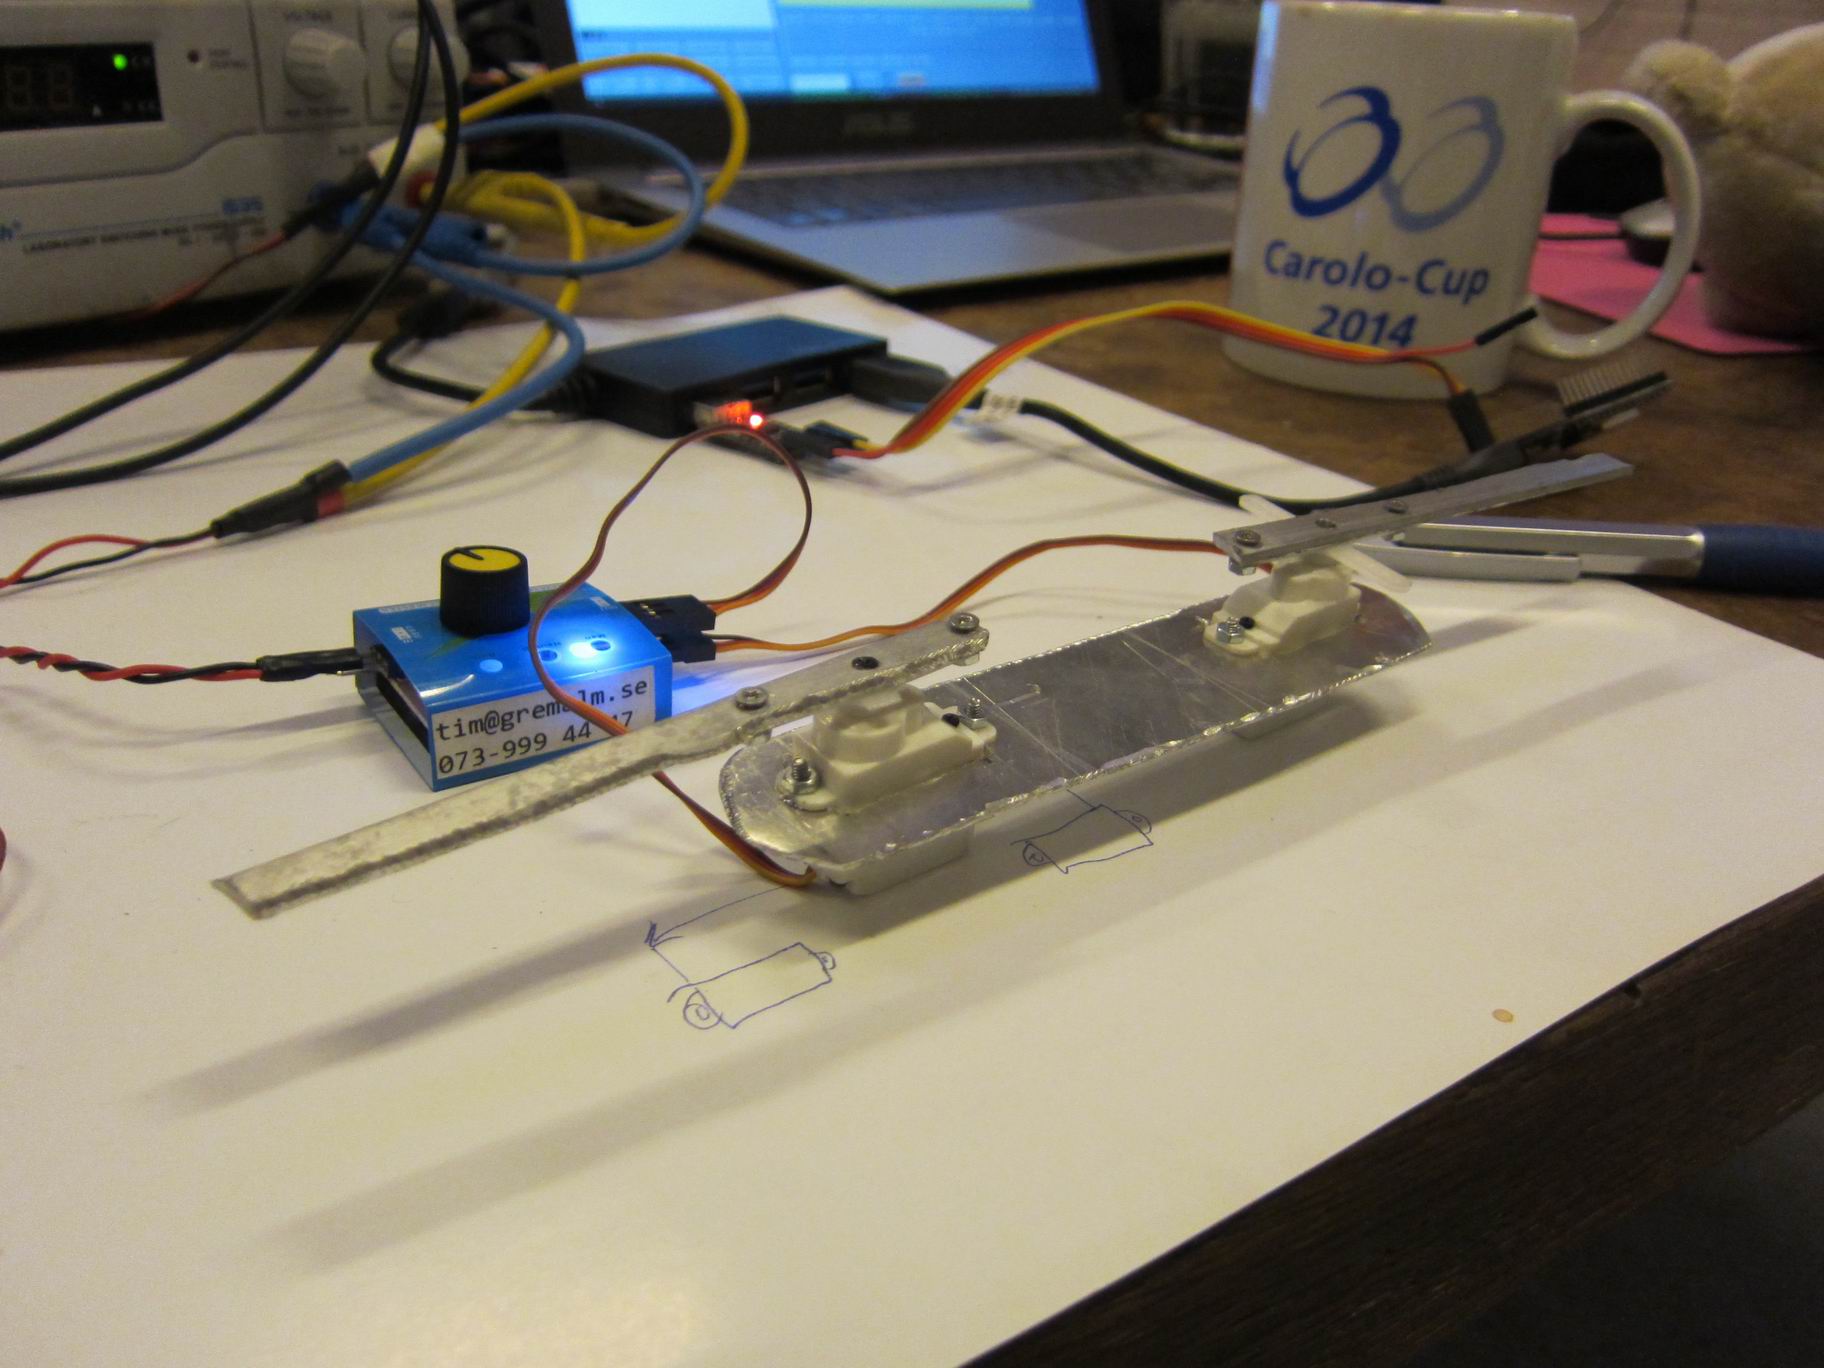
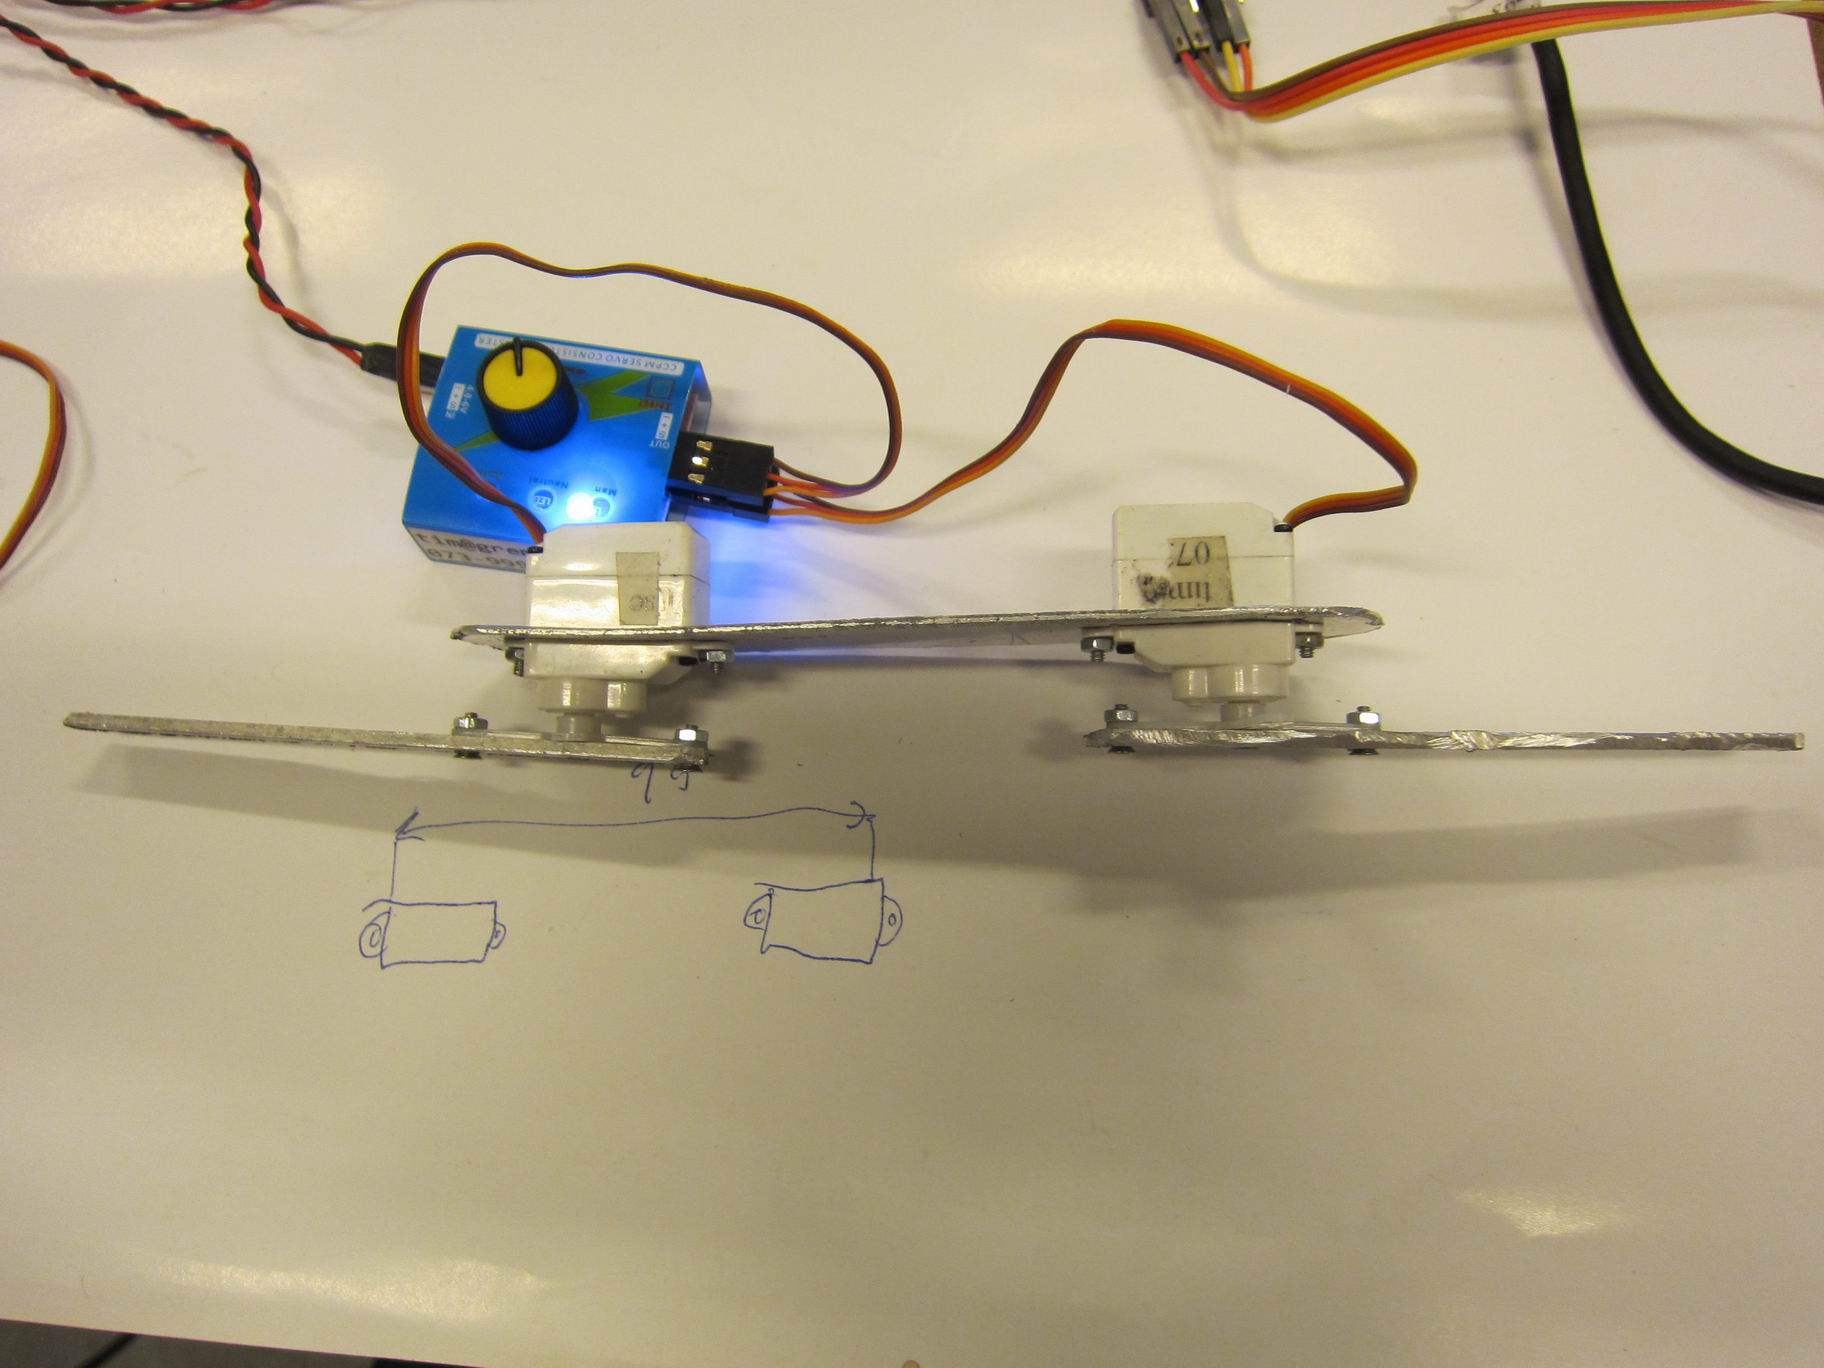
To move the teddy bears arms servos is used. It’s a pretty simple setup, some extenders for the arms that is going through the real arms of the teddy bear.
The servos is quite weak, so they bearly move the arms at all.

IMG_6689
IMG_6690
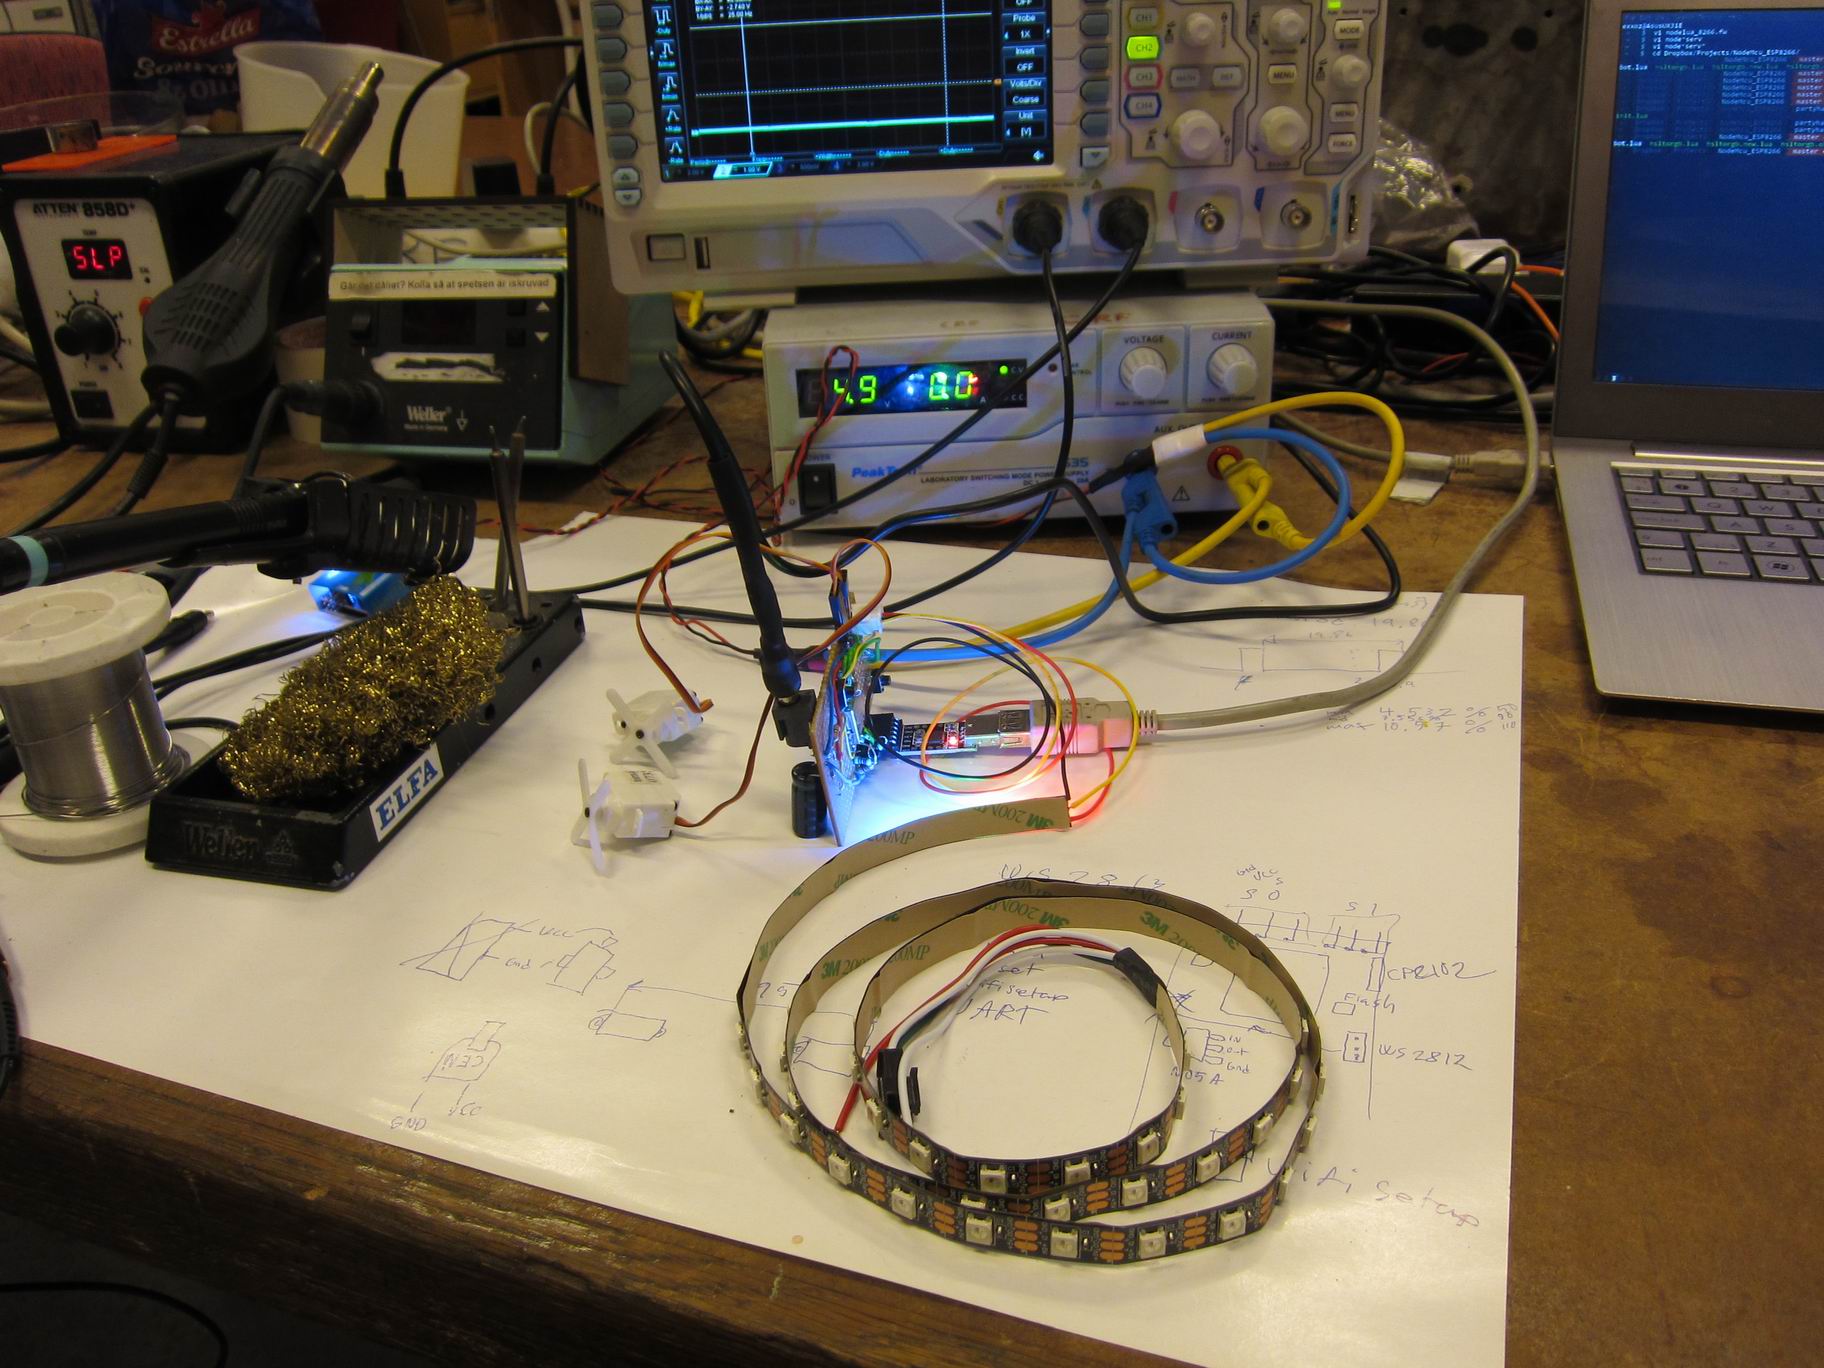
Mounting of the servos.

IMG_6691
IMG_6692
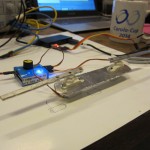
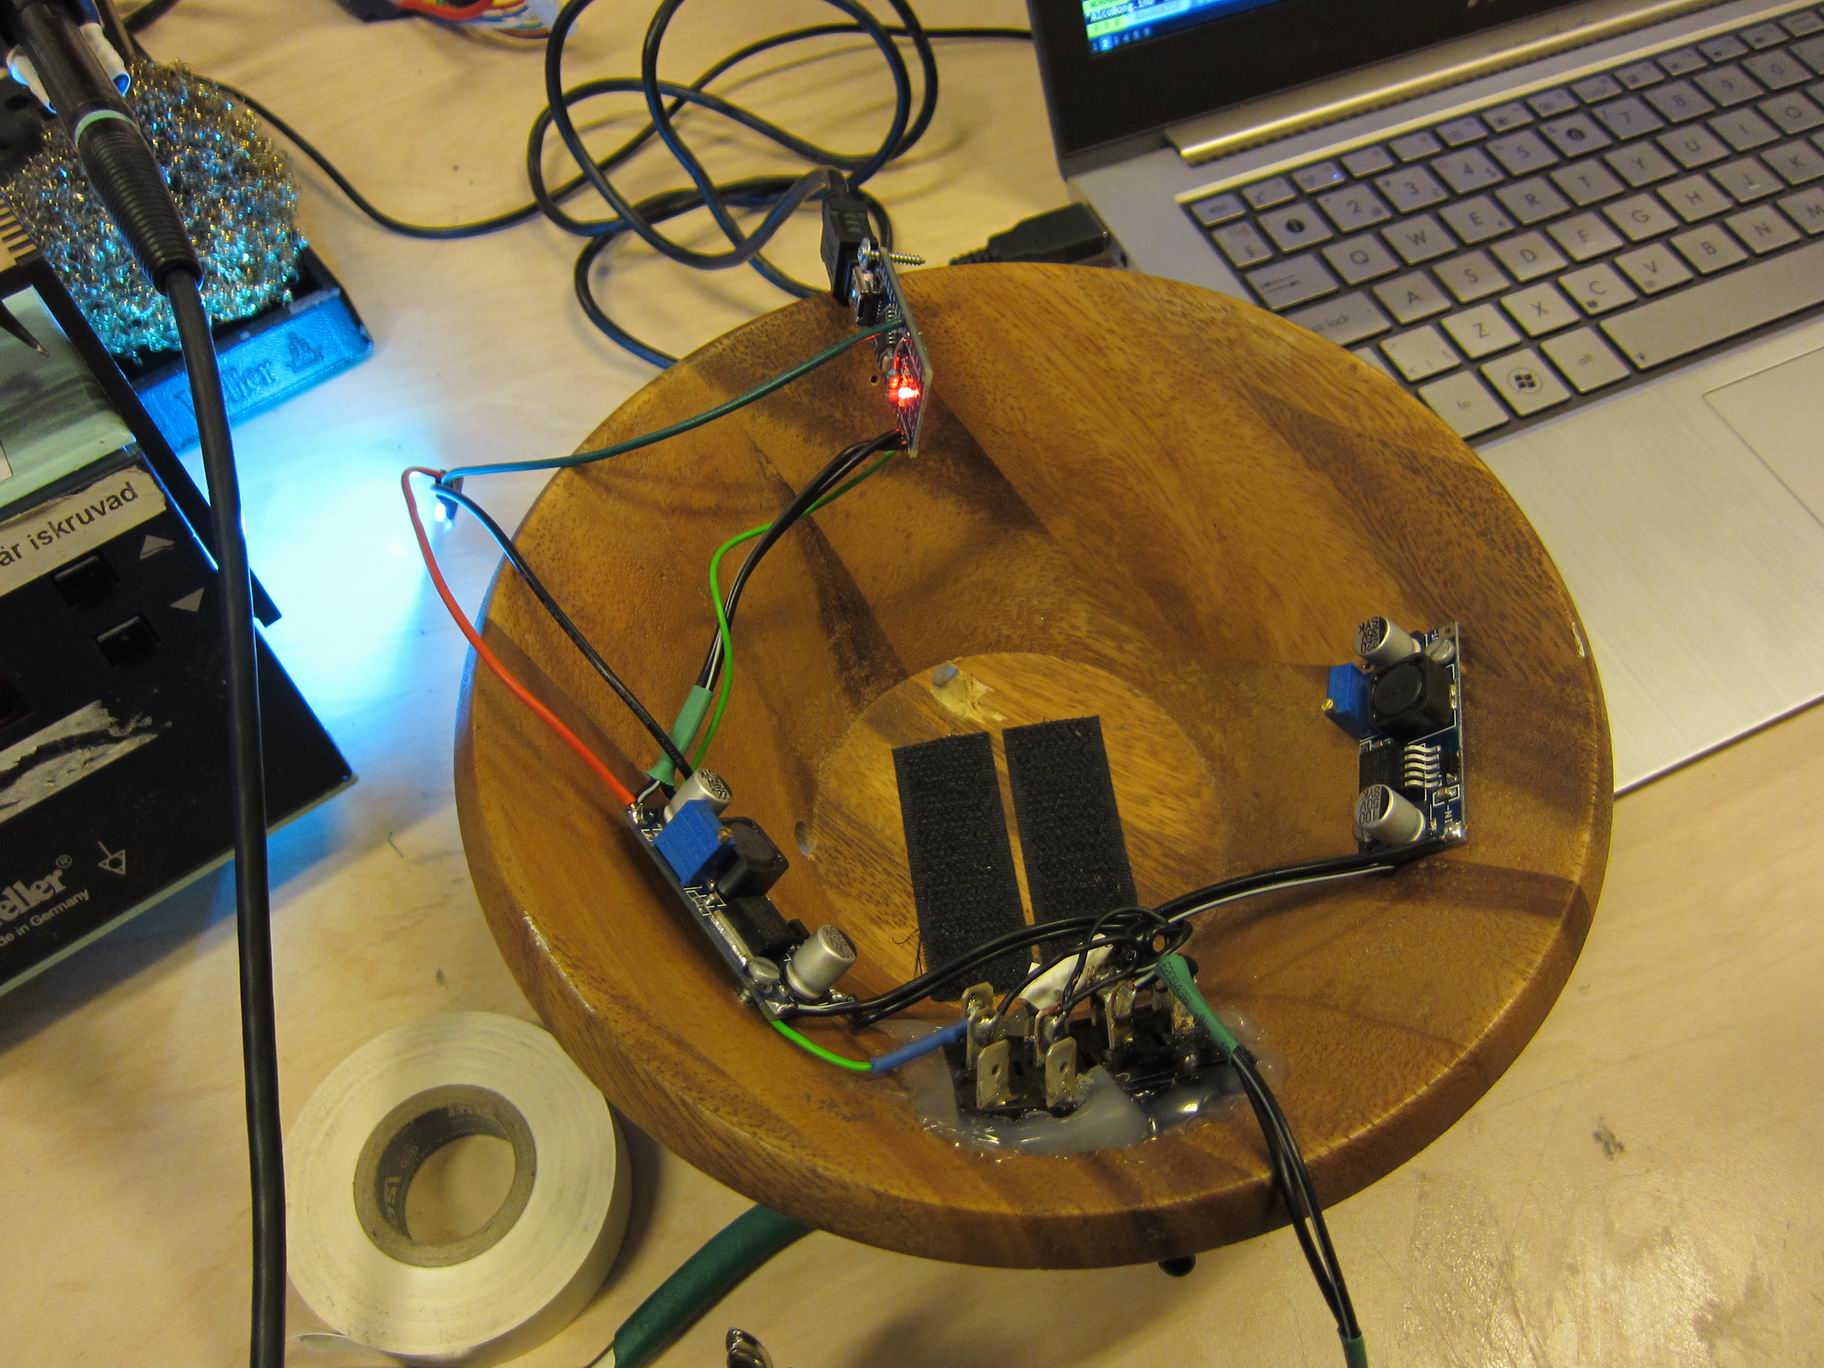
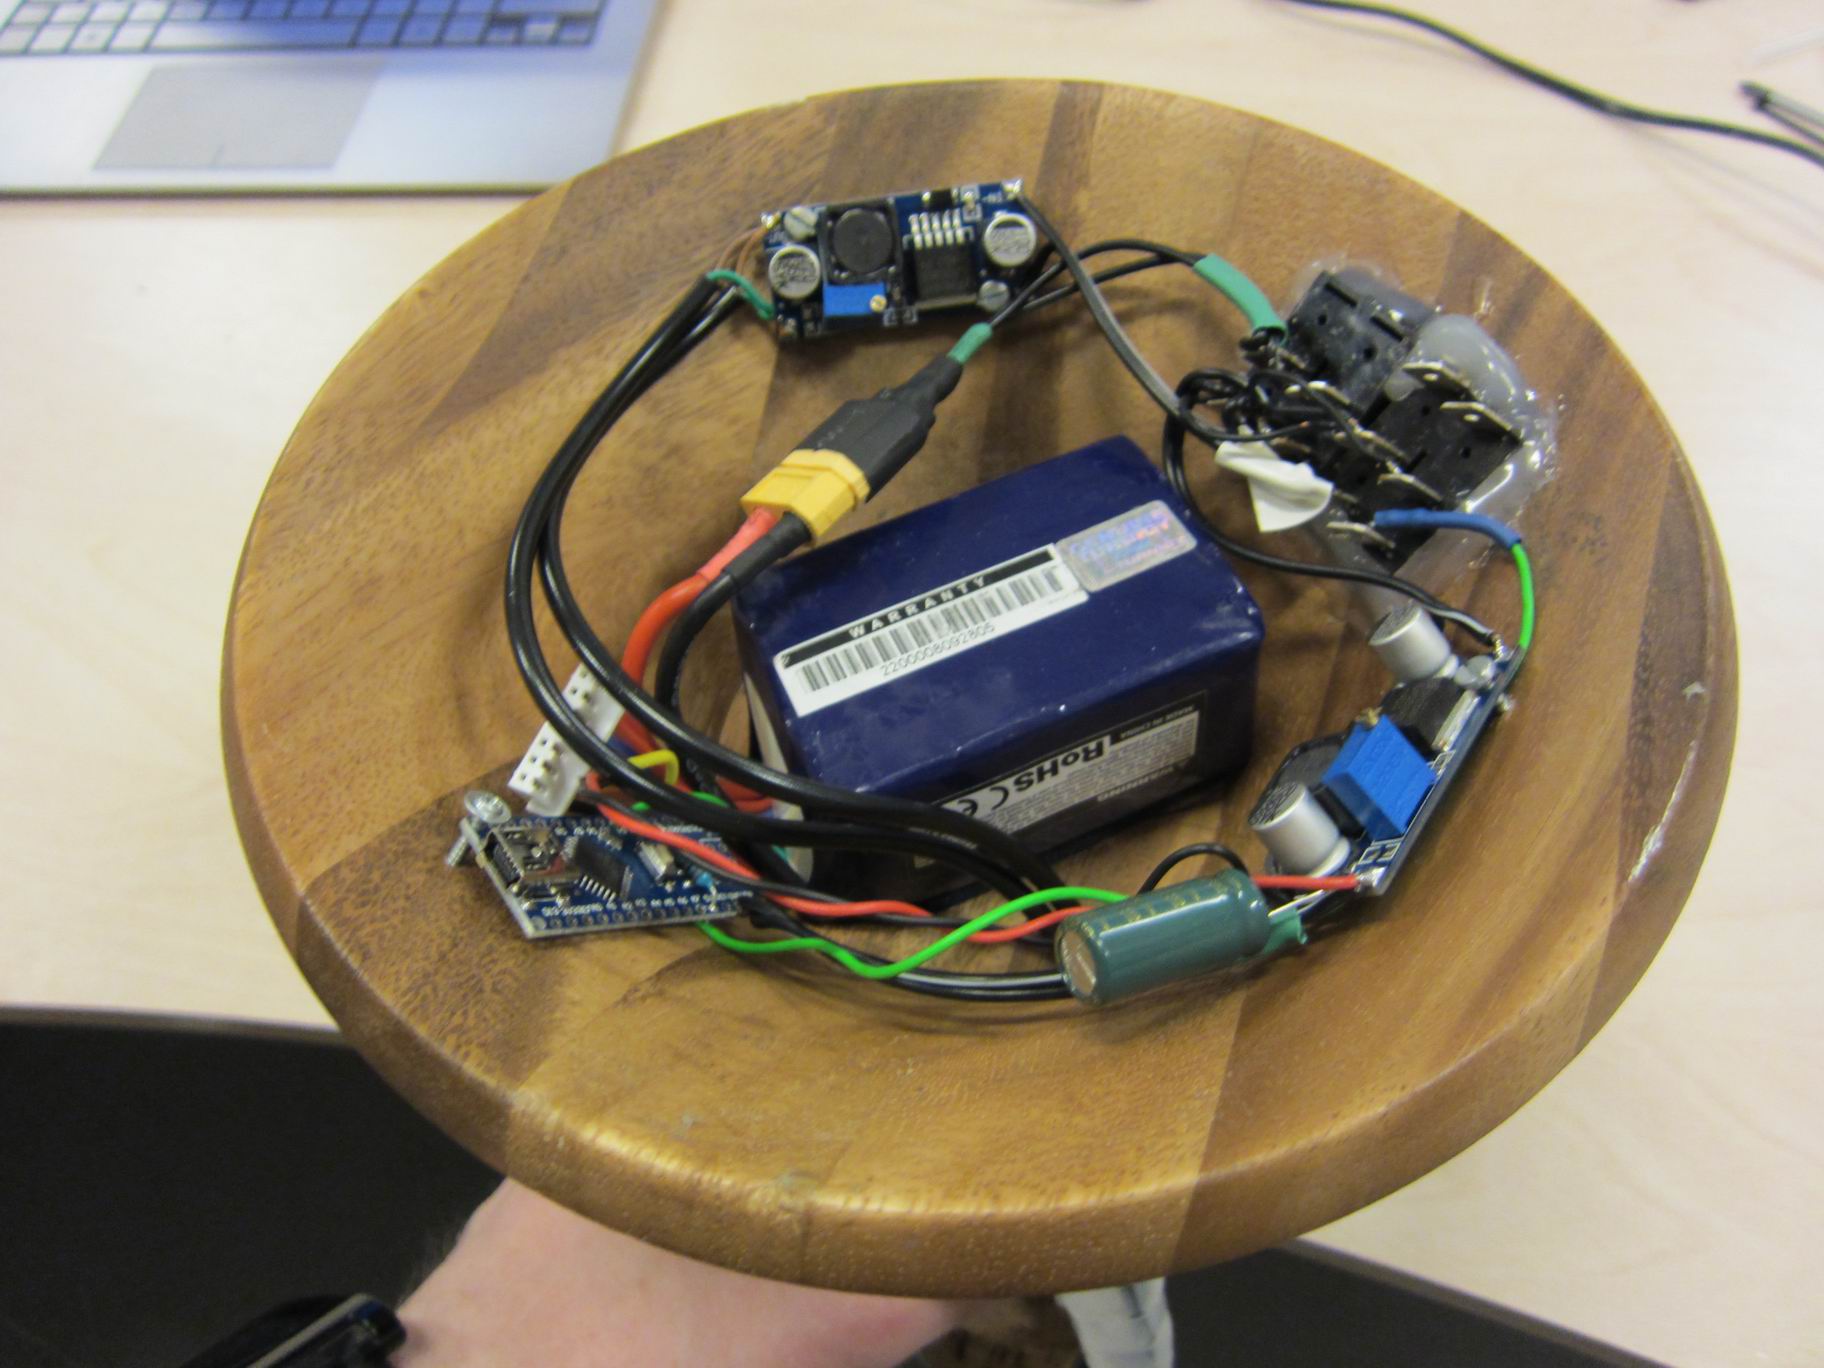
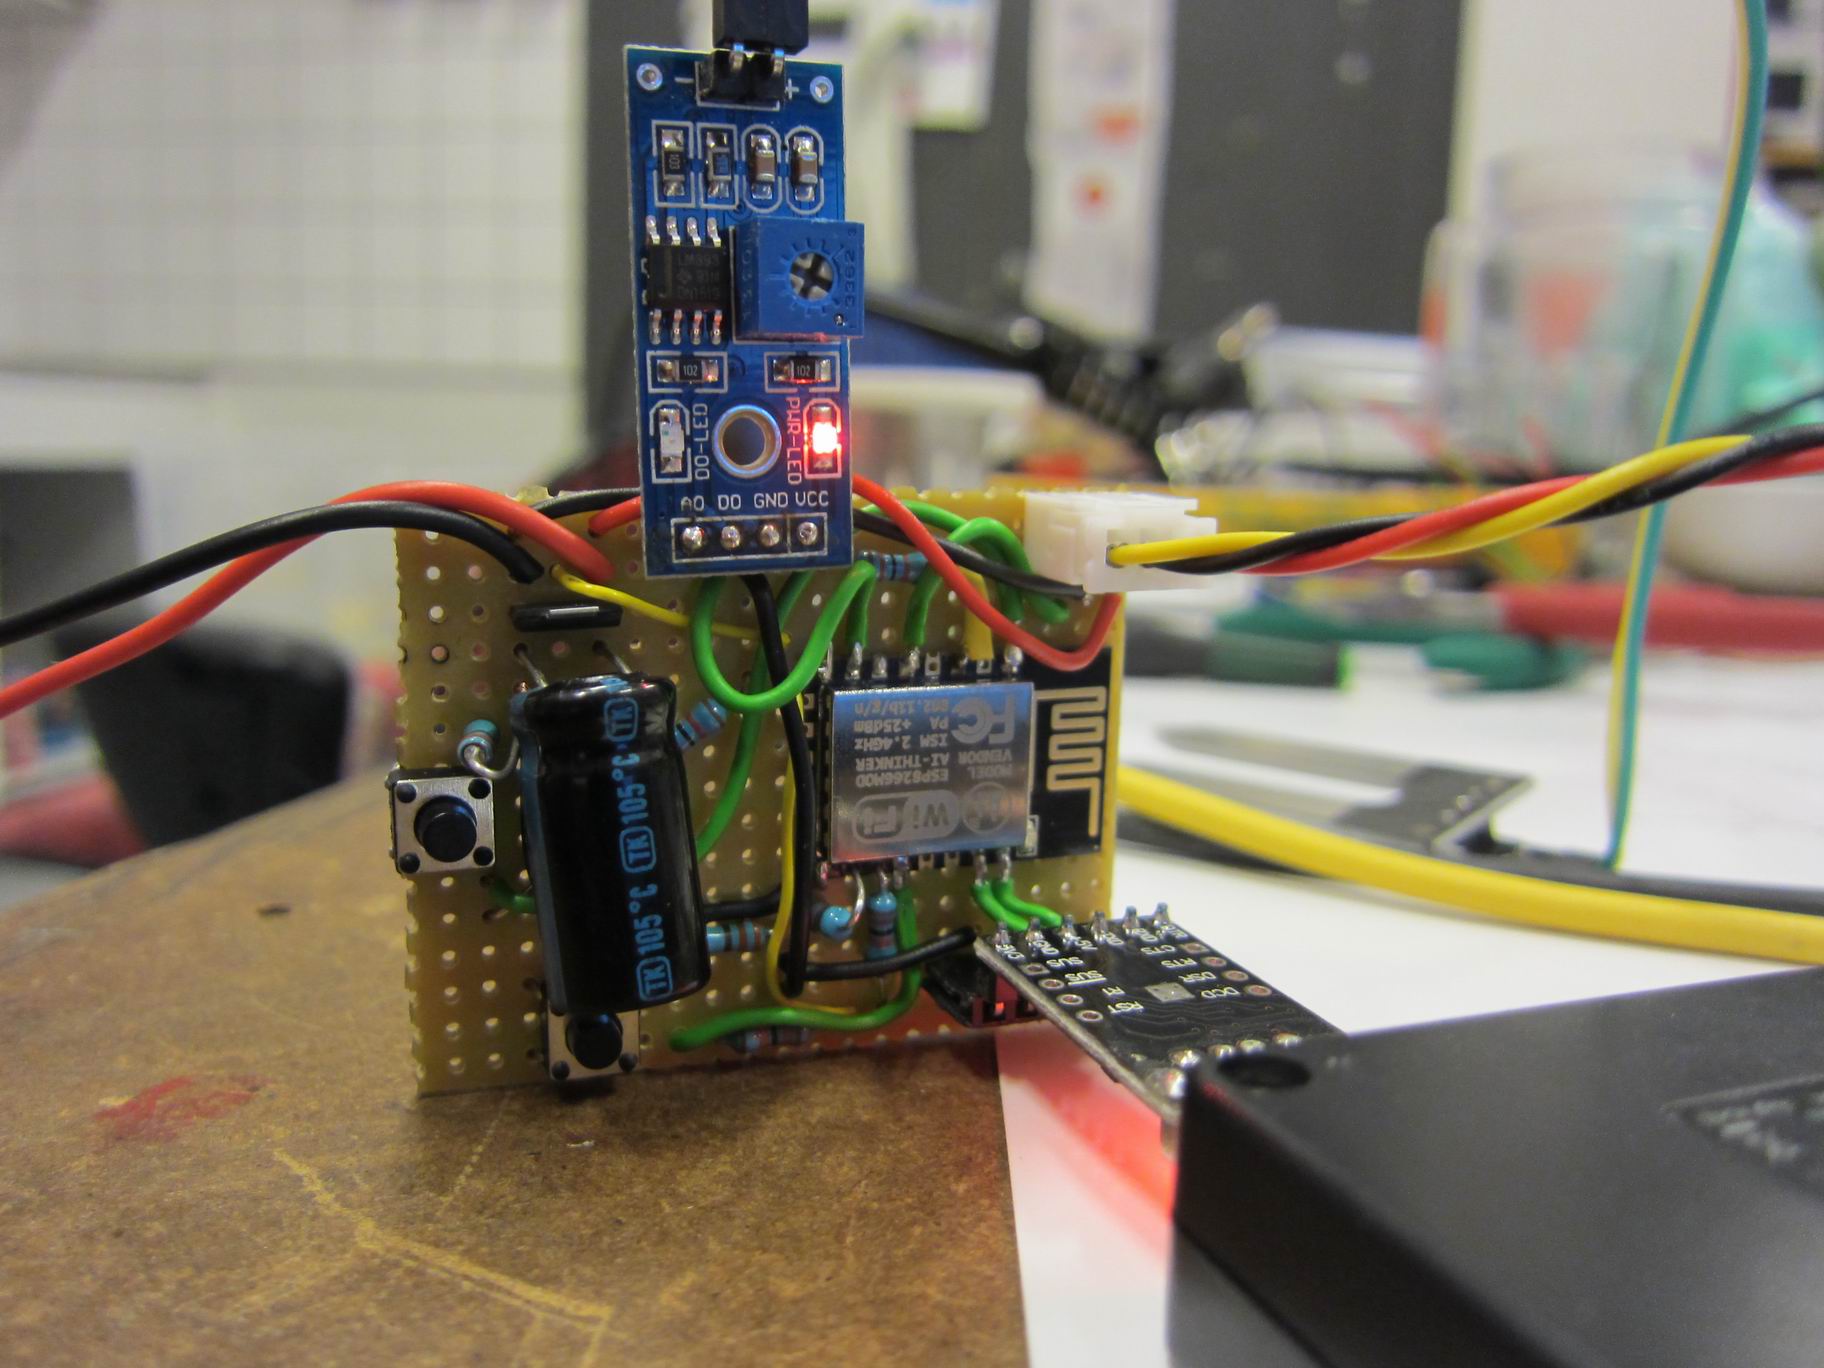
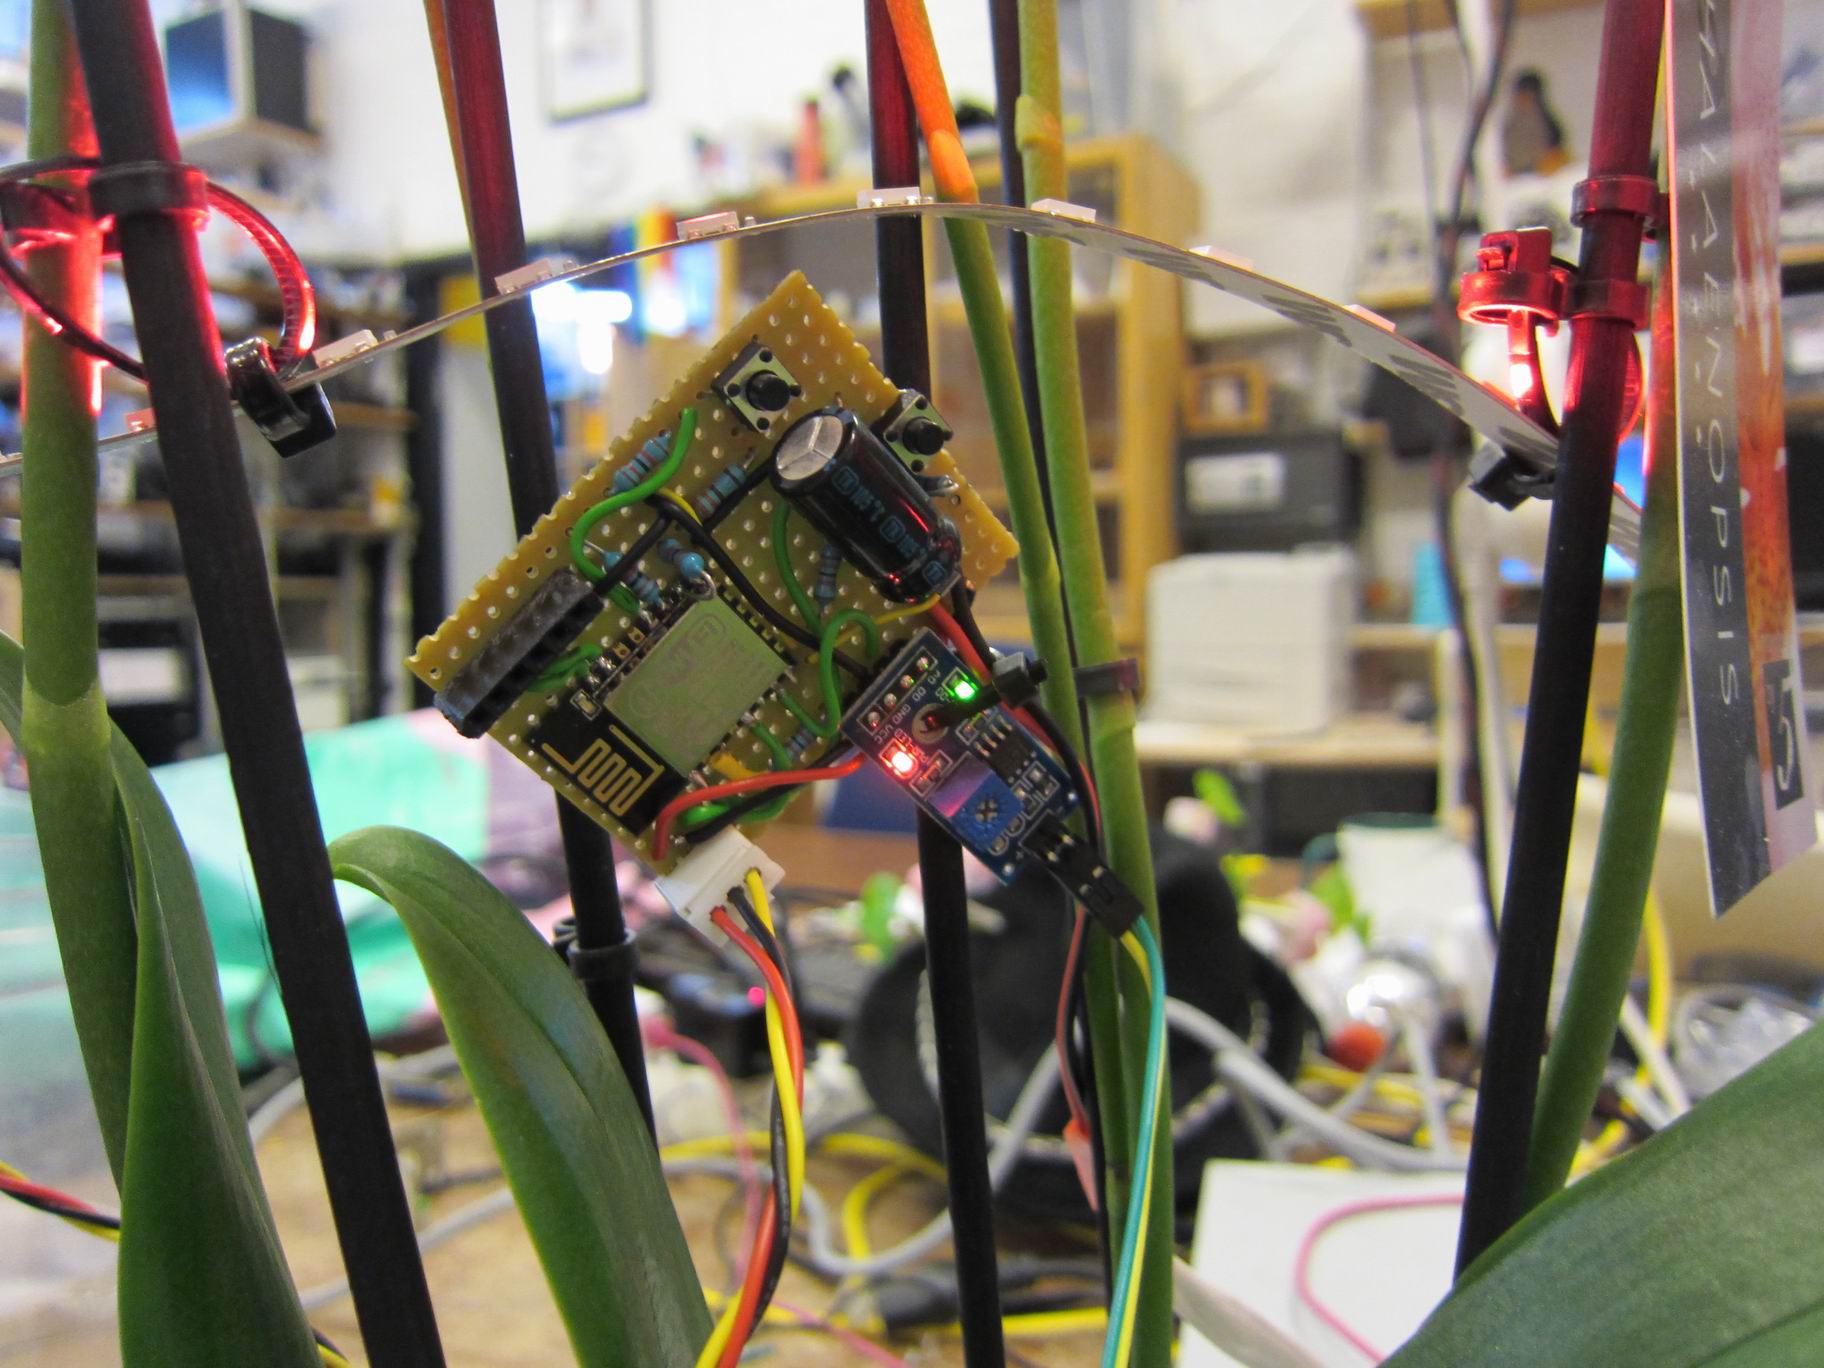
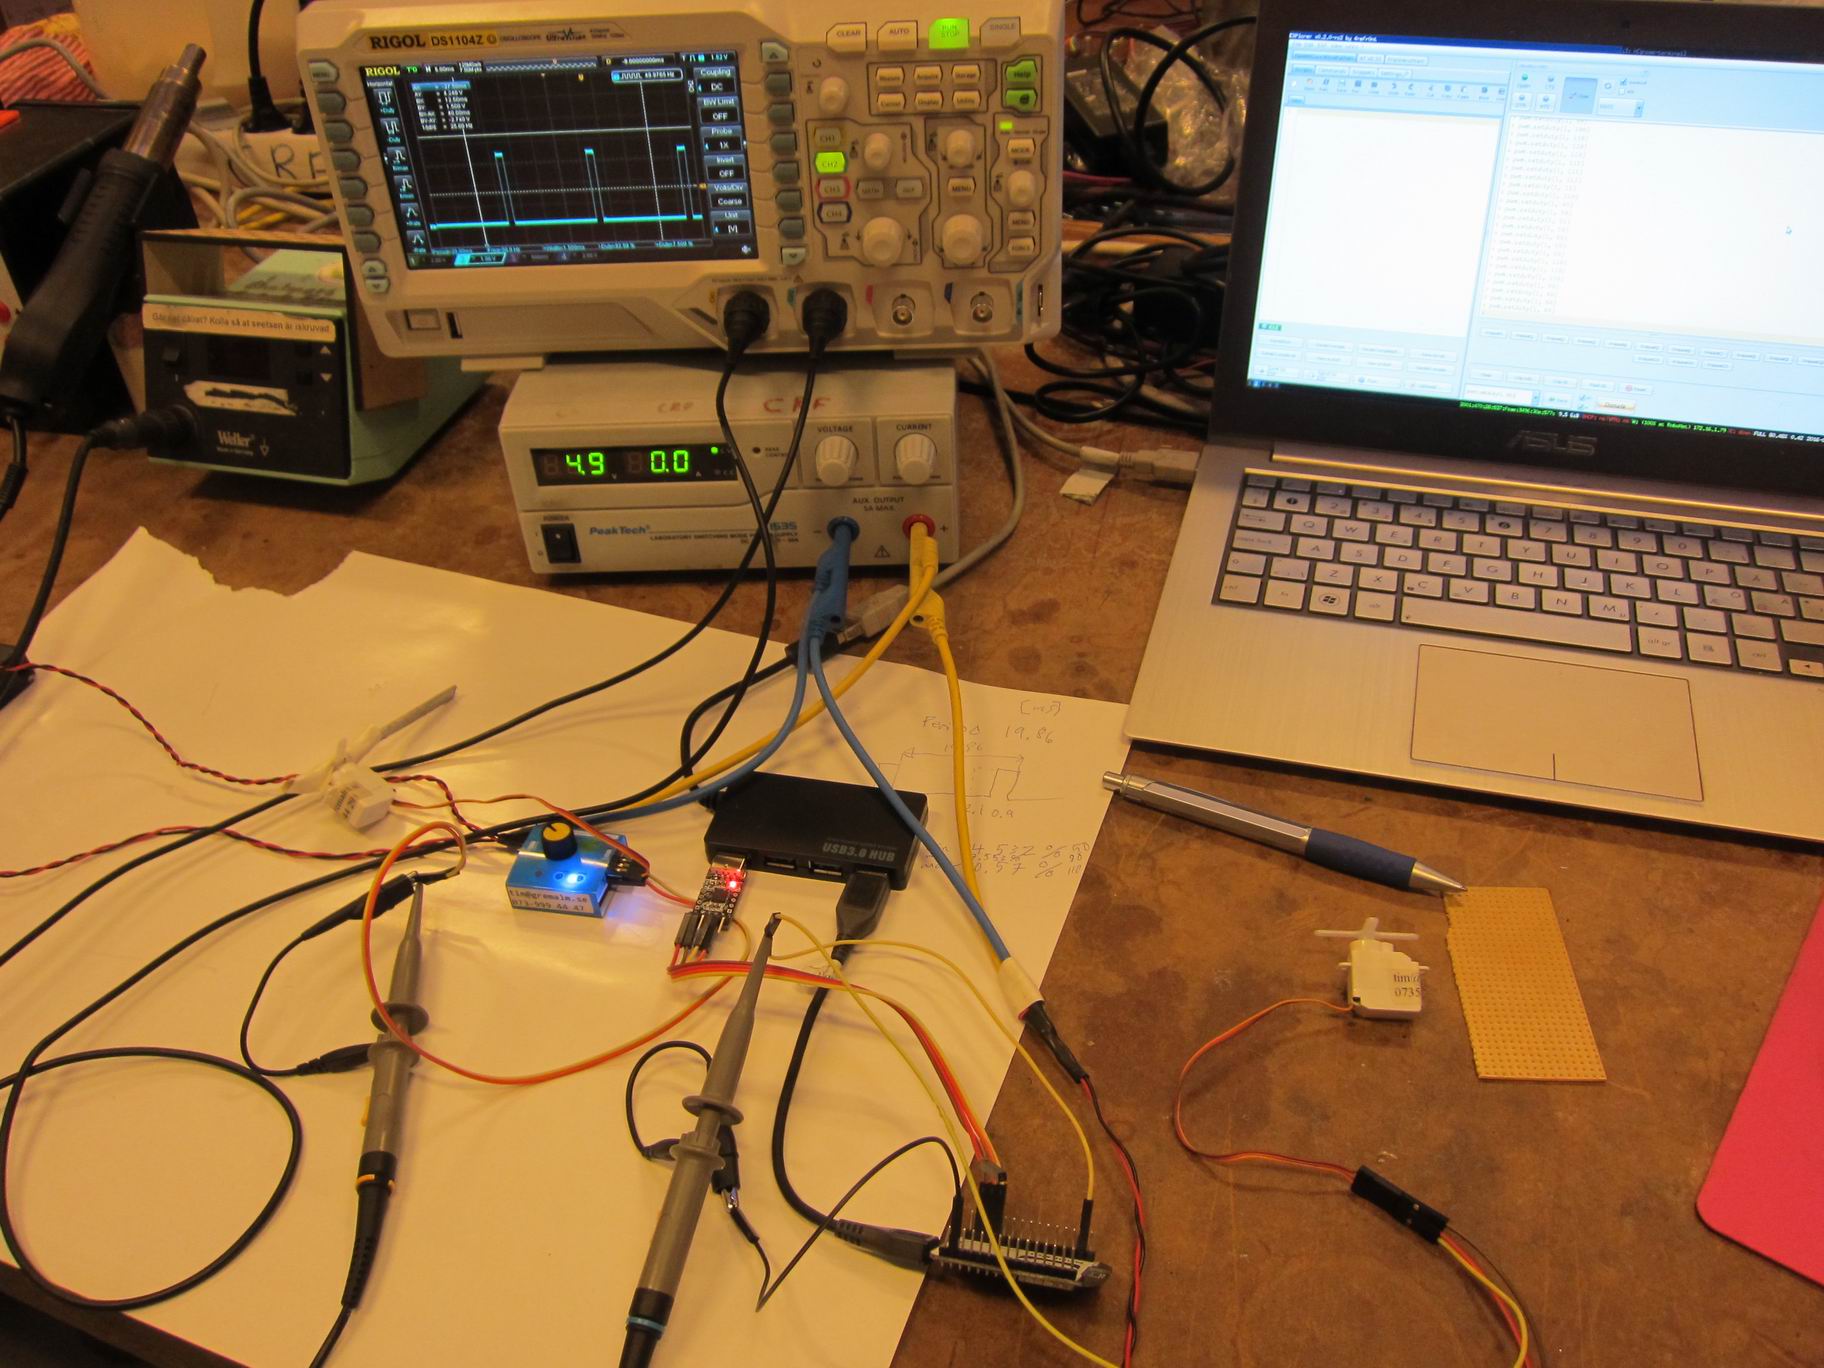
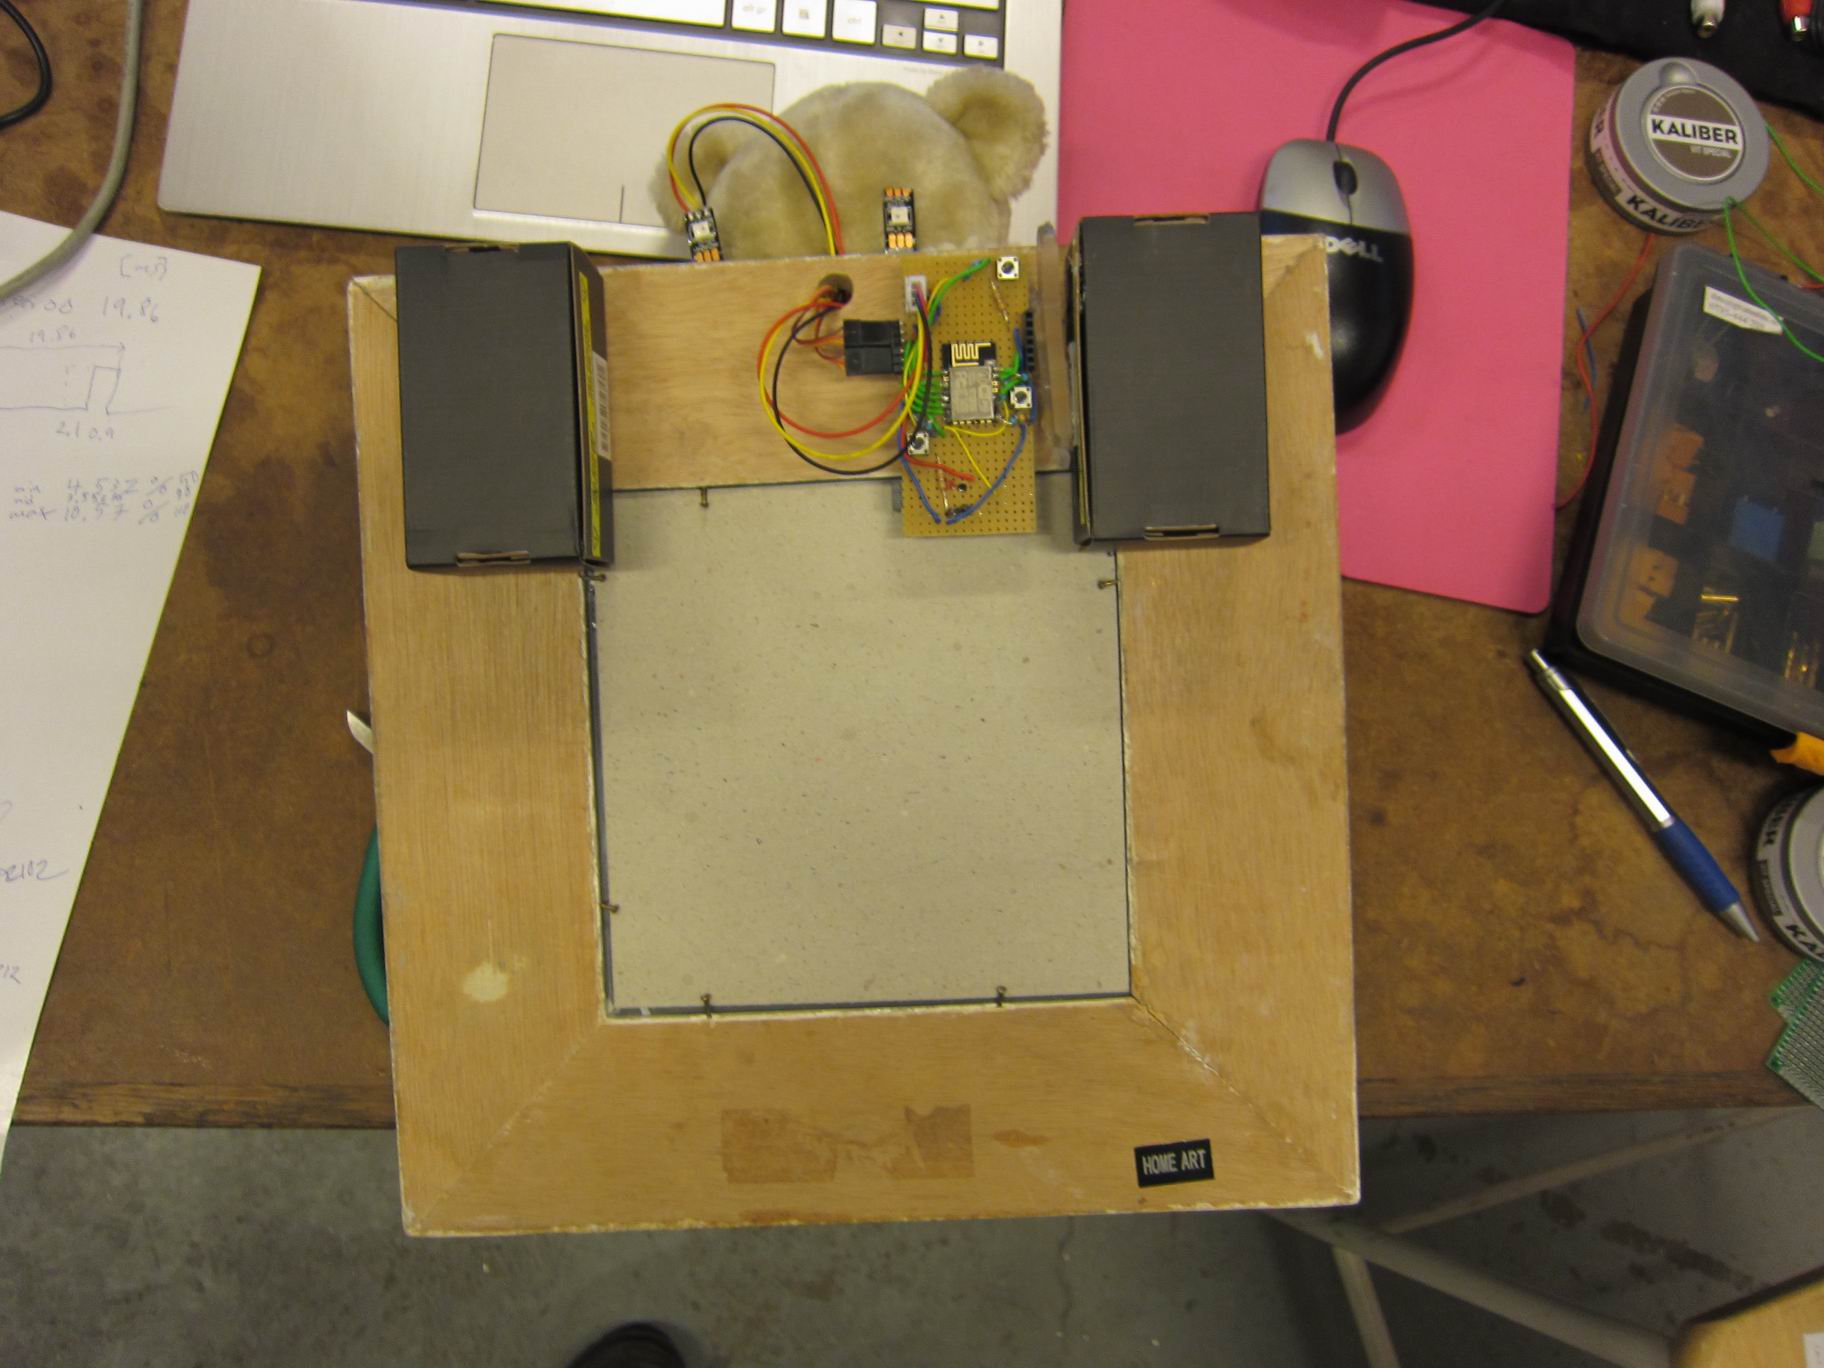
The electronic setups contains of a small cheap microprocessor called ESP8266. The ESP8266 have a small WiFI-antenna integrated in the breakout board and can hook up to any access point, or even create one.
I’m running the firmware NodeMCU , it’s a real time LUA interpreter. So the firmware is only programmed once on the flash. To write your own program you just transfer them over serial UART, and the firmware will save the script on flash.
The processor is running at 80MHz so it’s pretty fast.

IMG_6693
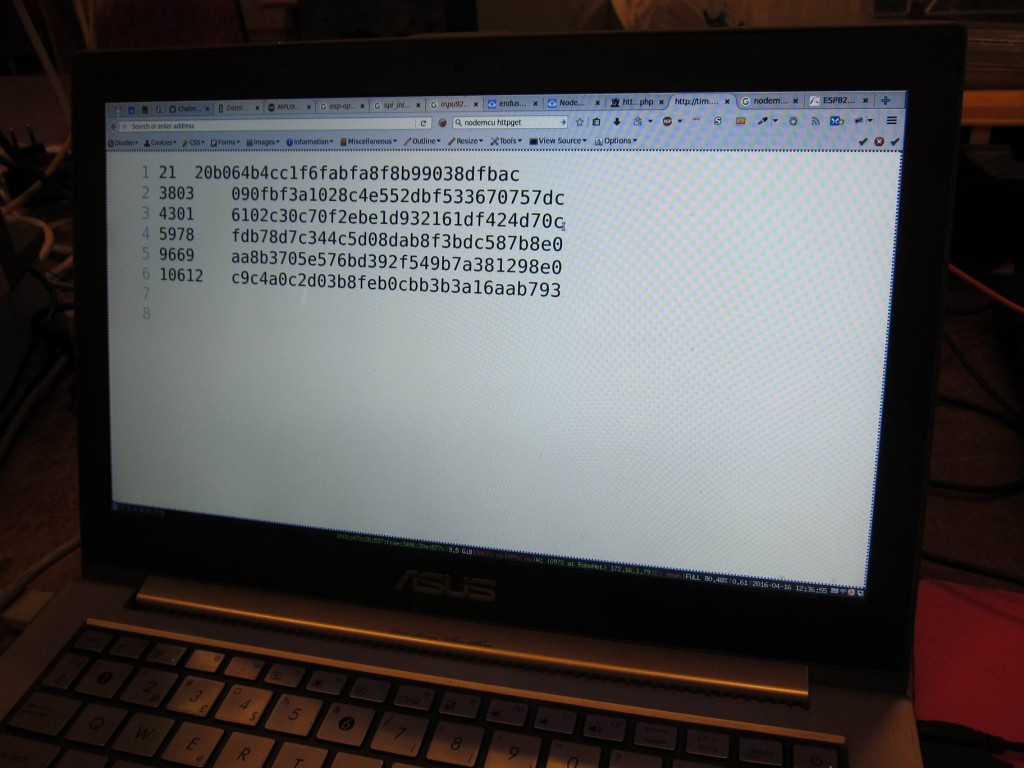
I’m using Twitters API to fetch the latest post on a specific search term. The API gives me a detailed formated JSON file containing the time and date of the post, as well as the post.
The Twitter API is quite messy to work with, a lot of headers and authentication is required. The ESP would likly handle both the SSL and the big JSON format, but it will steal some CPU-time and it’s hard to work with. I made a PHP-proxy for the twitter feed, parsing the time and date and presenting it in unix timecode. The message of the post is stored as an MD5 hash sum.
On the IoT Nalle i keep track of the already “danced” Twitter posts and only dnaces to new posts.

IMG_6695
IMG_6694IMG_6696IMG_6697
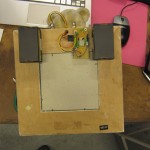
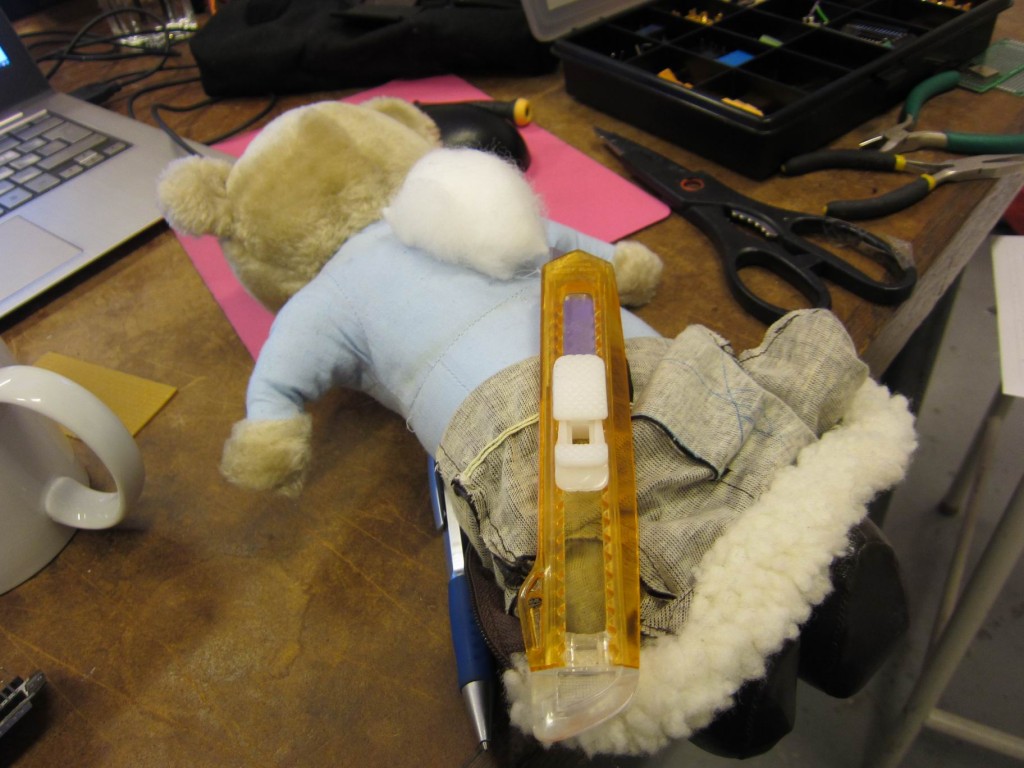
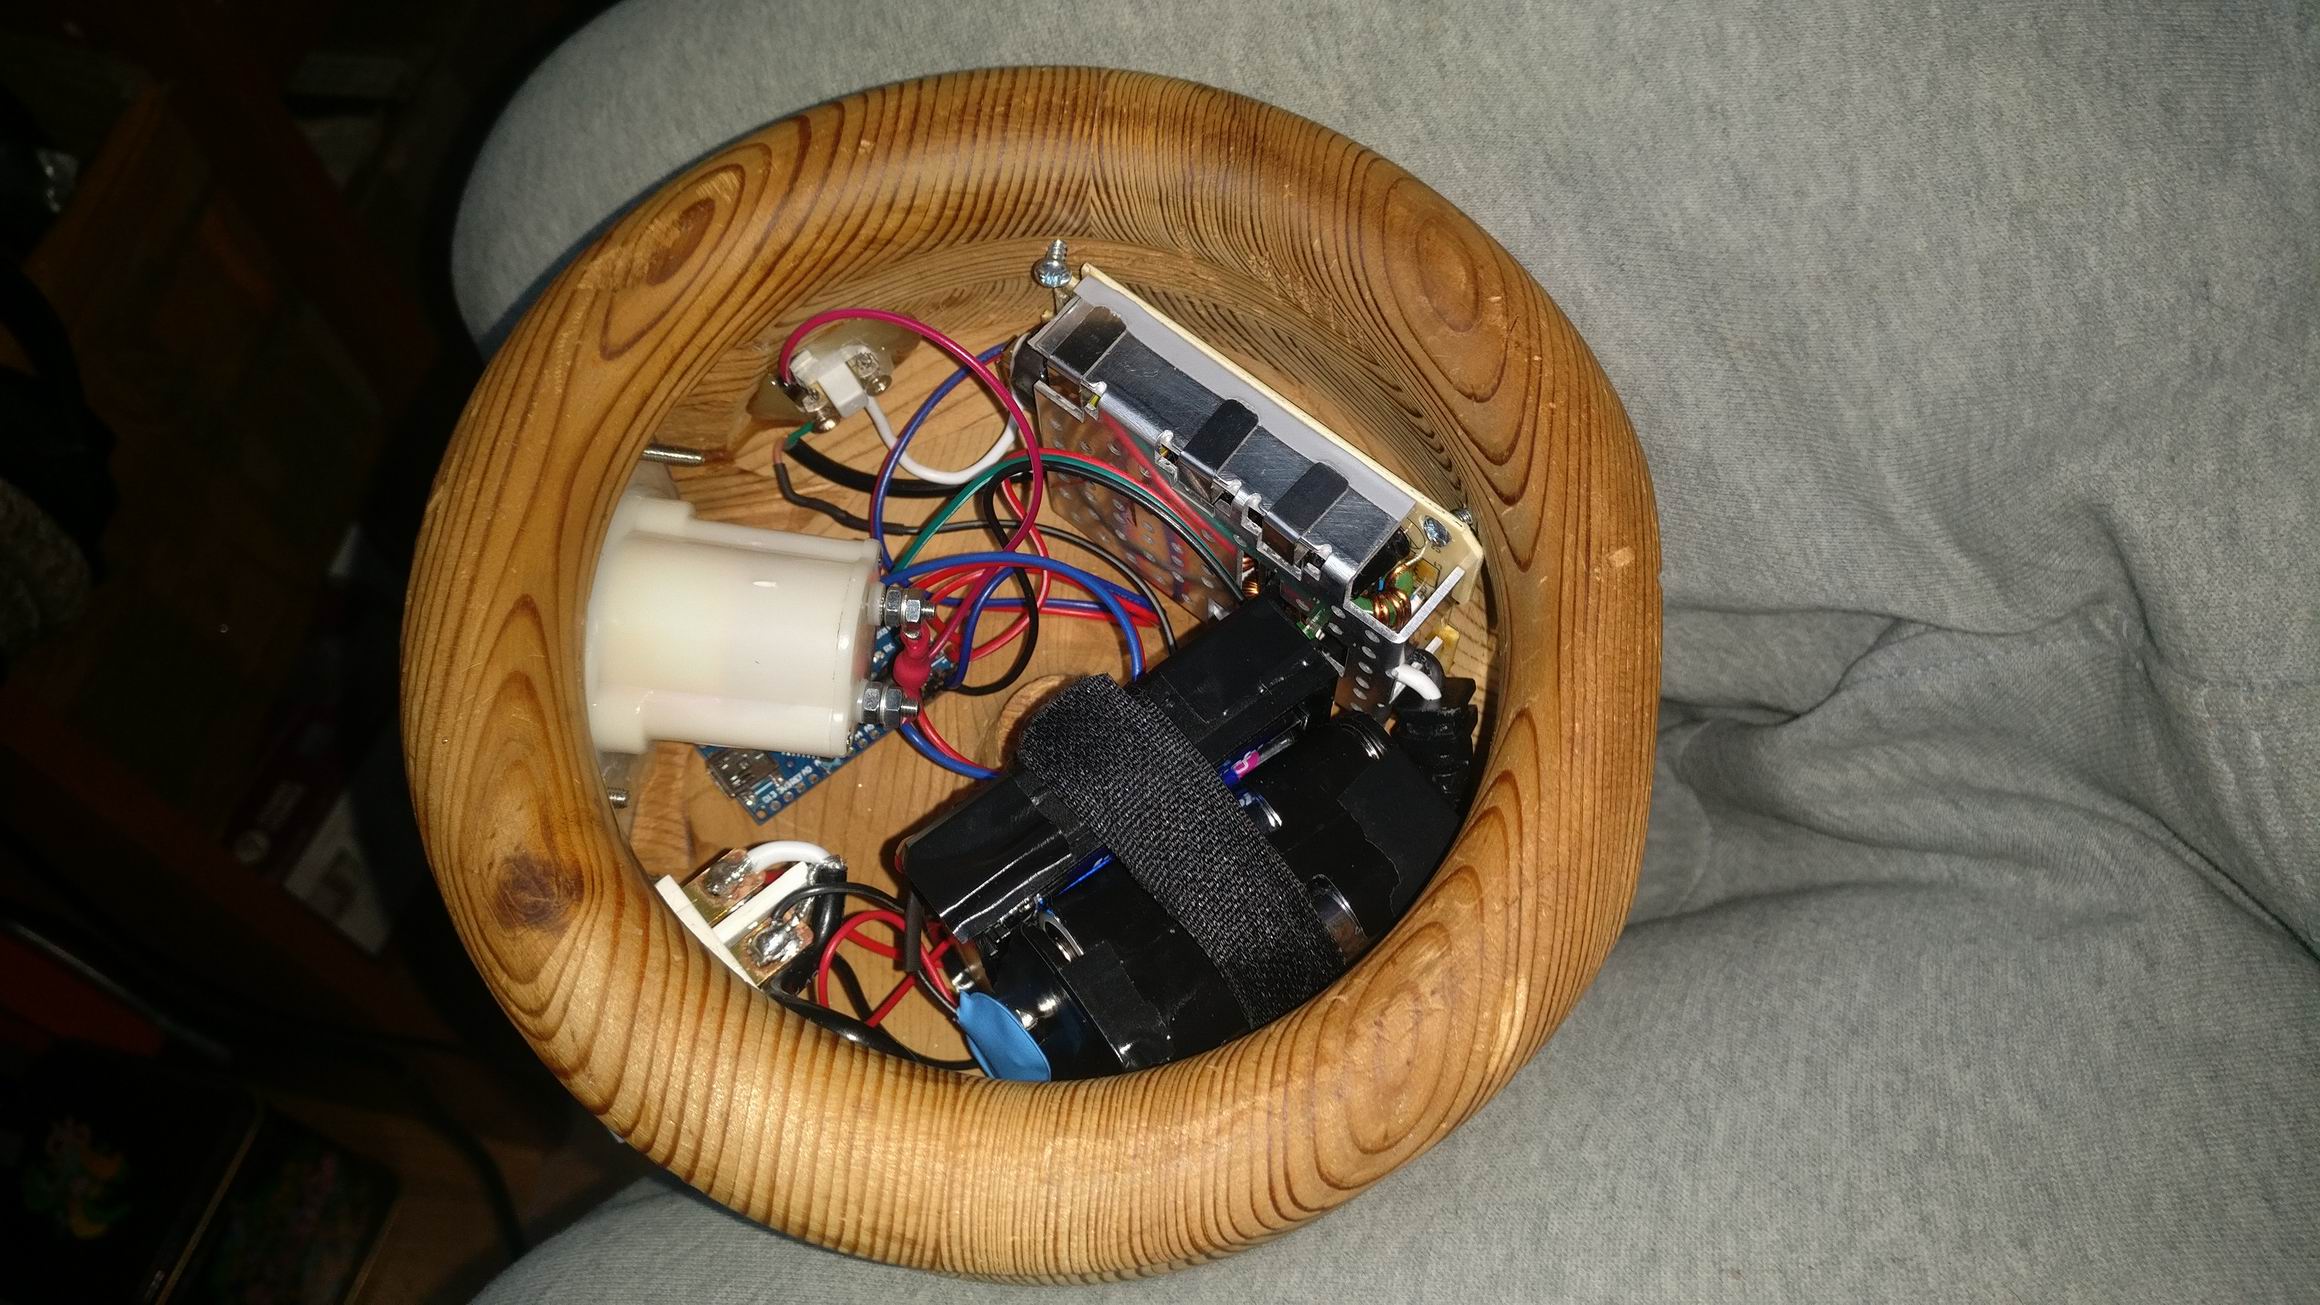
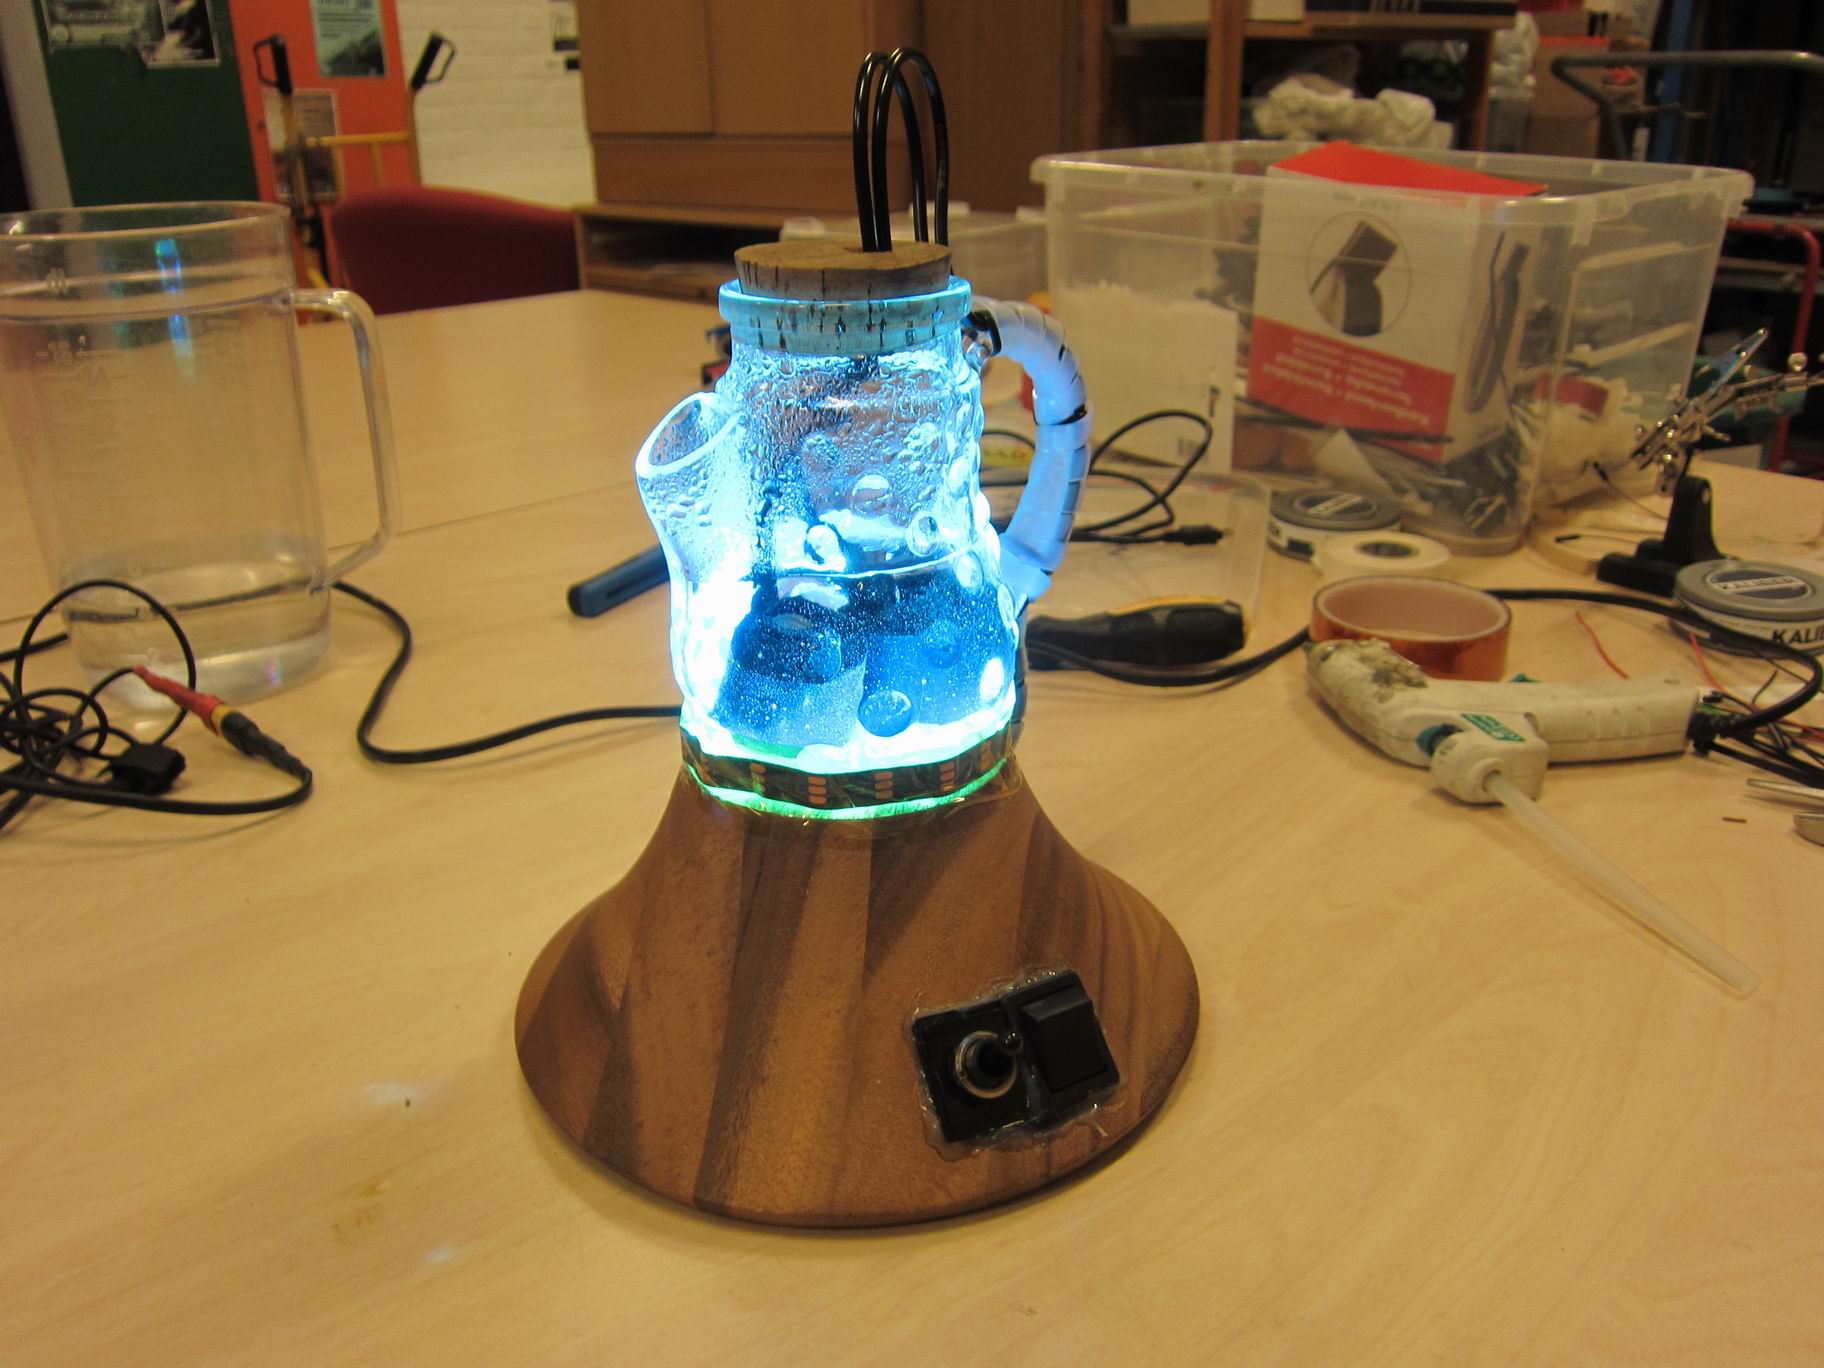
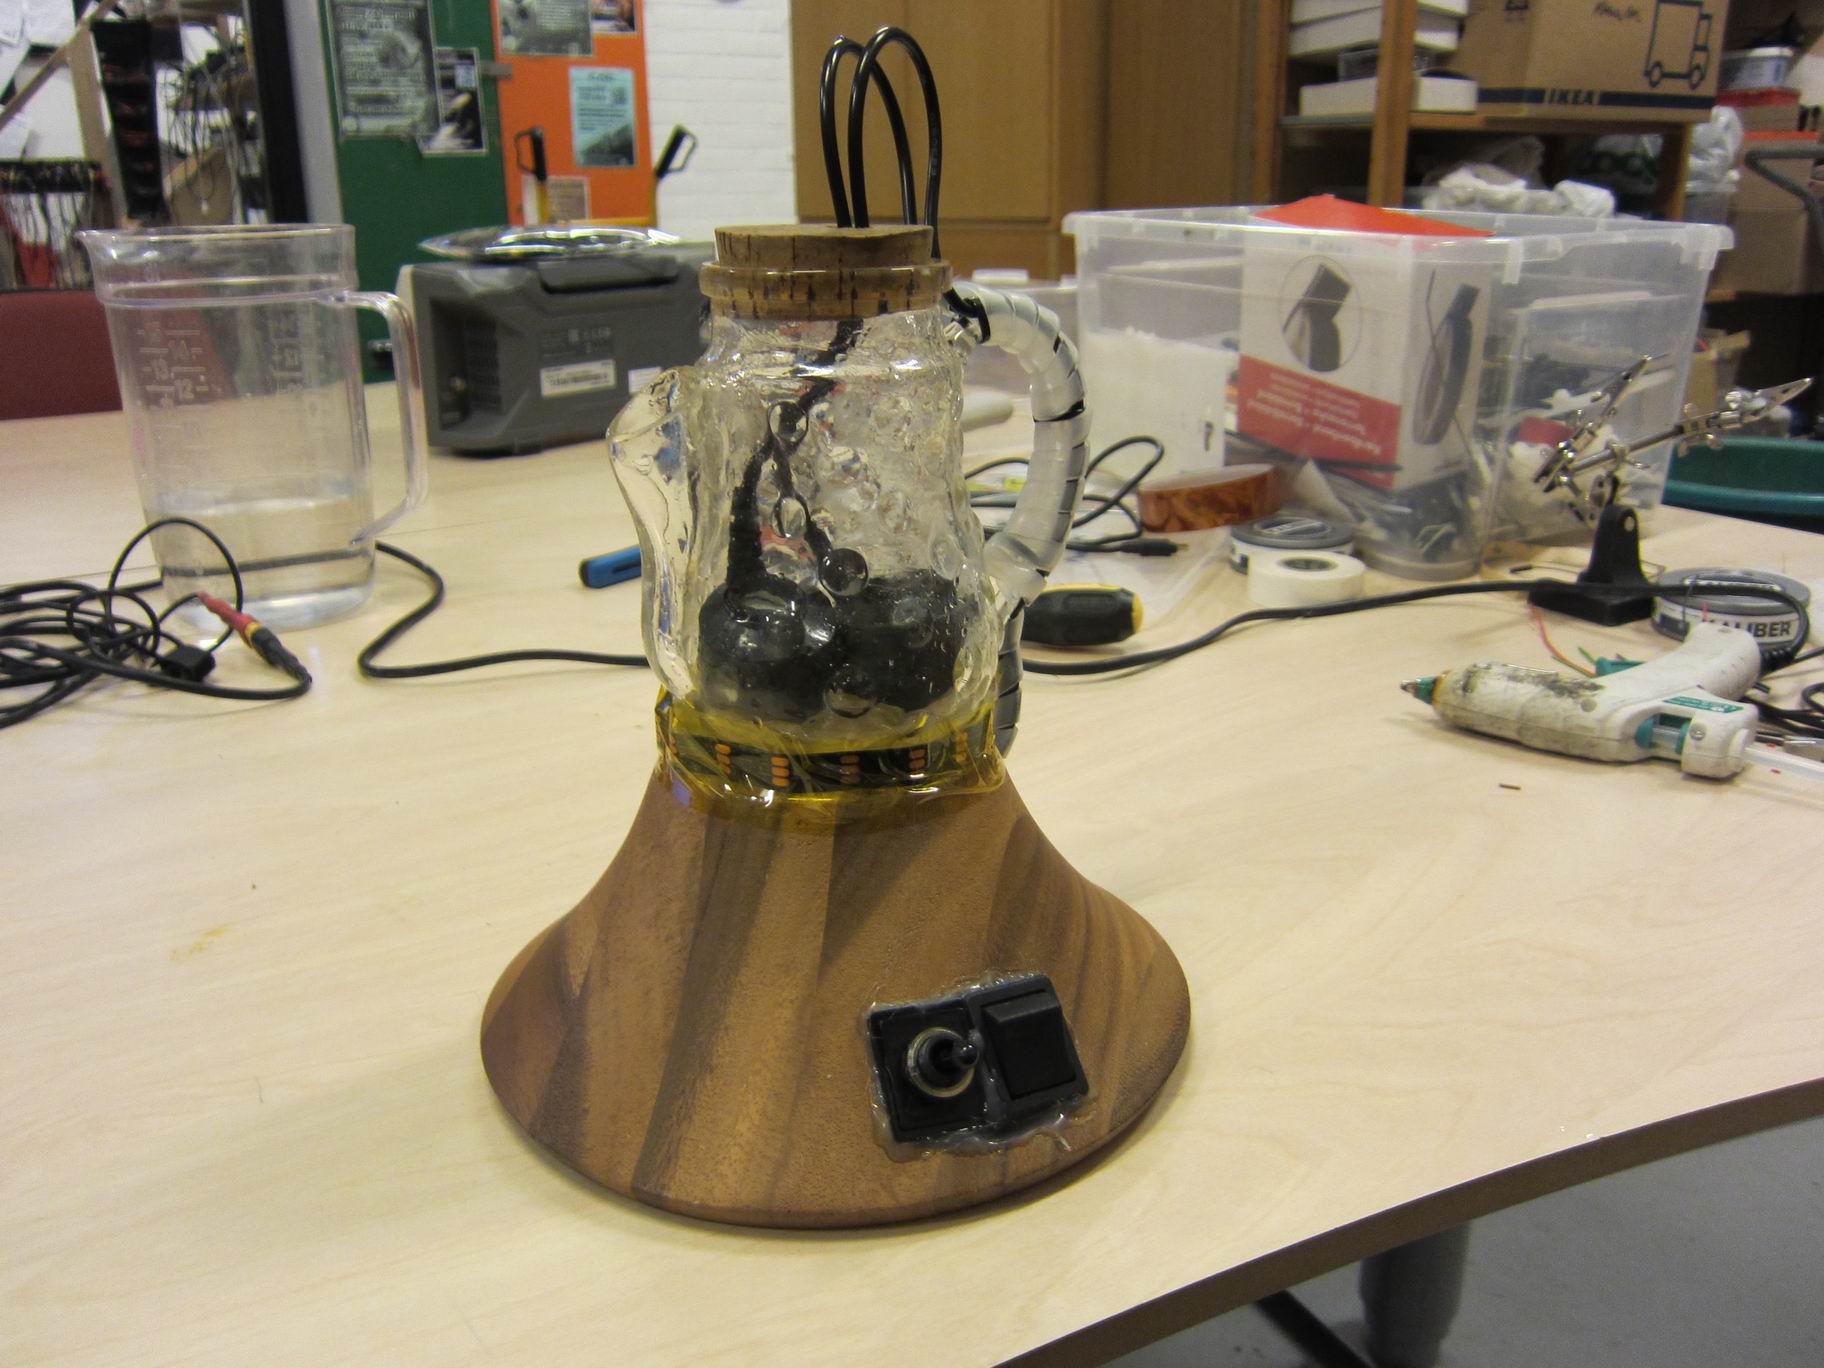
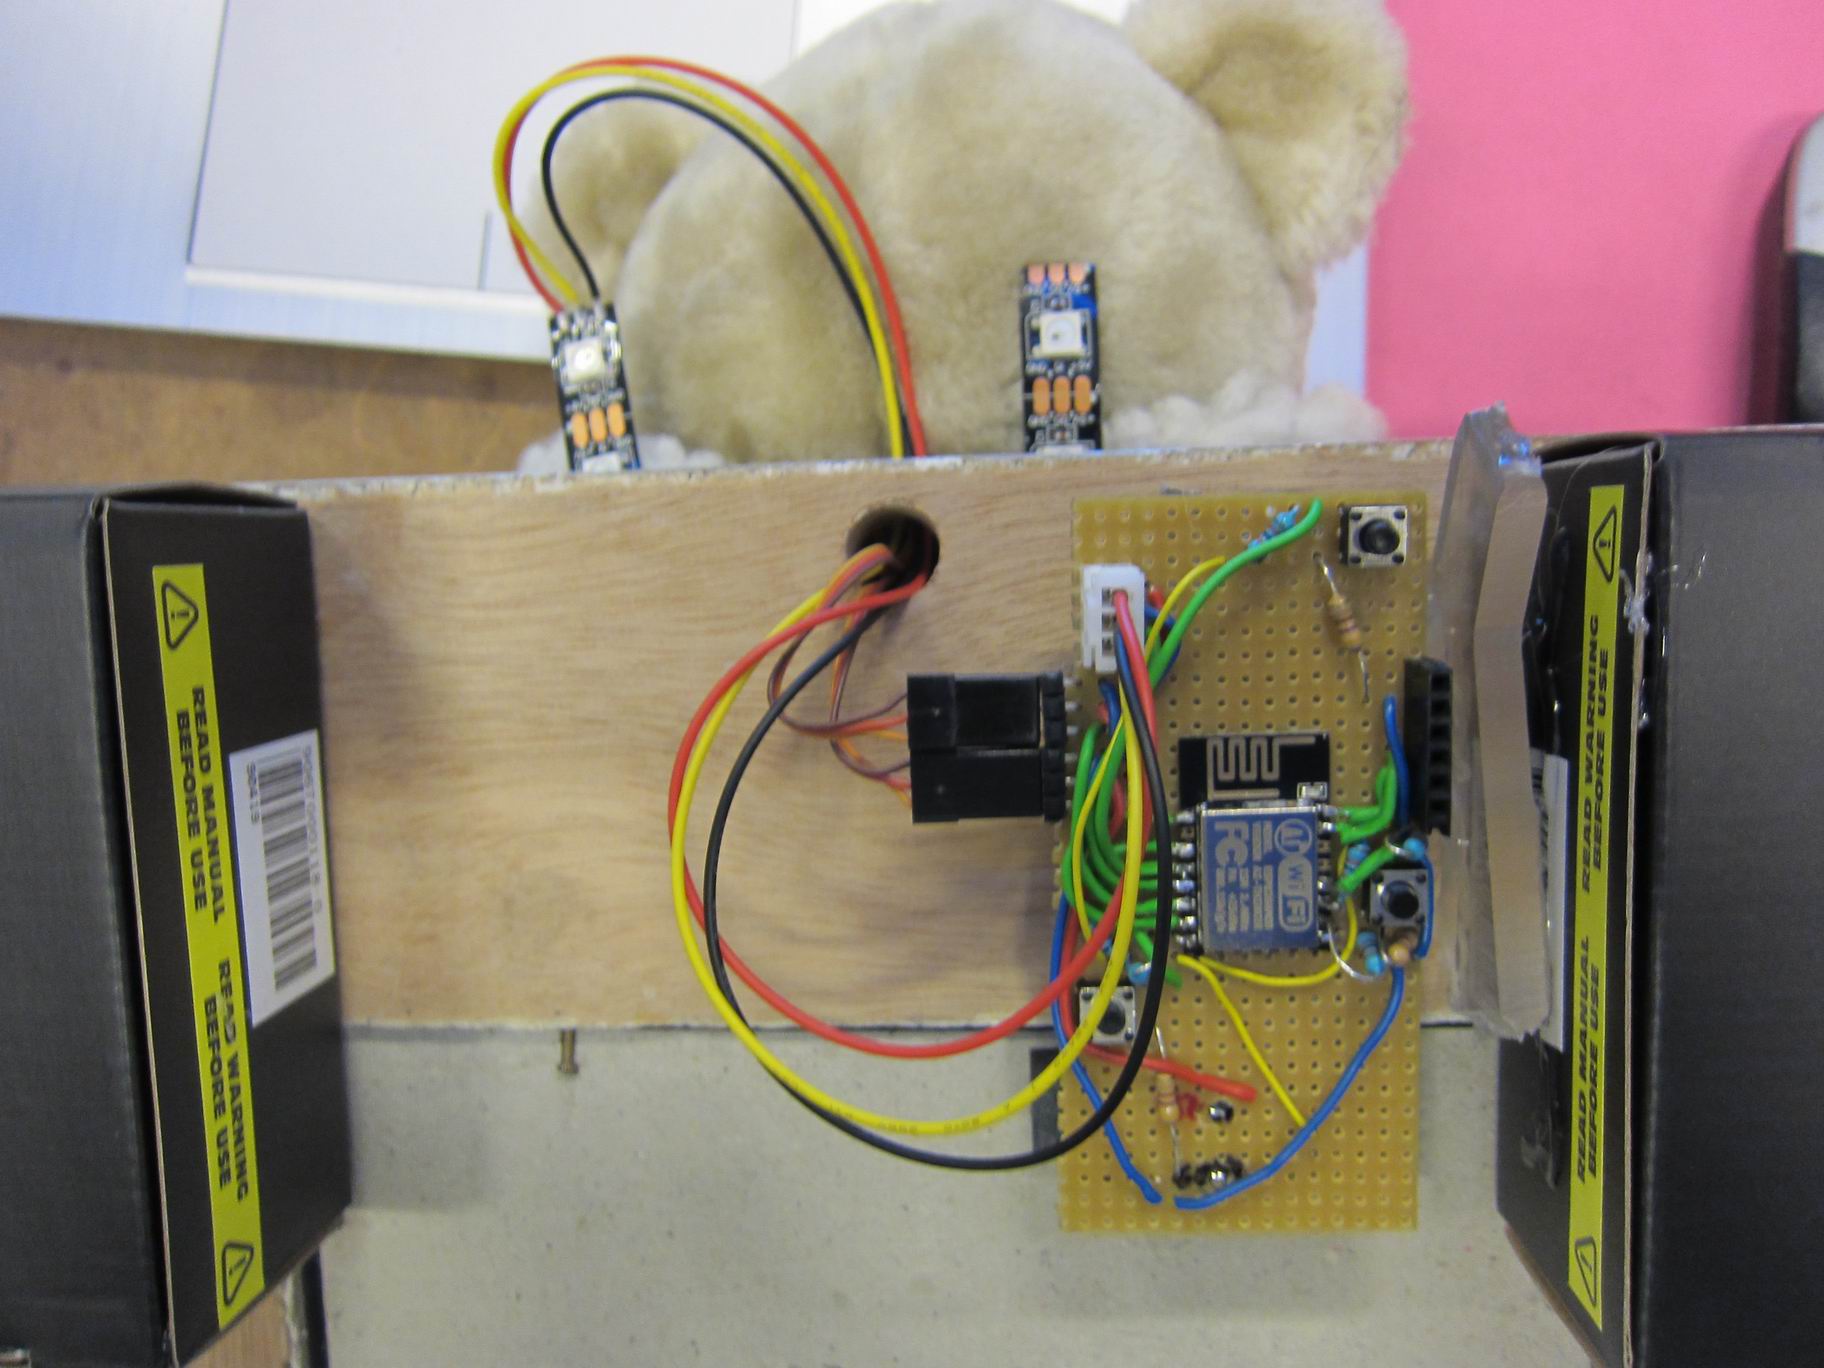
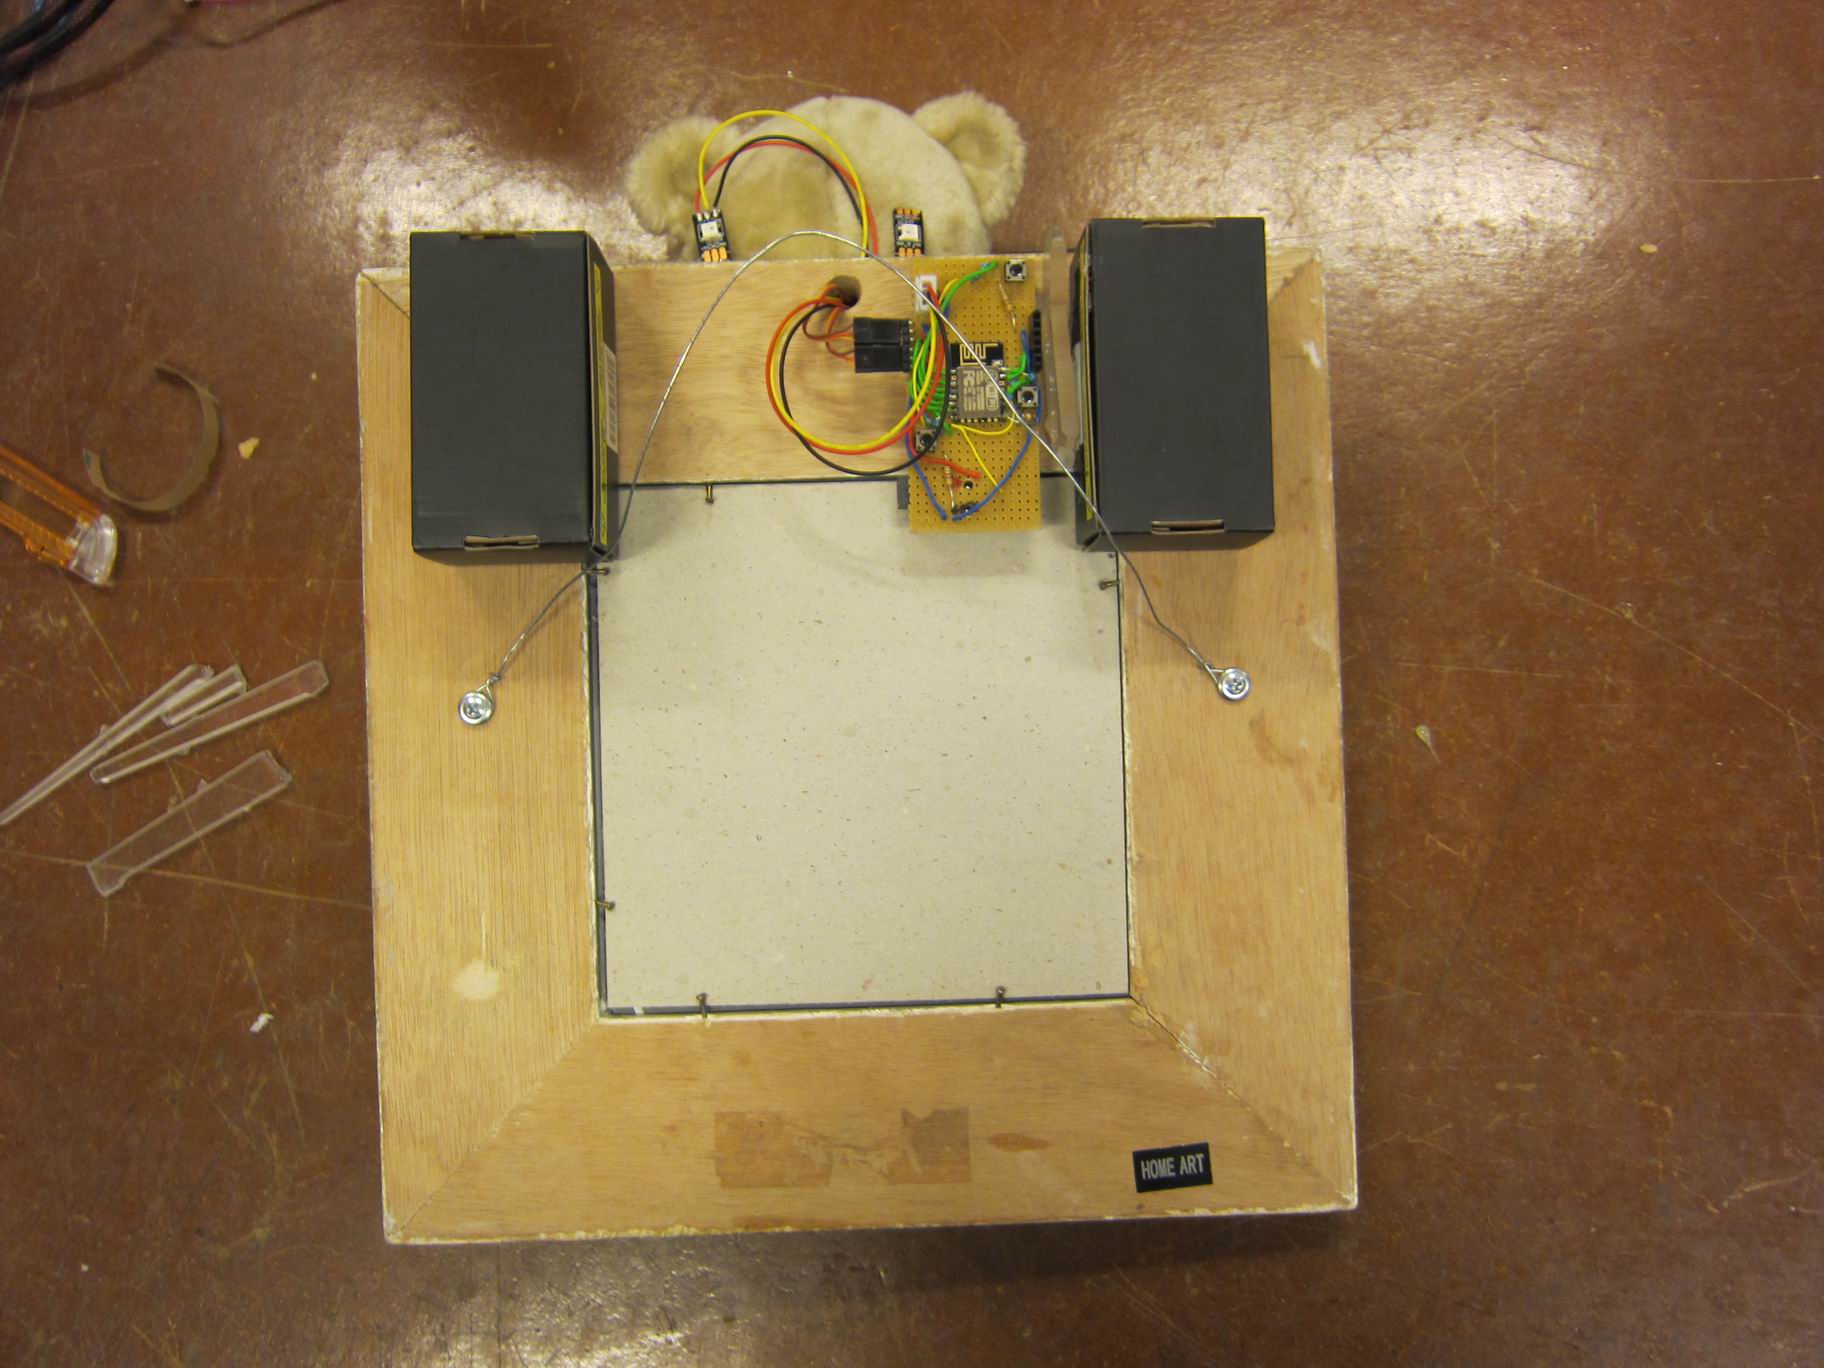
Final assembly, a lot of hot glue and screws was used.