µMute – A microwave oven silencer


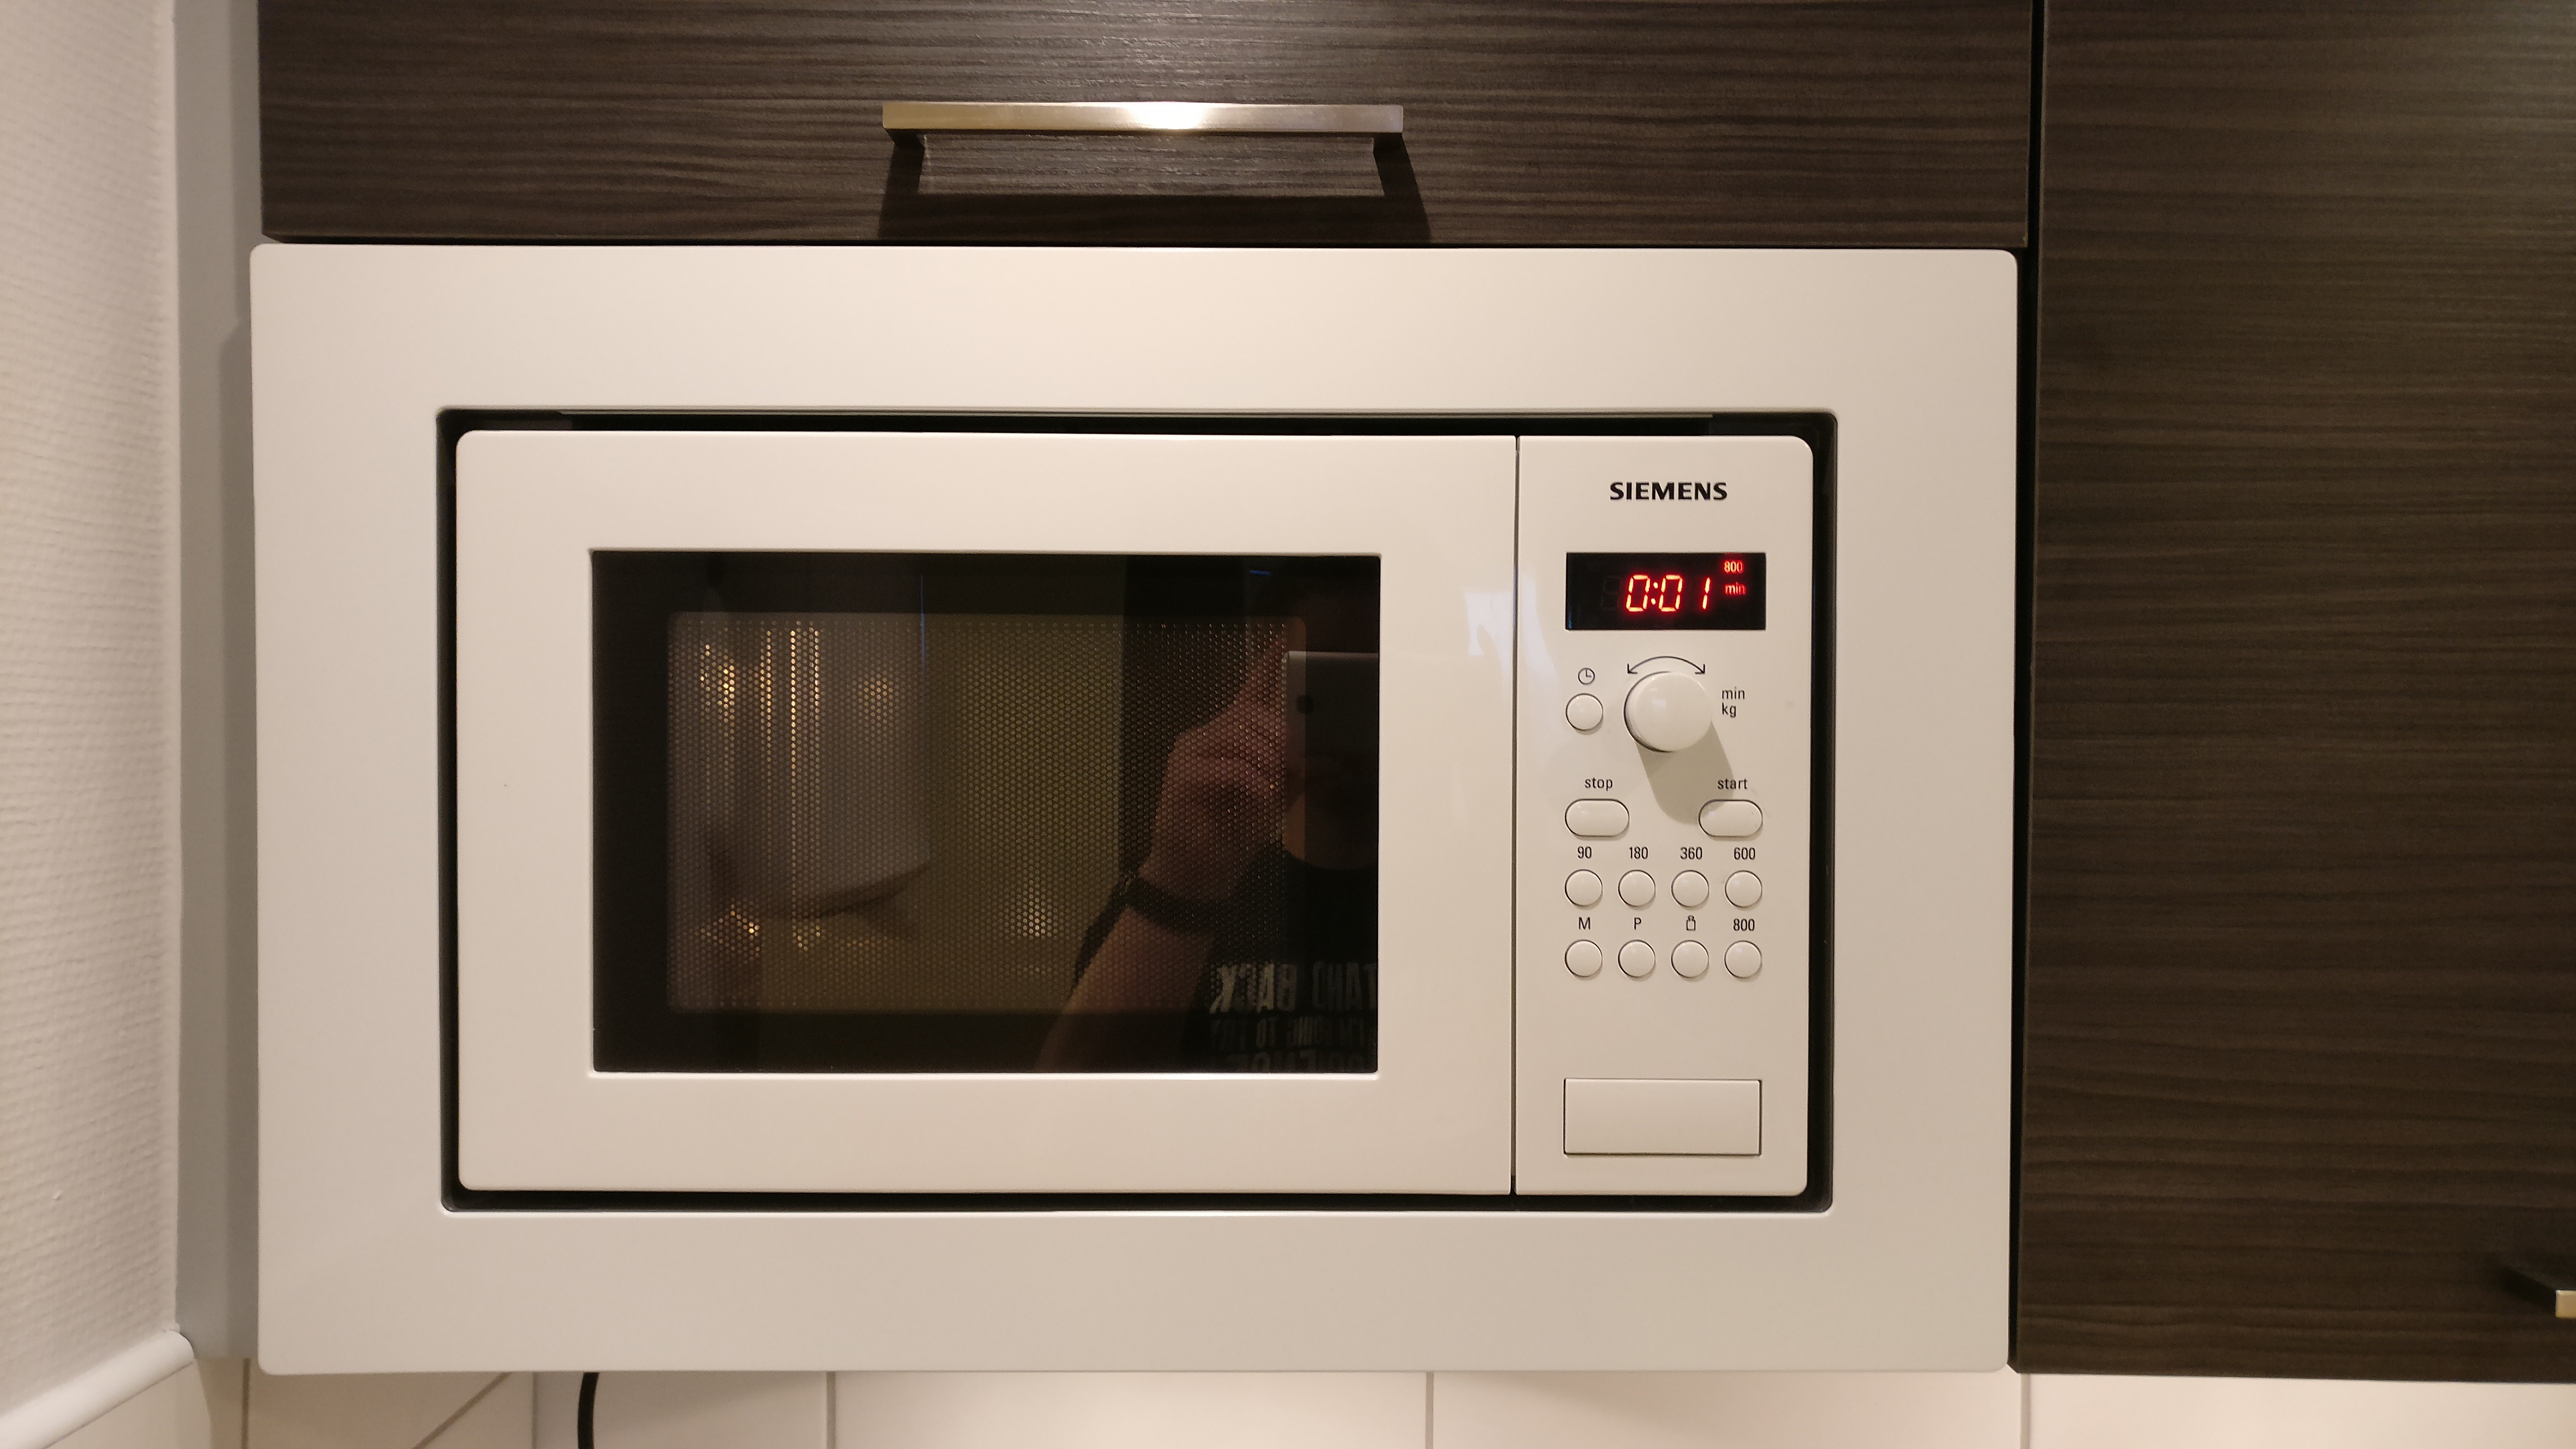
I’m tired of the buzzer in the microwave oven that is beeping constant up to a minute.
IMG_20170122_0001

IMG_20170122_0002IMG_20170122_0003
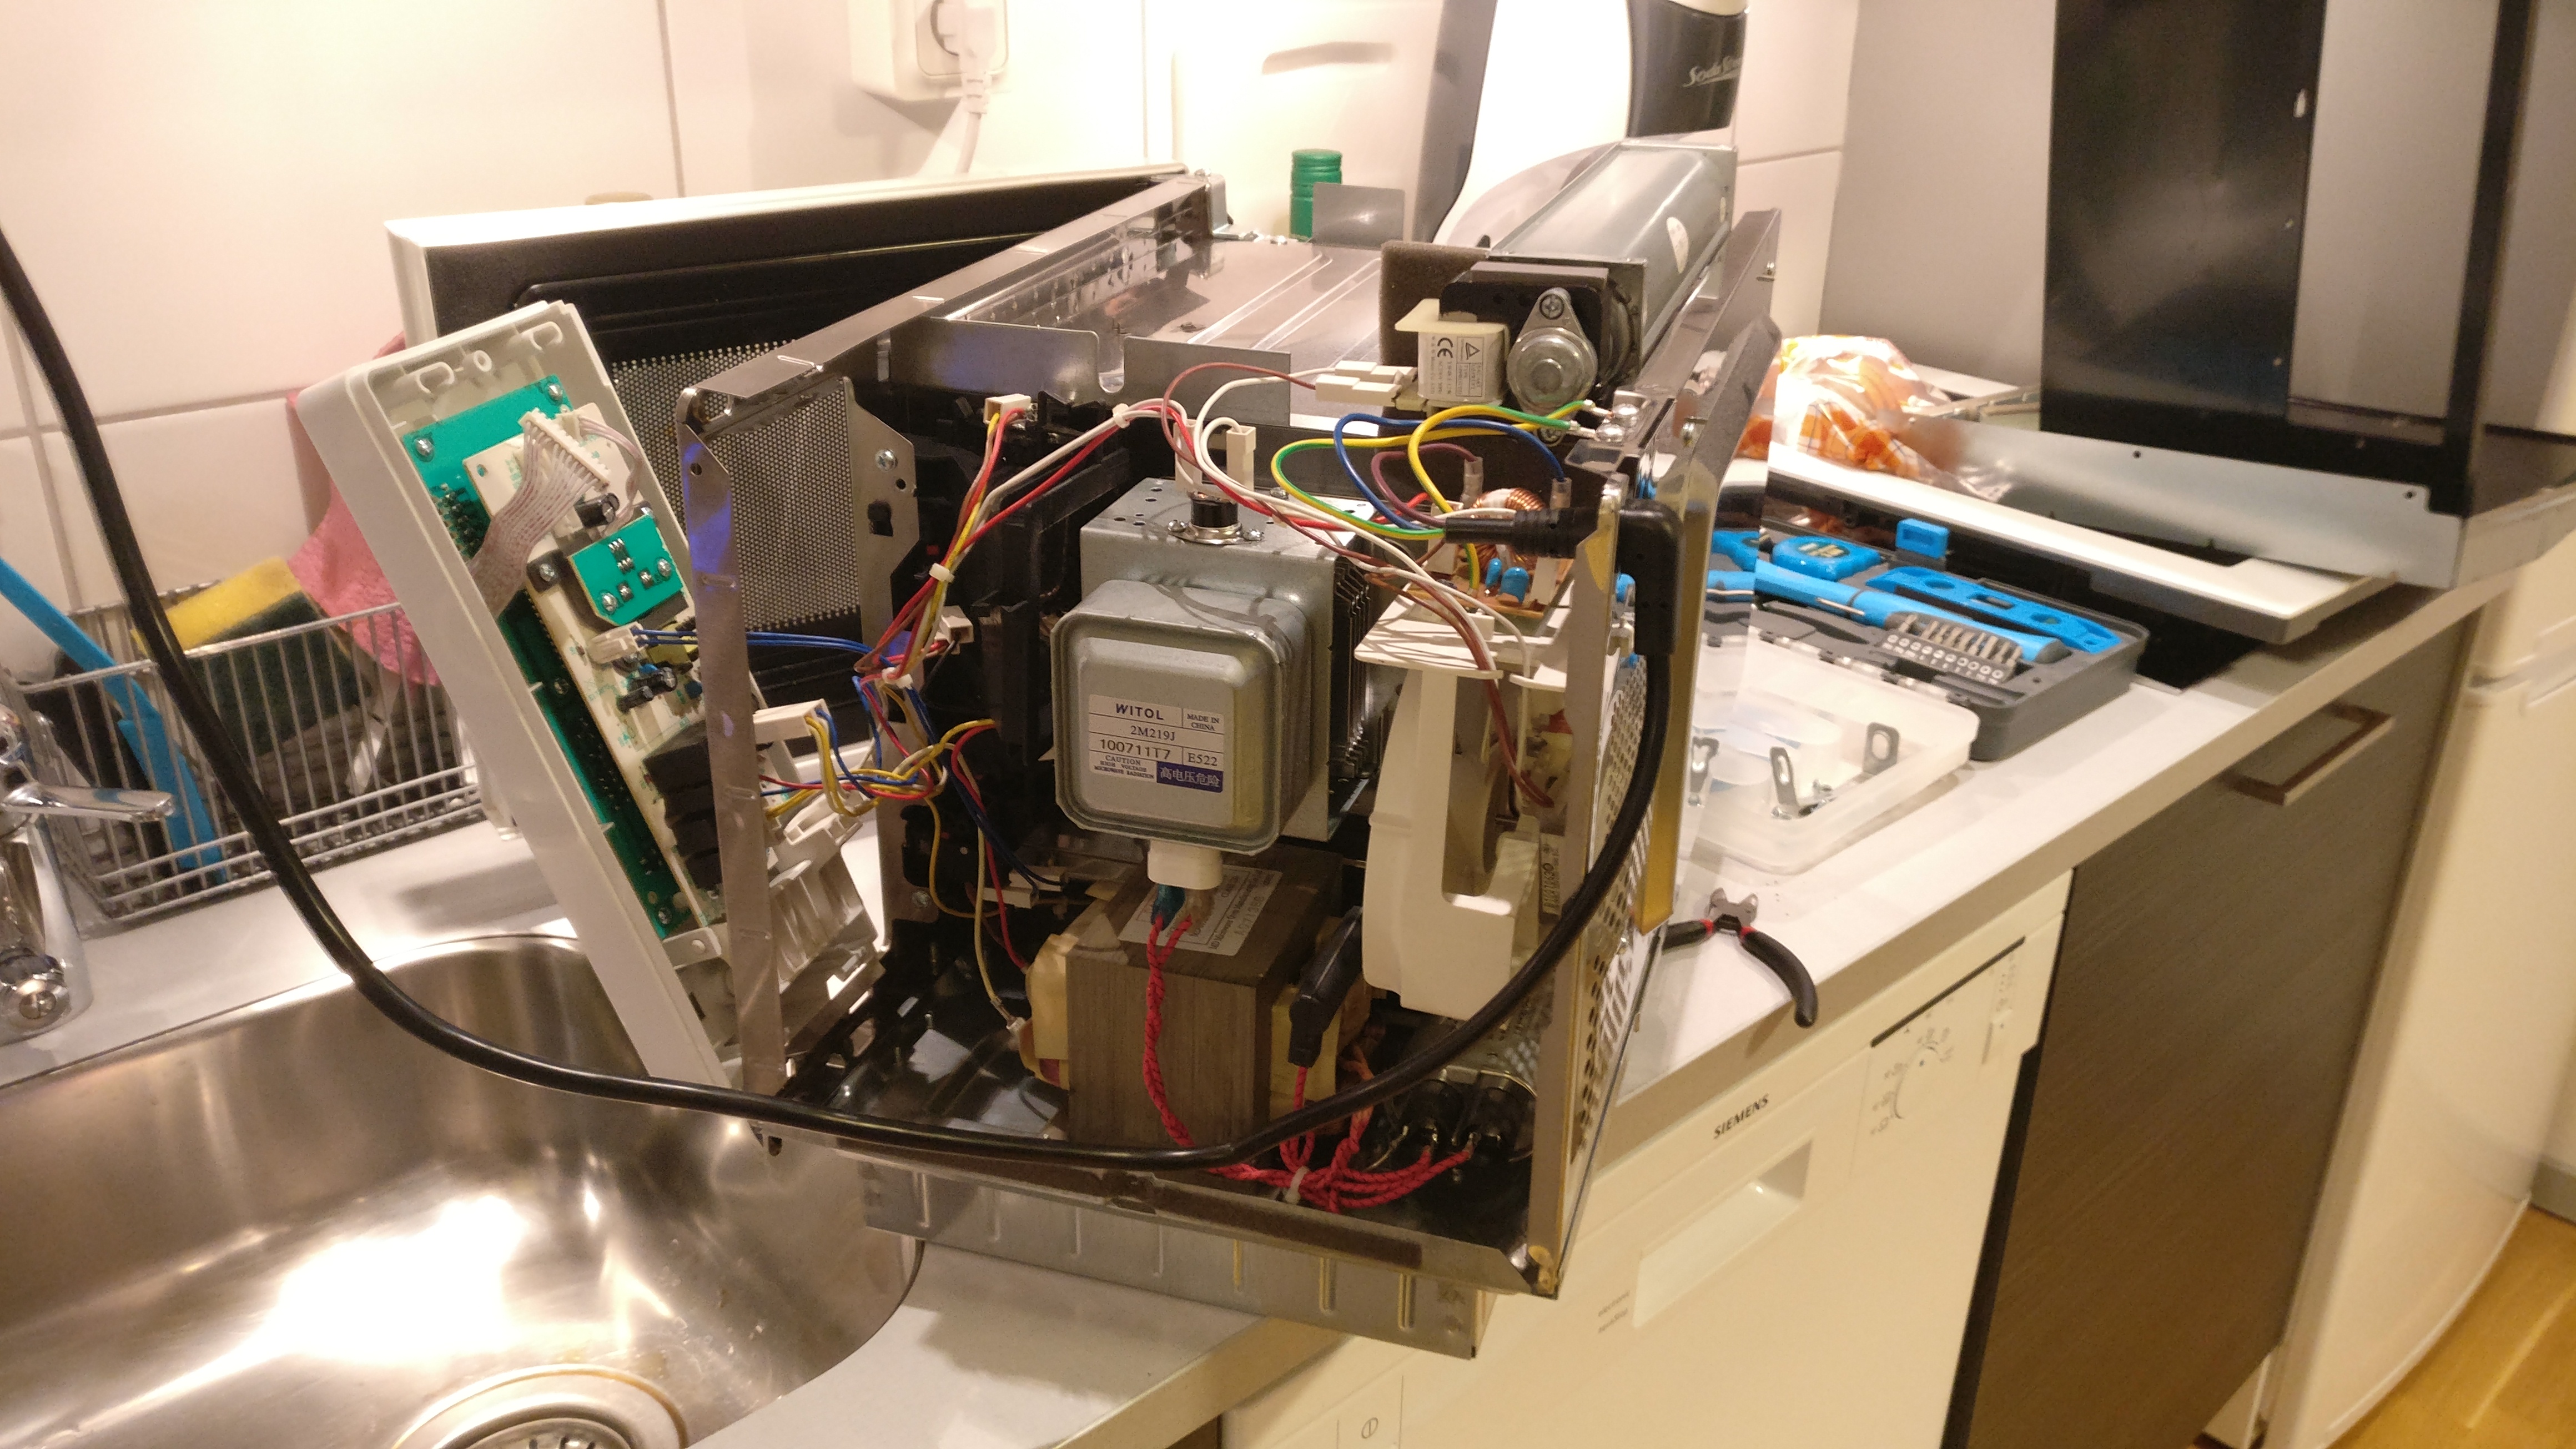
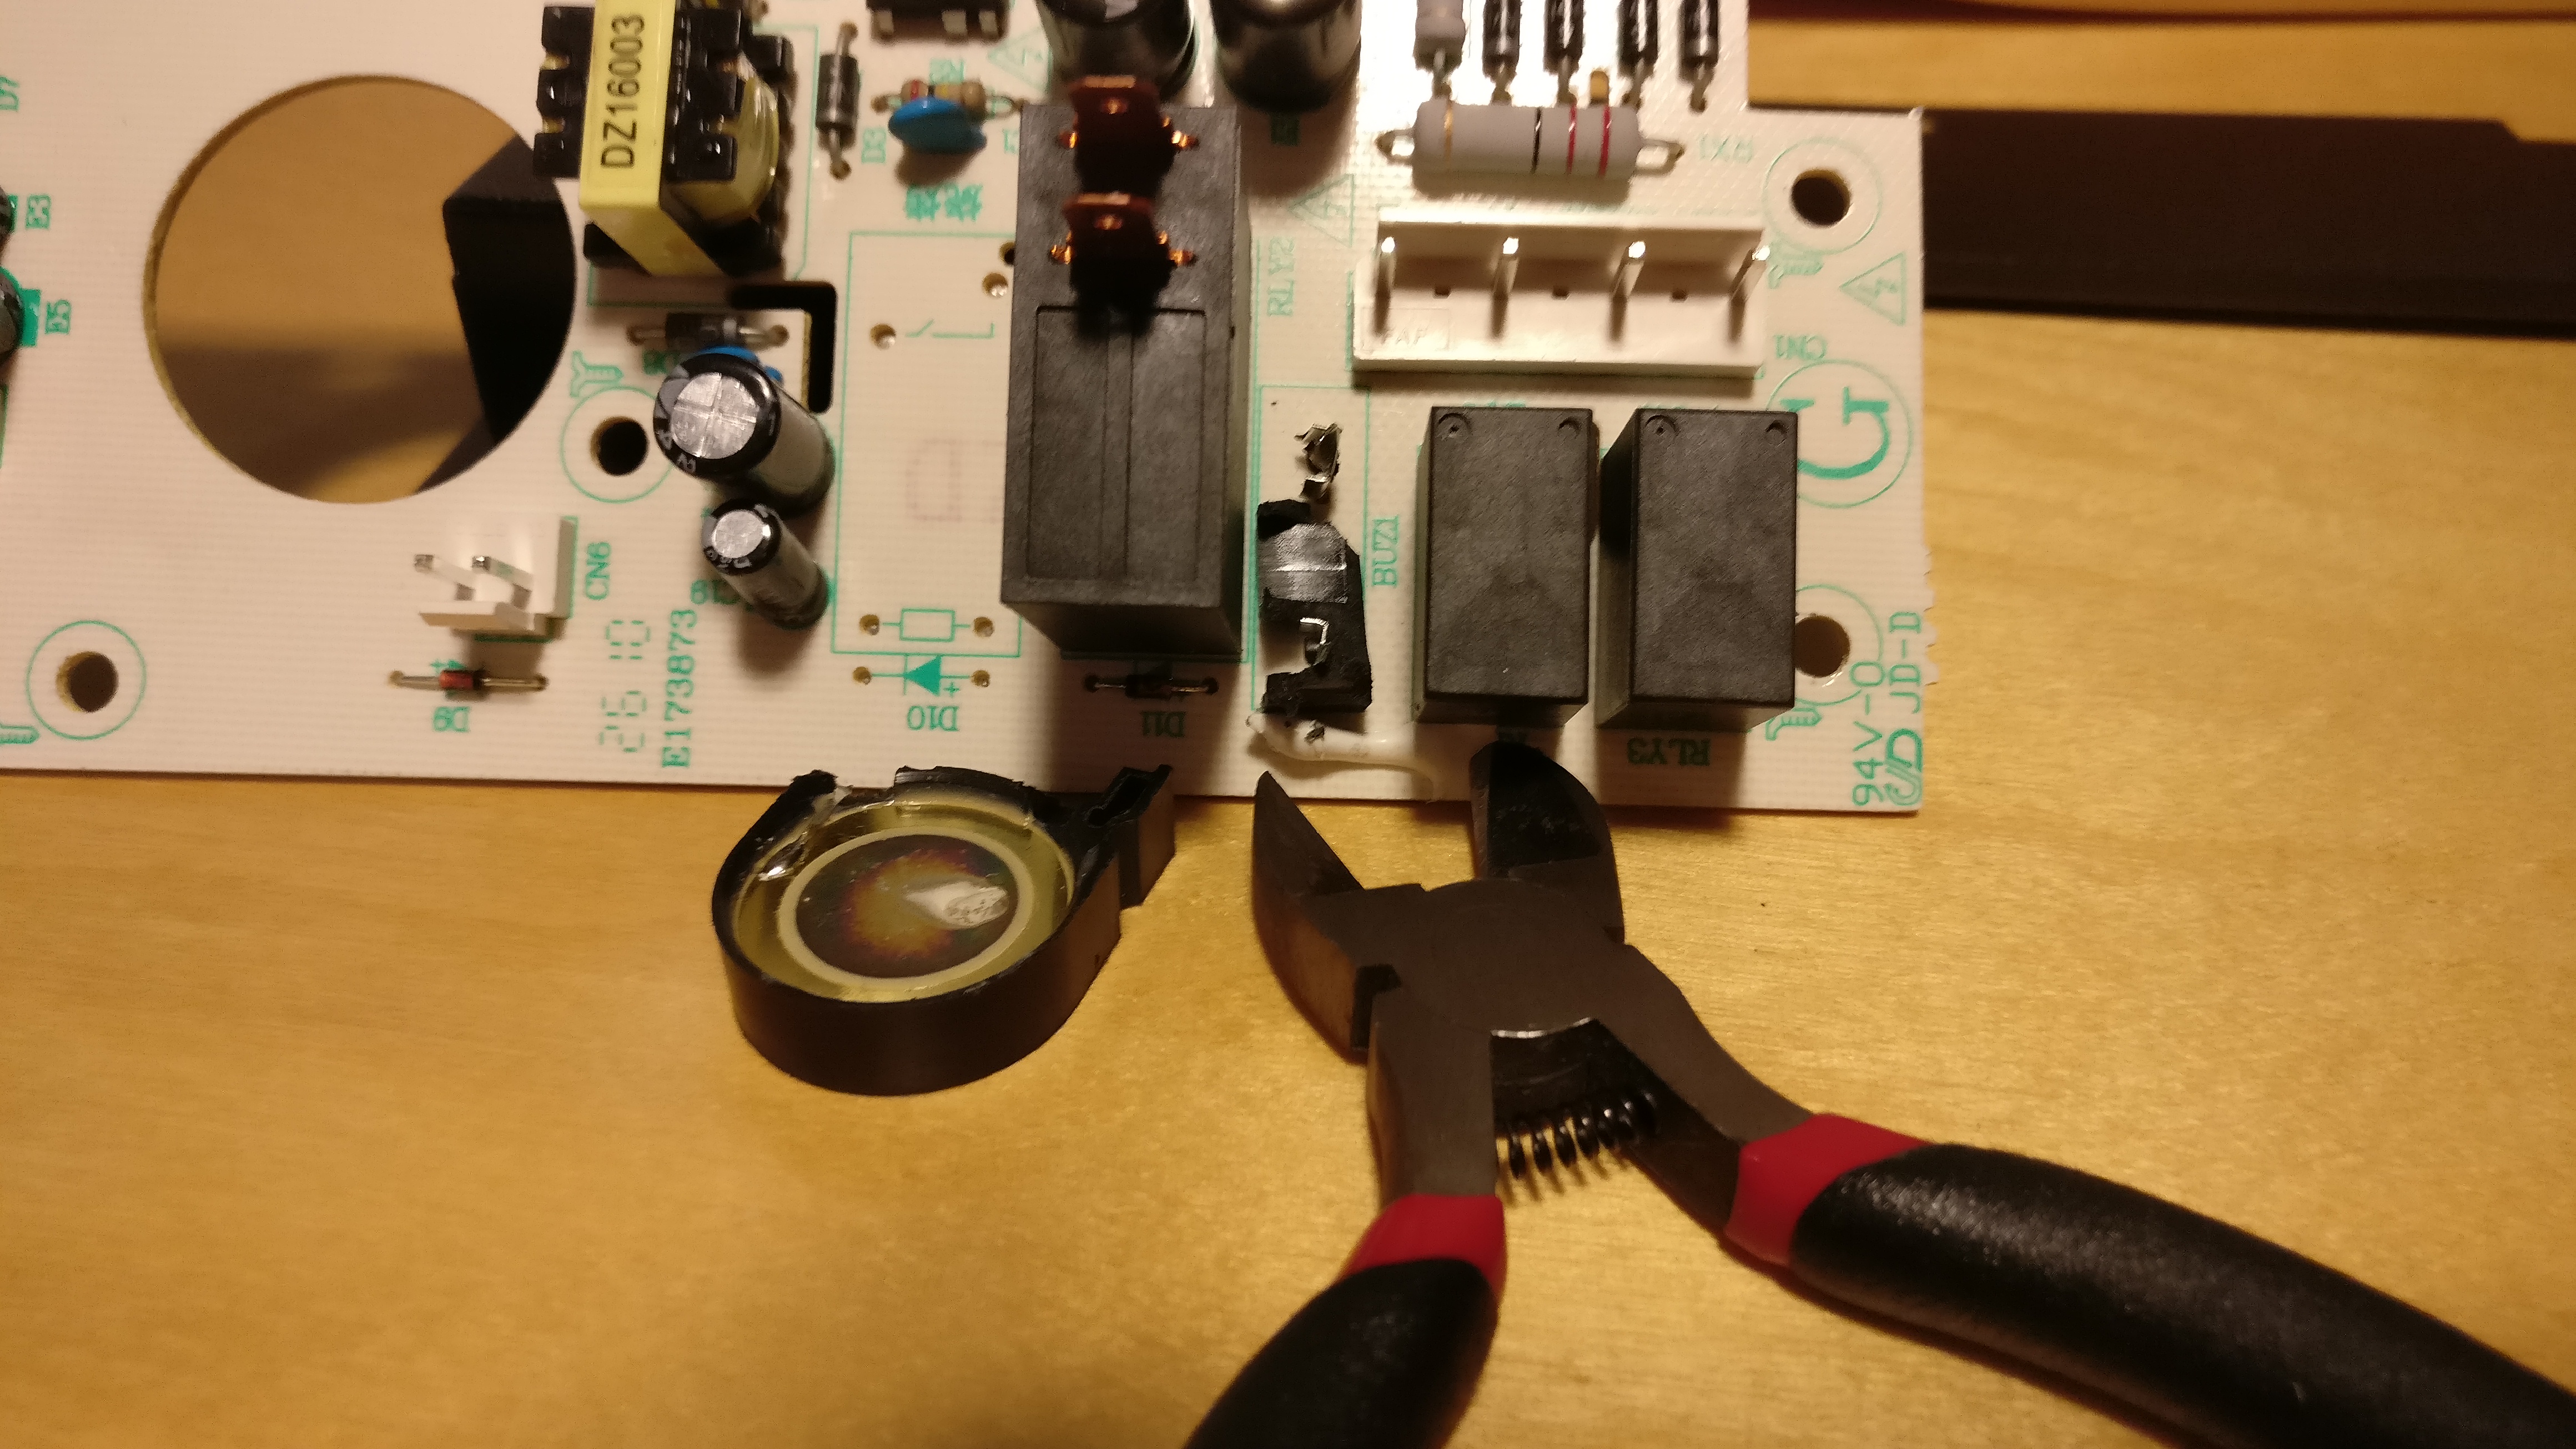
So I opened it up like any normal hacker would, found the buzzer and snapped it off.

IMG_20170122_0005
IMG_20170122_0004
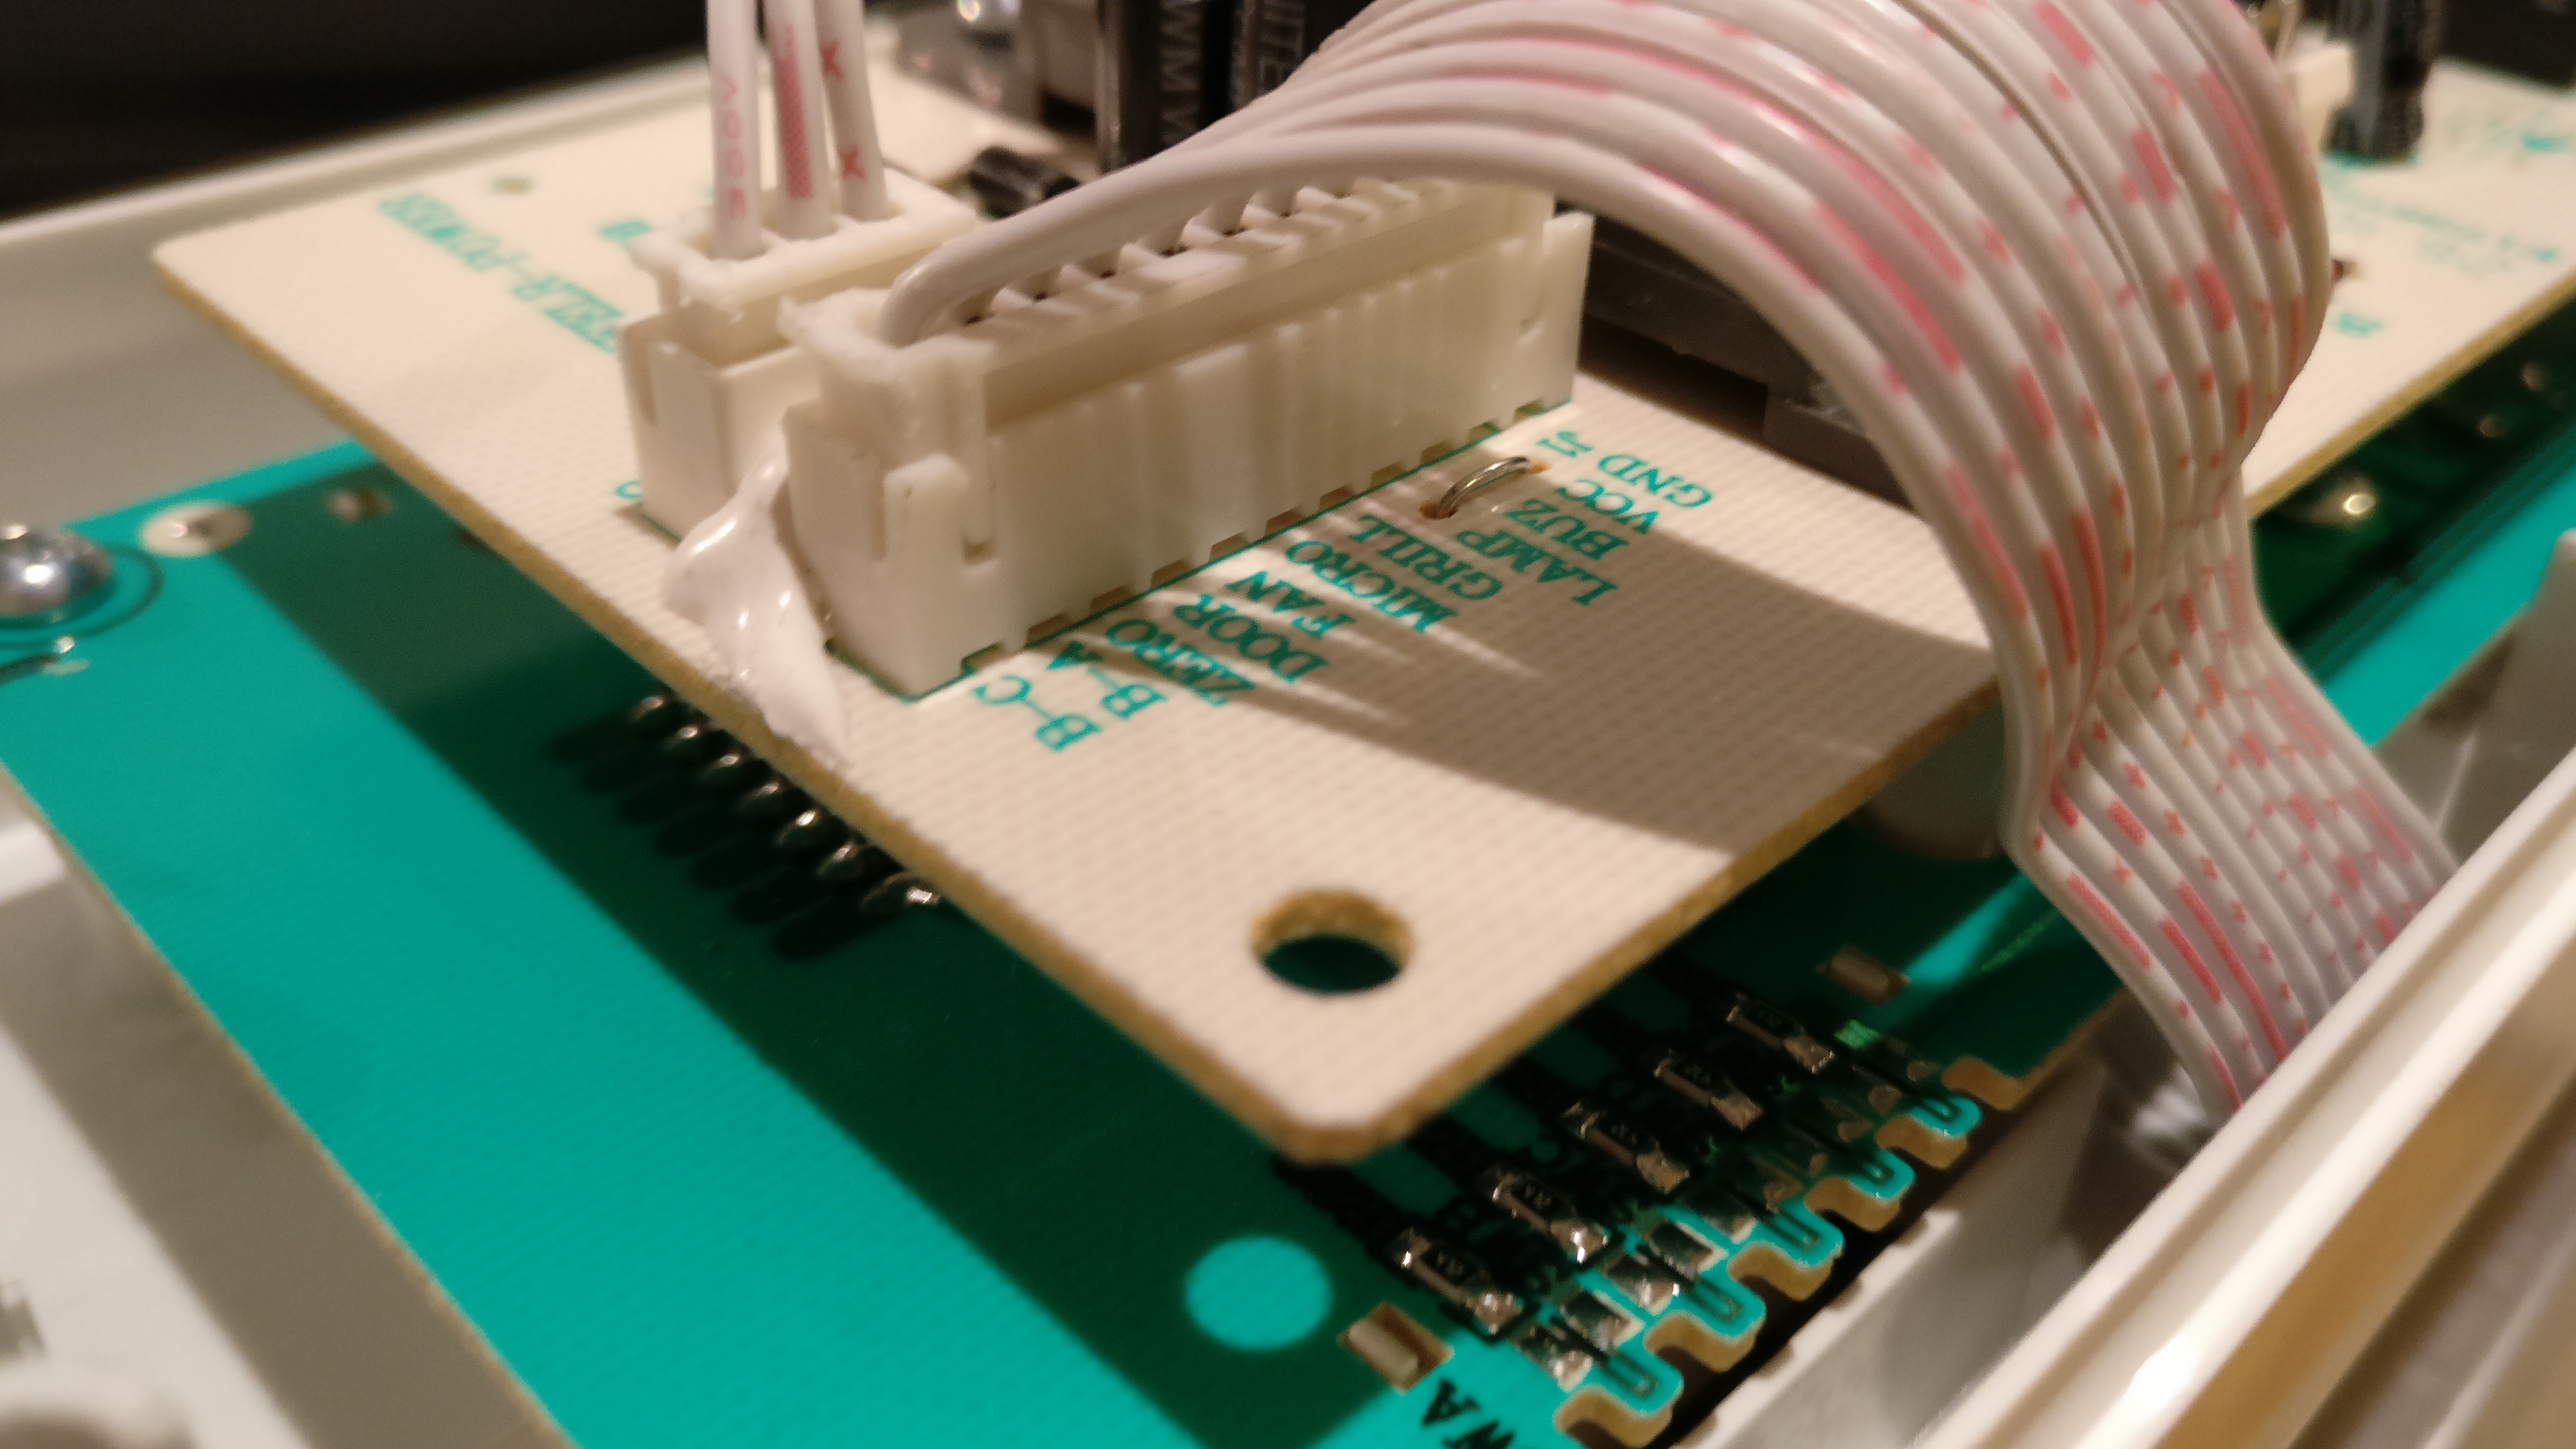
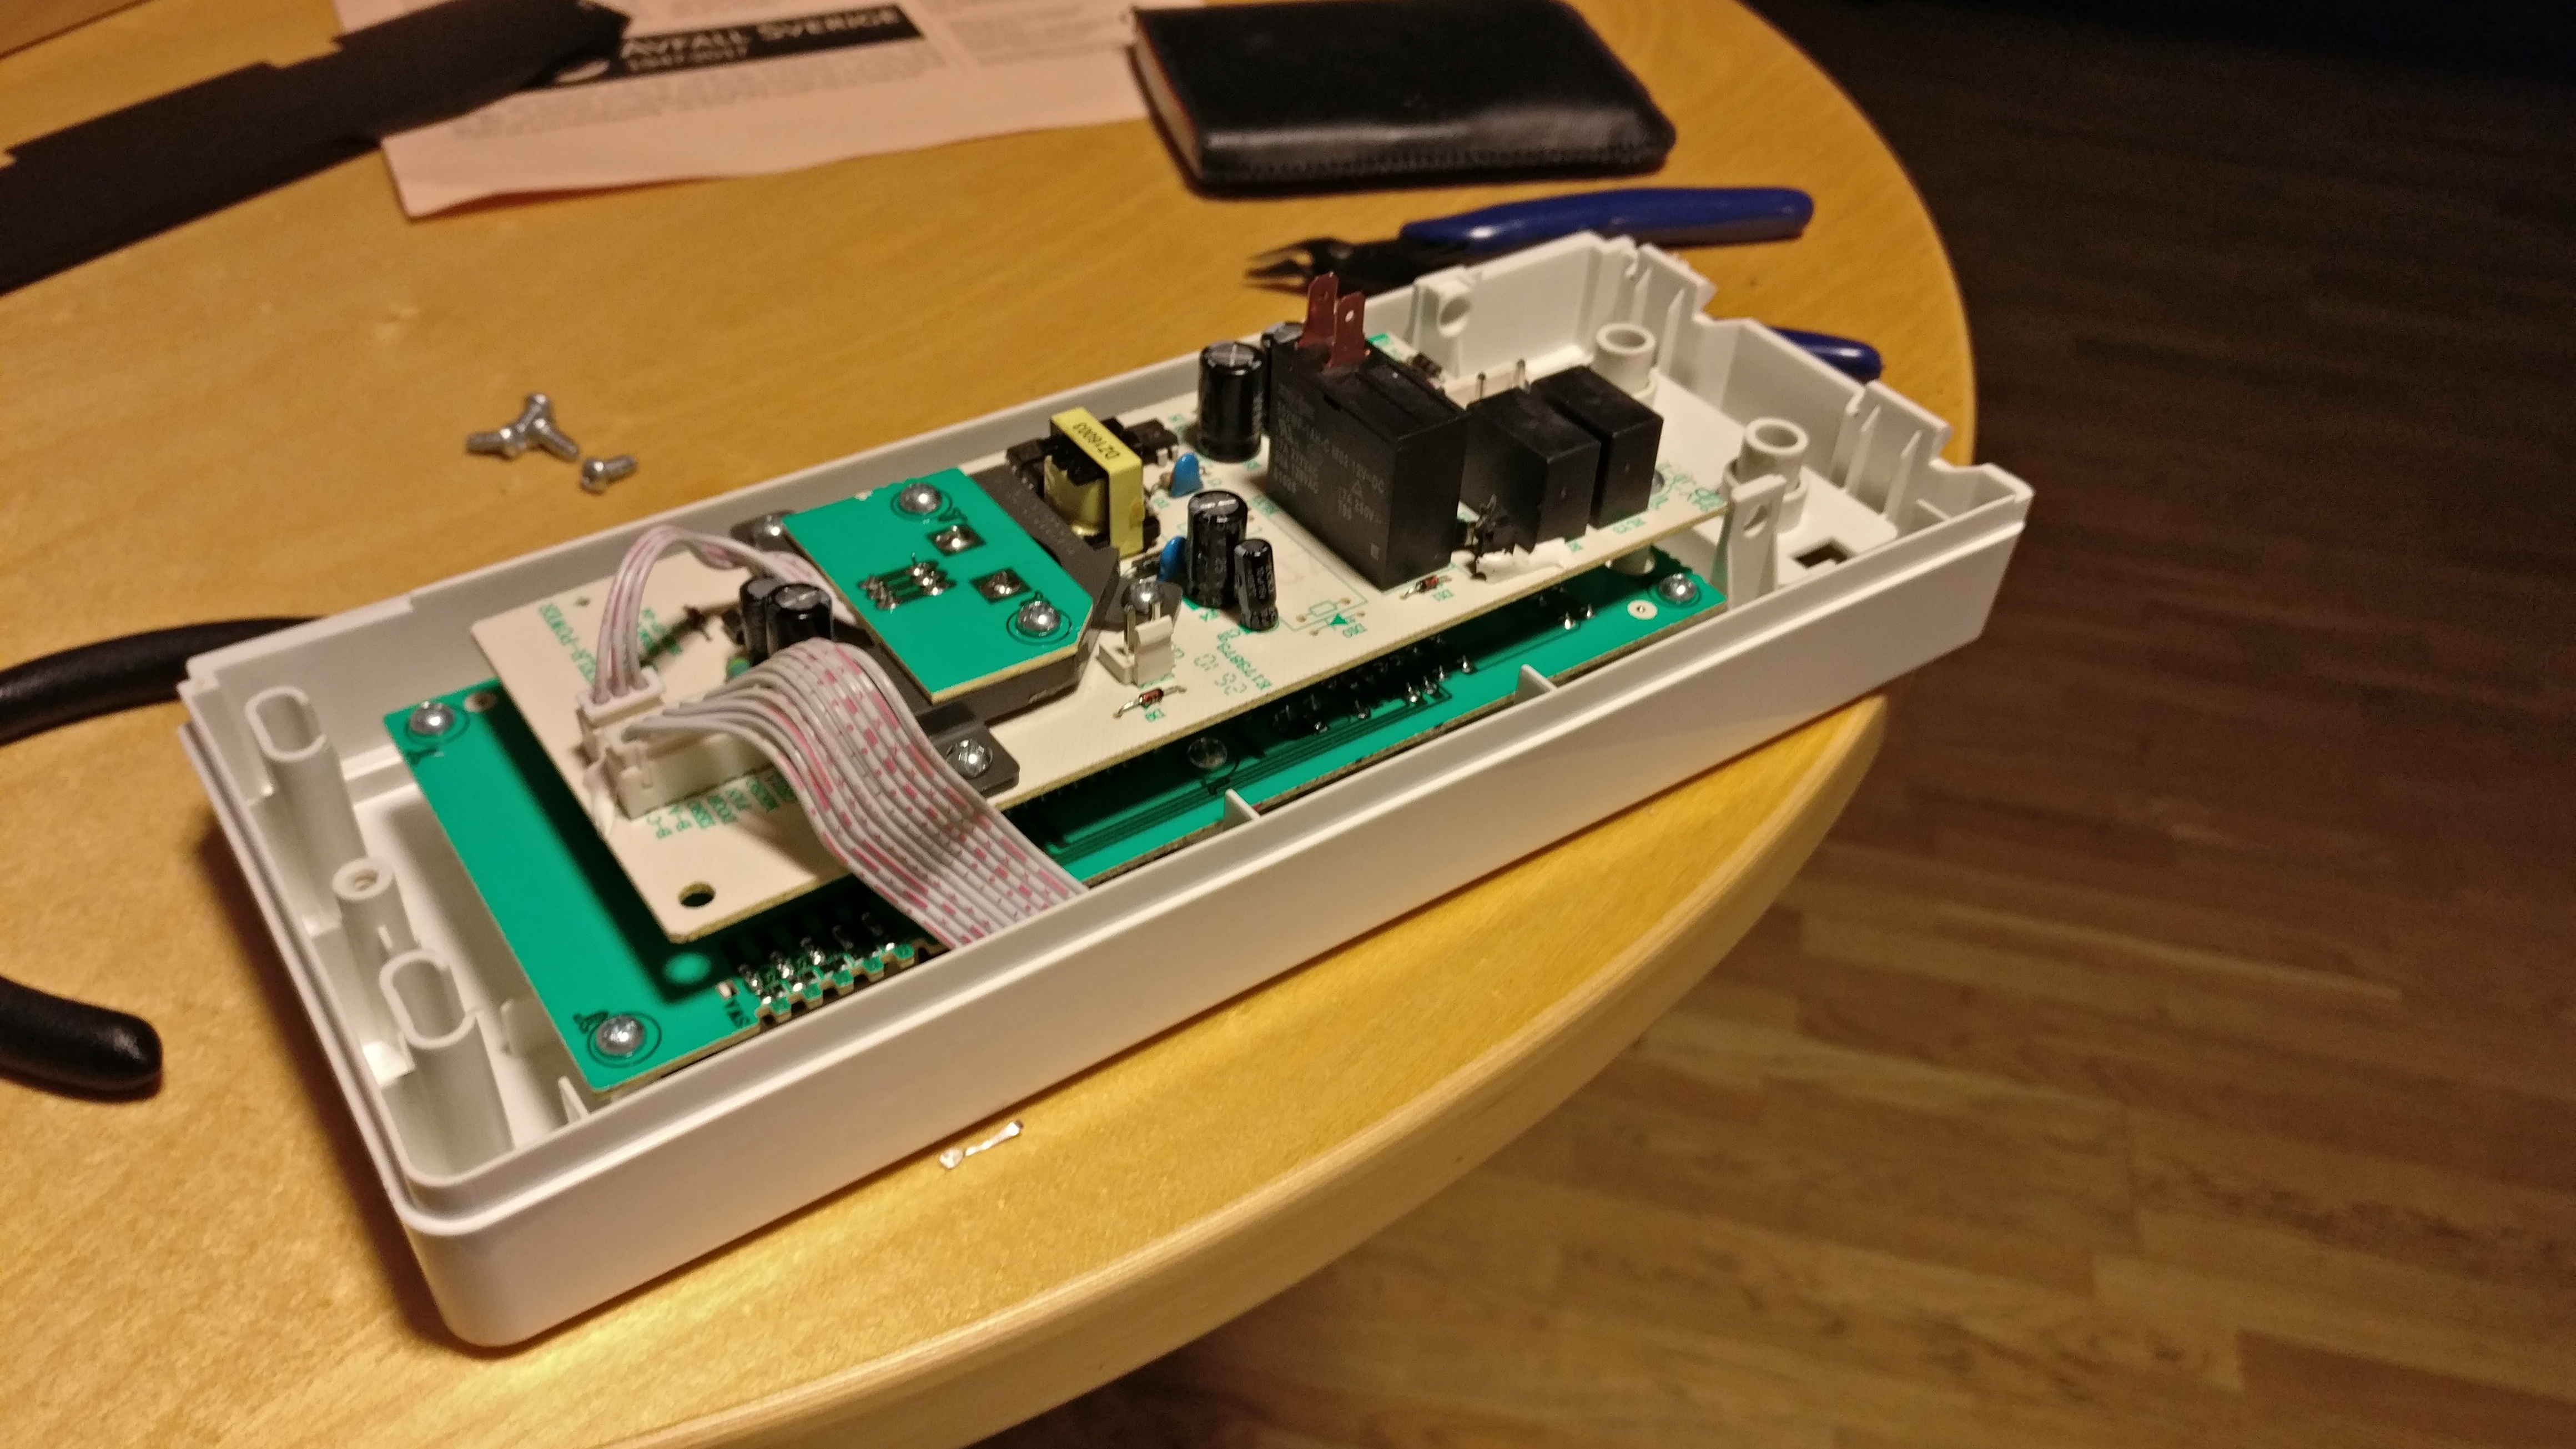
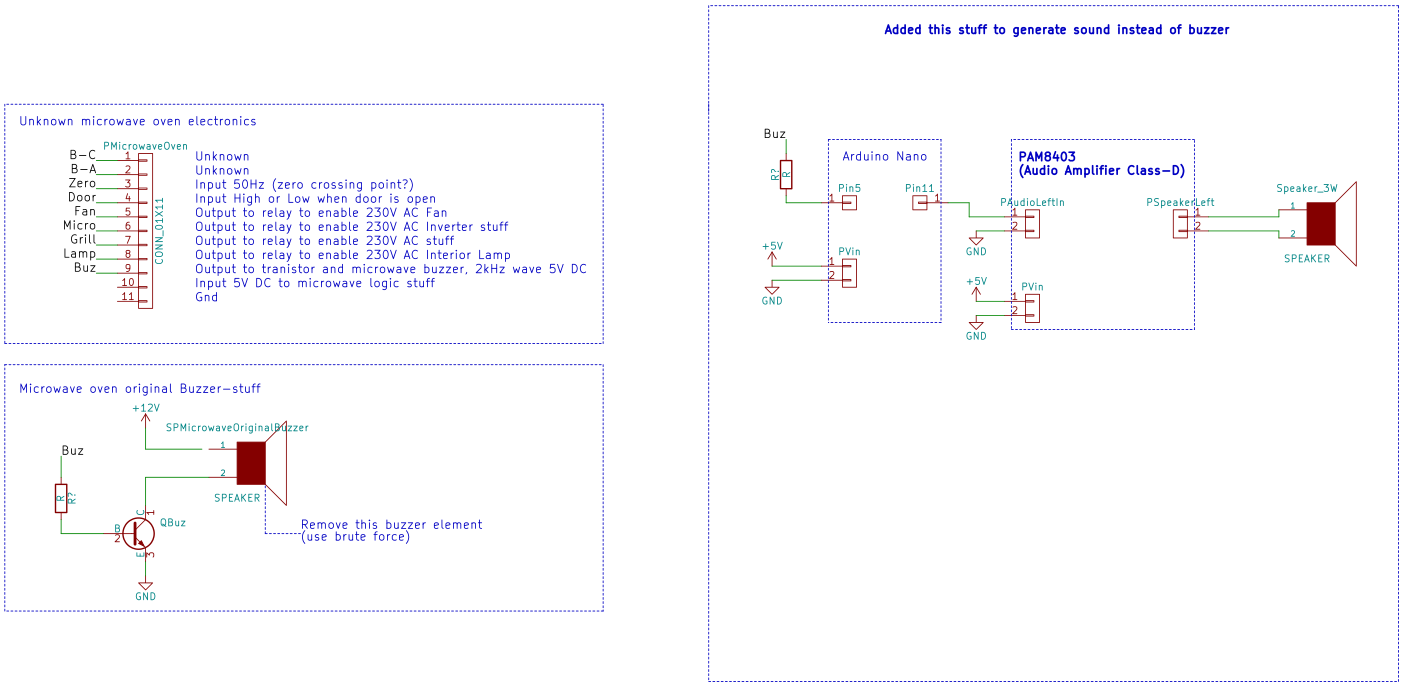
Sure, the buzzer was irritating, but so would be not to hear when my food is cooked. So i quickly had a look at the PCB and find a very interesting pinout.

IMG_20170122_0007
IMG_20170122_0006
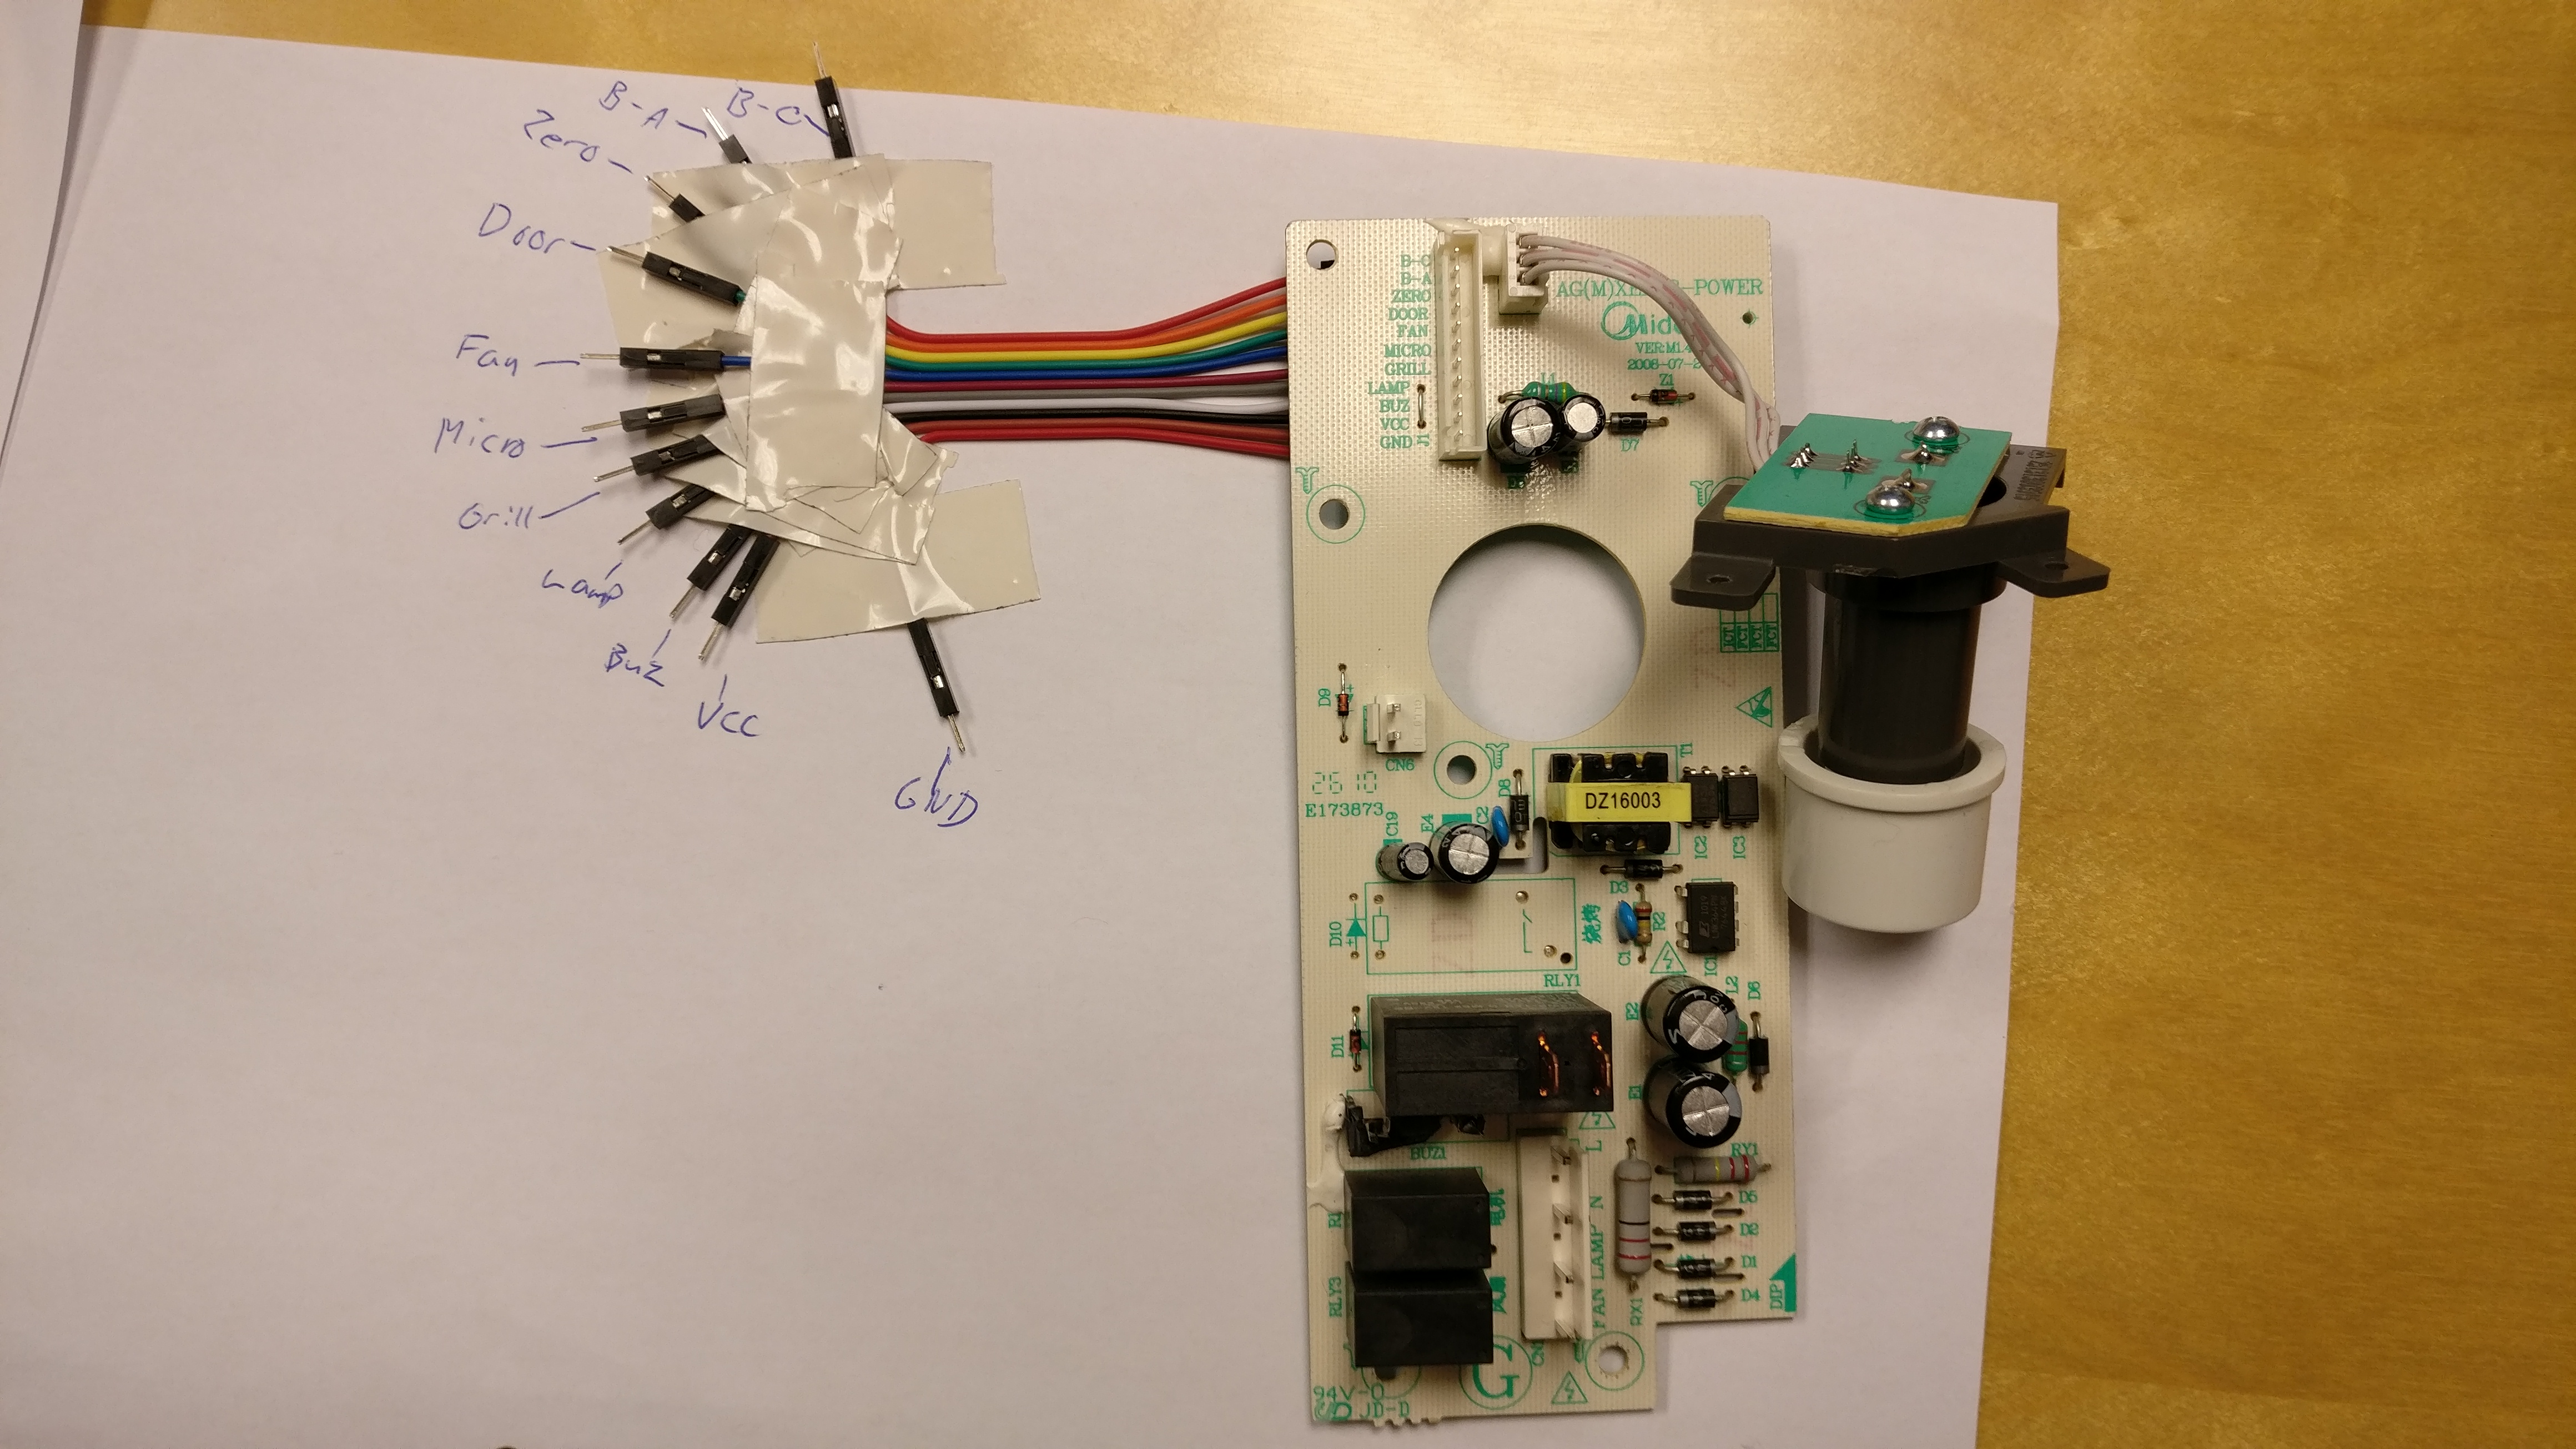
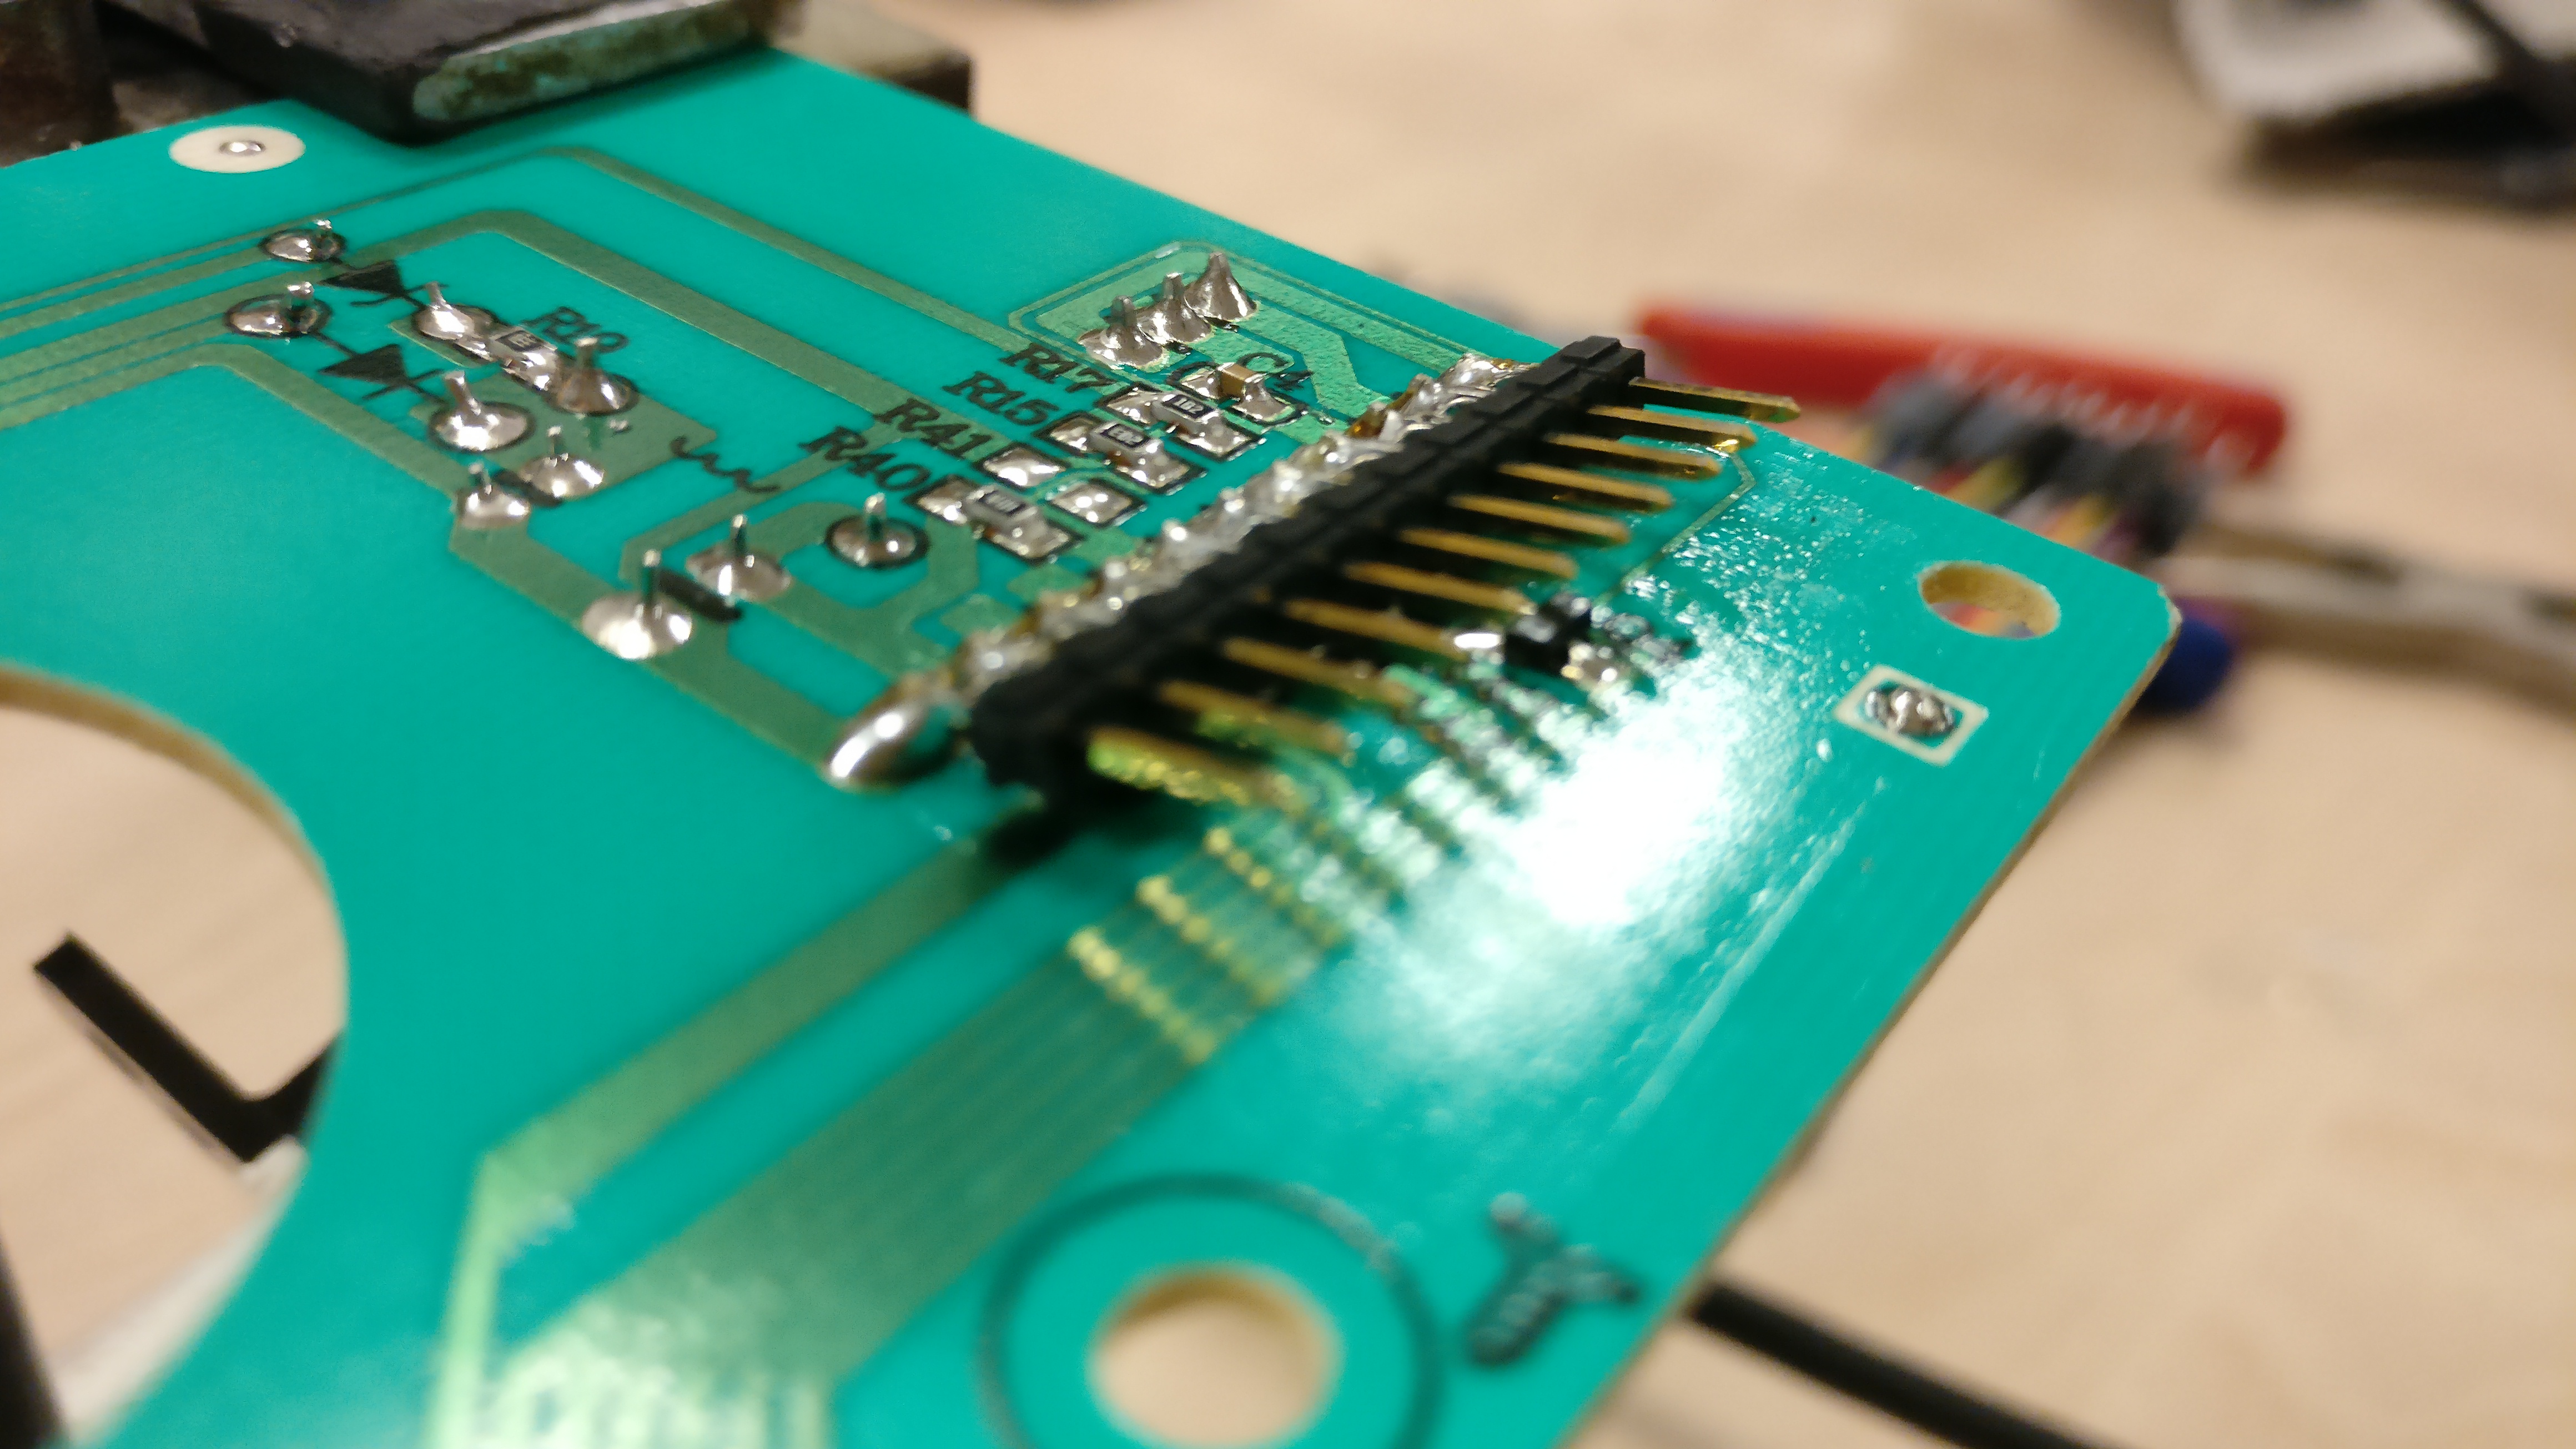
So I soldered on some pins and started to measure the voltage level.
VCC of 5V looked promising for a microcontroller.

IMG_20170122_0009
IMG_20170122_0008
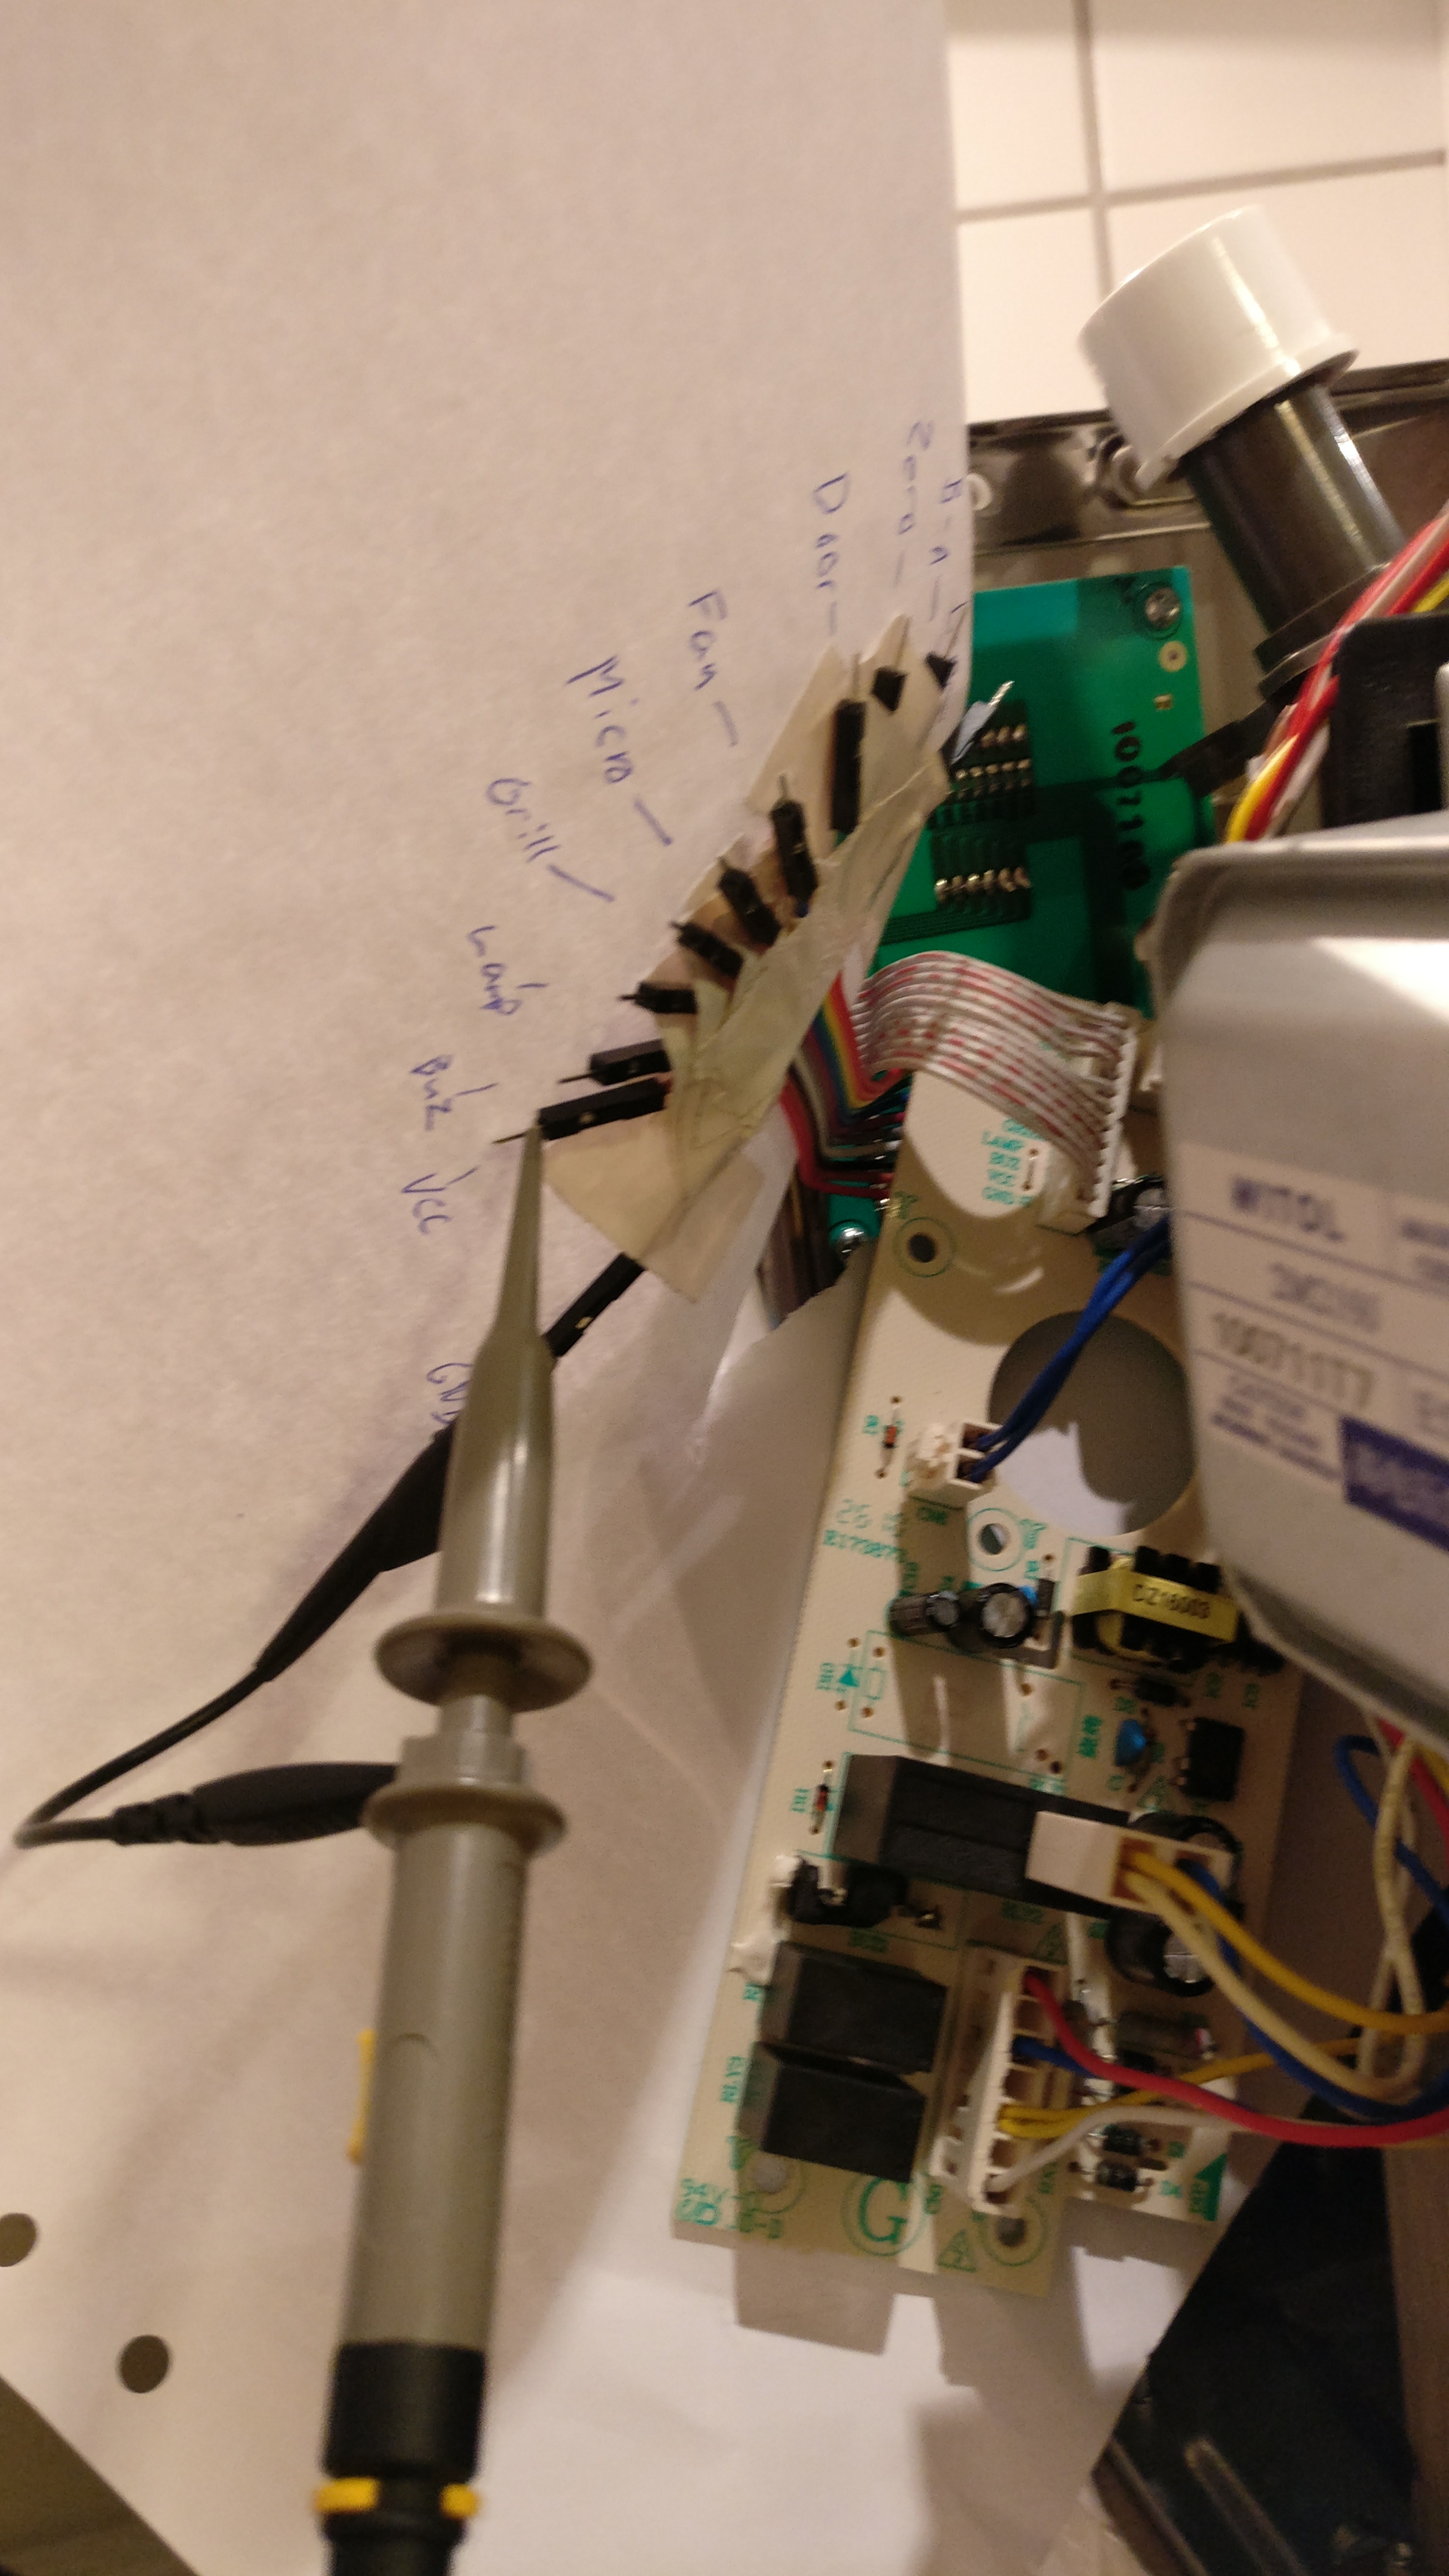
I had a look at the buzzer signal, it was a 2kHz signal with an amplitude of 5VDC.

IMG_20170122_0010
I had a rough idea in mind about having a small tune play instead of the 2kHz tone, and it should only play once.
So I shuffled some code together to code to play a small tune from the flash of an Arduino Nano. The flash could only hold about 18k of samples and was played at 8kHz.
https://github.com/TimGremalm/MicroMute
(inspired by http://playground.arduino.cc/Code/PCMAudio)
In lack of a better choice i choose Windows XP’s startup sound.
I shuffled some more code around to sample the original buzzer signal from a GPIO. If the sound is playing at more than 2kHz for a certain time I would trigger the sound.
I applied some time based software filters to filter out some noice.
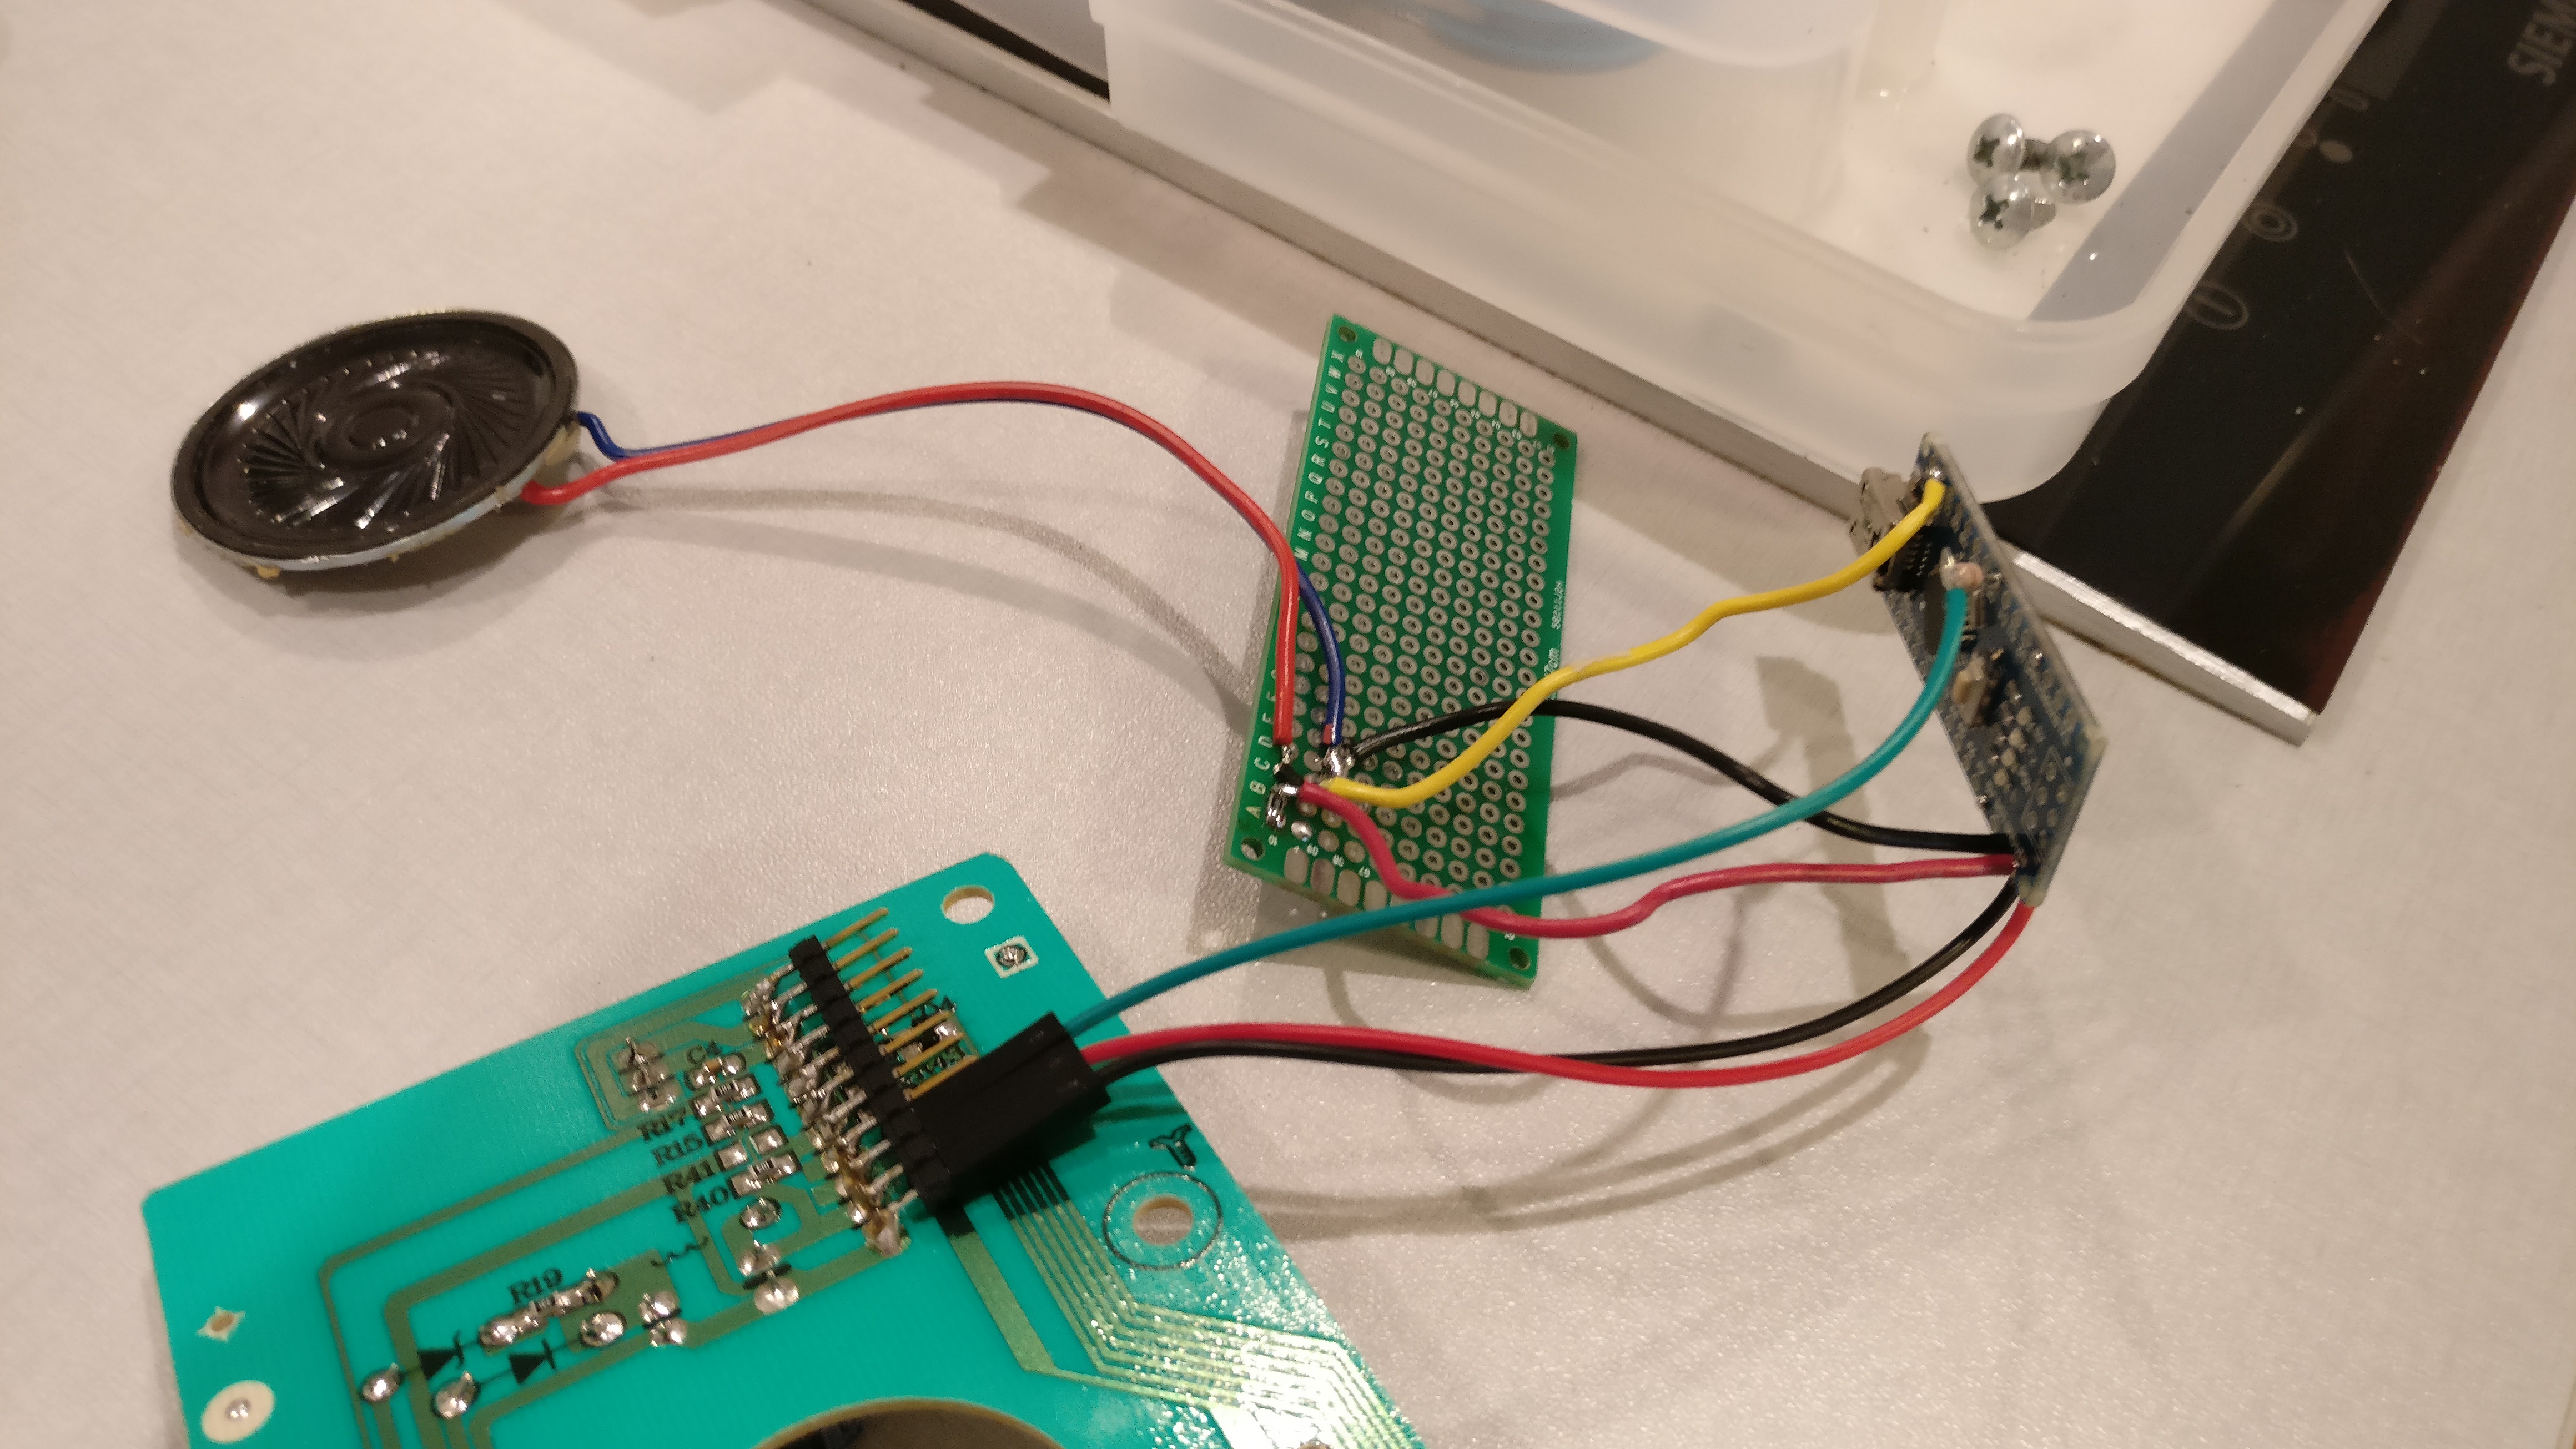
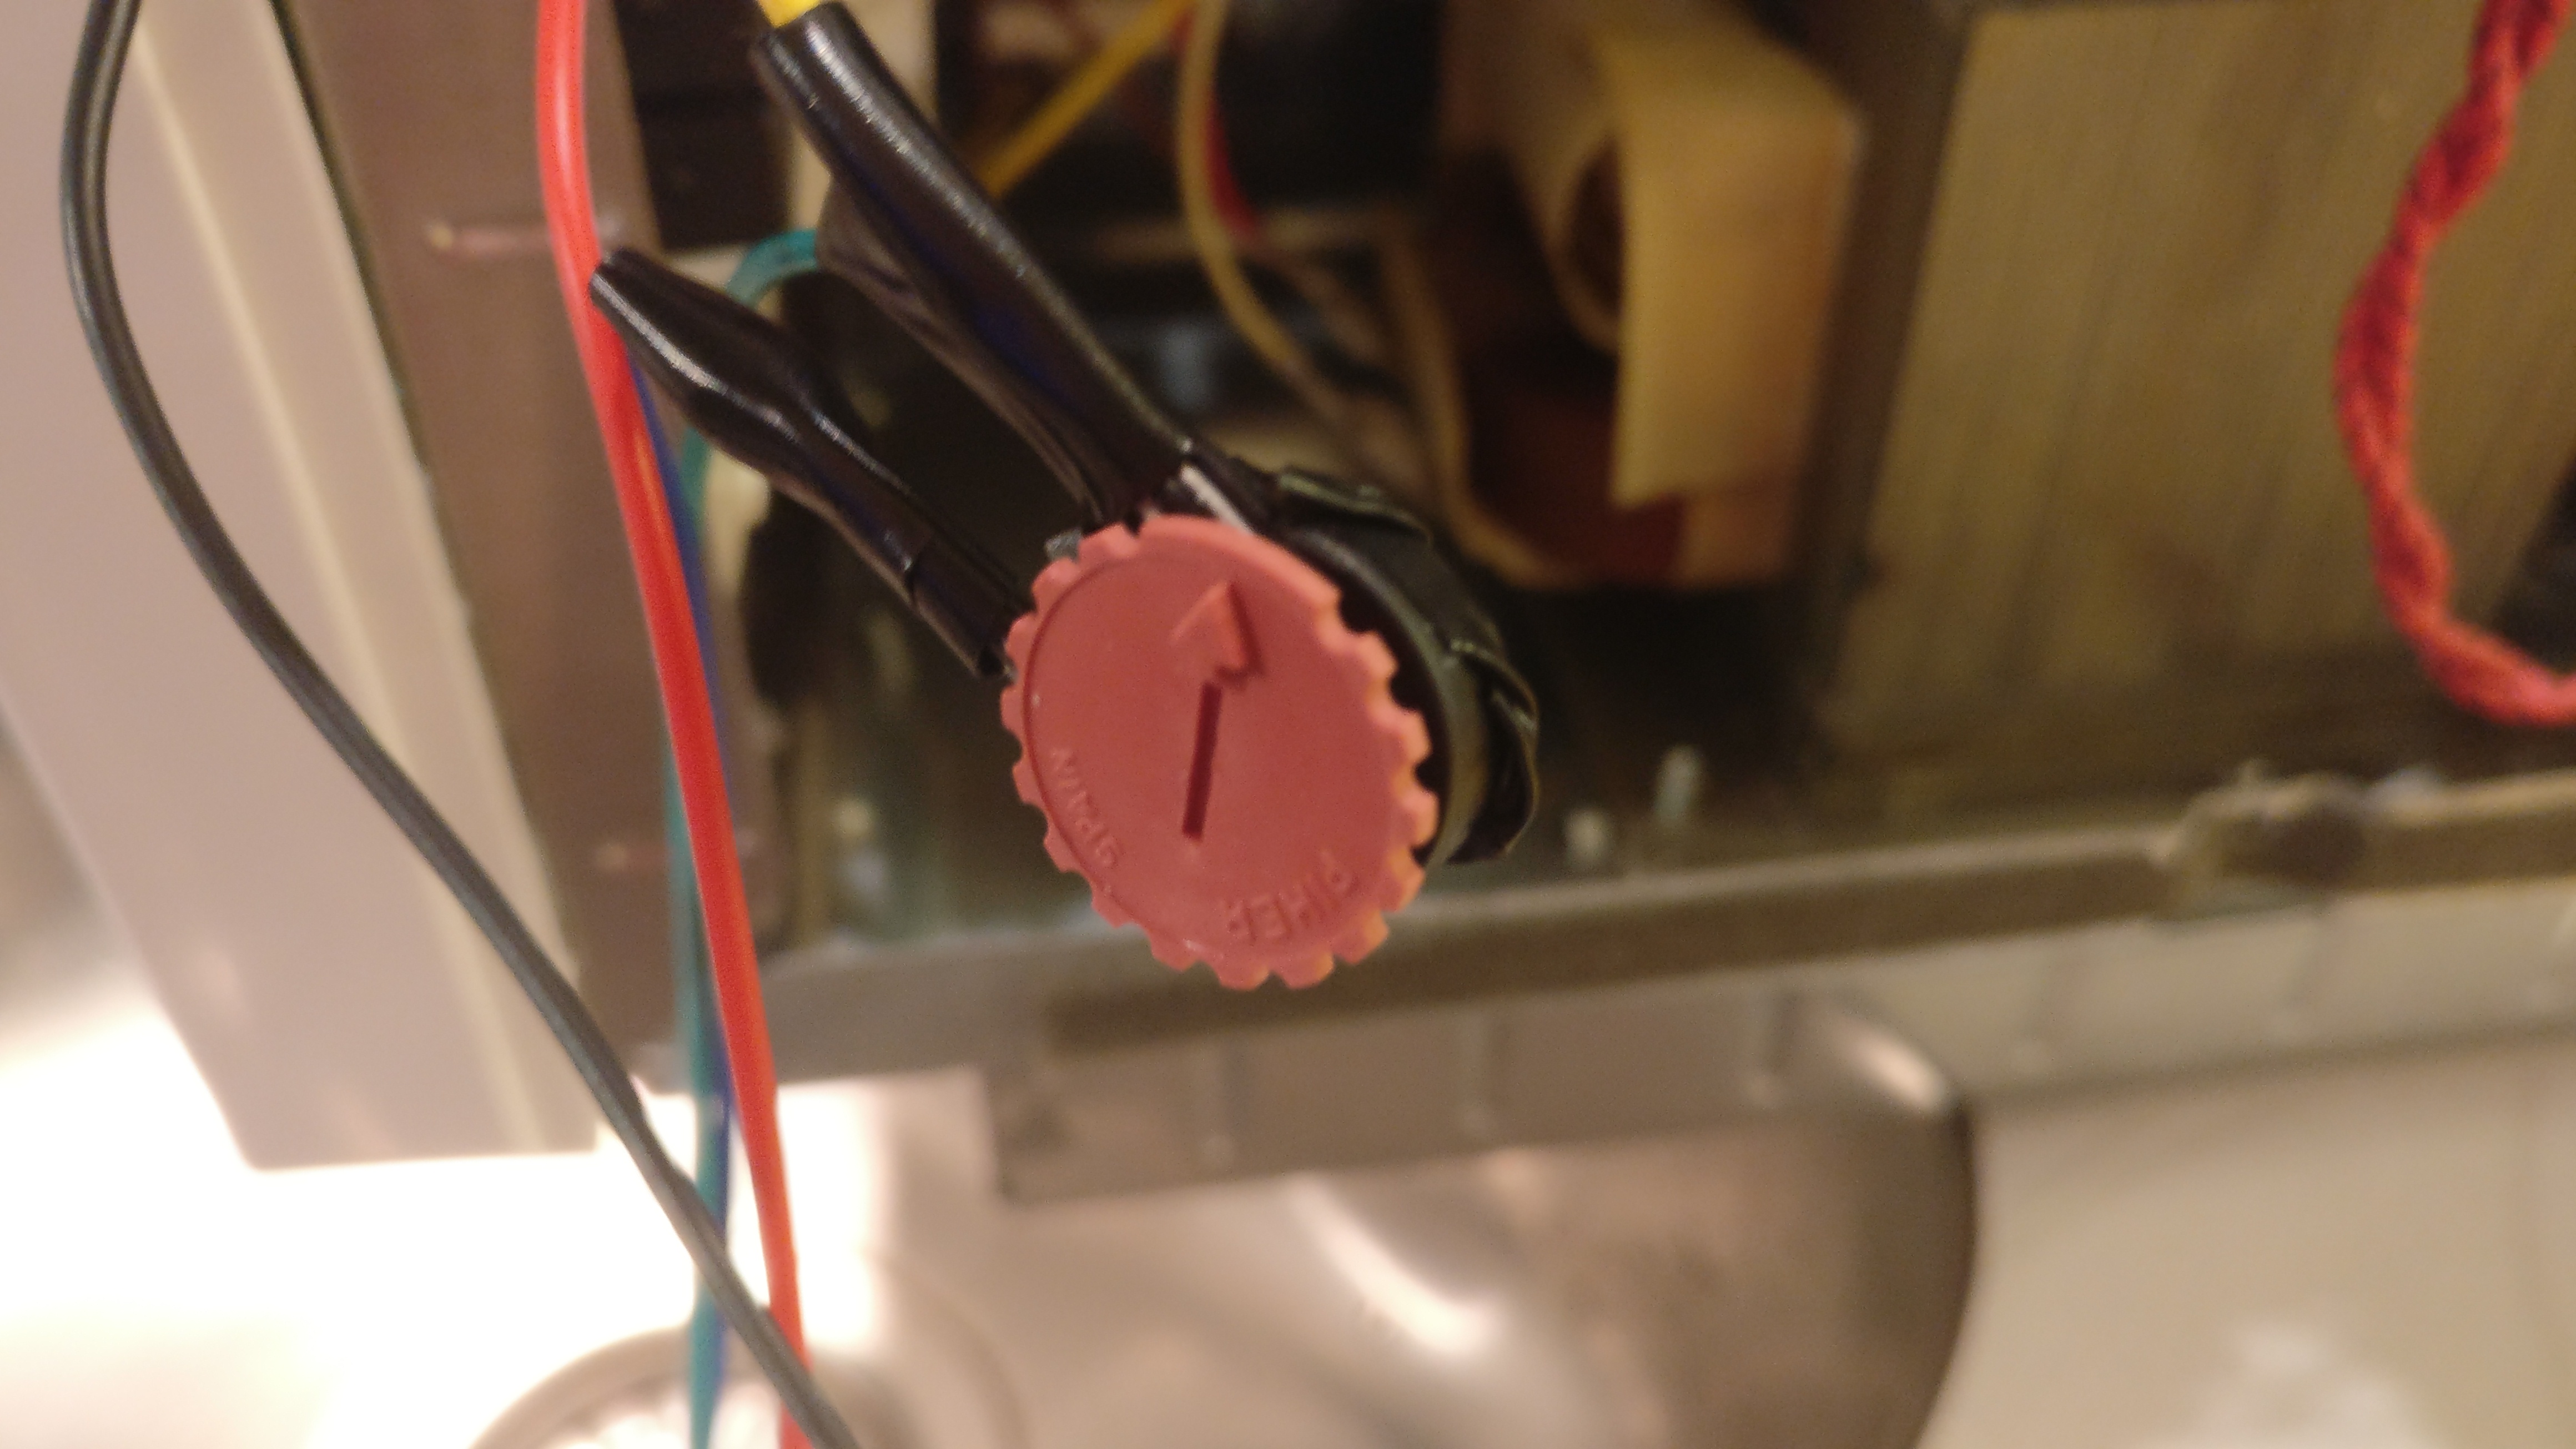
I build a small amplifier out of an MOSFET (IRLML6344) and a small 0.5W speaker element I found at my local hackerspace.

IMG_20170122_0011
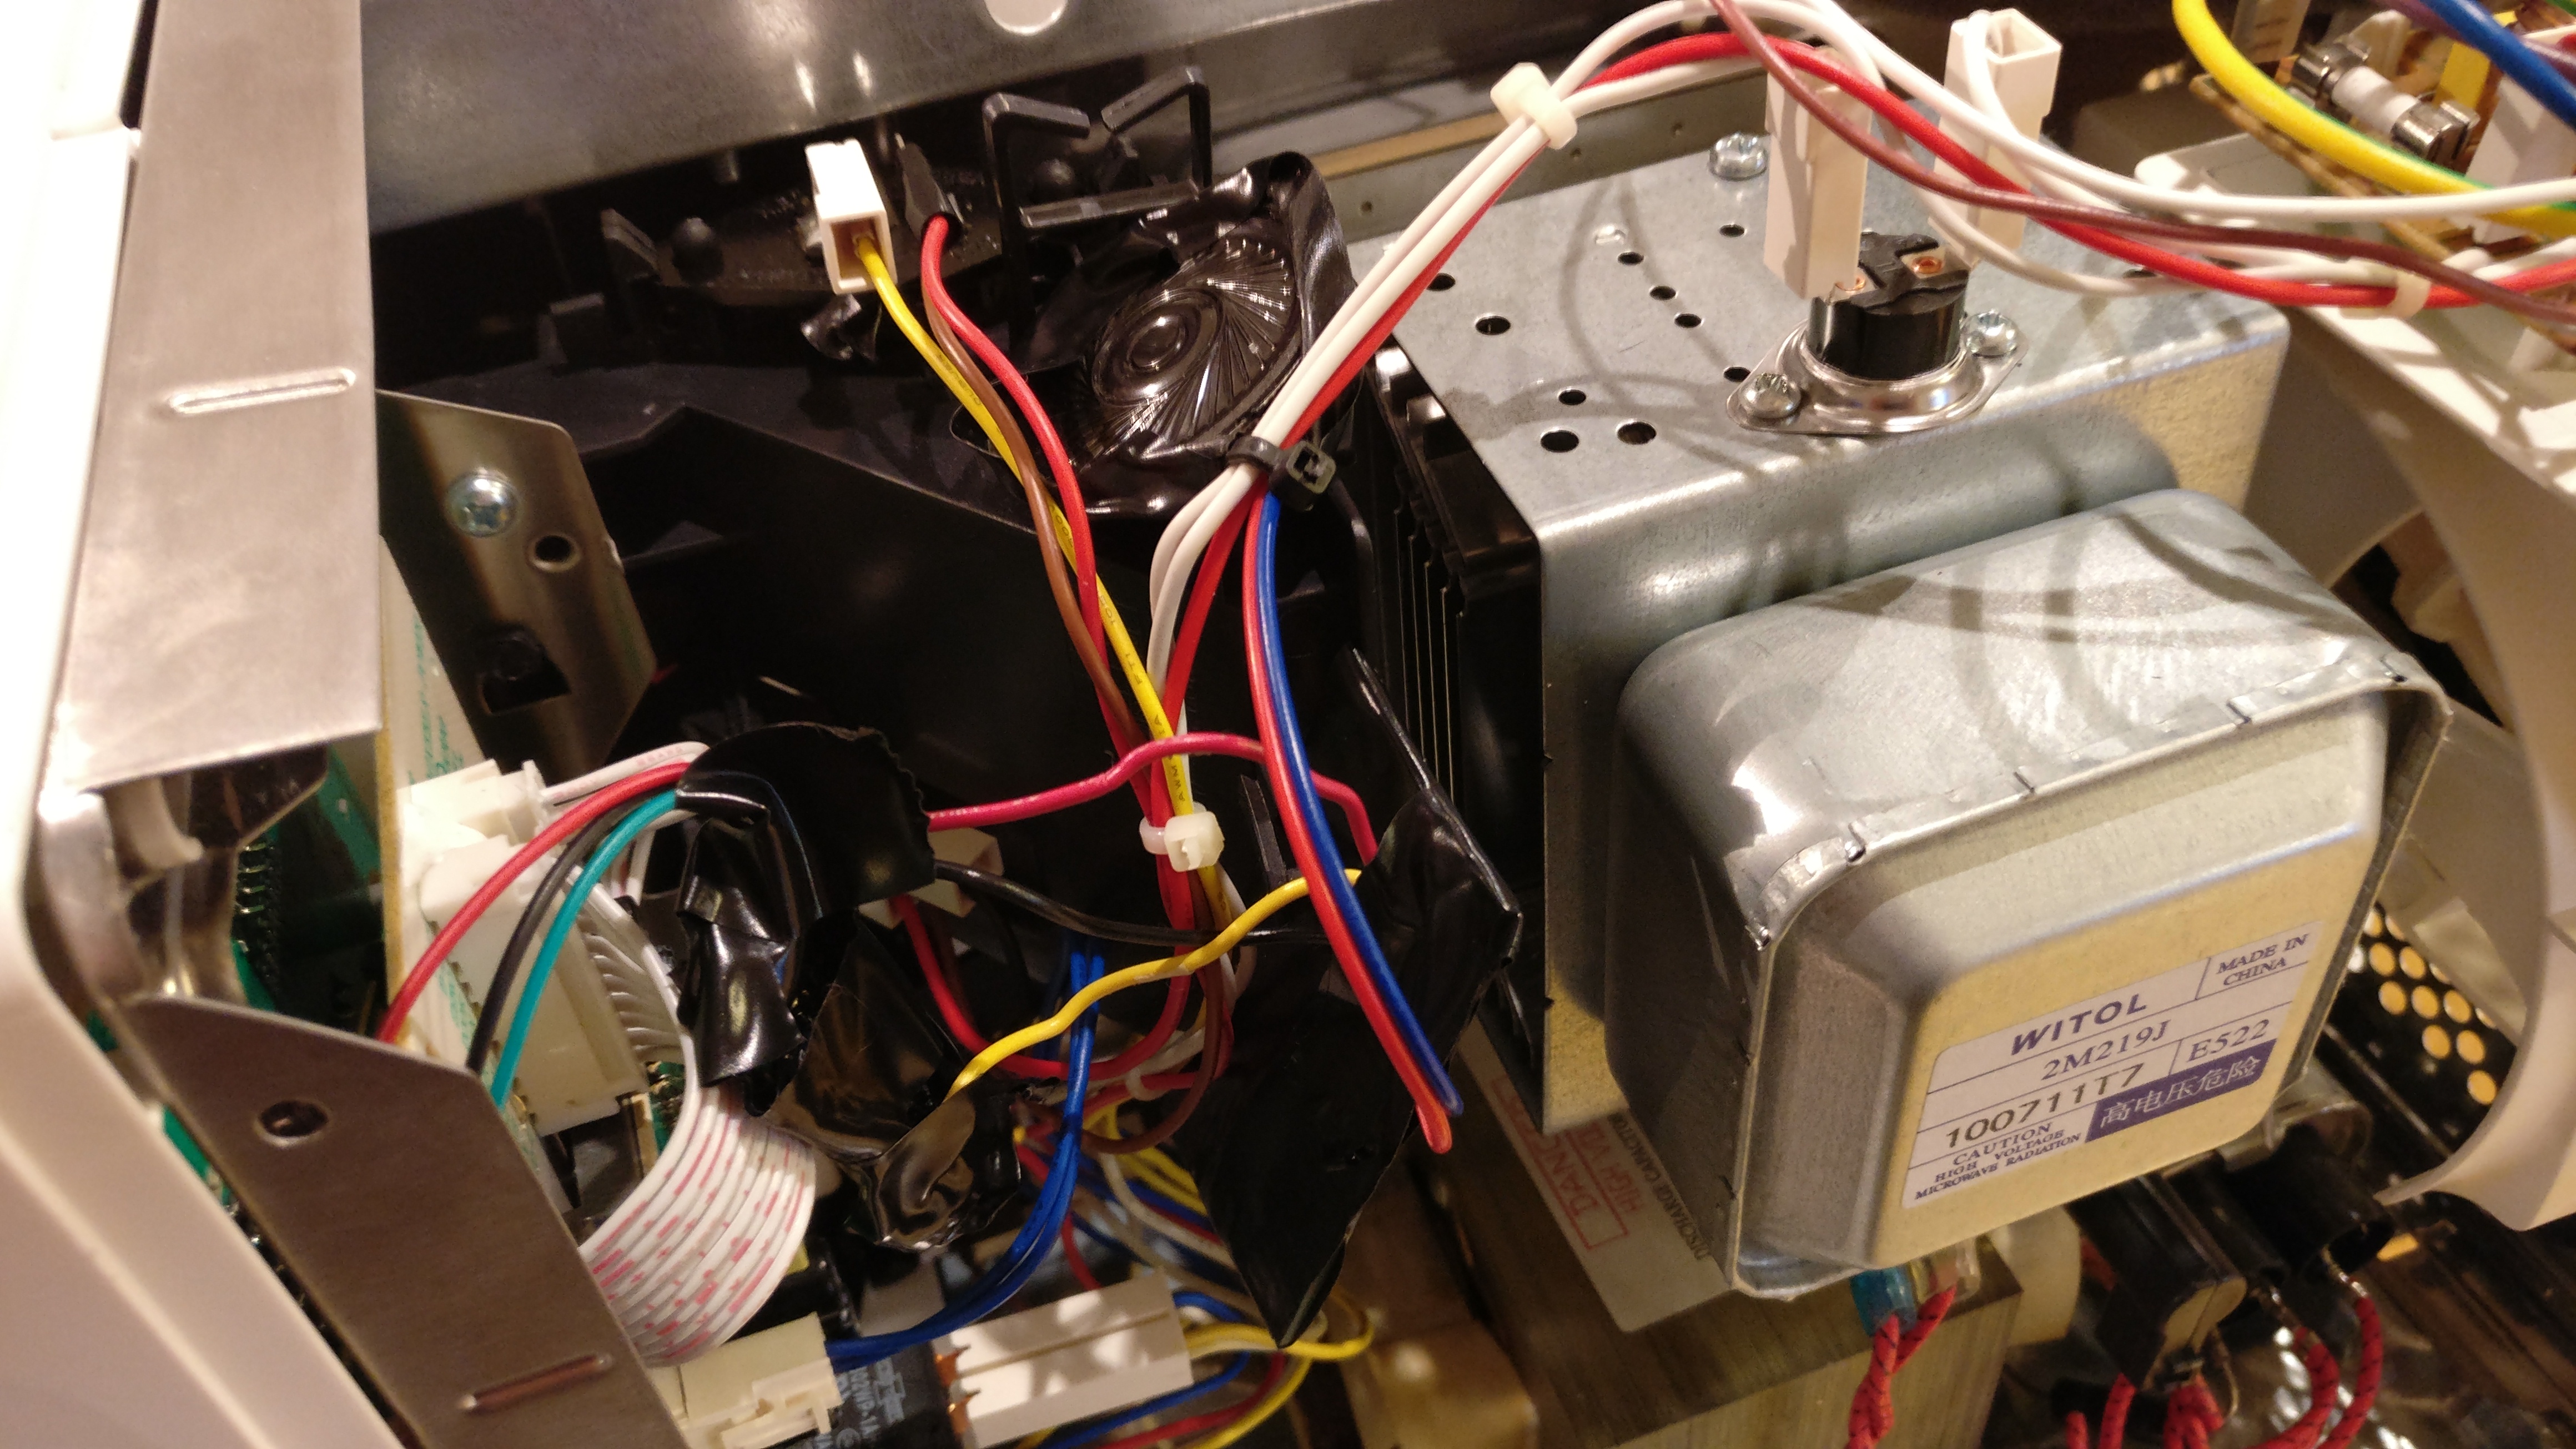
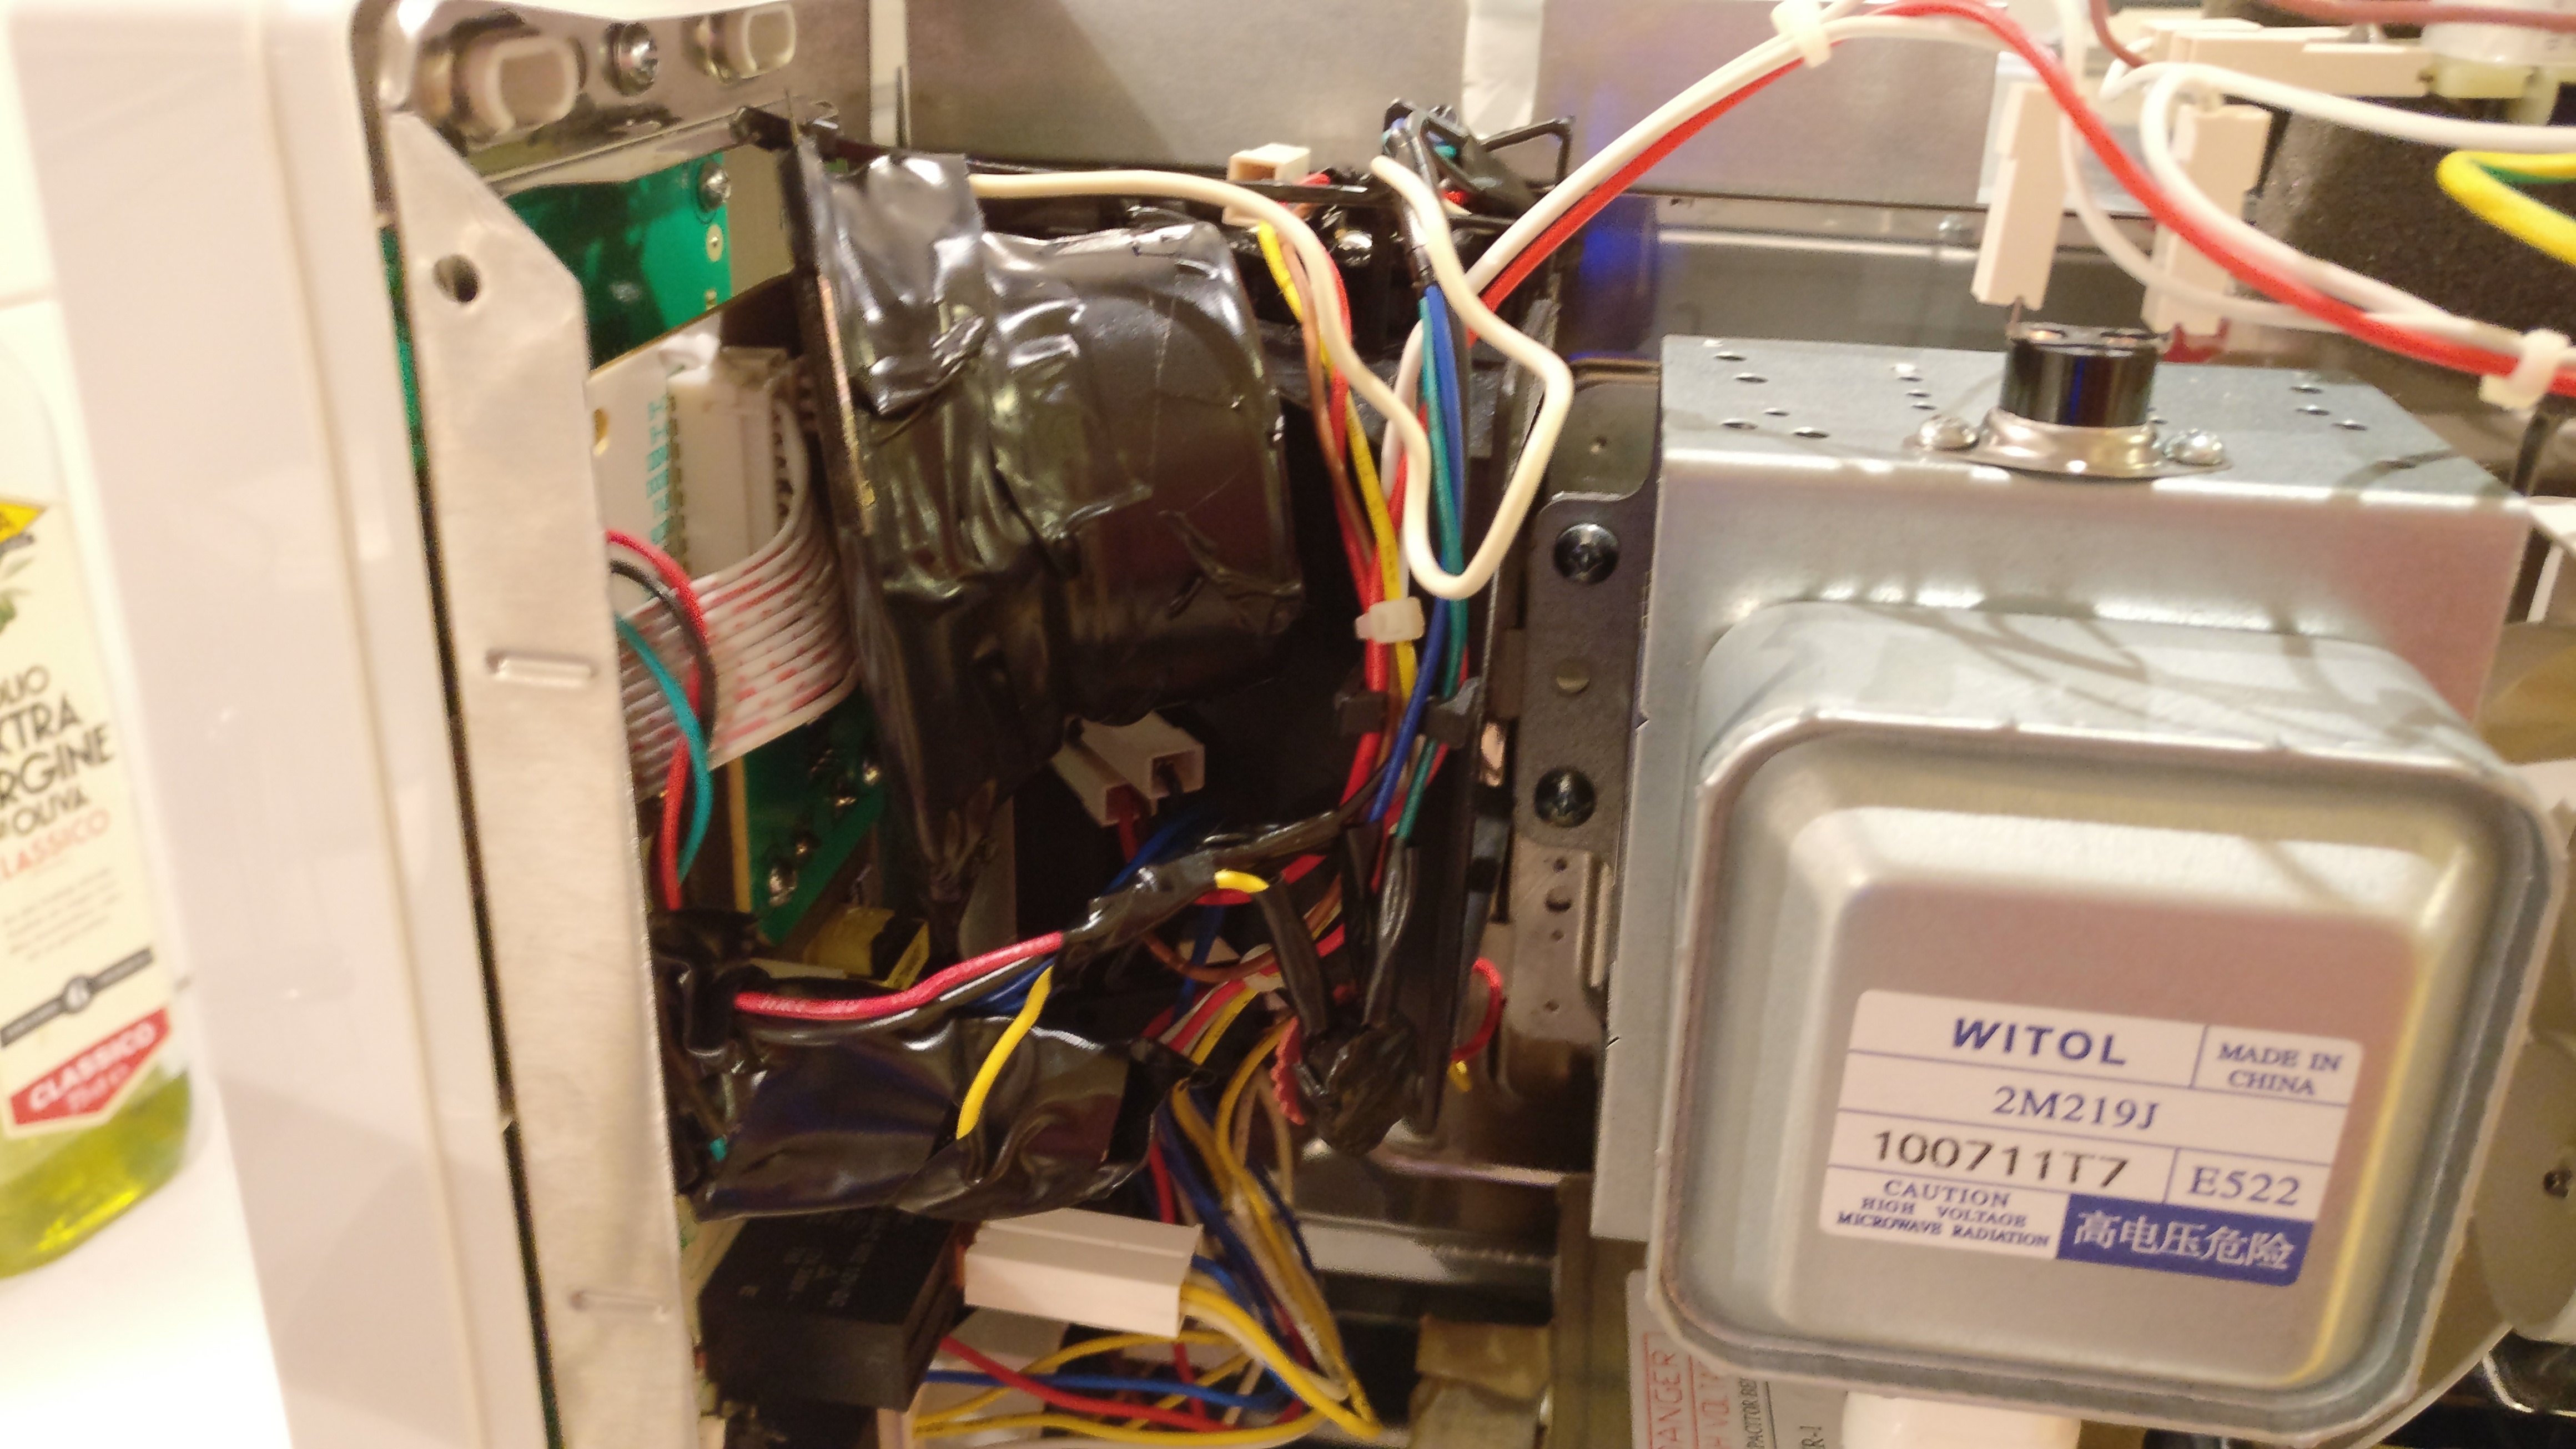
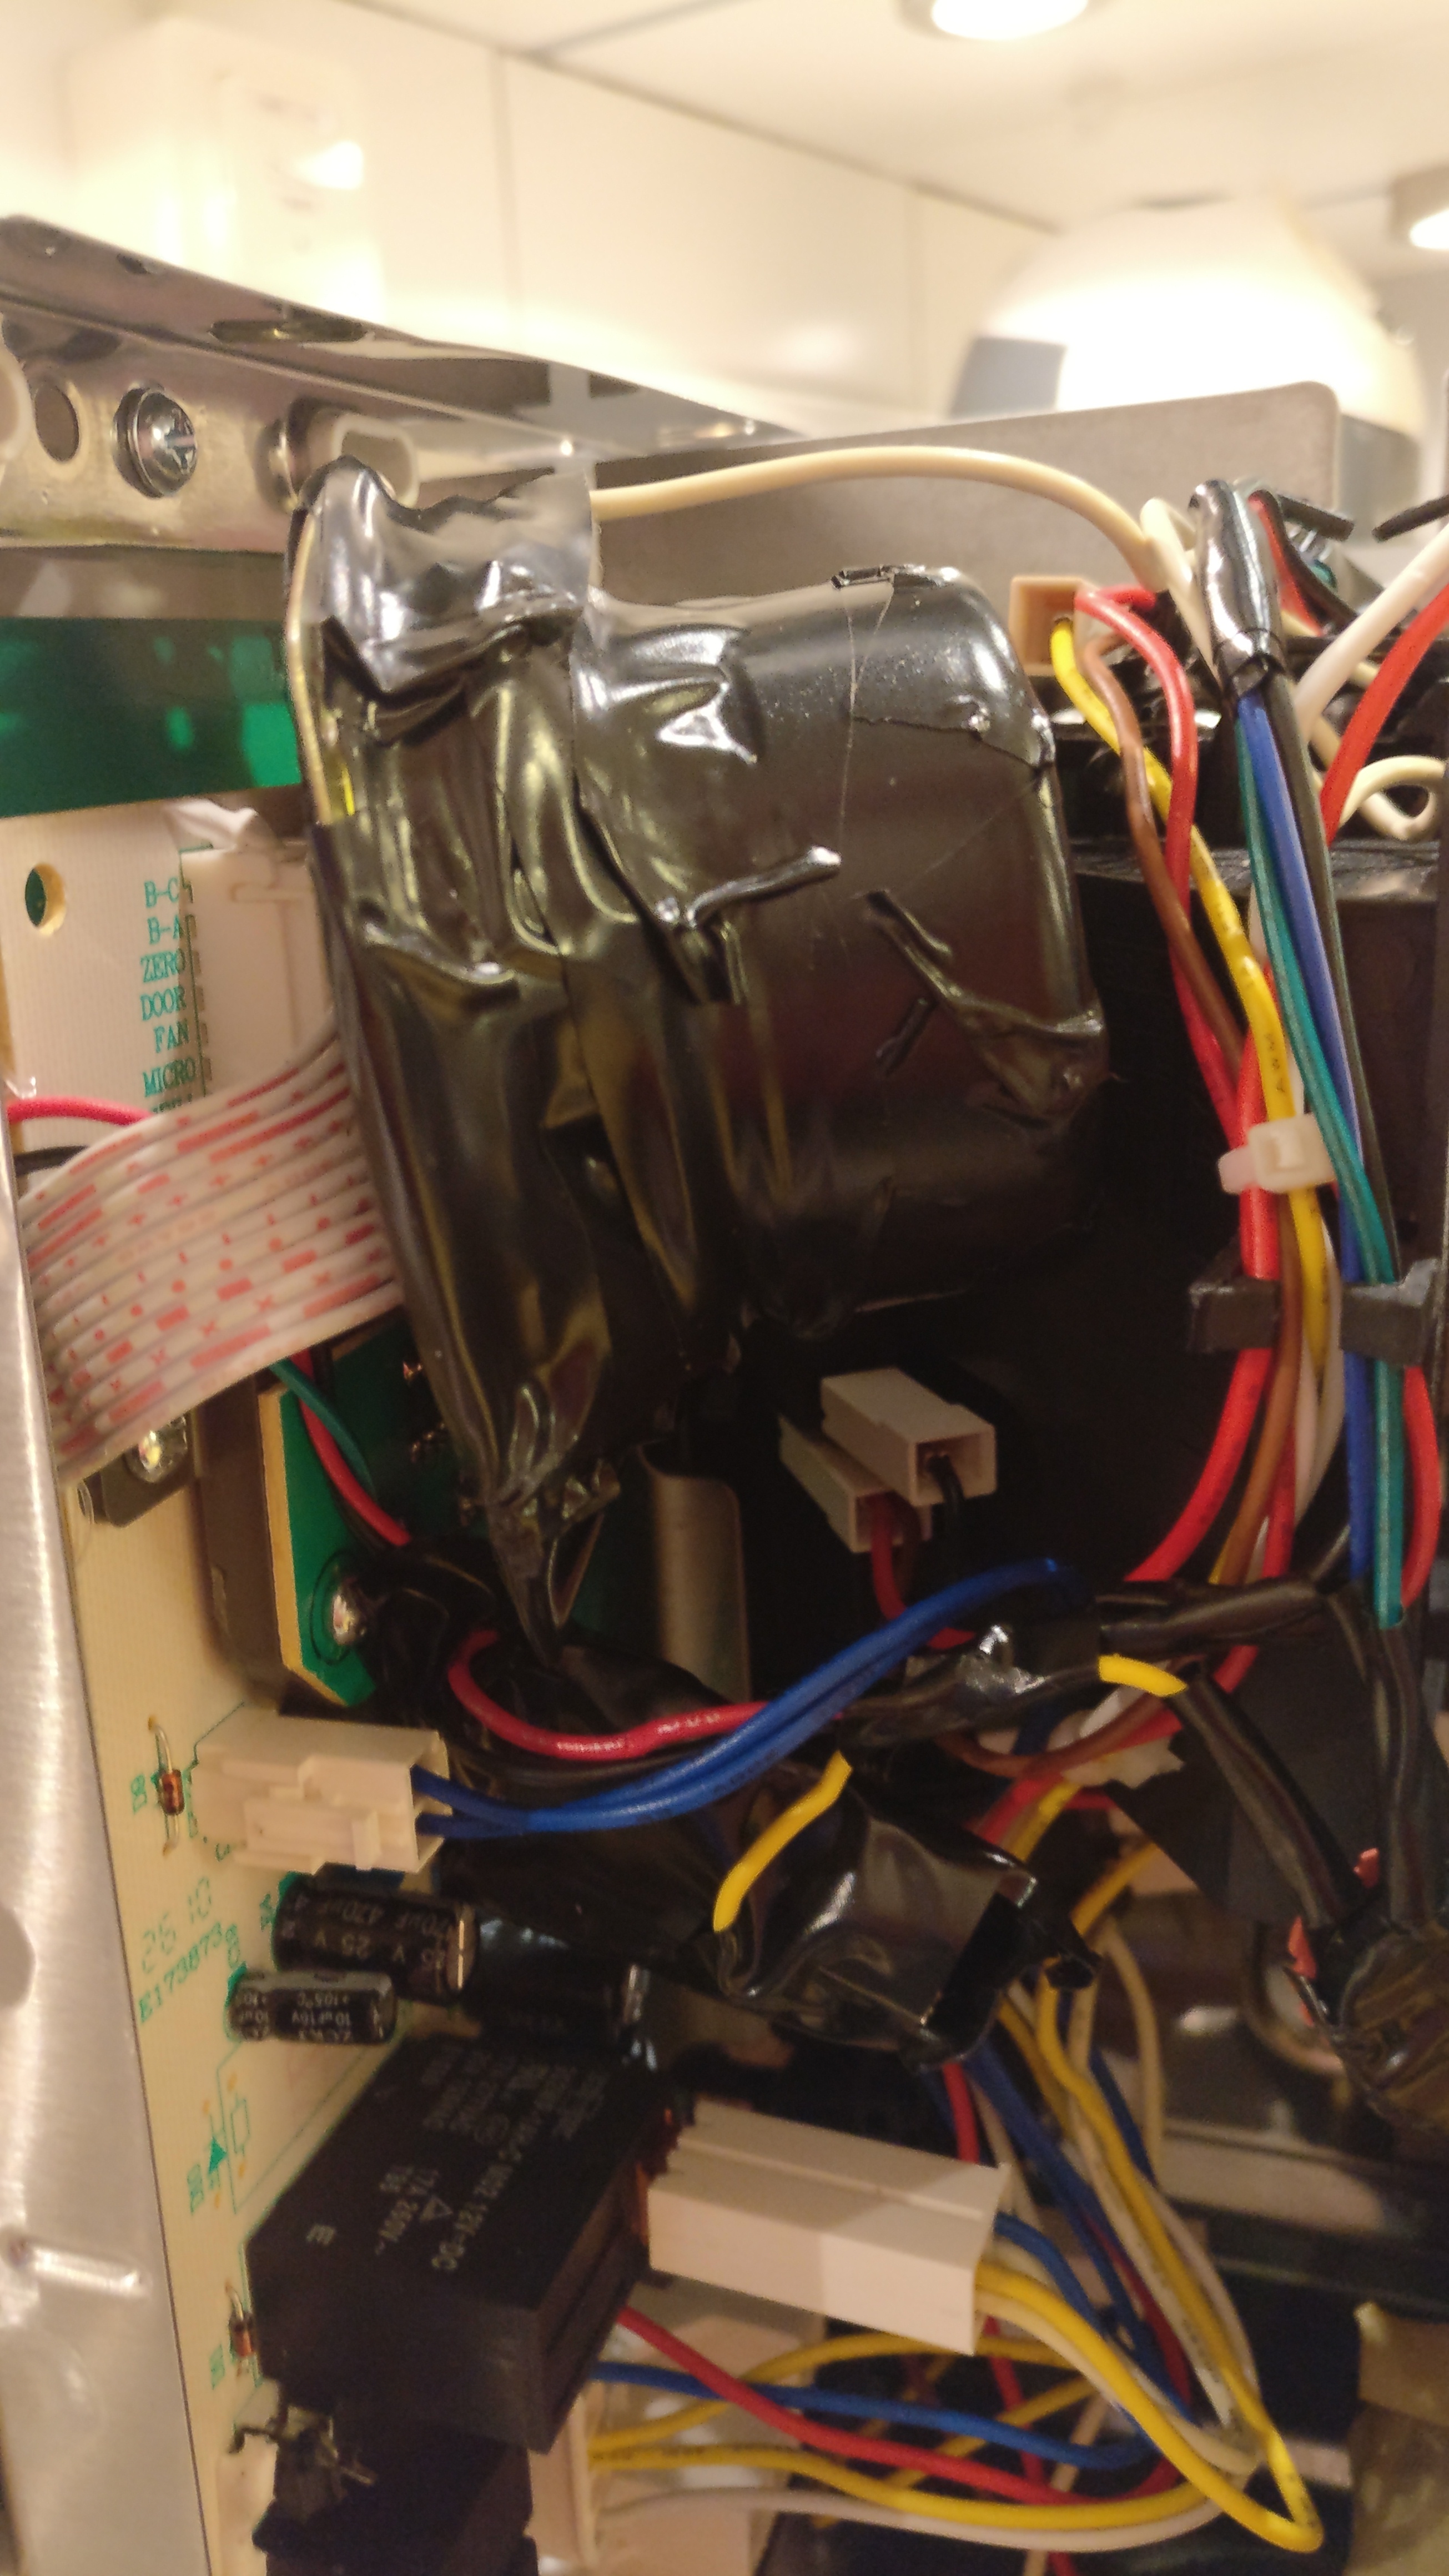
I throw it all into the chassis of the microwave oven. There was plenty of space, but i took some precautions to electrically isolate the PCB and speaker.

Unfortunately the sound from the small 0.5W element was too low. It barely was distinguishable against the sound of the microwave ovens fan.

IMG_20170122_0014
IMG_20170122_0015IMG_20170122_0012IMG_20170122_0013
IMG_20170122_0017IMG_20170122_0018
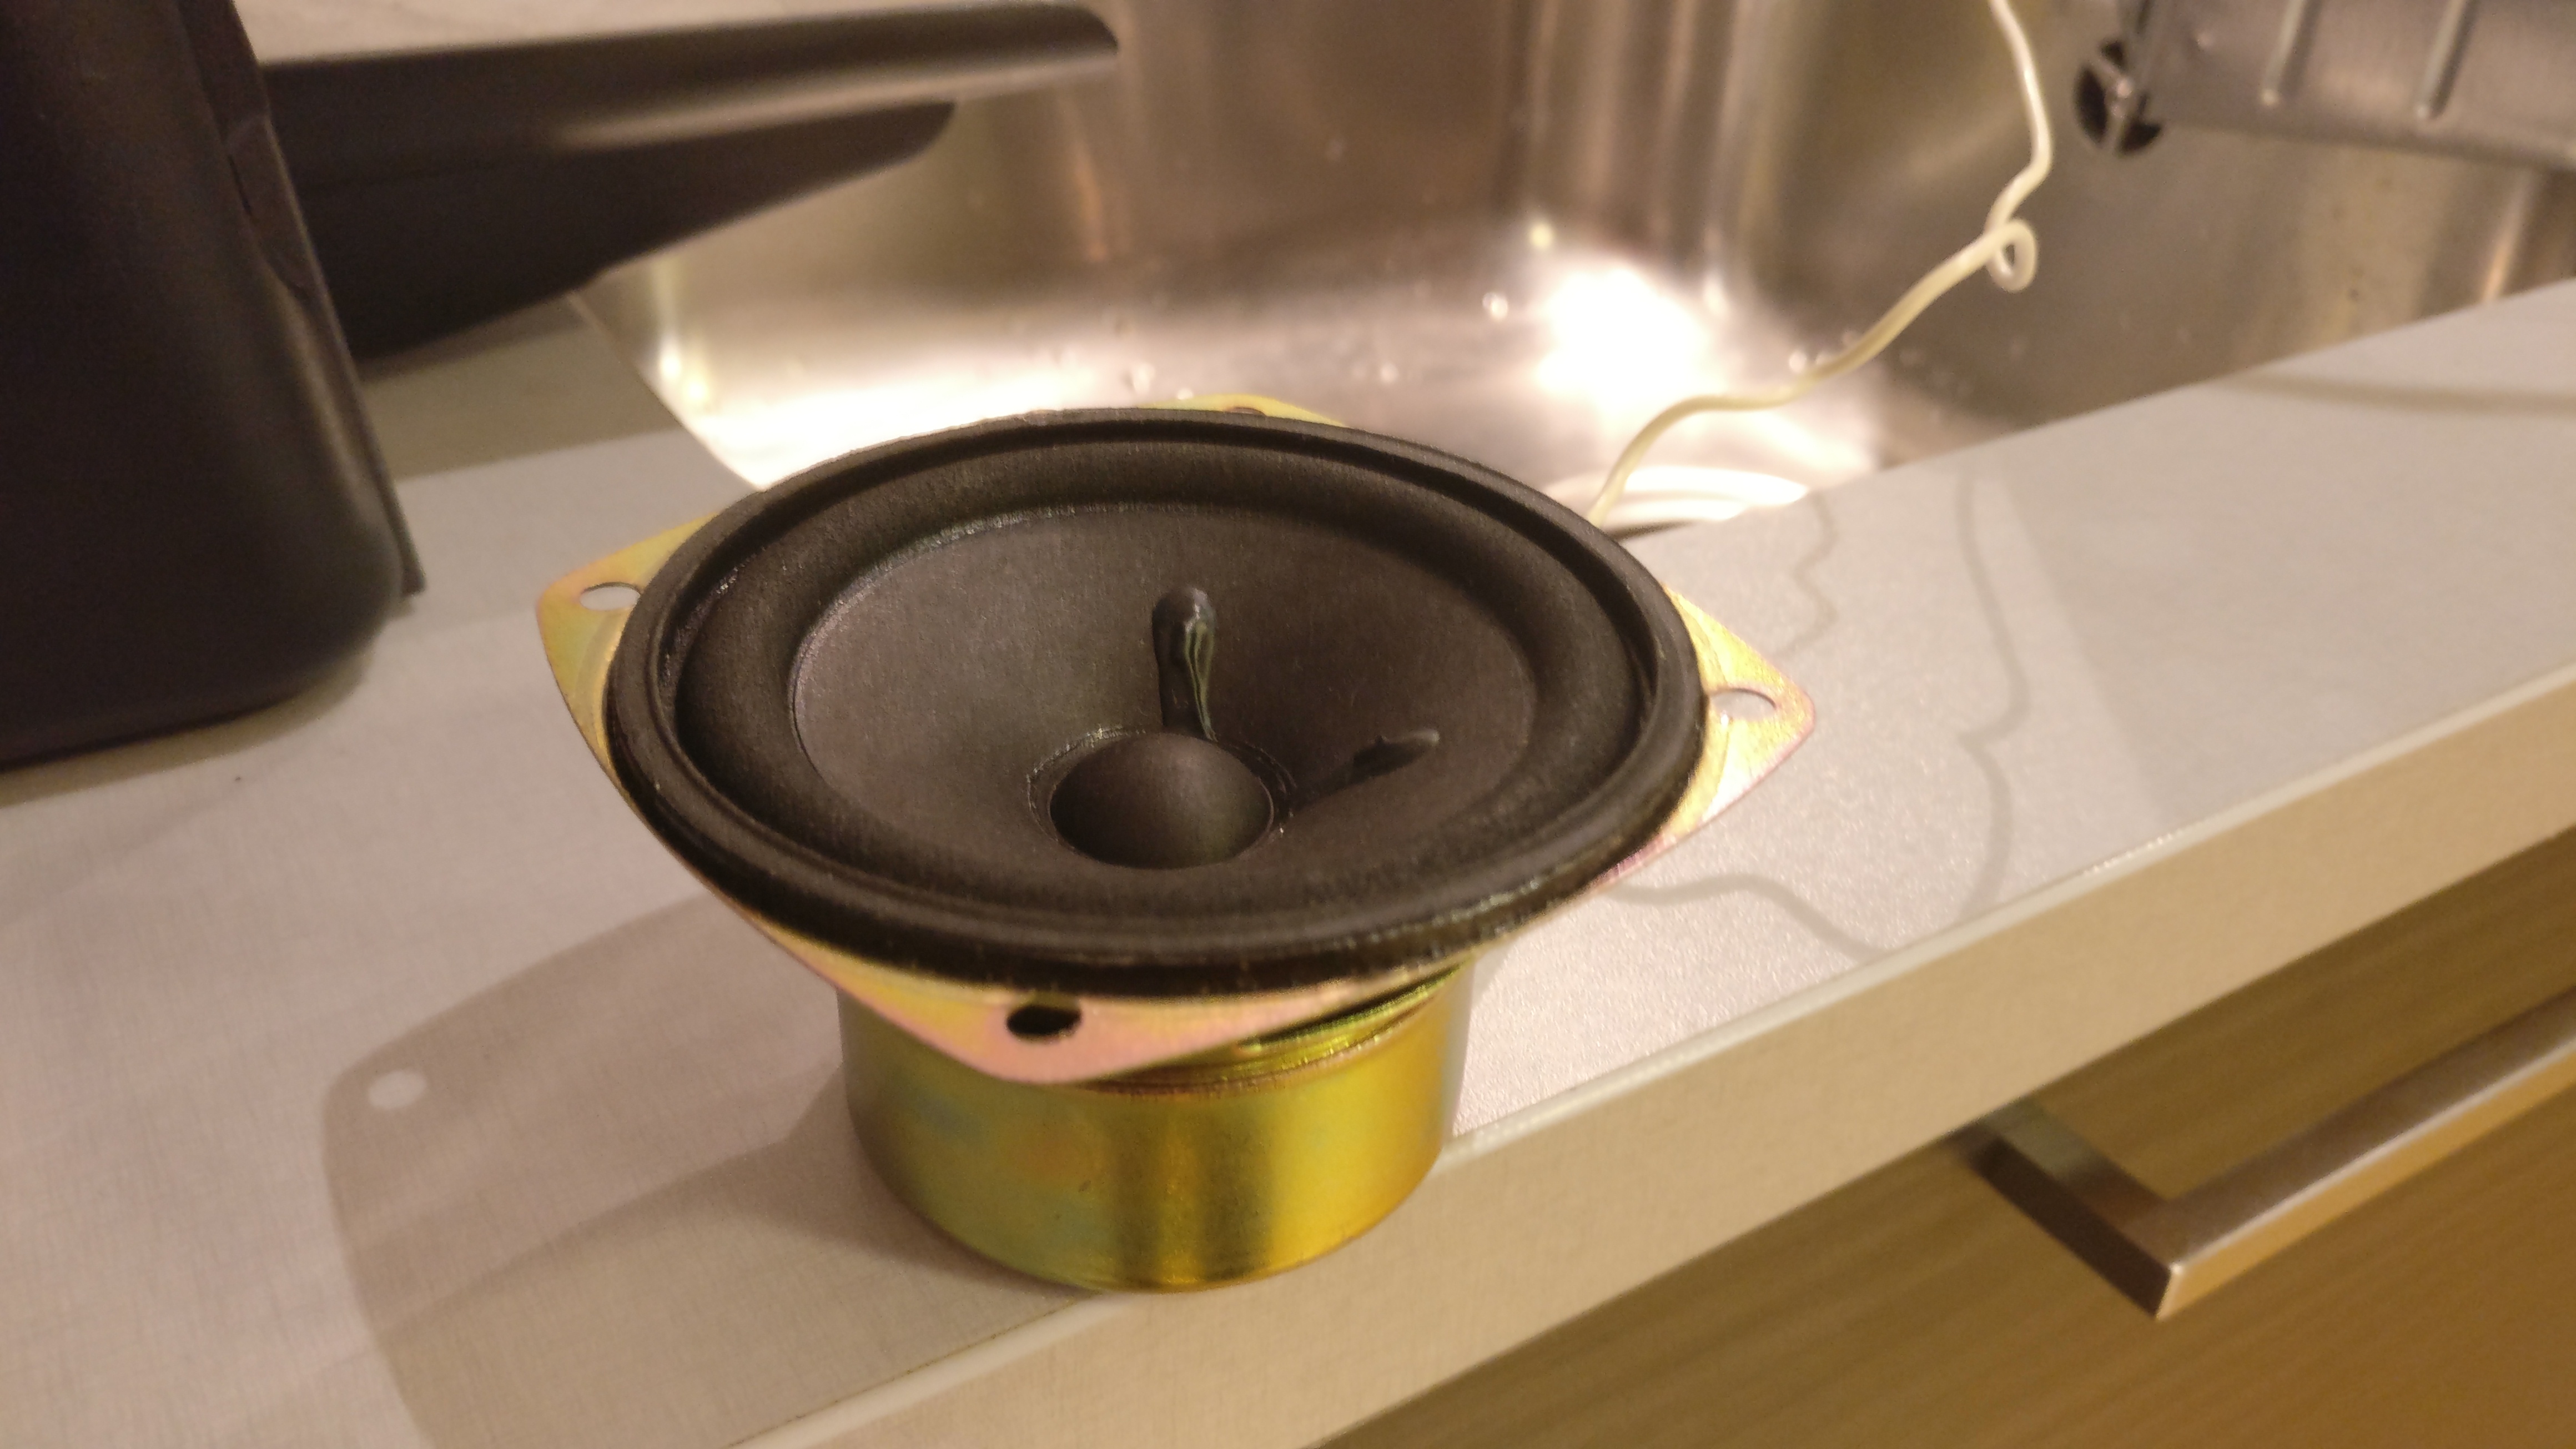
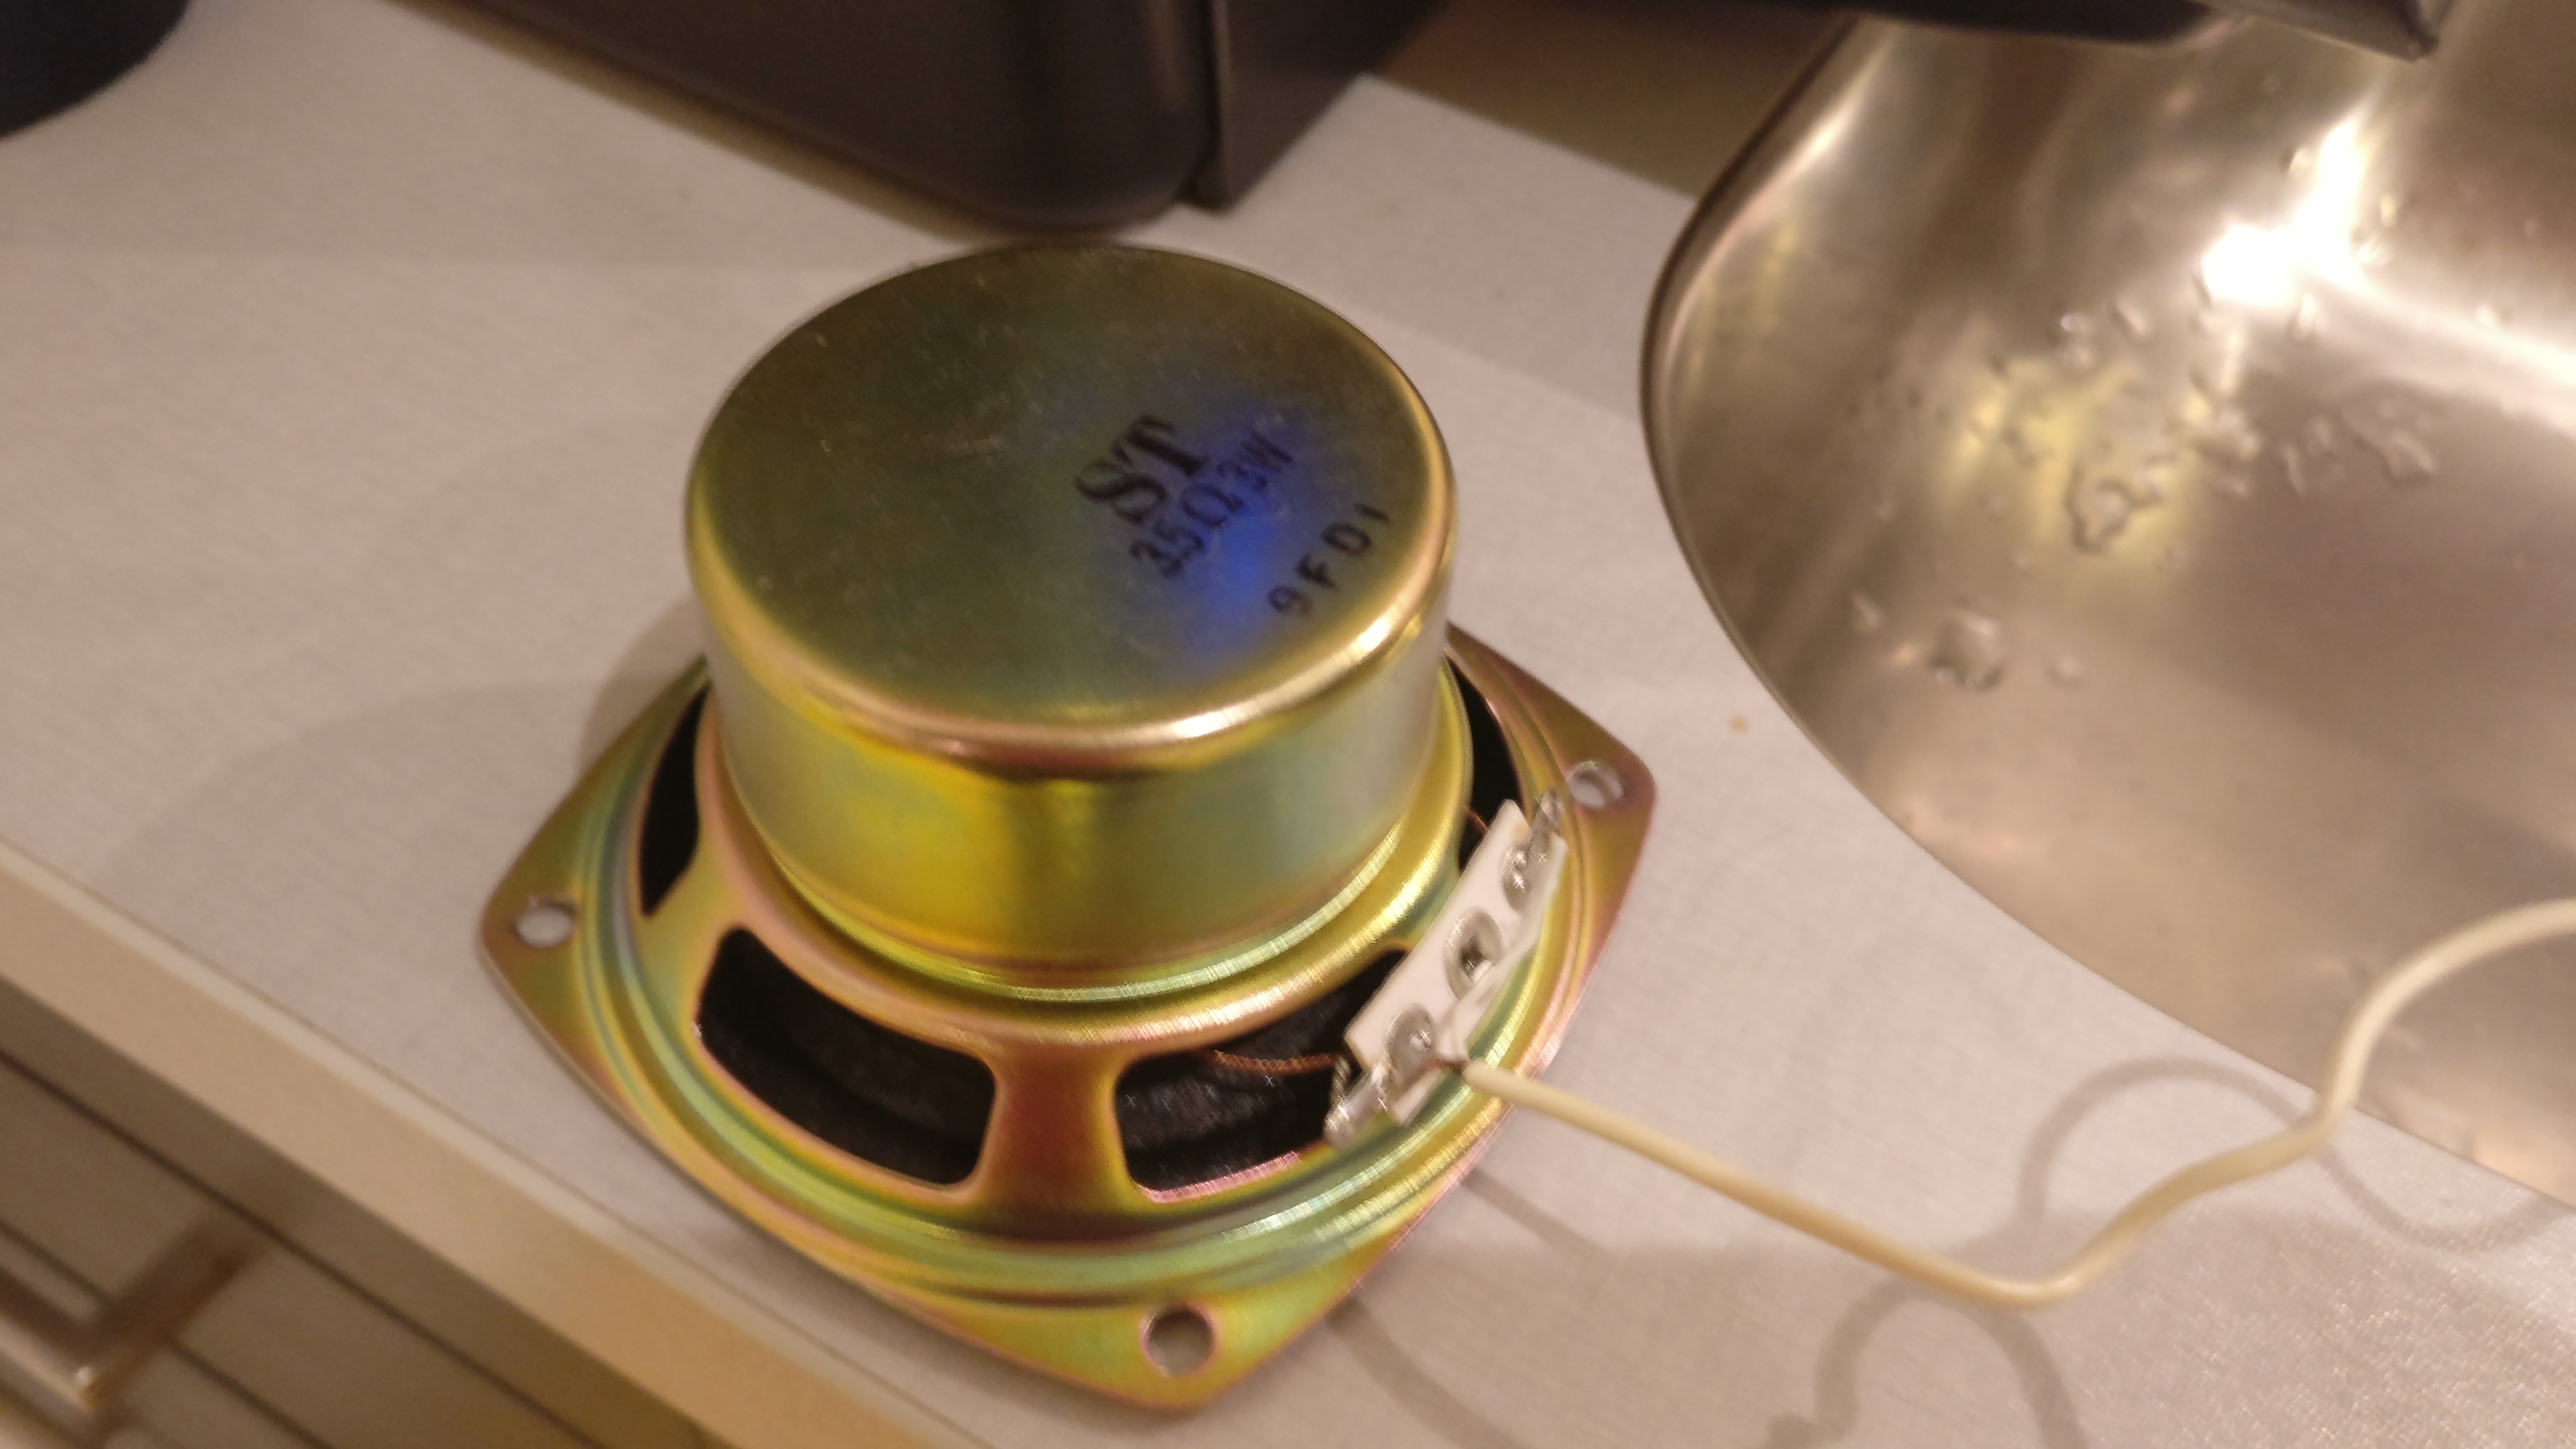
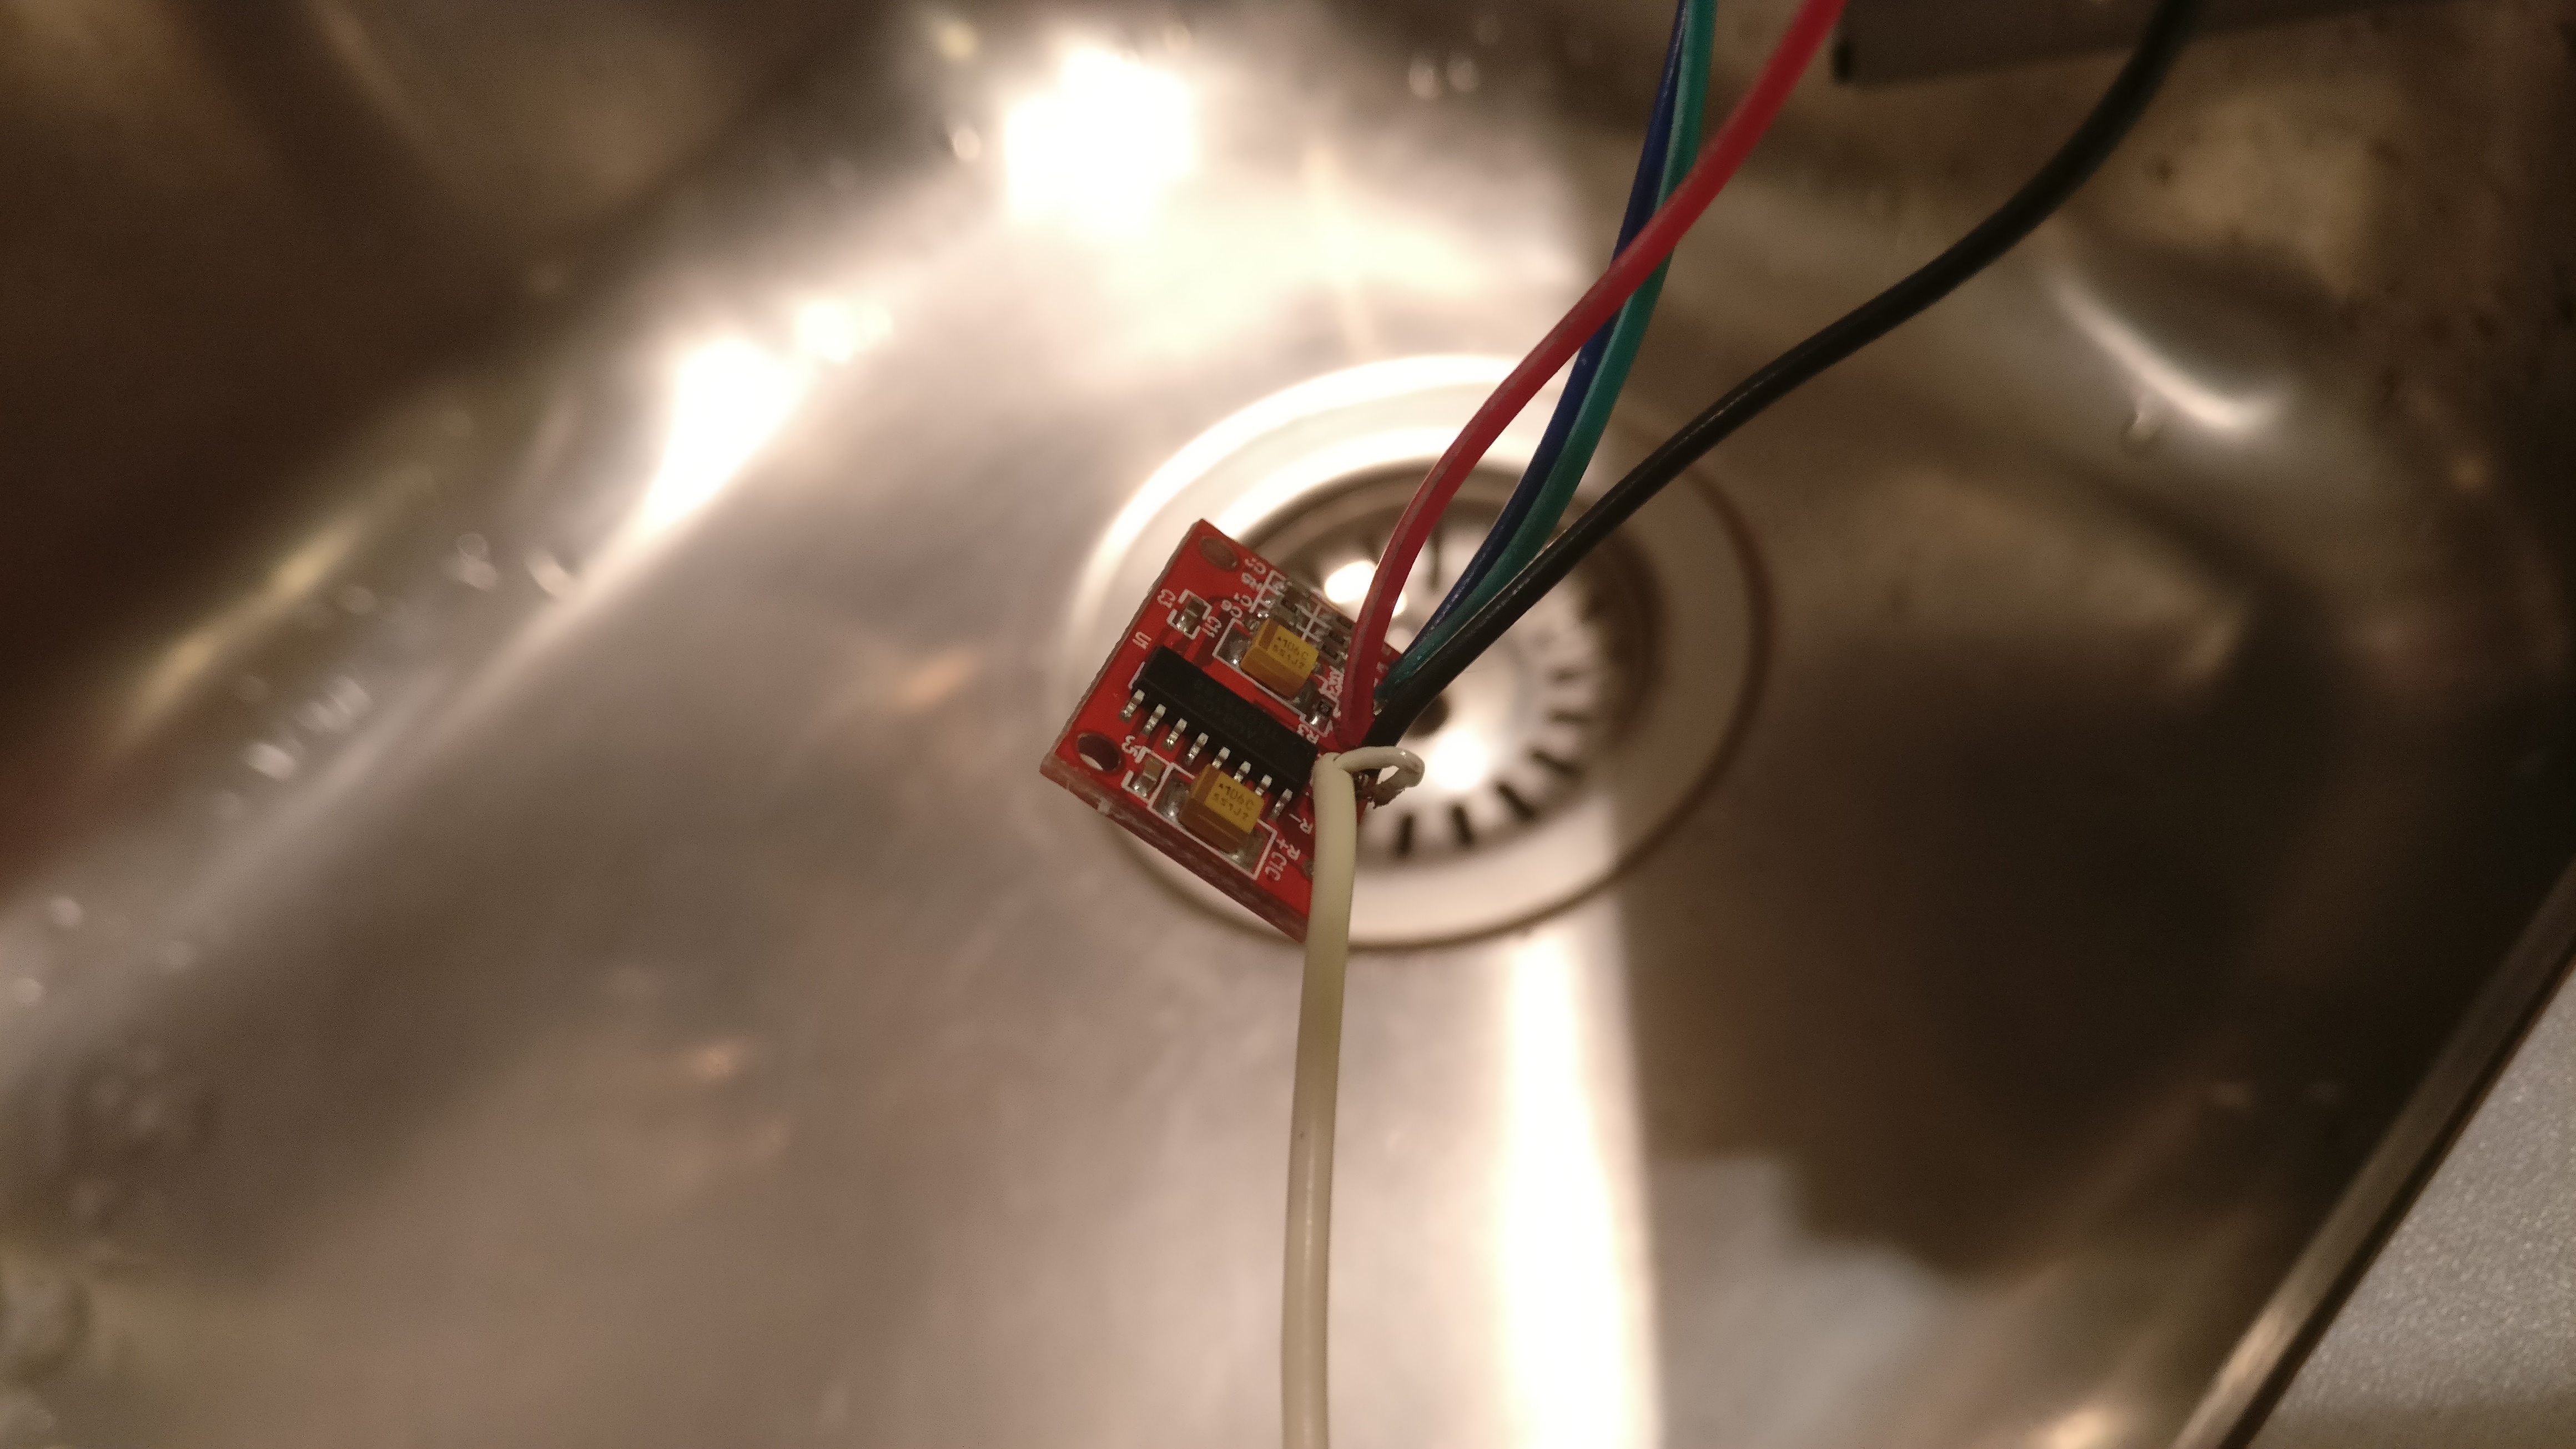
So I upgraded the element for a 3W element that I found in an old PC speaker, and took some precautions and upgraded my amplifier as well for the more stable Class-D amplifier PAM8403.

MicroMuteSchematic.sch
Schematic PDF

The sound was much louder and you can clearly hear the “Done”-sound from the microwave oven.

Hot bending the polycarbonate-sheet for speaker backpack


Here we have placed our hotbending machine on the joint that is to be bent.


We used aluminum-foil and paper to isolate material that we didn’t wanted bent.


The corners seems to match!


Vilse removed some plastic left from the CNC.


We used our laser-cutted acrylic angeles to bend the polycarbonate-sheet in to the right angle.


We placed this böp to let the joint cool down


15 seconds left of our 4:25 timer, the heating of the polycarbonate is almost ready.


We used straps to hold the last bend


The last bend is a round corner, the radius is 200mm. We knew it would be very hard to bend it.
We heated like 100mm of the polycarbonate with both hot air gun and the heat bending machine. We heated the area for at least 20 minutes, it wouldn’t bend.


At last the polycarbonate was bending, but it turned out ugly as hell. A lot of bubbles and ugly artifacts, at least this side won’t be that visible.

Our heating machine turned out to be far more superior to the hot air gun.
Lesson learned, never make round curves in polycarbonate!


This is what the backpack will look like. The 12kg weight of the polycarbonate didn’t feel heavy at all. I think the weight will be ok.


To hold the corners of our speakerbox, we use a two-component poly-urethane glue (3M Scotch-Weld Urethane Adhesive DP-610). We got a test-sample from KA Olsson and it worked really great. It’s quite expensive, but we got it a little bit cheaper thanks to KA Olsson.
We used straps to tighten the polycarbonate around the corners. We also applied tape at the edges to stop the glue from seep out.

Speaker backpack


Here is the speaker backpack that me and my friend Vilse is building. The system will be a fully portable PA-system with integrated DJ-booth and lightning-effects.

It will be powered by LiPo-batteries. LiPo-batteries contains high energy relative to the weight.

We estimate that the system will be quite heavy, around 30kg. We will attach wheels on the bottom for easier transport.

Elements

It will contain this elements

  • 4 x P.Audio HP-10W (Link)

    Effect: 100 W RMS
    Sensitivity: 96 dB
    Frequency range: 50-4000 Hz
    Impedance: 8 Ohm
    Recommended frequency band: 90-3000 Hz
    Qts: 0.40
    Vas: 55 L
    Fs: 48 Hz
    Yttermått: 260mm (10″)
    Depth: 125 mm
    Weight: 2.8 kg
  • 2 x Motorola Superhorn A125 KSN1025B (Hifikit Link)

    Effect: 300 W
    Frequency range: 2000 – 20000 Hz
    Distortion at 105 dB: Less than 1%
    Känslighet (1m, 1W): 100dB
    Weight: 0.130 Kg
    Outer dimensions: 188x80mm
    Depth: 106mm

Amplifier

The speakers will be powered by a AMP9 Basic (41Hz Link):

  • Four channels of Tripath sound quality, based on Tripath TAA4100A
  • Output 4x50W at low distortion, 4x100W peak
  • Suitable for low impedance loads, 4 x 2 ohms 12V typical
  • Up to 27V supplies make them suitable for 12 or 24V systems

Audio crossover filter

We will be placing a audio crossover (frequency splitter) filter on the signal input before the amplifier.
If we would place the filter after the amplifier we would loose effect, and we want as long battery-life as possible.

In the future we will use a digital audio crossover, like the miniDSP (miniDSP Link)

Material

We have choose a pretty unusual material for this speaker, polycarbonate. It’s a material that is easy to work with and it looks great.

What is even more unusual is that we are making a holdable design:

This will give us a almost completely air-tight box, but! it’s going to be really hard to fold it correctly. Therefore we have designed the fold-able lines pre-milled with 90°.

As we don’t have a big CNC-mill, we let the company Plastmästarn mill our project.

Speaker-box

The speaker-box will contain 94 liters of air.