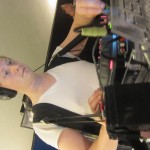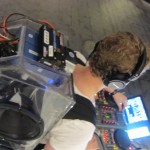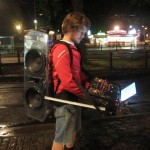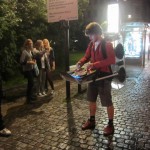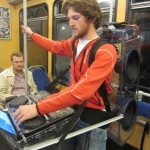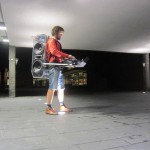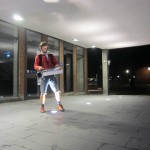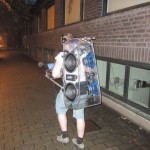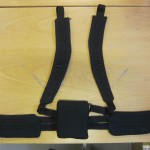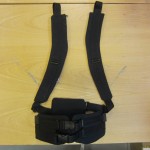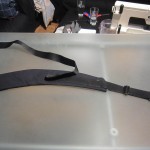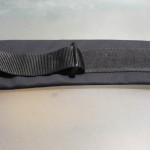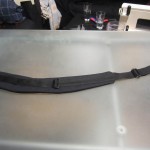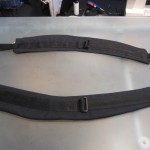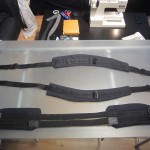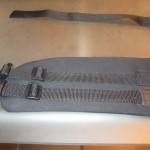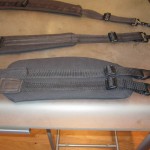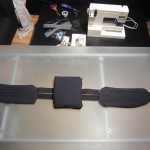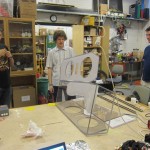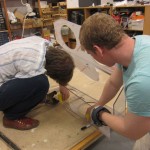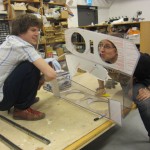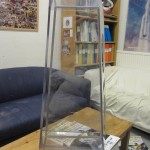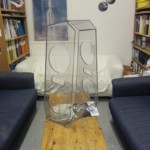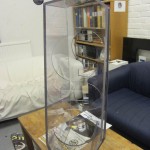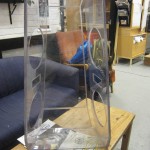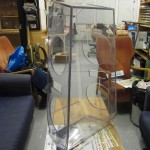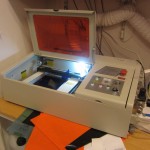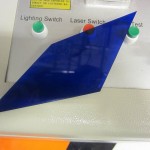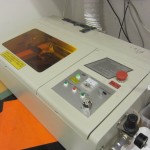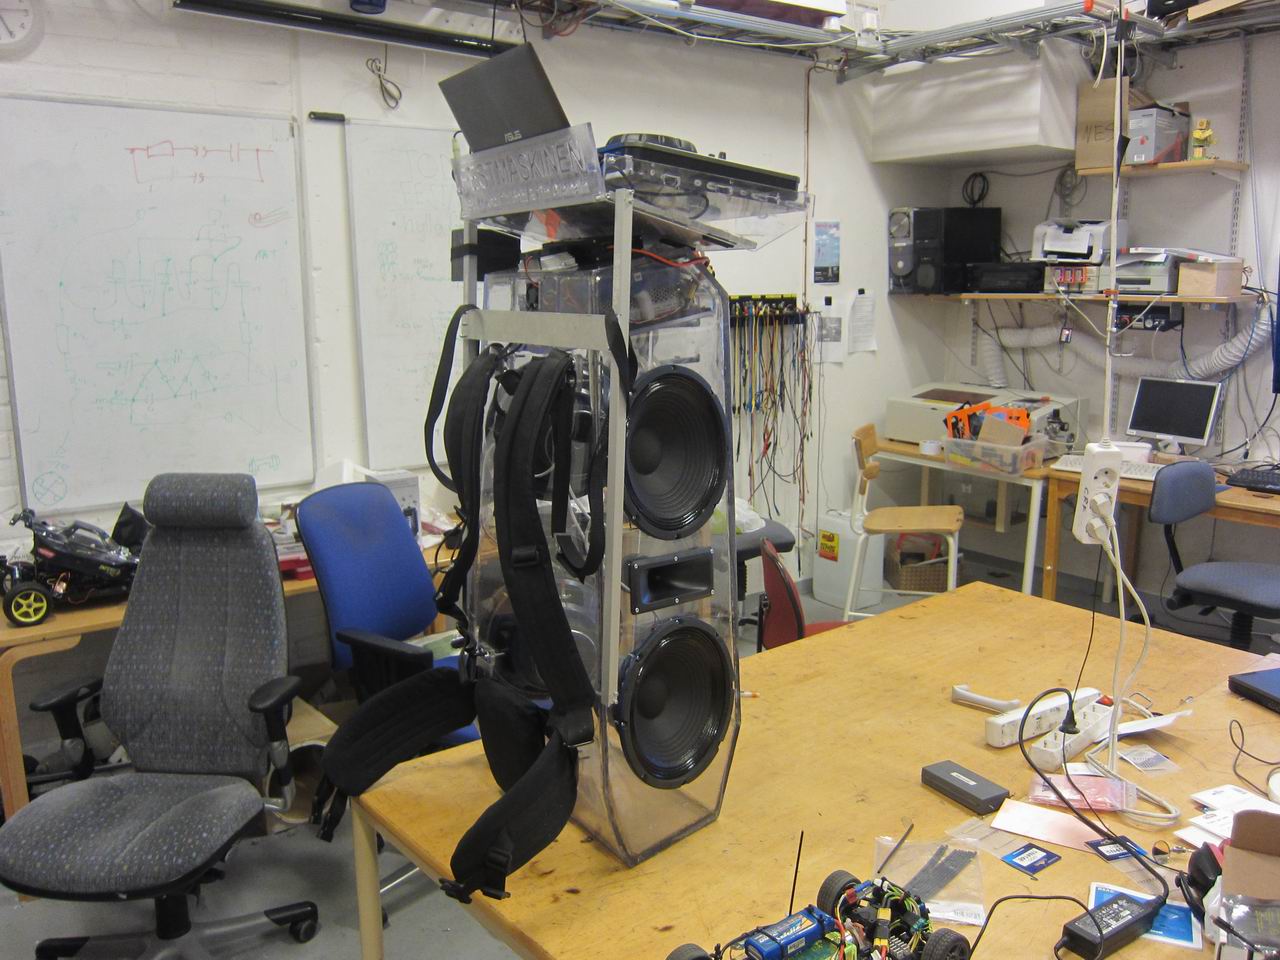
So we finally made it! Just in time for Elinorspelen (a festival).
Tag Archives: Speaker backpack
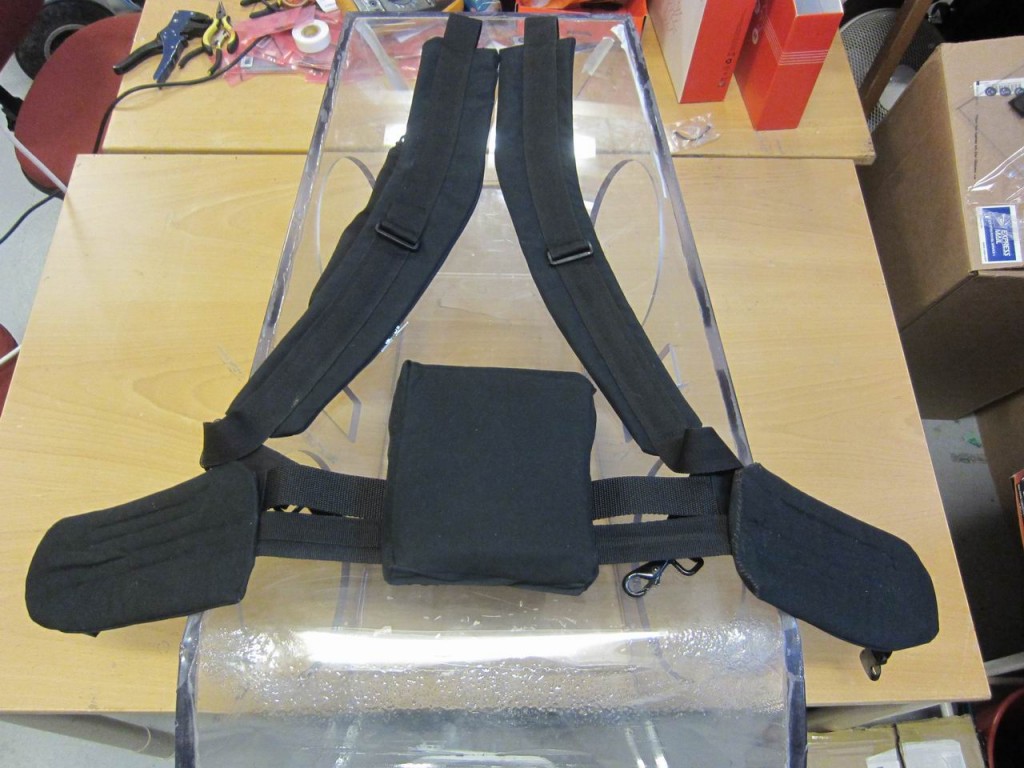
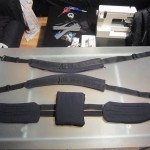
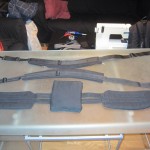
Festmaskinen’s waist-belt and shoulderstraps will look something like this
Sewing backpack straps
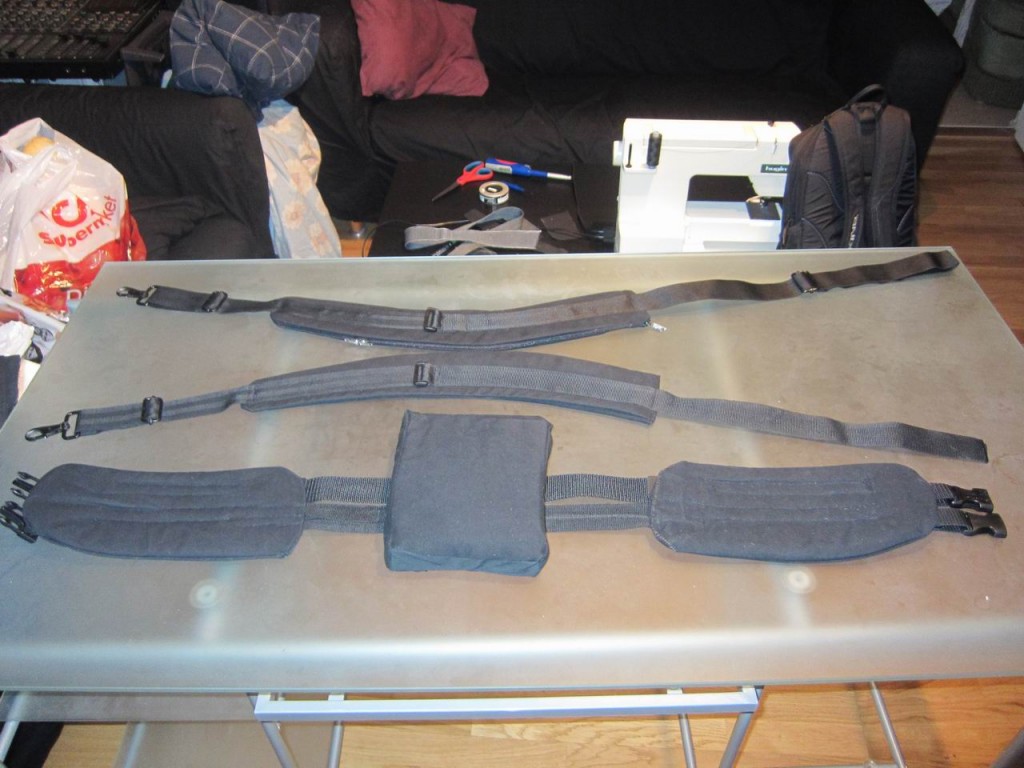
This is our new backpack straps for Festmaskinen
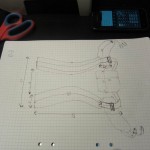
We took measurements of backpacks used for hiking and researched how to place the weight on our bodies. We want as much of the weight place on the waist, and less on the shoulders.
I modified the measurements from the hiking backpack a little bigger to handle more weight.
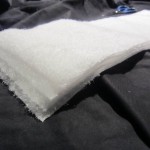
For the stuffing in the strap I used a pretty unusual material, floor mop, it’s soft and still pretty stiff.
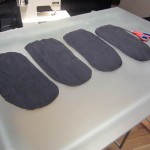
For the outer fabric I used an old Ikea-sofa-cover, good strong fabric.
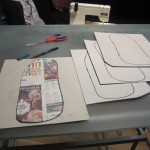
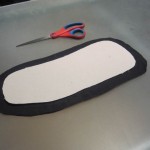
To make the waist-strap more sturdy I cut out some cardboard.
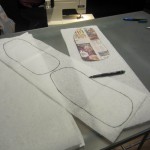
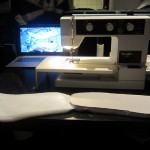
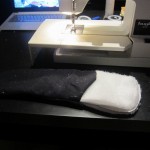
I sew 10 layers of mop-fabric together and placed it inside the waist-strap.
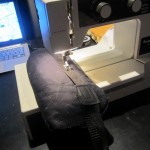
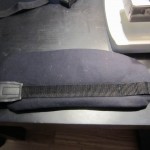
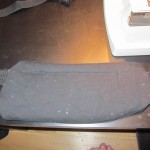
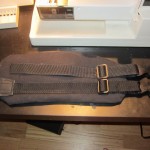
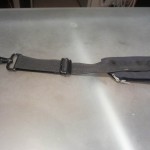
Over the years I’ve collected a lot of nylon straps from old backpacks and bags, I finally found a use for them.
I sew the nylon strap on to the waist belt.
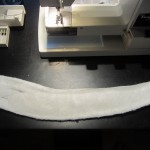
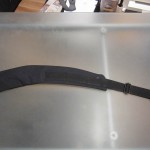
For the shoulder straps I used the same method as the waist-belt, except the cardboard.
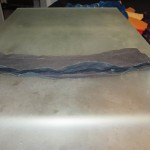
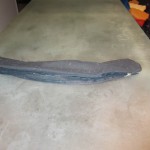
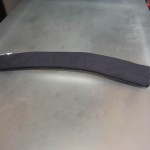
I sew a zipper on to the shoulder strap. The use of this zipper is to place cables from the speaker backpack to the DJ-booth and back.
Festmaskinen, the name of the speaker backpack
Hot bending the polycarbonate-sheet for speaker backpack
Here we have placed our hotbending machine on the joint that is to be bent.
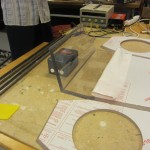
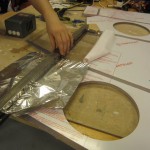
We used aluminum-foil and paper to isolate material that we didn’t wanted bent.
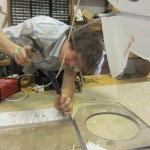
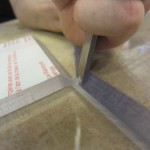
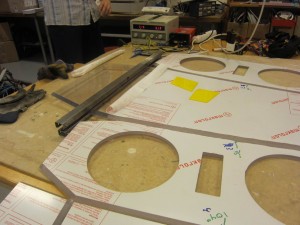
Vilse removed some plastic left from the CNC.
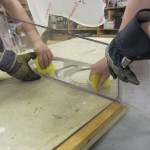
We used our laser-cutted acrylic angeles to bend the polycarbonate-sheet in to the right angle.
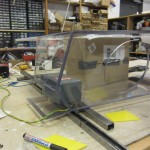
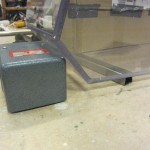
We placed this böp to let the joint cool down
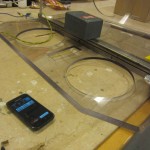
15 seconds left of our 4:25 timer, the heating of the polycarbonate is almost ready.
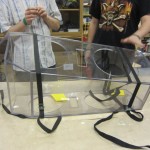
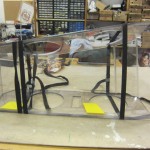
We used straps to hold the last bend
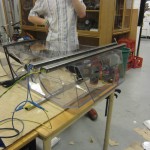
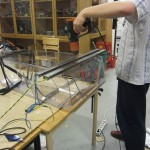
The last bend is a round corner, the radius is 200mm. We knew it would be very hard to bend it.
We heated like 100mm of the polycarbonate with both hot air gun and the heat bending machine. We heated the area for at least 20 minutes, it wouldn’t bend.
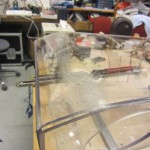
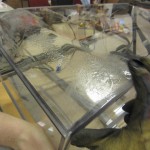
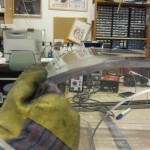
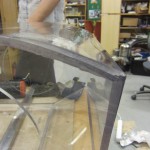
At last the polycarbonate was bending, but it turned out ugly as hell. A lot of bubbles and ugly artifacts, at least this side won’t be that visible.
Our heating machine turned out to be far more superior to the hot air gun.
Lesson learned, never make round curves in polycarbonate!
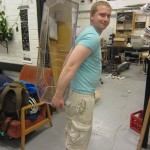
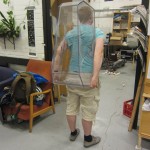
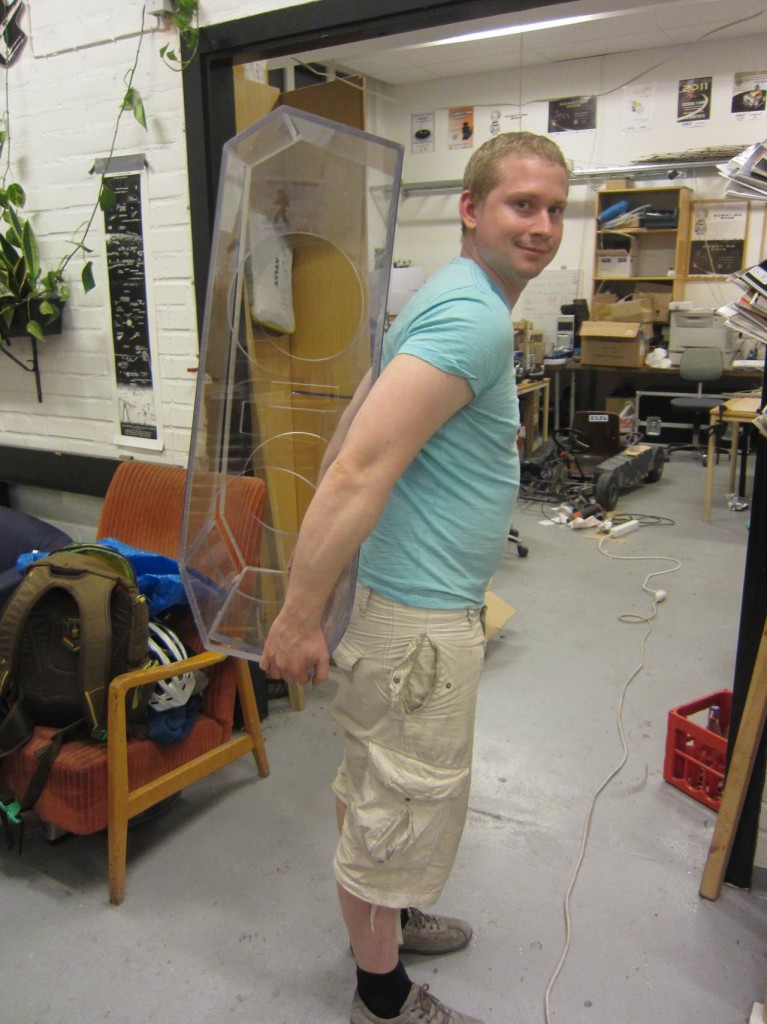
This is what the backpack will look like. The 12kg weight of the polycarbonate didn’t feel heavy at all. I think the weight will be ok.
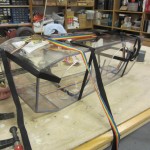
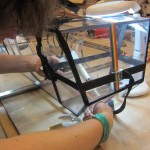
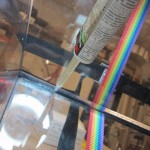
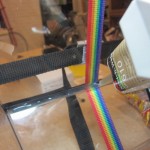
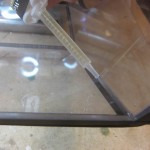
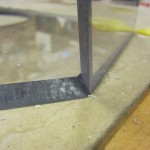
To hold the corners of our speakerbox, we use a two-component poly-urethane glue (3M Scotch-Weld Urethane Adhesive DP-610). We got a test-sample from KA Olsson and it worked really great. It’s quite expensive, but we got it a little bit cheaper thanks to KA Olsson.
We used straps to tighten the polycarbonate around the corners. We also applied tape at the edges to stop the glue from seep out.
Laser-cutteed acrylic angles for bending polycarbonate in to fixed angles
For my and Vilses speaker-backpack it’s really crucial that we bend our angles straight and in the right angle.
We developed our own heat bending machine to make straight bends, but we needed a fixed angle to bend it in the correct angle.
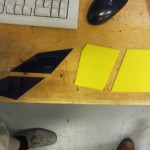
So we extracted all the angles from our CAD-drawing and placed them on a new drawing. We had this idea about a multi-angeled hexagon, containing all the angles needed.
But we couldn’t fit all angles on one sheet, so we had to make two sheets.
After that we cut the angles with the laser-cutter, we also wrote the angles on top.
DIY Heat bending machine
As me and Vilse were picking up our CNC-milled polycarbonate sheet for our speaker backpack we noticed the heat bending machine they used at Plastmästarn:
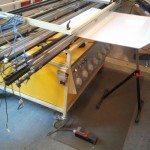
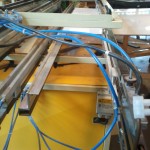
We asked them how it was working, apparently it was a heating wire set for a fixed temperature. They didn’t know how it worked, just how to work it.
The profile on the bottom was set for 210° Celsius, and the one on top for 180°.
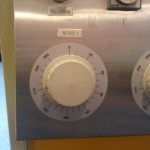
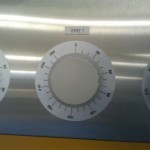
They placed a polycarbonate sheet around 5mm on the heat bending machine for about 4 minutes, after that it was ready for bending.
Here is two other commercialized heat bending machines:
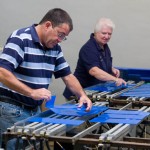
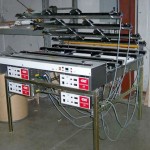
It’s really hard to bend stright angles in polycarbonate with a heatgun.
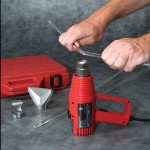
Me and Vilse started to think of a way to make our own heat bending machine.
We bought some Nikrothal from Elfa
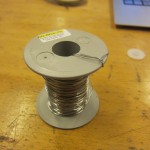
2.83 Ω/m
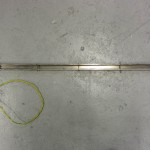
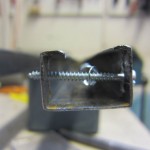
We angle-grinded a steel-profile to a U-shaped profile.
We cut holes in to the profile and placed isolated plates to hold the nikrotahl-wire from shorting.
The isolator plates were found in a old salvaged heatgun, you could find equivalent in a old toaster.
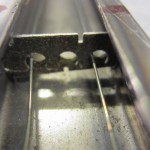
We placed the wire in a U-shape inside the profile. Half way in to the U-shape we attached a spring to make some tension on the wire. As we heat the wire the spring will retract around 20mm due to the expanding wire.
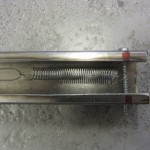
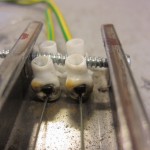
A total of 1,54 meters of wire give us 4,36Ohm. At 30V it will give us 220W of heat energy.
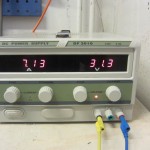
To make a even distribution of the heat we made two heating beams, on for the bottom and one on top.
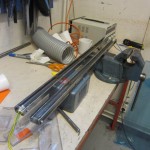
We tested out the heating properties and it turned out pretty good. We got about 200° Celsius under the material.
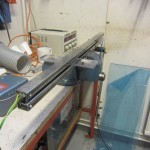
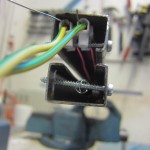
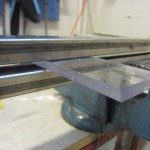
It turned out great! We tested out different kind of thickness of polycarbonate, it was very bendable. It’s much easier to get a straight lines with this method compared to the heating-gun method.
One important factor to get the bending look clean is the timing. If the timing is too short it will be hard to bend and the plastic might break. If it’s to long bubbles will appear.
| Material | Heatingtime [minutes:seconds] |
| Polycarbonate 8mm | 4:00 |
| Polycarbonate 8mm with V-milled 90° angle | 3:45 |
| Polycarbonate 10mm | 4:30 |
| Polycarbonate 10mm with V-milled 90° angle | 4:25 |
| Acryllic plastc 3mm | 1:30 |
Speaker backpack
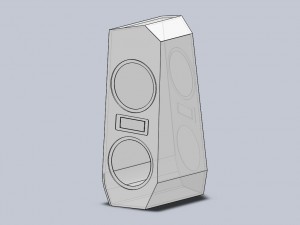
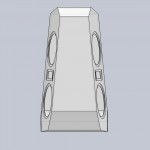
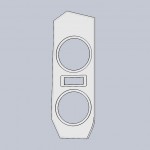
Here is the speaker backpack that me and my friend Vilse is building. The system will be a fully portable PA-system with integrated DJ-booth and lightning-effects.
It will be powered by LiPo-batteries. LiPo-batteries contains high energy relative to the weight.
We estimate that the system will be quite heavy, around 30kg. We will attach wheels on the bottom for easier transport.
Elements
It will contain this elements
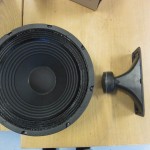
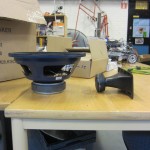
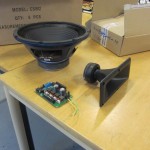
- 4 x P.Audio HP-10W (Link)
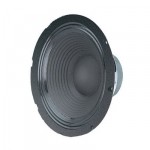
Effect: 100 W RMS
Sensitivity: 96 dB
Frequency range: 50-4000 Hz
Impedance: 8 Ohm
Recommended frequency band: 90-3000 Hz
Qts: 0.40
Vas: 55 L
Fs: 48 Hz
Yttermått: 260mm (10″)
Depth: 125 mm
Weight: 2.8 kg - 2 x Motorola Superhorn A125 KSN1025B (Hifikit Link)
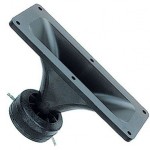
Effect: 300 W
Frequency range: 2000 – 20000 Hz
Distortion at 105 dB: Less than 1%
Känslighet (1m, 1W): 100dB
Weight: 0.130 Kg
Outer dimensions: 188x80mm
Depth: 106mm
Amplifier
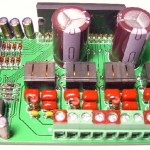
The speakers will be powered by a AMP9 Basic (41Hz Link):
- Four channels of Tripath sound quality, based on Tripath TAA4100A
- Output 4x50W at low distortion, 4x100W peak
- Suitable for low impedance loads, 4 x 2 ohms 12V typical
- Up to 27V supplies make them suitable for 12 or 24V systems
Audio crossover filter
We will be placing a audio crossover (frequency splitter) filter on the signal input before the amplifier.
If we would place the filter after the amplifier we would loose effect, and we want as long battery-life as possible.
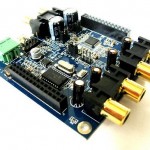
In the future we will use a digital audio crossover, like the miniDSP (miniDSP Link)
Material
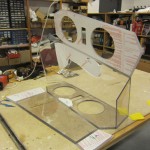
We have choose a pretty unusual material for this speaker, polycarbonate. It’s a material that is easy to work with and it looks great.
What is even more unusual is that we are making a holdable design:
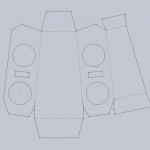
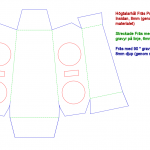
This will give us a almost completely air-tight box, but! it’s going to be really hard to fold it correctly. Therefore we have designed the fold-able lines pre-milled with 90°.
As we don’t have a big CNC-mill, we let the company Plastmästarn mill our project.
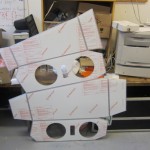
Speaker-box
The speaker-box will contain 94 liters of air.
