Speaker backpack


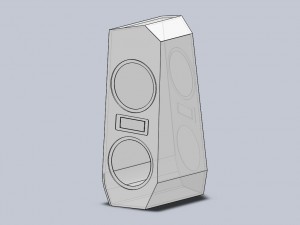
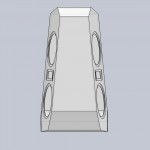
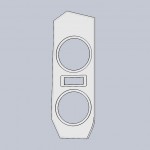
Here is the speaker backpack that me and my friend Vilse is building. The system will be a fully portable PA-system with integrated DJ-booth and lightning-effects.

It will be powered by LiPo-batteries. LiPo-batteries contains high energy relative to the weight.

We estimate that the system will be quite heavy, around 30kg. We will attach wheels on the bottom for easier transport.

Elements

It will contain this elements

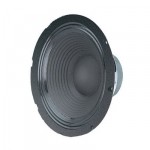
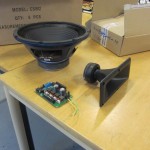
  • 4 x P.Audio HP-10W (Link)

    Effect: 100 W RMS
    Sensitivity: 96 dB
    Frequency range: 50-4000 Hz
    Impedance: 8 Ohm
    Recommended frequency band: 90-3000 Hz
    Qts: 0.40
    Vas: 55 L
    Fs: 48 Hz
    Yttermått: 260mm (10″)
    Depth: 125 mm
    Weight: 2.8 kg
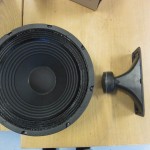
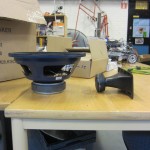
  • 2 x Motorola Superhorn A125 KSN1025B (Hifikit Link)
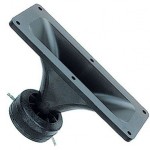
    Effect: 300 W
    Frequency range: 2000 – 20000 Hz
    Distortion at 105 dB: Less than 1%
    Känslighet (1m, 1W): 100dB
    Weight: 0.130 Kg
    Outer dimensions: 188x80mm
    Depth: 106mm

Amplifier

The speakers will be powered by a AMP9 Basic (41Hz Link):

  • Four channels of Tripath sound quality, based on Tripath TAA4100A
  • Output 4x50W at low distortion, 4x100W peak
  • Suitable for low impedance loads, 4 x 2 ohms 12V typical
  • Up to 27V supplies make them suitable for 12 or 24V systems

Audio crossover filter

We will be placing a audio crossover (frequency splitter) filter on the signal input before the amplifier.
If we would place the filter after the amplifier we would loose effect, and we want as long battery-life as possible.

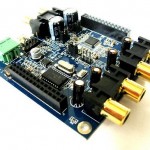
In the future we will use a digital audio crossover, like the miniDSP (miniDSP Link)
Material

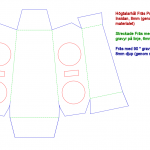
We have choose a pretty unusual material for this speaker, polycarbonate. It’s a material that is easy to work with and it looks great.

What is even more unusual is that we are making a holdable design:
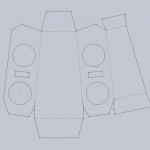
This will give us a almost completely air-tight box, but! it’s going to be really hard to fold it correctly. Therefore we have designed the fold-able lines pre-milled with 90°.

As we don’t have a big CNC-mill, we let the company Plastmästarn mill our project.
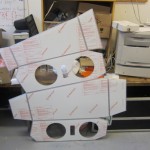
Speaker-box

The speaker-box will contain 94 liters of air.
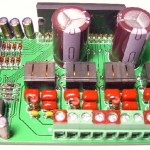
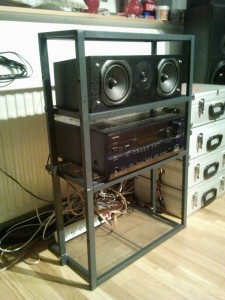
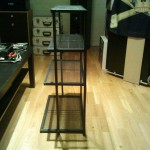
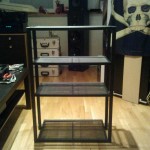
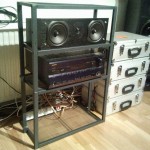
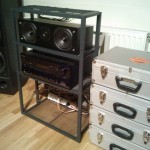
Ikea-hack Lerberg receiver stand


I’d this idea of a new receiver stand in my head, paralleled legs in a slight angle with different shelves.
So I browsed a little on Ikea and find the Lerberg-shelf (http://www.ikea.com/se/sv/catalog/products/70114753/), it was almost exactly the way I imagined it in my head. I thought if I could bend the back legs it would be nice and my maybe shorten the legs.
It’s much easier to modify an existing product than creating a totally new one, so I decided to buy it.


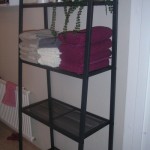
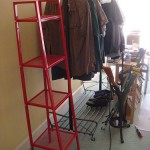
Here are two examples of how the shelves looks like non-modified.


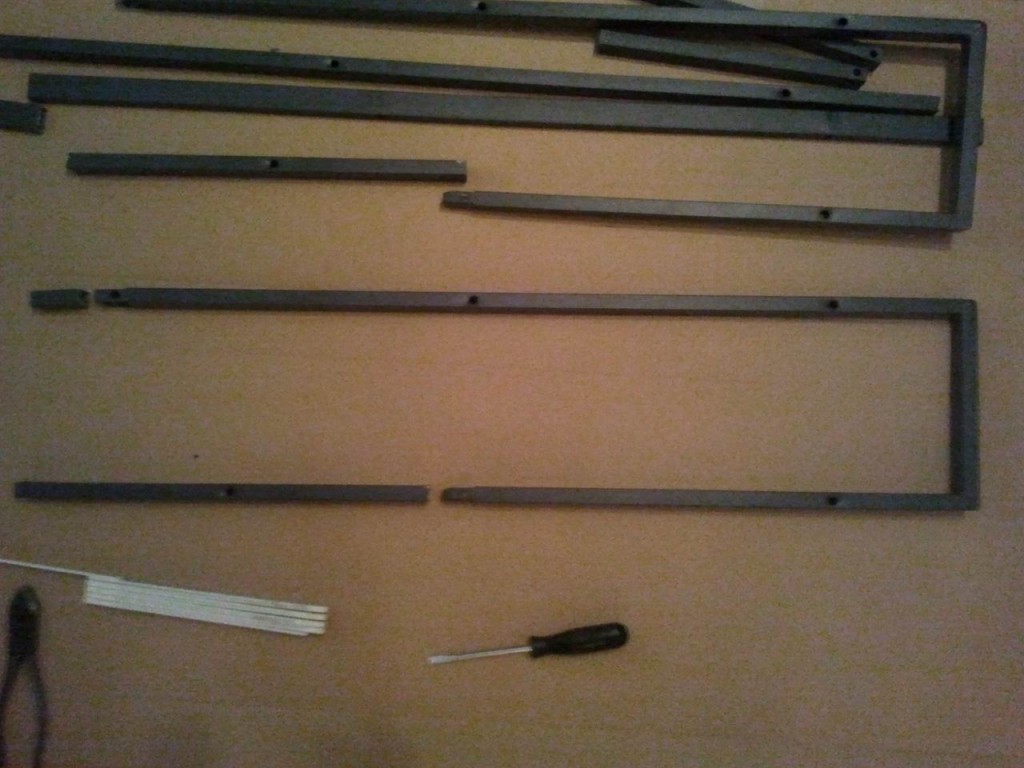
I cut out the legs to make it shorter and bent the back legs.


I attached the bottom shelf to get a feeling how it would be.


Screwed the rest of the shelves on.


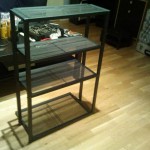
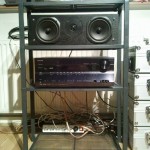
This is the finished result.
It turned out pretty good. It is more stable than anticipated and could maybe even hold a 42″ flatscreen.

Shooting aluminium with a large capacitor-bank

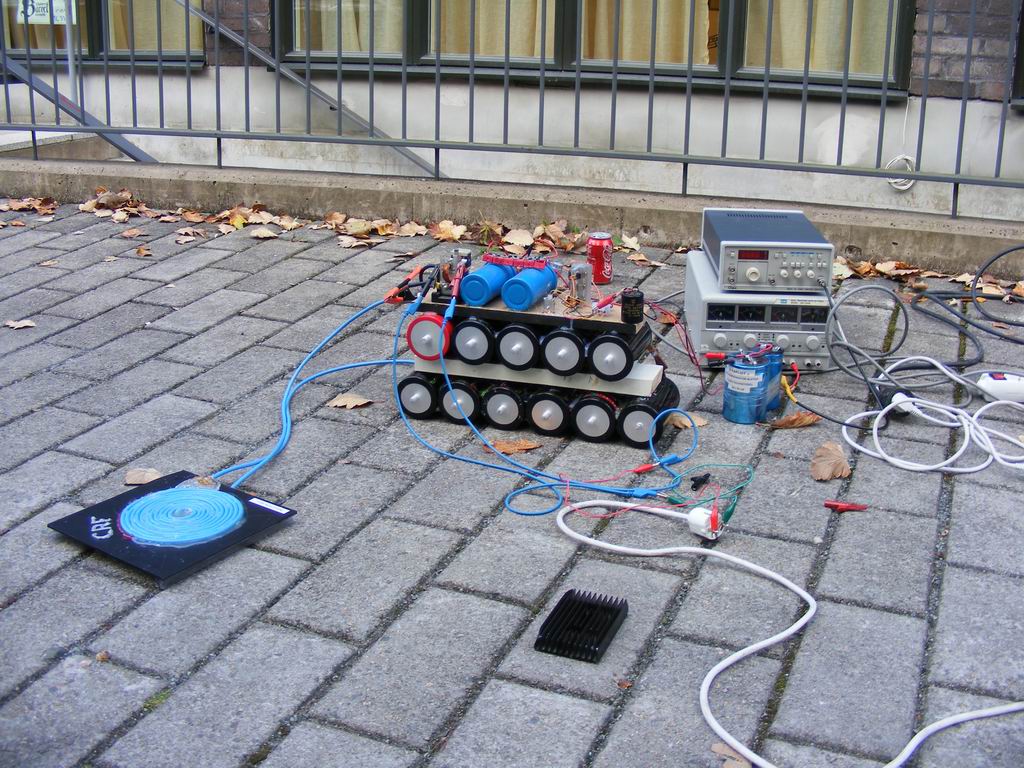
Påsse at CRF buildt a big capacitor-bank that could be charged with very much energy.
The capacitors are connected in series to a coil of very wide cable. When the energy is released to the coil it generates a gigantic magnetic field in a few milliseconds.


The  aluminum-disc are shot in the air. We calculated it flow about 20 meters straight up in the air.

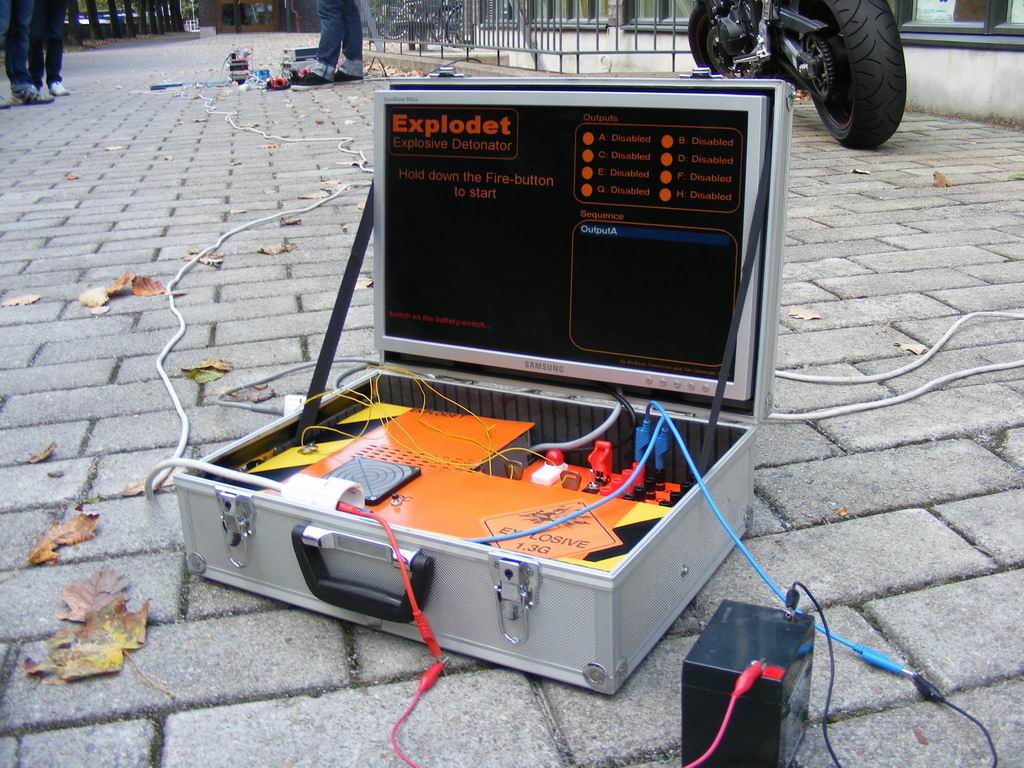
The capacitor-bank is fired by Exploded.

RoBot (IRC-Bot, More than just chat)

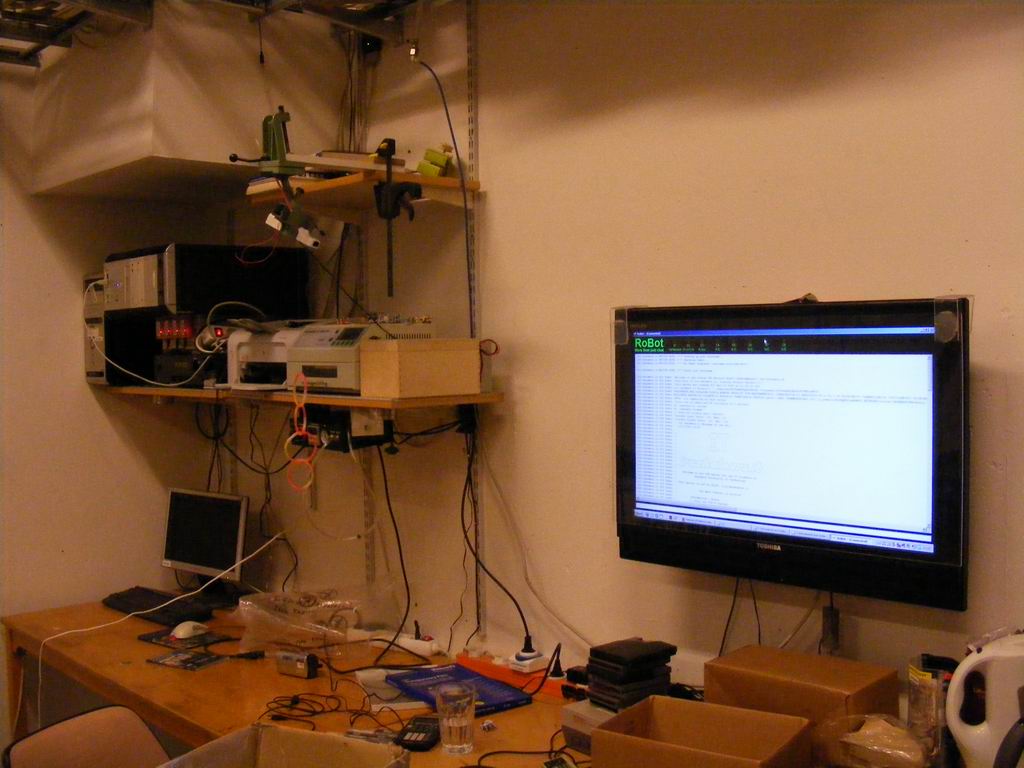
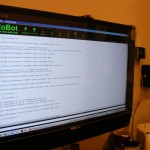
RoBot is a IRC-bot that fades the boundarys between the online-world and the physical. At CRF (Chalmers Robotics Society) we have that problem that people is to busy making robots that we dont notice the IRC-messages that are coming in on our TV-computer. RoBot is looking for certain keywords in the #CRF-channel. So if anyone really want attention in the workshop all they has to do is write tvdatorn (swedish for tv-computer) and blue lights will start flashing and a buzzer will beep.
RoBot (IRC-bot that connects)

RoBot is a IRC-bot that fades the boundary’s between the online-world and the physical. At CRF (Chalmers Robotics Society) we have that problem that people is to busy making robots that we don’t notice the IRC-messages that are coming in on our TV-computer. RoBot is looking for certain keywords in the #CRF-channel. So if anyone really want attention in the workshop all they has to do is write “tvdatorn” (swedish for tv-computer) and blue lights will start flashing and a buzzer will beep.

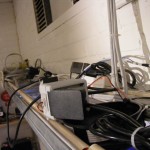
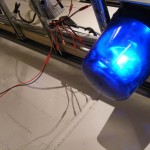
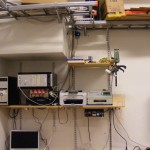
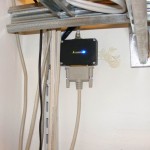
This is how the workshop looks like and when the lights turn on.

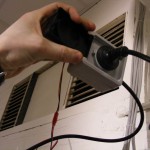
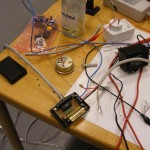
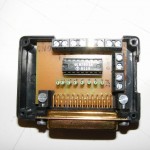
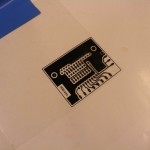
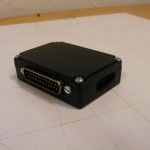
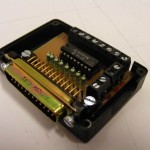
J.K.Abrams has built a device to trigger external devices with 5V from the LPT-port (also known as the Printer-port). He uses a Darlington-amplifier to amplify the signal-outputs from the 8 output-pins on the LPT.
The 5V output can be used to drive a relay that triggers a blue flashing light for example, or a buzzer.

J.K.Abrams LPT-trigger-thingy showing its guts. Eagle-schematics will soon be up…

On CRF’s webpage thare’s a webcam, we have integrated a webbased chat-client for those who don’t use IRC regularly and still want to interact with the people in the workshop.

The source-code and executables for RoBot is available here (VB6 zip), it’s written in Visual Basic 6 and basically acts like an ordinary IRC-client.

I-Are-Bot Ramp

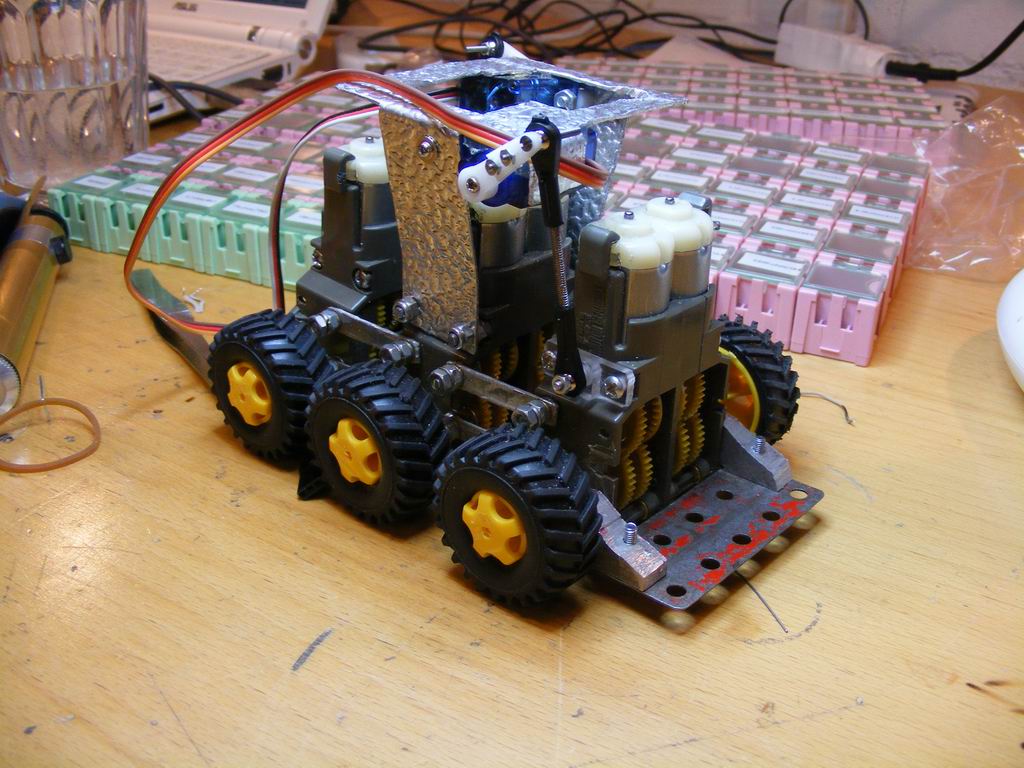
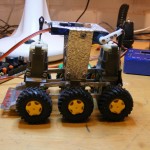
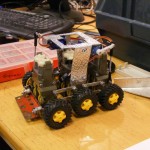
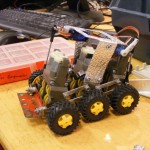
I-Are-Bot needed a ramp so I started working on some prototypes. The idea i got from a forklift, use the weight of the machine to lift. By tilting my servos up an down I can change the angle of the ramp and thereby lift an opponent.
The first two prototypes was discarded as they were too unstable and weak, but the third one turned out pretty well.

The two aluminum profiles attached to the ramp are mounted on the wheel-axis and can be folded. In a angled outright position the ramp touches the side of the gearbox and constrains the ramp to go further down. In a folded state the ramp looks pretty slick, but the ramp prevents the lifting-arm from going up and down. The solution to this was to mount the lifting-arm further up. To do this I’d to build a extra mount, I saw a perfectly good reason to practice my CNC-skills and started CAD:ing.

The ramp can hold much weight, I’ve tried weights around 300g.

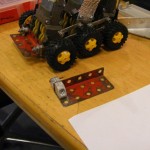
The prototypes.

I-Are-Bot’s new PCB

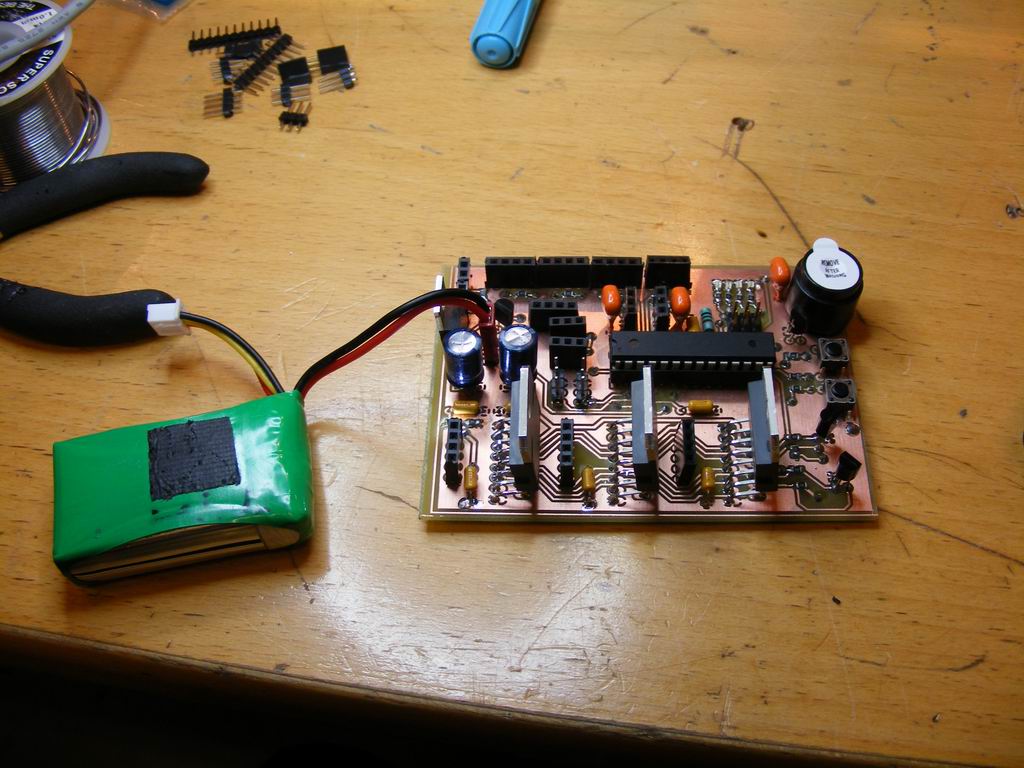
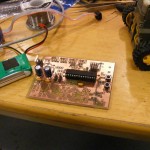
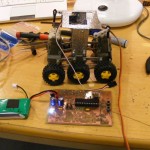
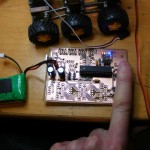
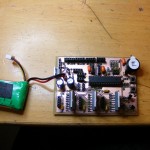
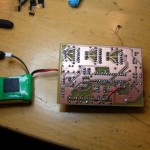
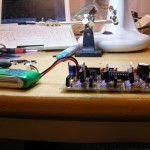
To drive all 6 engines of the same H-bridge is not recommended, it tends to get hot, pretty hot. I was thinking of make a extension card with three H-bridges on it, but then I’d have some weight issues with my bot, it has to weigh less then 500g. The solution was to build a new PCP with htree H-bridges.

Because I never have created a PCB before I was a little bit unsure of how to do it and if I would do any errors. But I’d much help from folks at CRF and it turned out to be a win!

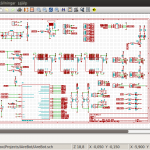
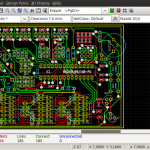
Benjamin at CRF showed me KiCAD which is a great program. It is very user-friendly and you’ll get started quickly. Here’s a great tutorial for KiCAD from CuriousInventor.com.

I drawed the schematics nearly exactly the same as on the Introkit09, but i added two extra H-bridges (L298).

I got a little bit help from Benjamin and Victor to print and make the PCB.

All my resistors and LED’s is surface-mounted so I was a little bit worried that I would have problems while solder. I then watched “Surface Mount Soldering 101″ from CuriousInventor.com and started solder, it turned out to be very easy.

I soldered LED’s with different colors on my PCB, i thought it would be much easier when debuging. I also made up a new ISO for Power-indicators, white LED’s, white! 🙂