Interactive LED balancing board

A video posted by Tim Gremalm (@timgremalm) on


IMG_6636
IMG_6637
An interactive game were the visitors can build complex structure with help from an interactive LED balancer.
The installation was part at Vetenskapsfestivalen.

It’s a project by Stig Anton Nielsen read more about it in this post.

TeiSteadyBuilds from stig anton nielsen on Vimeo.

IMG_6645

A video posted by Tim Gremalm (@timgremalm) on

IMG_6638IMG_6643IMG_6644

The loadcells is build from 16 layers of conductive carbon packaging film. The recistance ranging from 500k to about 450 Ohm loaded at 8kg. Because it’s a so huge range the loadcells can be directly hooked up in a voltage divider, no amplifiers needed.
3 load cells us used to detect the direction and force of the balance. They are really sensitive to touch, small pressures from fingertips will be easily detected. A backside is that the film tends to be squashed so that it takes long time form the form and resistance to return.
The value from the 3 loadcells is arranged in 3 forces 120 degrees apart. The Forces is calculated into a resultant that is describing a thrust vector.
The thrust vector is indicated with a led strip of addressable WS2812 LED light. The stronger the force, more inbalanced, the greater the red marking will grow.

Att this Google Drive document I’ve collected som measuring data from the loadcells. There’s also some information of how the resultant is calculated.

Festivalljus – Lighting

IMG_3889
Regarding the lighting, the last few months I’ve been researching different kind of LEDs and optics.
Our goal is to get really narrow spotlight, maybe 6-10 degrees, and it’s really hard to get a narrow beam like that.

There exists a few models of 5/10mm hole mounted LEDs with build in focusing-optics right into the housing (http://www.ebay.com/itm/310181790384). Those LEDs makes a narrow ~13degree beam which is nice, but the RGB-colors are separated.
When you build an array of small LEDs like this it’s working quite well, but it’s not a perfect spotlight as it casts RGB-shadows (like this http://www.lungstruck.com/wp-content/uploads/2013/06/IMG_1965.jpg).
IMG_1965
Another bad thing with smaller LEDs are that it’s hard to get bright enough. If I were to but in 192 5mm LEDs it would only give me 15W of LED power.

Another LED-type that I’ve looked into is big 50W LED-arrays (http://www.ebay.com/itm/380676009599) with complementing 78mm lenses.
These types of LED-arrays give out it’s own LED-pattern when focused narrow enough. You can solve this by adding a diffuser close to the LED-array.
But you would have to add two 78mm lenses to focus down the beam. The narrow beam is the best so far, really crisp and around 6 degrees.
The bad thing is that it weights to much for my small construction, and also it brings upp the cost per unit really much.
Another bad thing is that you’ll need active cooling, which also adds to the weight. I used an ordinary CPU-cooler for desktop-computers.

The latest LED-type I’ve tried is 3W Star High Power RGB (http://www.ebay.com/itm/160582419768).
Ontop of that I’ve placed a special lens called a Collimating lens. Collimating lenses are directing beams from different angles straight into a column of light, it’s best described by this picture (http://www.laserfocusworld.com/content/dam/lfw/print-articles/2012/06/1206LFWnews05web.gif).
1206LFWnews05web

The lens I tried also have a built in reflector (http://www.ebay.com/itm/390625279166).
This is the best solution for my project so far. I weighs almost nothing, gives me 50W of power in an array of 16 LEDs.
A negative thing about the collimating lens is the beam is much more fuzzy than the two above LED-types. It gives out a narrow beam, but there is a lot of light leaking through around the beam.

IMG_3867
IMG_3868_annotation

Kodar-Lan – Tema: Raspberry Pi I/O den 15:e juni


Min polare Jens och jag startade ett nytt event för några månader sen. Tanken var att dra ihop ett gäng utvecklare och lära sig nya programmeringsspråk och vidareutveckla våra kunskaper. Så blev “Kodar-lan” till.
Vi har hittills haft ett Kodar-lan där vi lärde oss Android-utveckling och Python-programmering.

Den 15:e juni är det dags för nästa Kodar-lan med tema Raspberry Pi – I/O.
Vi kommer mjukstarta dagen med att installera ett operativsystem på Raspberry Pi för att sedan glida in på en snabb Python-introduktion.
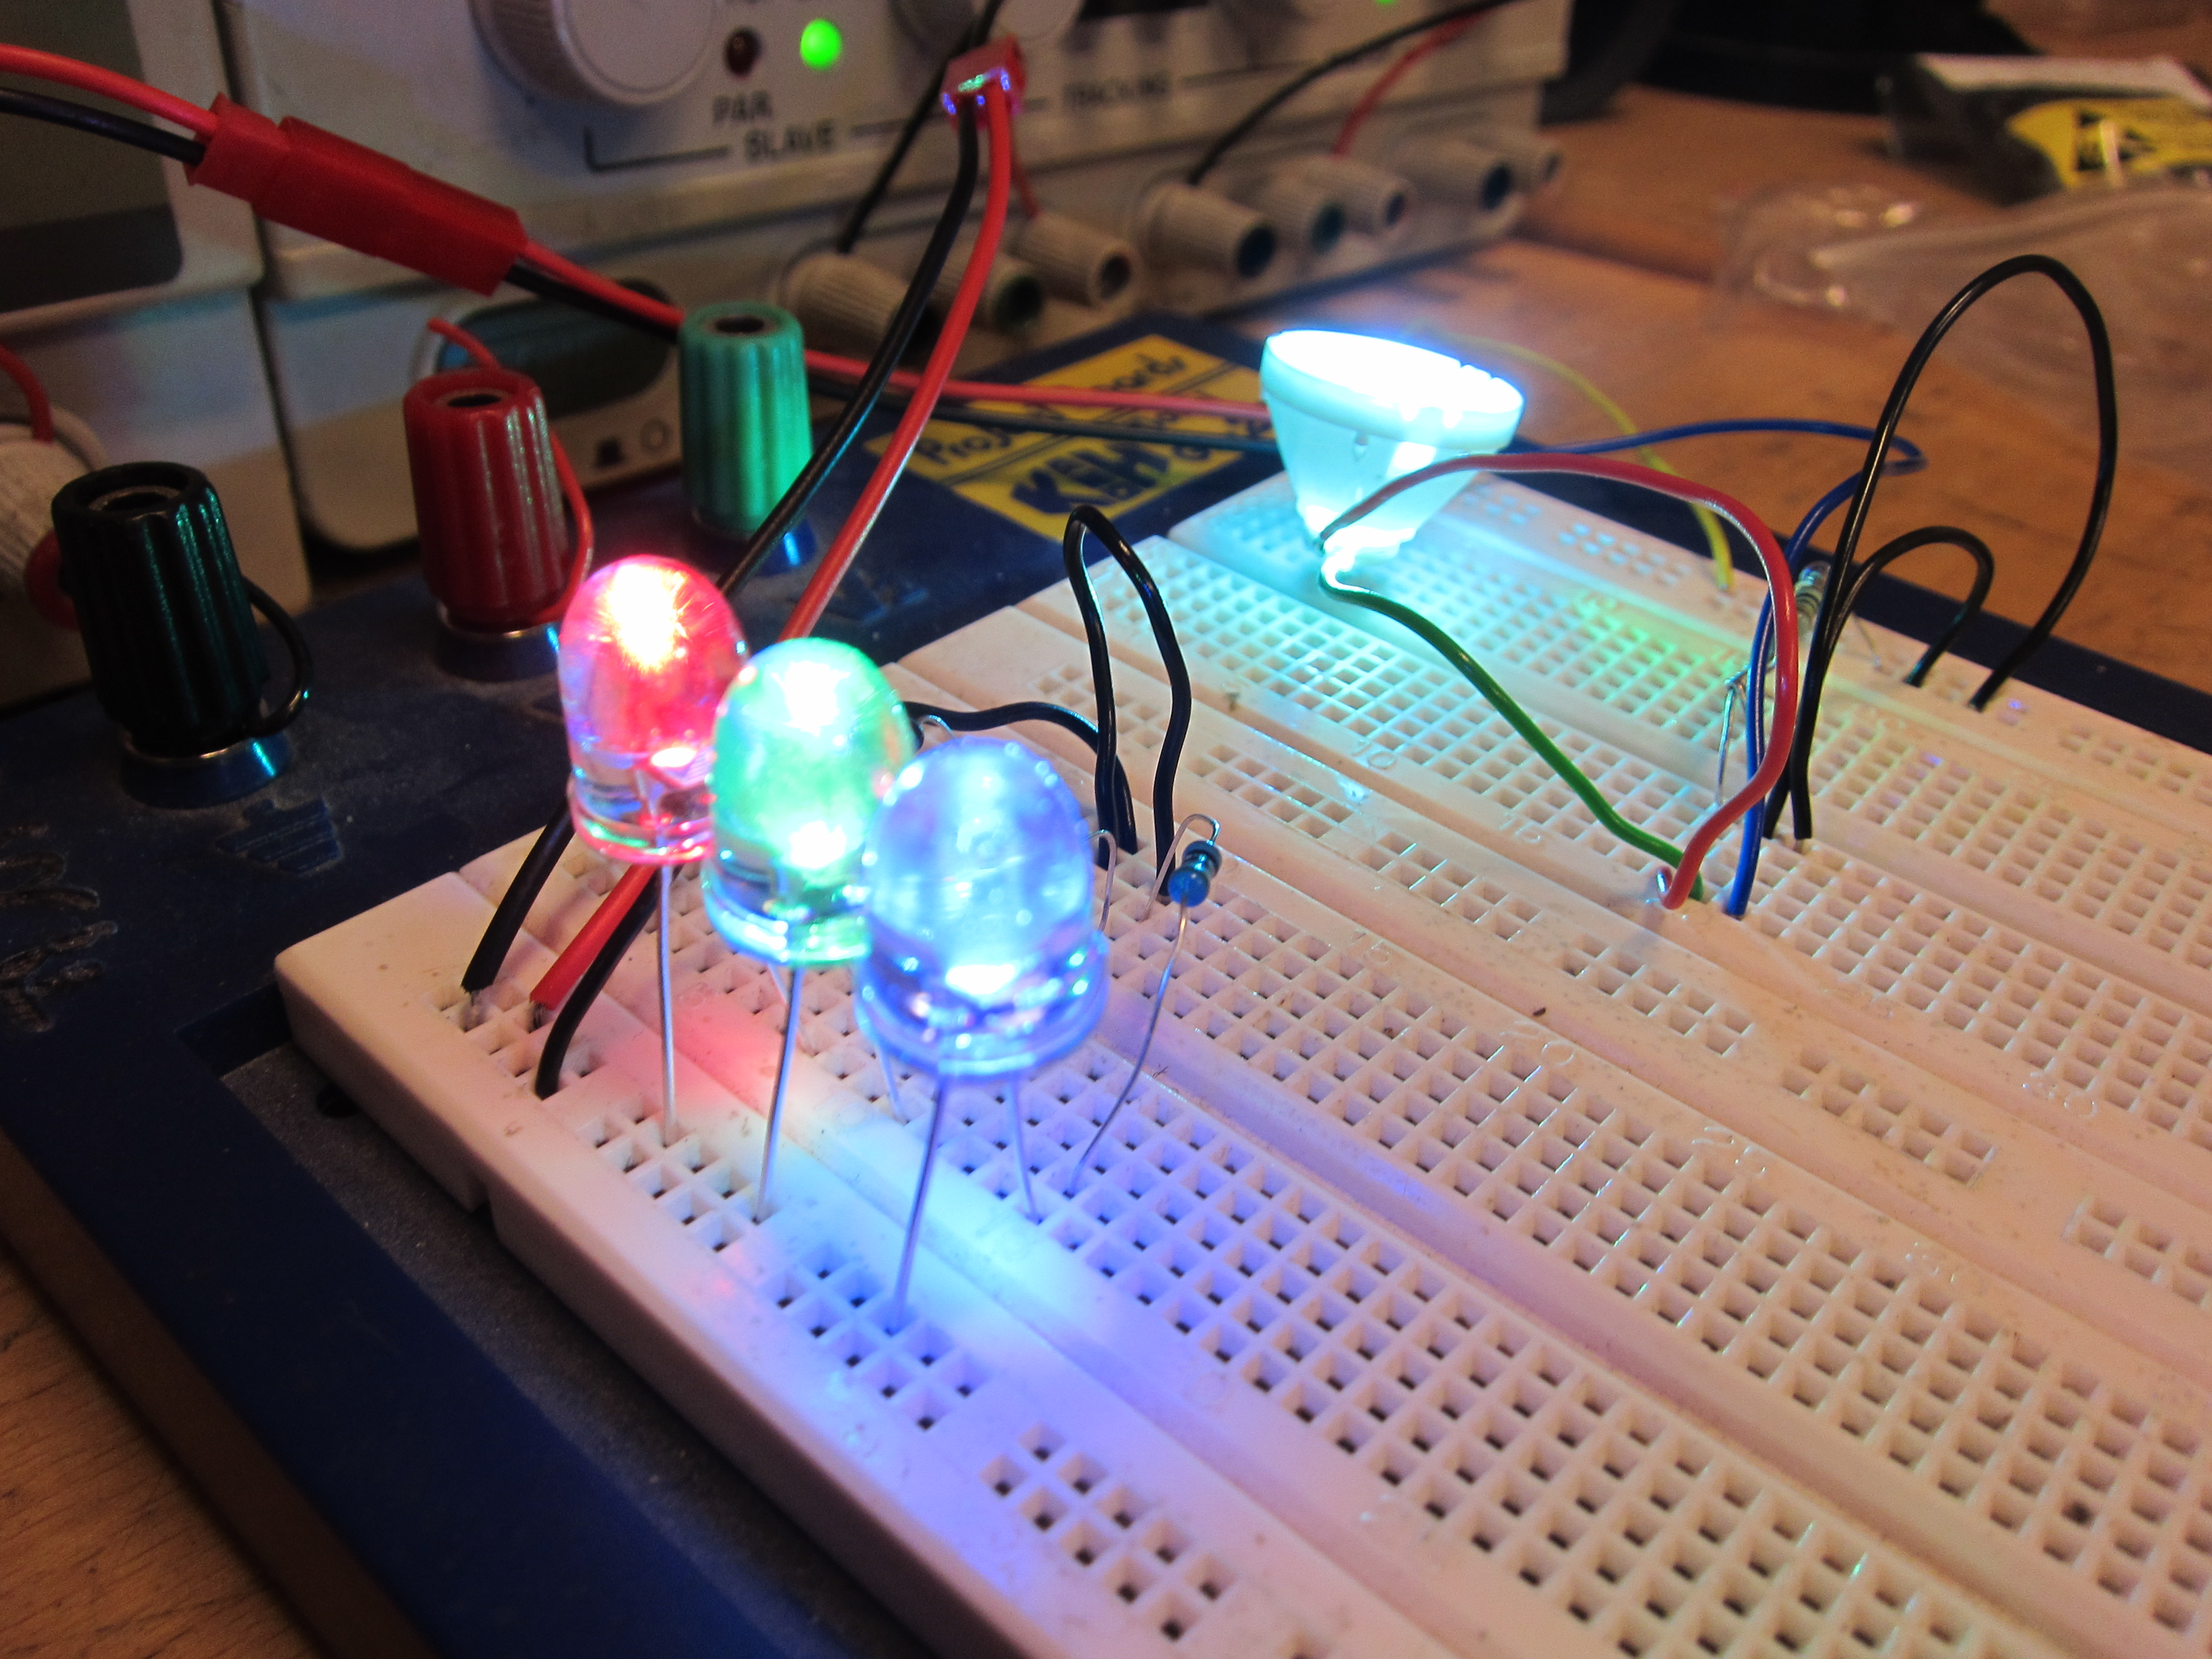
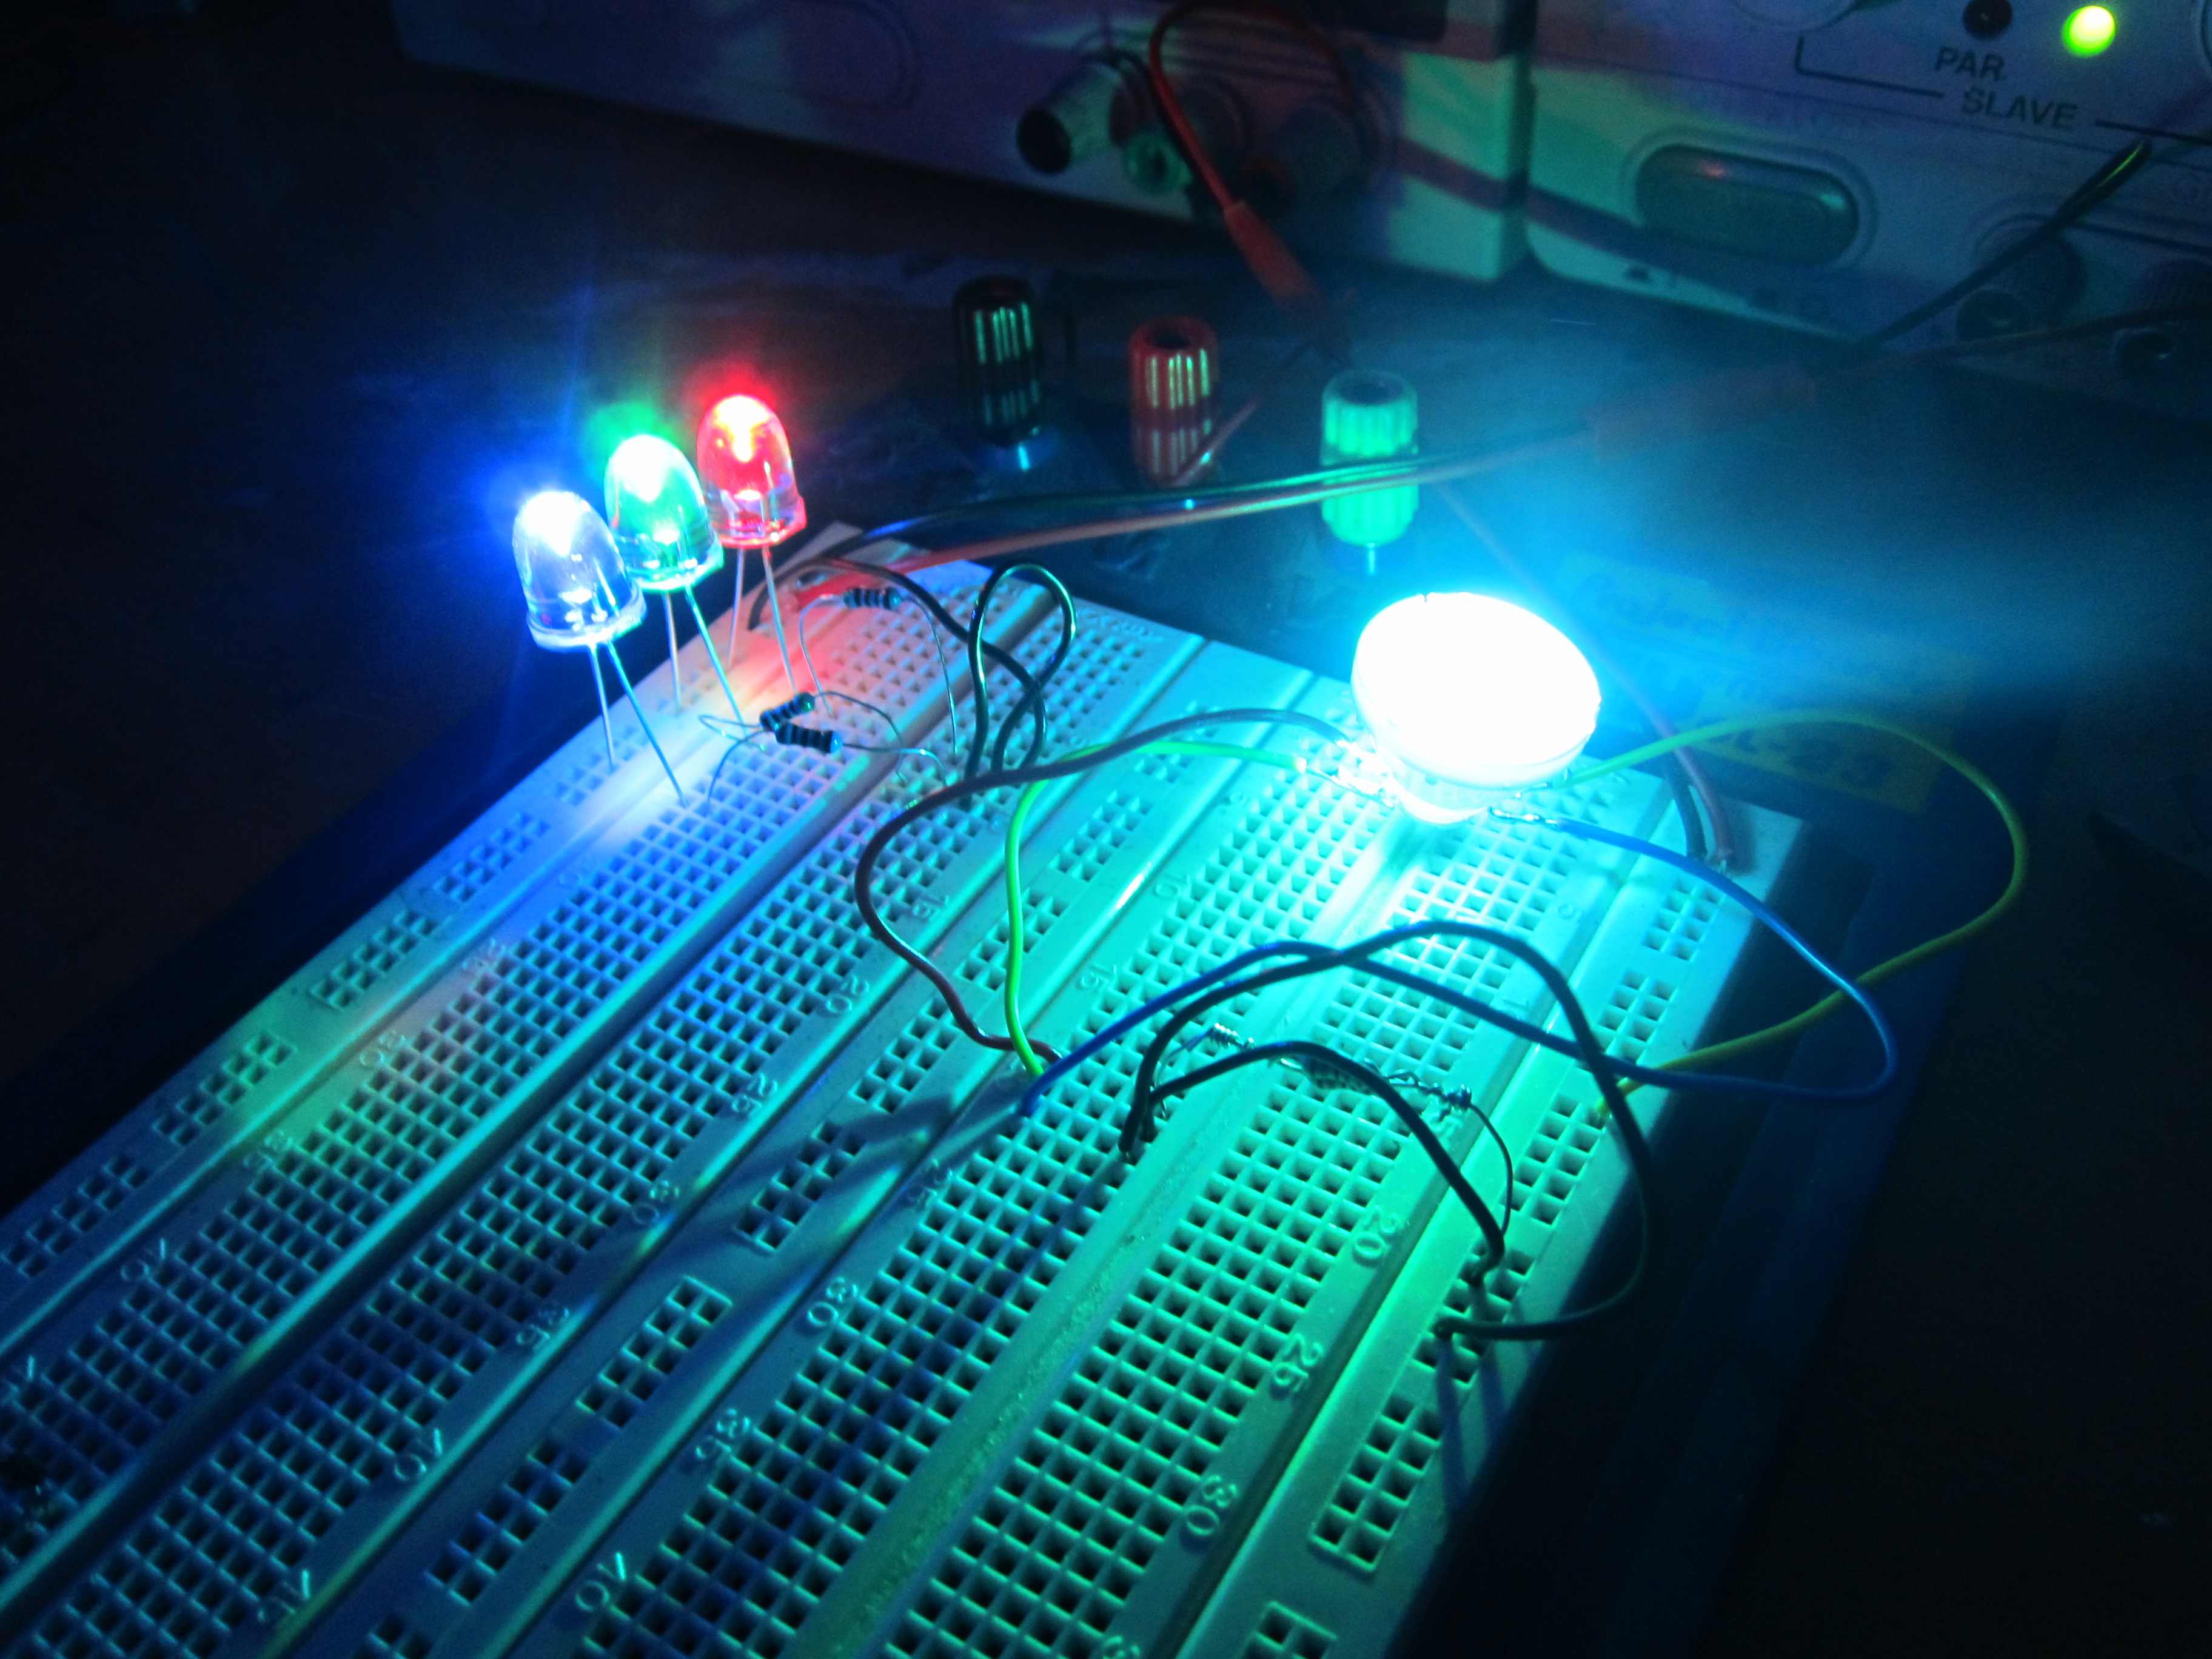
Sedan kommer vi hålla workshops i att koppla in lysdioder, reläer och transistorer, motorservos. När alla workshops är avklarade så kommer är det dags för Python-freestyle där folket släpper loss sin kreativitet och skapar!

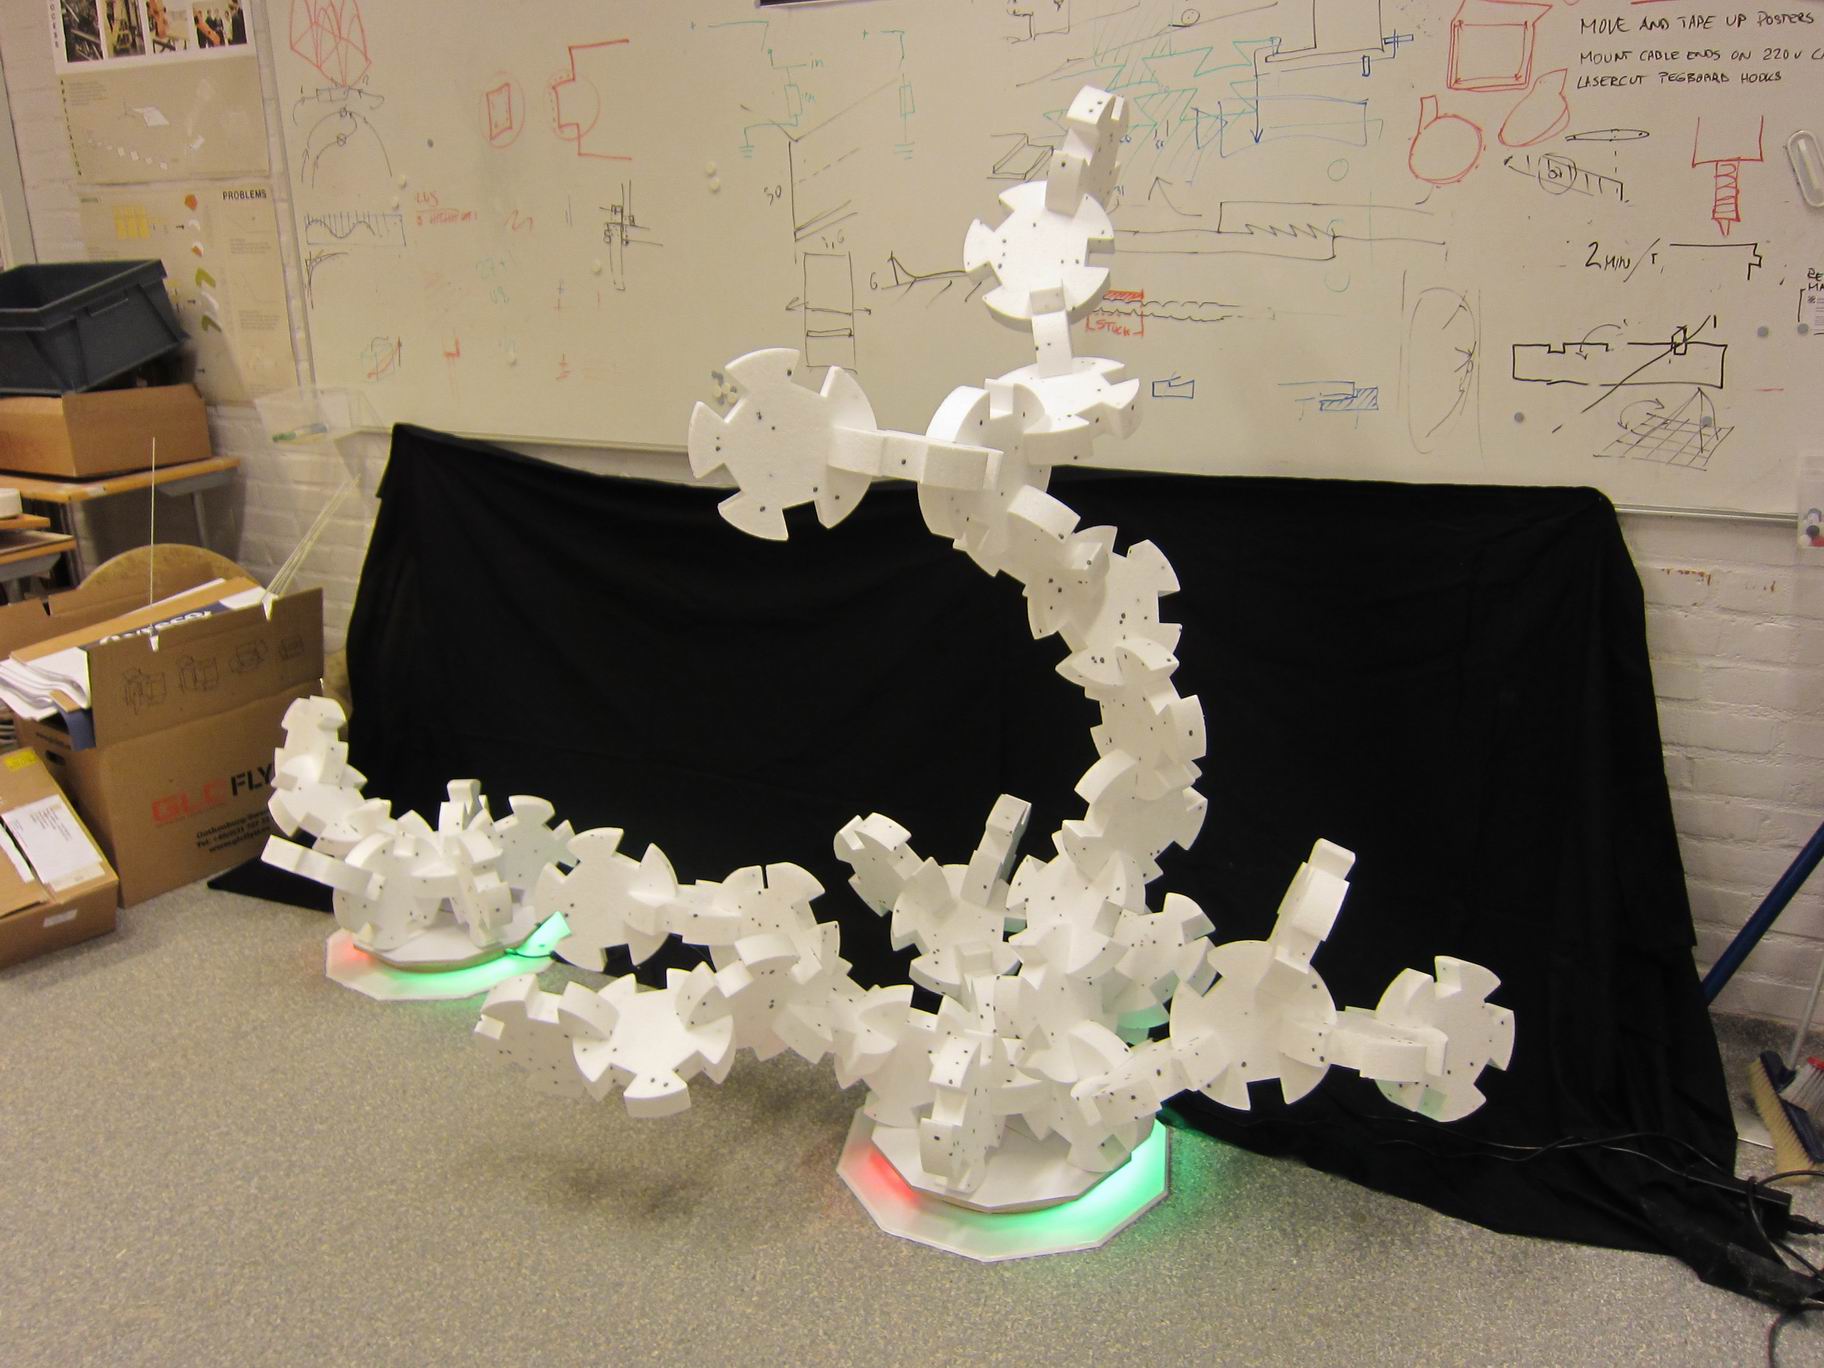
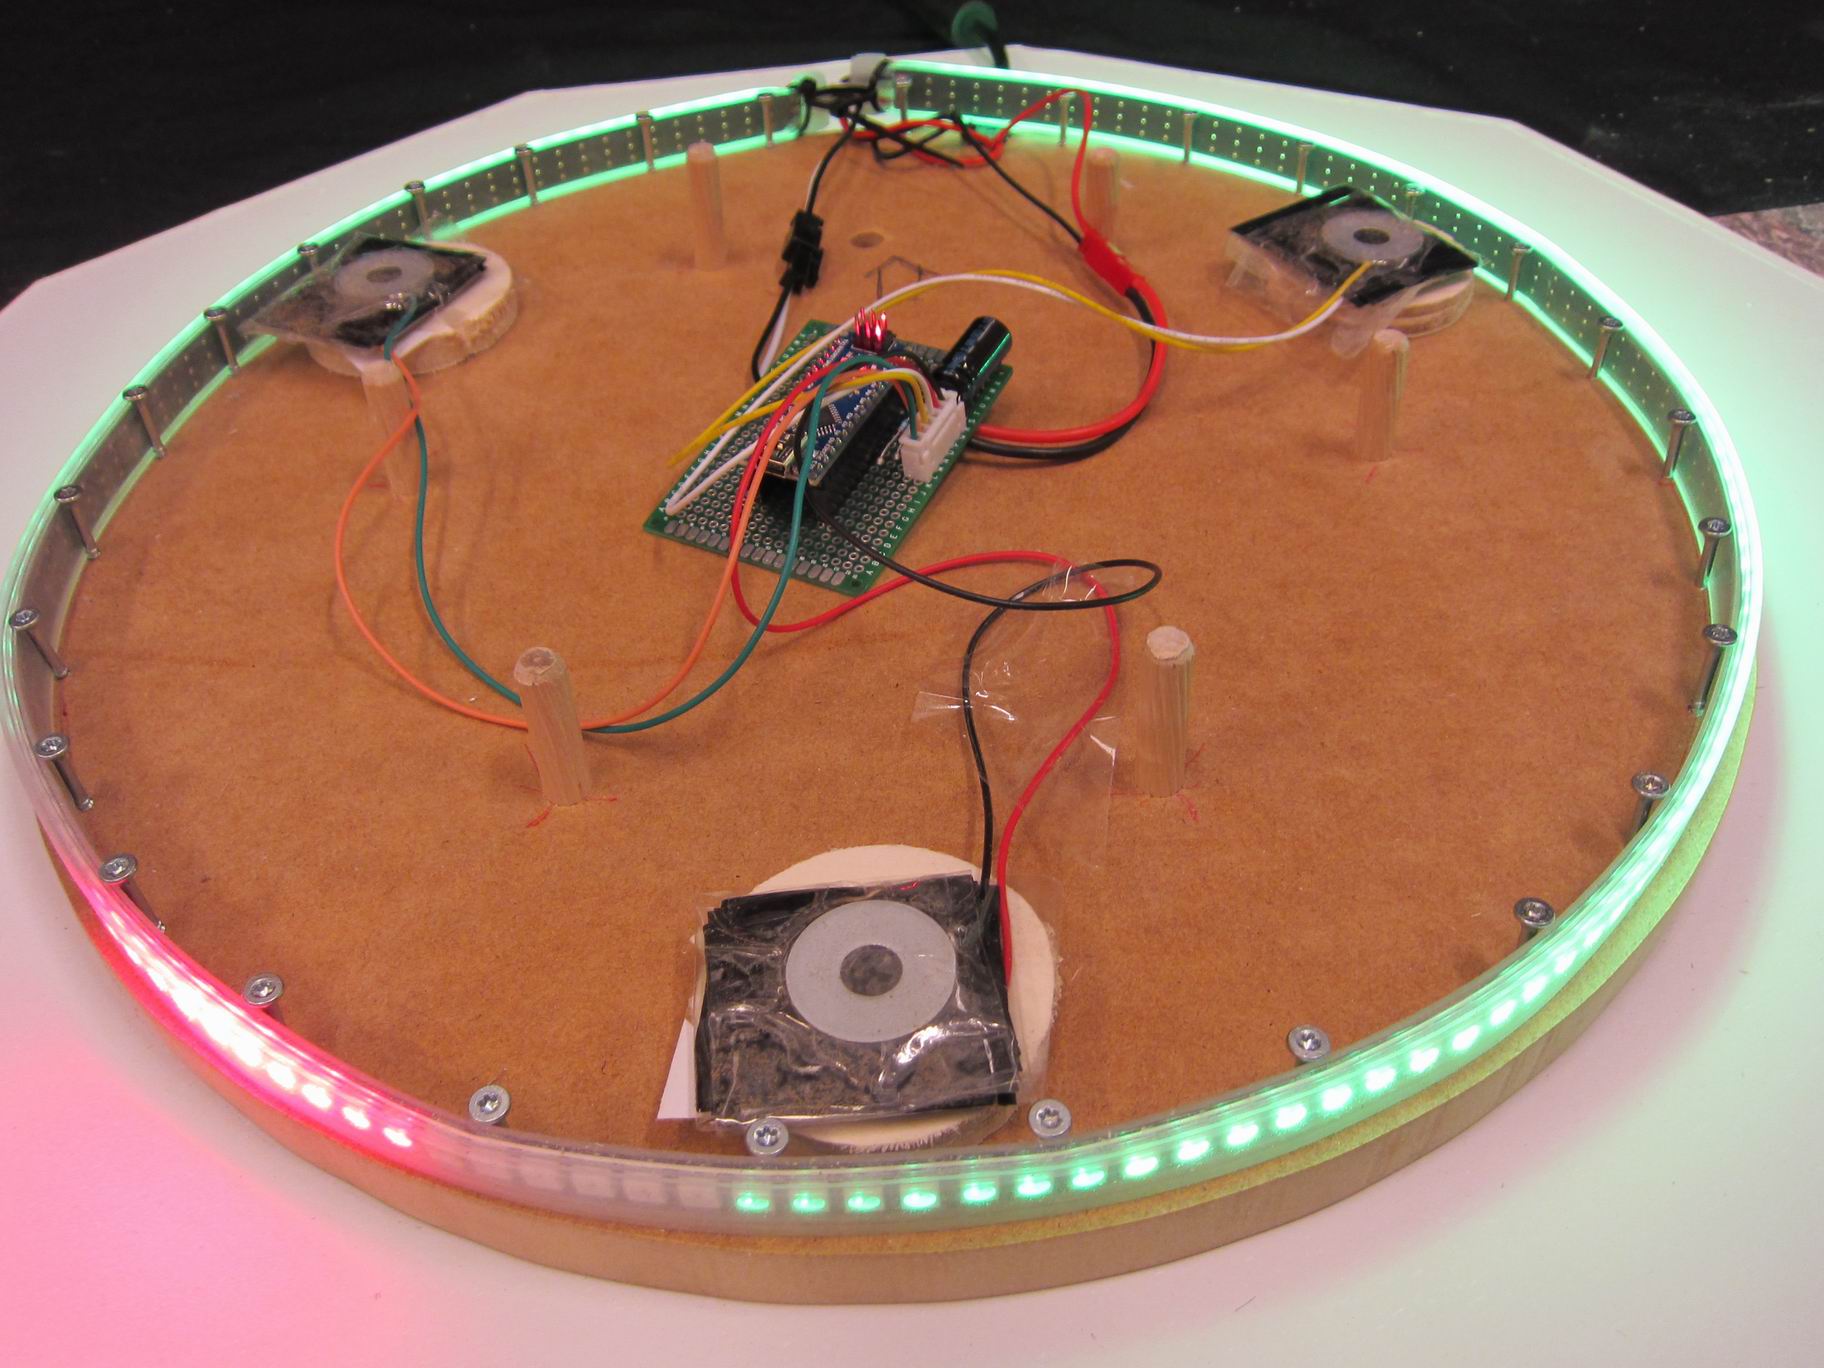
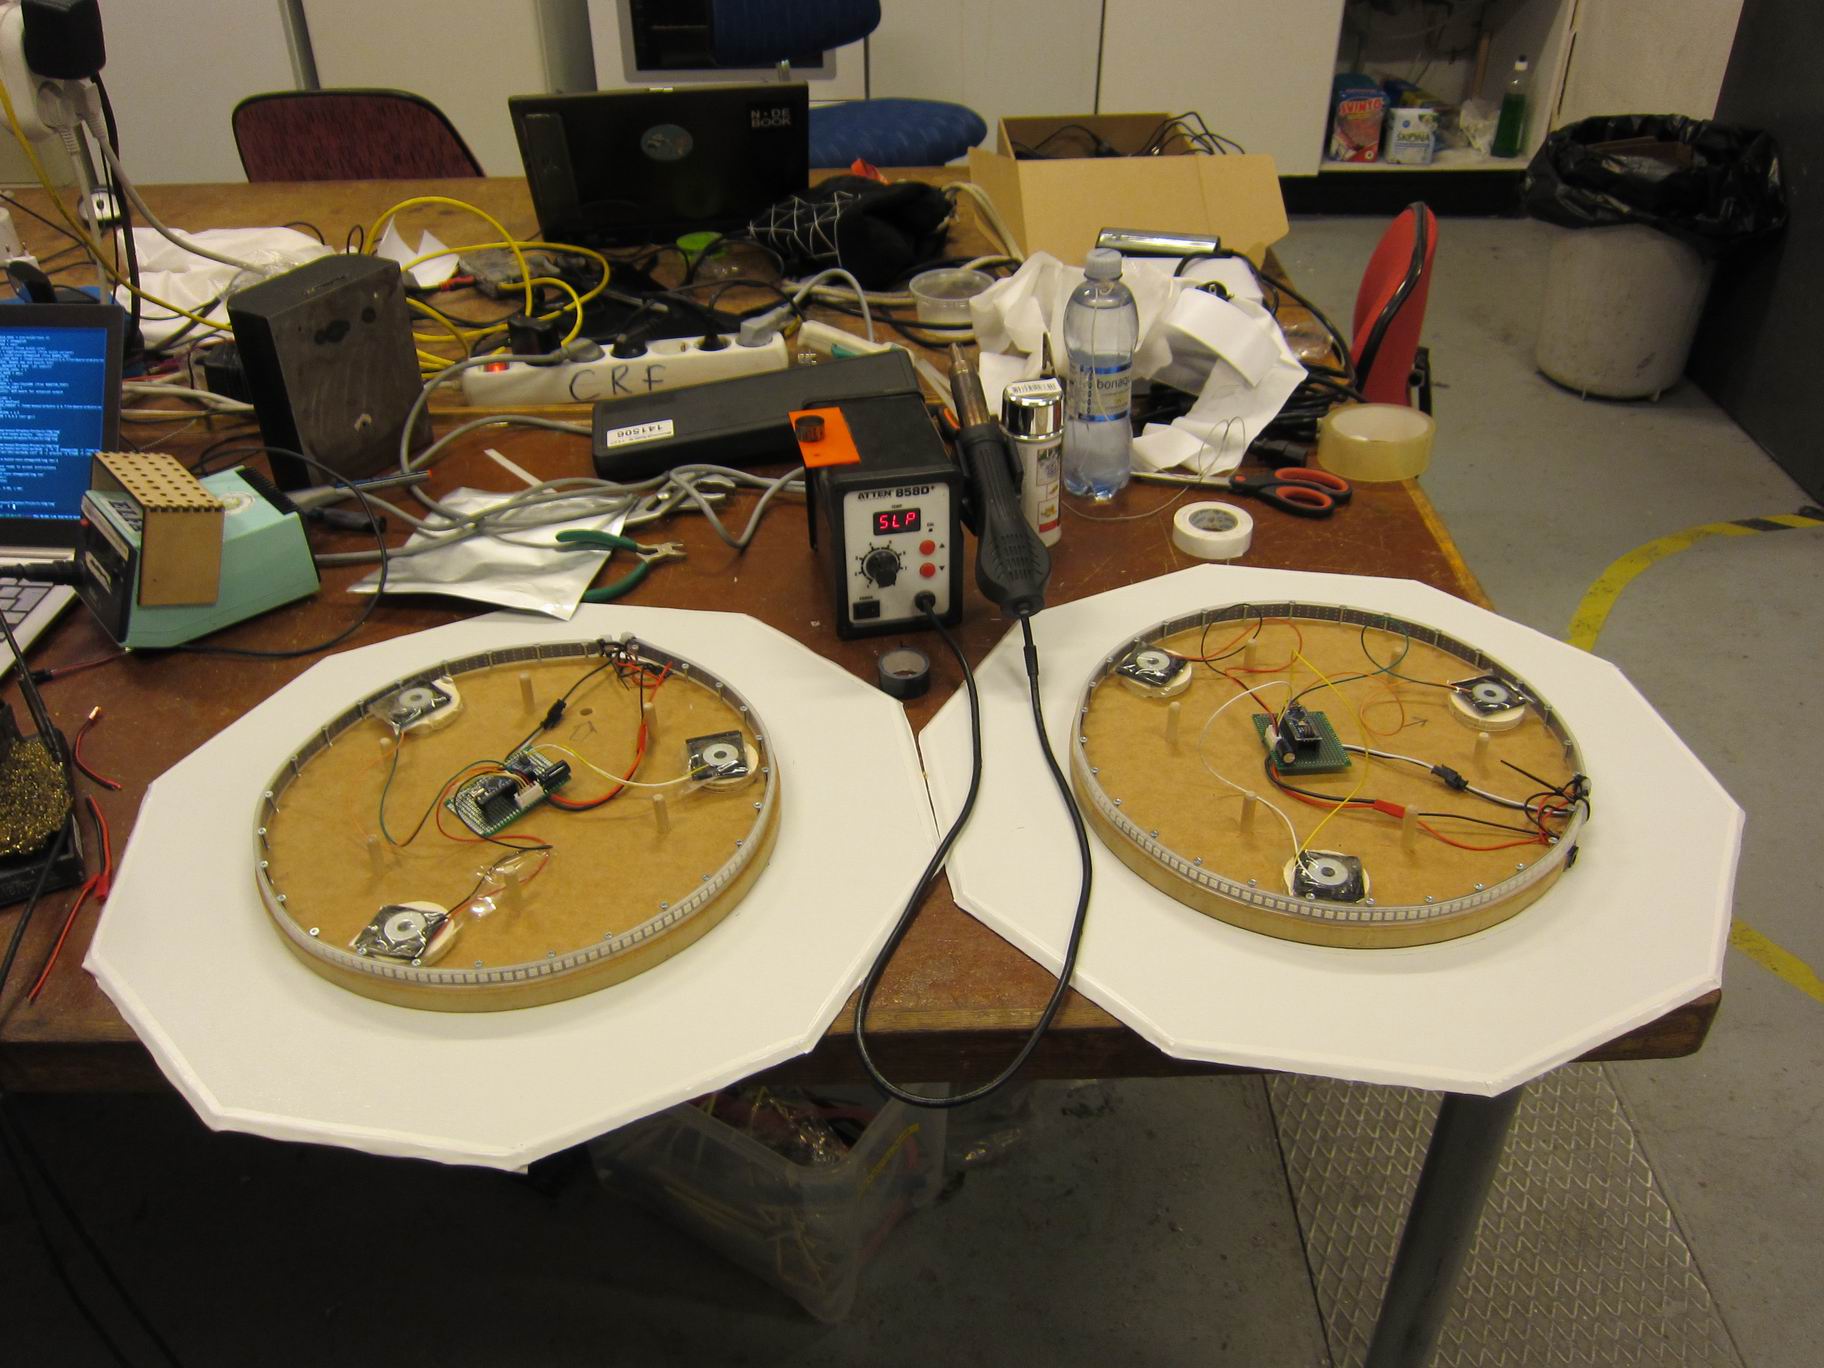
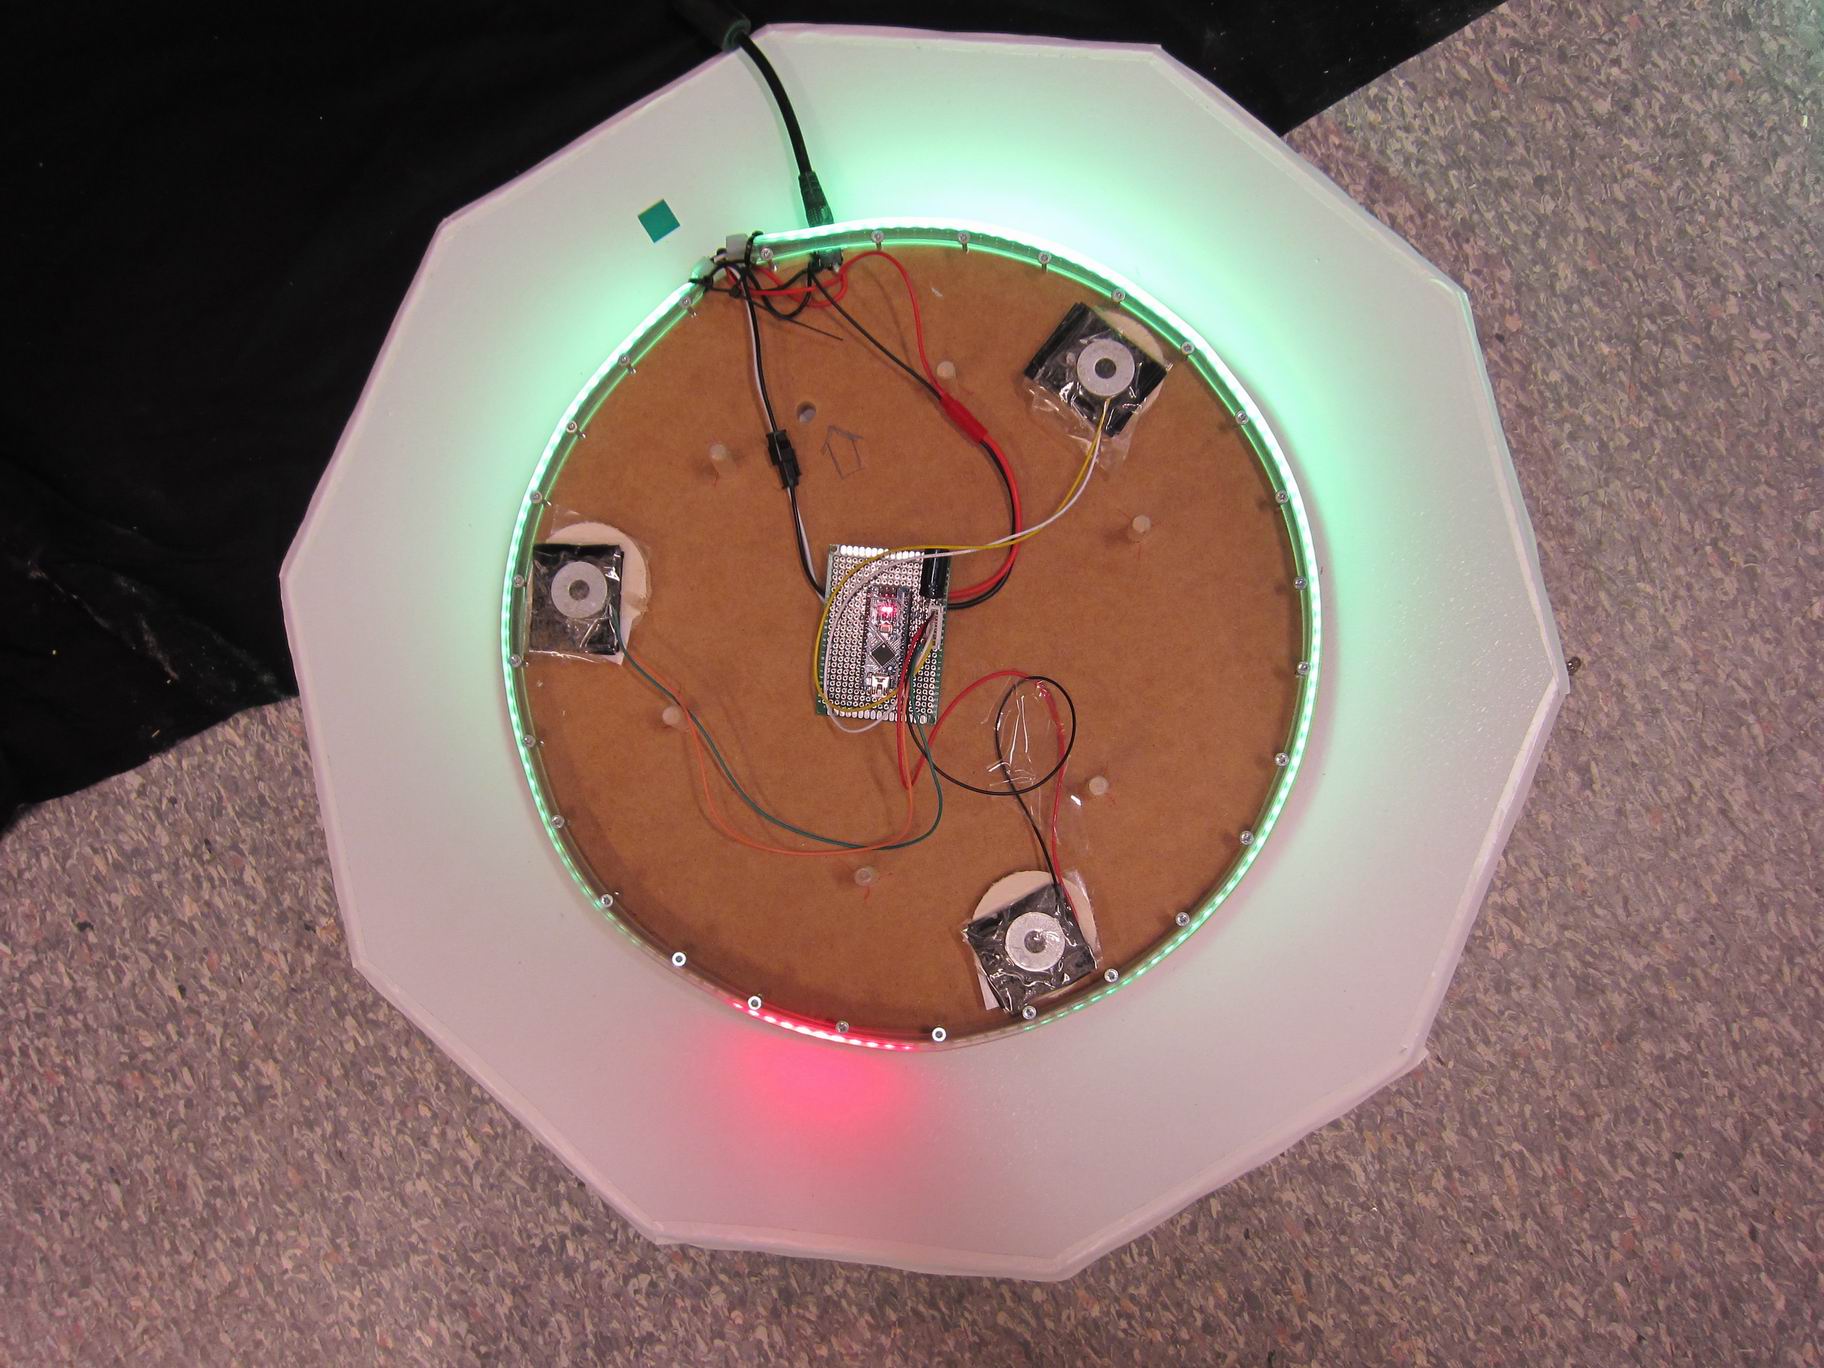
Vi kommer att hålla till i Chalmers Robotförening, där finns tillgång till arbetsstationer, verktyg och lödutrustning. Mer om utrustning och rekommendationer står under Facebook-event:et ().

För dom som vill, så kommer vi även att laser-skära ut chassin till Raspberry Pi:n för en liten materialkostnad på 20kr.

Kodar-lanet är gratis och alla programmerare/hackers/makers/IT-ninjas/nyfikna är välkomna!


View Larger Map

Program:
14:00 – Uppsamling
14:30 – Introduktion till Chalmers Robotförening – Ett hackerspace (Tim)
15:00 – Raspberry Pi – Installation & konfiguration (Johnny)
16:00 – Python – Introduktion (Johnny & Emma?)
16:30 – Elektronik – Introduktion (Tim, Sven & Sternå)
17:30 – Raspberry Pi – Workshop med lysdiod (Tim & Sven)
18:30 – Raspberry Pi – Workshop med servo (Tim & Sven)
19:30 – Raspberry Pi – Workshop relä med hjälp av transistor (Tim, Sven & Sternå)
20:30 – Skära ut ett chassi med laserskärare i PET-plast för 20kr (Tim & Gurgalof)
21:30 – Raspberry Pi – Koppla in externa enheter och kommunicera med GSM-modul
21:30 – Raspberry Pi – Som mediacenter (XMBC) (Vem?)
22:30-06:00 – Python freestyle!

Utrustning du bör ta med inför kodar-lanet:
* Laptop
* Raspberry Pi
* Nätverkskabel
* SD-kort 4GB (minst)
* Micro USB-sladd
* SD-kort-läsare (ej nödvändigt, det finns att låna med risk för kö)
* Breadboard (ej nödvändigt, men det underlättar, http://en.wikipedia.org/wiki/Breadboard)
* 40 pinnars IDE-kabel (gör det lättare att koppla)

Utrustning för dom som inte gillar att jobba via terminal och föredrar grafiskt gränssnitt:
* Tangentbord
* Mus
* Skärm med DVI eller HDMI-ingång
* HDMI/DVI-kablage
* HDMI2DVI-adapter

Om ni skall köpa saker kan det vara värt att kolla här för att se vilka saker som är kompatibla med RPi:
http://elinux.org/RPi_VerifiedPeripherals

På CRF finns följande Elektronik-komponenter att köpa billigt:
* Motstånd
* Kondensatorer
* Lysdioder
* Intro-kit (Aurduino Uno-like) för den som vill avancera
* Krympslang
* Skruvar, muttrar
* Aluminium
* Polykarbonat
(Handlas med kontanter, mynt)

Ett workshop-kit kostar 20kr och innehåller:
* ~8 resistorer
* 1 tryckknapp
* ~5 lysdioder

Följande utrustning finns tillgänglig i CRF:
* Lödstationer
* Tennsug
* Nätaggregat
* Laserskärare
* Några få arbetsstationer PC (Ubuntu/Windows)
* Generella verktyg (Skruvmejslar etc.)

Grundförutsättningar kunskapsmässigt:
* Programmering (Lätt):
– Sätta variabler, Loopar
– En fördel om man kan Python
* Elektronik (Nybörjare):
– Veta vad ett batteri är, samt att metall leder ström
* Terminal (Nybörjare):
– Veta att det svarta fönstret har stora möjligheter

Mat:
* Mat och dryck finns att köpa i CRF:s lokaler (Panpizza, Findus engångsrätter, godis, cola etc. Handlas med kontanter.)
* Finns gott om restauranger i närheten

Cheat-Sheet
Kodar-Lan Raspberry Pi IO – Cheat-Sheet elektronik [PDF]

Google docs:
http://bit.ly/11fZe3V