Background
Two days after christmas me and my friend, Andreas Svensson, were going to watch Avatar 3D, the tickets was sadly canceled due to SF the bitch. We then started to think of something else to do, Andreas: “..how about that fireworks-launcher we spoke of a few mounths back?..” And so it was decided.
We had a short deadline, roughly about 5 days.
Finished result


BTW. Explodet is short for Explosive Detonator.
Launch-day!
20:00 – At new years’s eve, five days of constant work, we finally made it. It was ready for testing.
21:59 – We arrived at the party, I had not slept for 36 hours
22:06 – I started programming at the party, Andreas went to pick up some equipment
22:25 – Party-cat Sigge was showing interest in Explodet, discrete sniffing and foxy glimts from the eyes was seen.
22:53 – Unfortunately the software wasn’t ready, still had hope I would program it outside
22:55 – We went out to setup all the gear
23:10 – The fireworks launching-ramp was rigged
23:21 – The 230V-generator and 2×500W halogen lights was rigged.
23:40 – Explodet is up and running
23:41 – I found out that it was to cold to program, -15 degrees C. We decided to launch the fireworks remotely (by pushing down spacebar) was good enough.
23:55 – Cable setup
24:00 – Still cable setup
00:01:01 – Success! First firework fuse is sparkling.
00:01:05 – Disaster! The firework won’t lift off, 20 peoples is throwing them selves down the hill.
00:01:30 – It all went well! 🙂
01:15 – The final fireworks went off in a beautiful sparkling rain.
01:16 – Starting to bring the rig down
04:00 – Finally home!


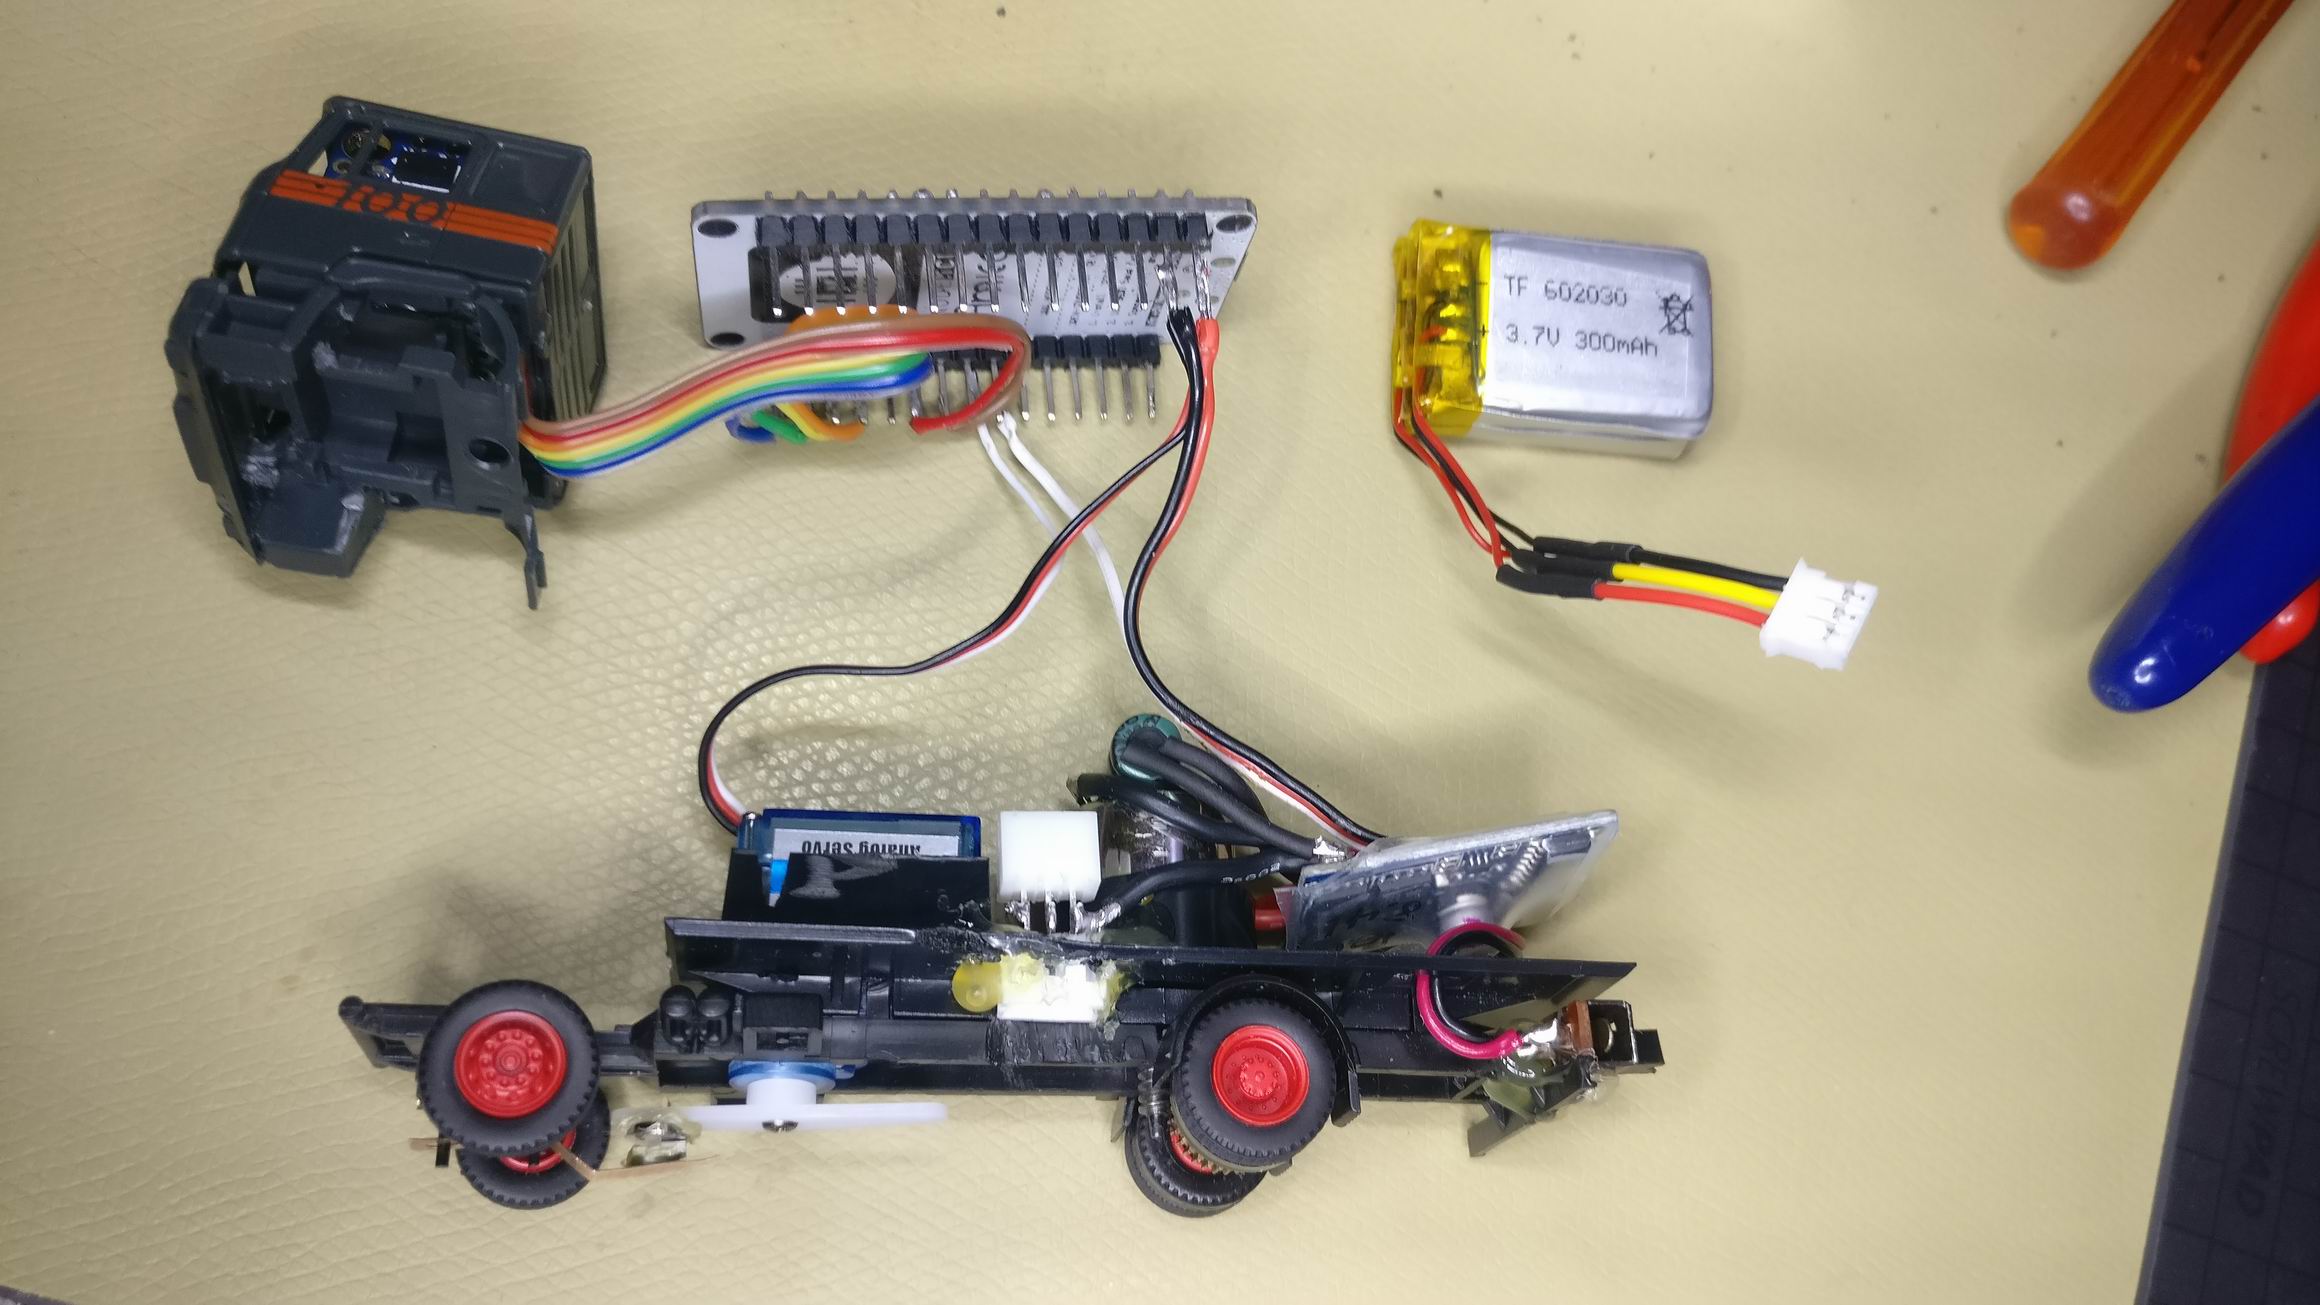
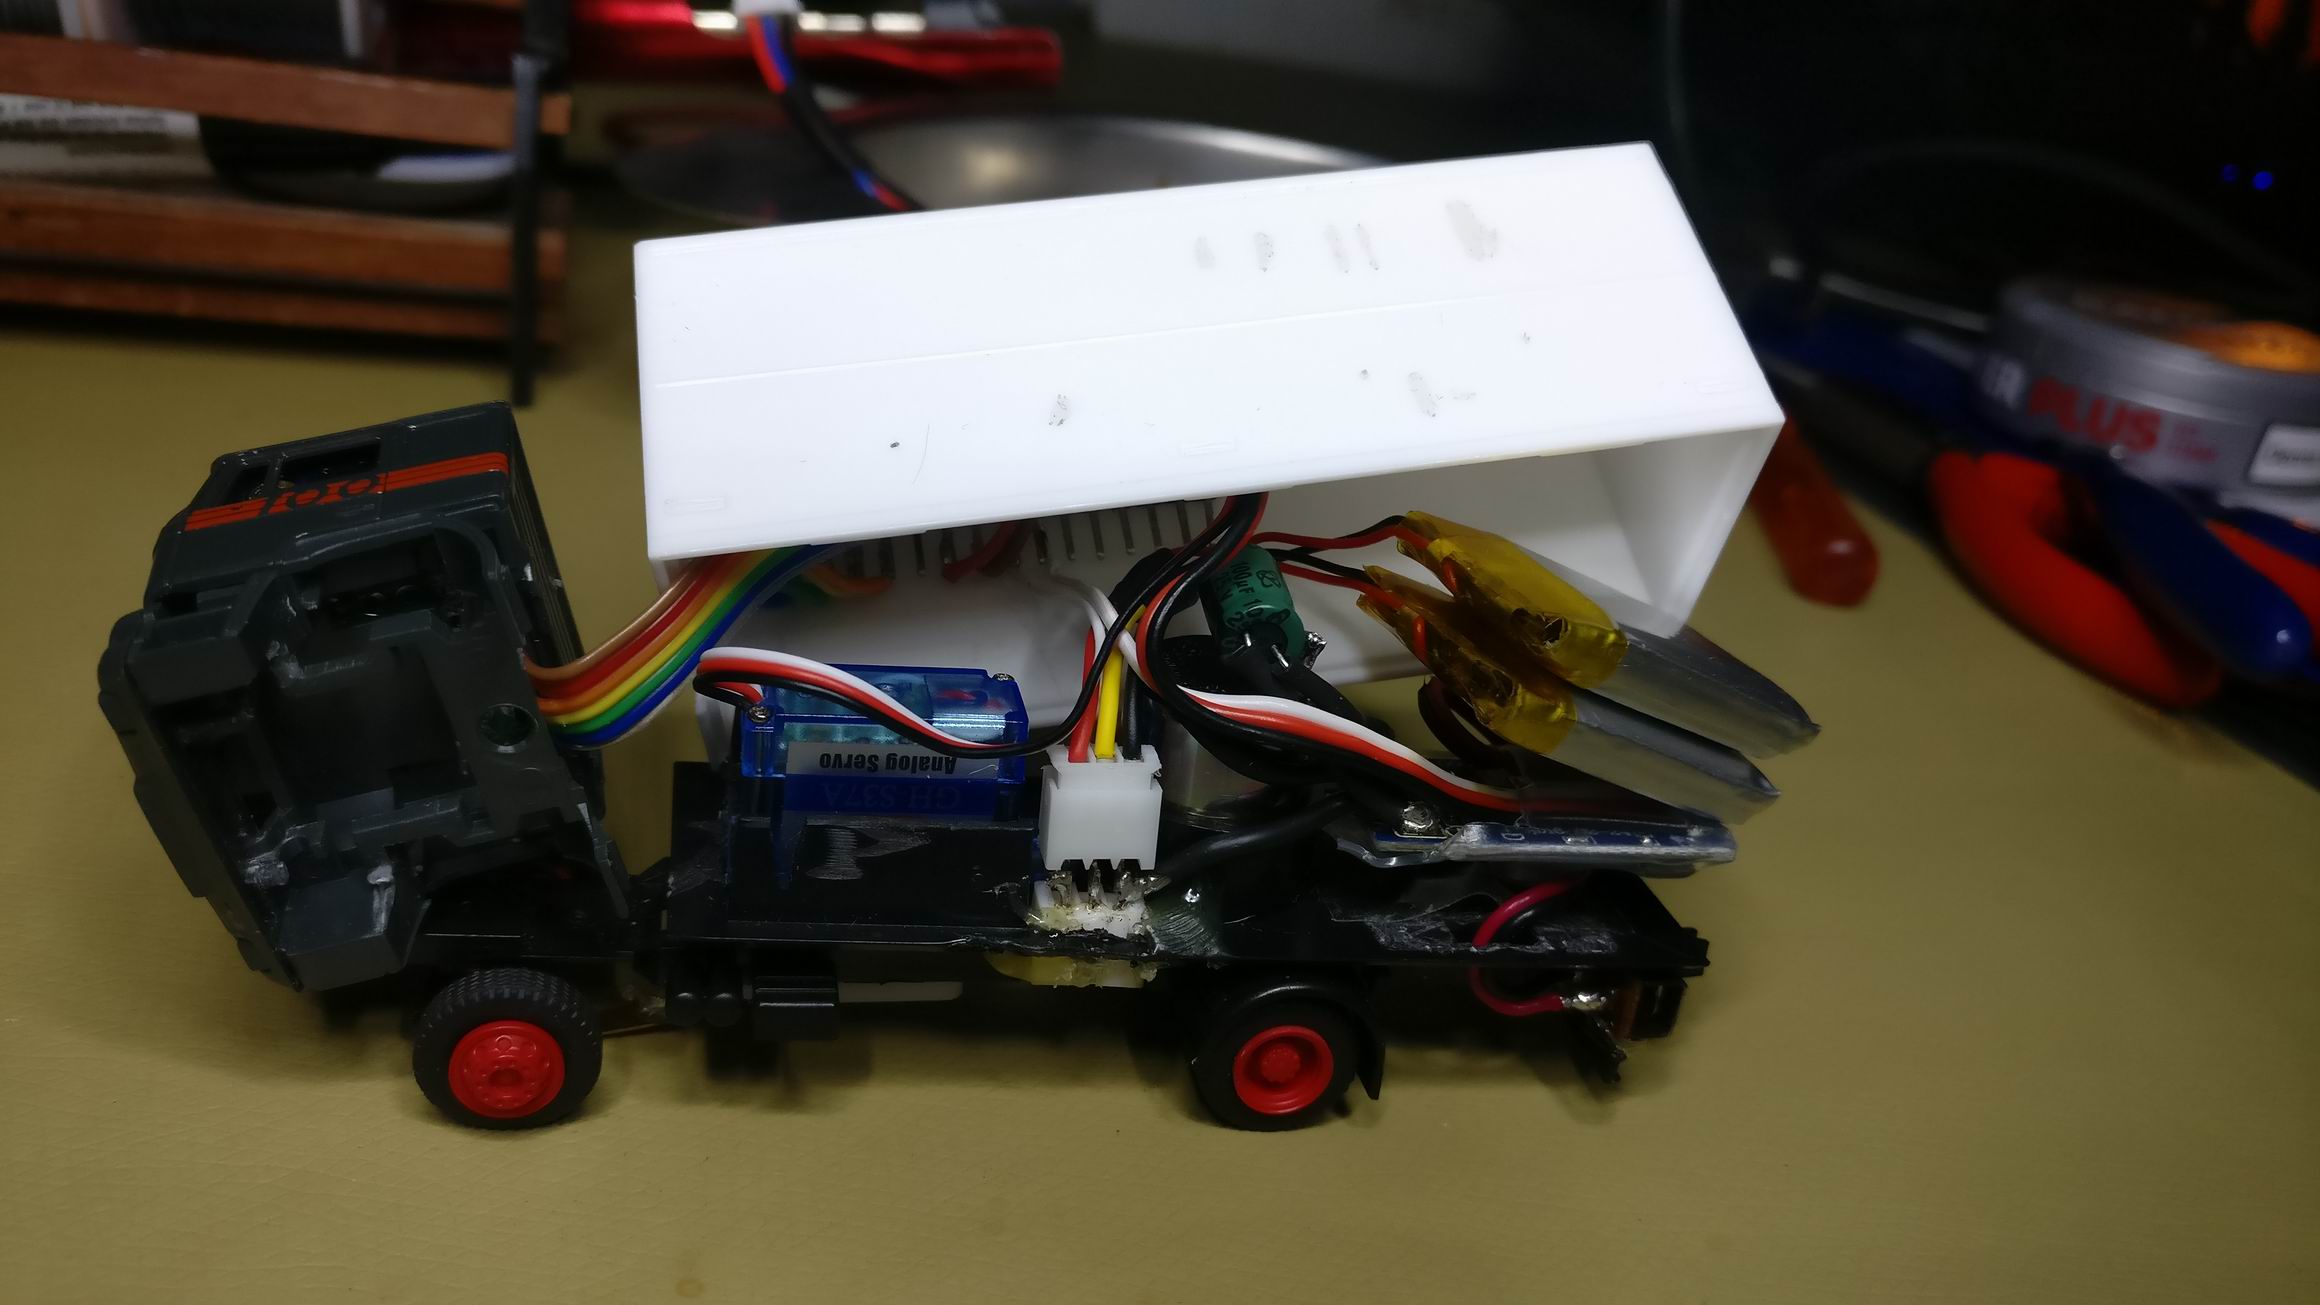
Specs. and parts
- Case: a cheap aluminum-case
- Screen: a leftover from Andreas, Samsung SyncMaster940NW
- Computer: a leftover from Andreas, a minicase with 1GHz Celeron, 760MB SD-Ram, 4xUSB1.1, Firewire, IR-Com, CD-Drive
- Operationsystem is Windows XP Proffessional
- Software: Written in Visual Basic 6.0
- Interfaceboard: Velleman K8061, 33 input/outputs: including analogue / digital and + 1PWM output
- Relay-card: 8×12V Relays
- Battery: PB 12V 7,2Ah
- Ignite-coil: Nikrothal 80 0,7 mm 1 hg
Research at Chalmers Pyrotekniska Förening
Before launch-day I went to visit Chalmers Pyrotekniska Förening. They showed me their fireworks-launching-case, it had 50 manually trigged outputs. They also had a sequencer with 25 automatically trigged outputs.


Building process
It was a perfect start of the project: when we first arrived a big christmas-tree made out of coke-cans met our eyes.

Just before the project had started Andreas said: “I’ve 20″ wide screen to no use at home, wouldn’t it be nice to mount it inside?”
I asked him how wide it was. “Roughly 245mm” I went to measure the case “It would fit, the case is 248mm!”
We started out by placing the 20″ screen inside the case. It was a perfect fit!
We marked 4 screws in the screen with paint and then placed the screen inside the case. We then drilled holes were the painted marks.


The next step was to mount something to hold the case-lid up.


We then tested if the screen was working properly, it did. Also notice the mini-computer placed inside the case.

Andreas i starting on the PVC-pipes to the launching-ramp.

I started to build the relay-card. First I mounted a 12V 1A voltage-regulator UA7815.


Flying coke-can in a stream of air.

First part-layout-testing. Battery, computer, interfaceboard, relayboard.

The inner case bottom plate is made out of a old computor-chassi-side. I measured it up and started cutting, then i had to bend the plate in order to fit all the switches.


Before painting, I polished the plate down to the steel.


I painted it firey orage!

A hole for the air-flow to the computer felt necessary.

To make the construktion sturdy, I manufactured some side-pieces.


In the middle of te 3:rd building-day Peter came around to fix his Guitarhero-controller. We then watched Monsters VS. Aliens an when Peter inserted the audio-cable into his computer he destroyed the christmas-coke-tree. We rebuild it again.


The key-switches mounted.

Second part-layout-testing.


230V enclosure


Case-bottom-plate holes for switches, air-filter, mounting of banana-plugs


I had to bypass the ordinary computer-power-switch and mount it on the case-bottom-plate.

Mounting of switches


Mounting signal-cables and attaching the relay-card


Will the plate fit? Yes indeed! We can even close the case without the switches touching the screen. Thighty!


Andreas is making Nikrothal-coils that will ignite the fuses.


I making a pair of new USB-connectors, the old one burned up! 🙂


The fireworks the bought from Chalmers Pyrotekniska Förening!


Installing Visual Studio 6.0

Close-up on the switches!

In the making of the launching-ramp.


Squeezing the cables nice together.

Erik and Erik came around early at the evening of new years eve to check on the progress.

The final touch on Explodet was the letters and the stickers. Behold!