Prop Interactive Water effecet lamp


For the larp Do Androids Pray? we wanted to recreate the companys corridor scene from Blade Runner 2049 where some beautiful water light seemed to follow the persons who walked up the stairs.

I thought that it would be doable using multiple water effect light and dim them up when movement was detected.


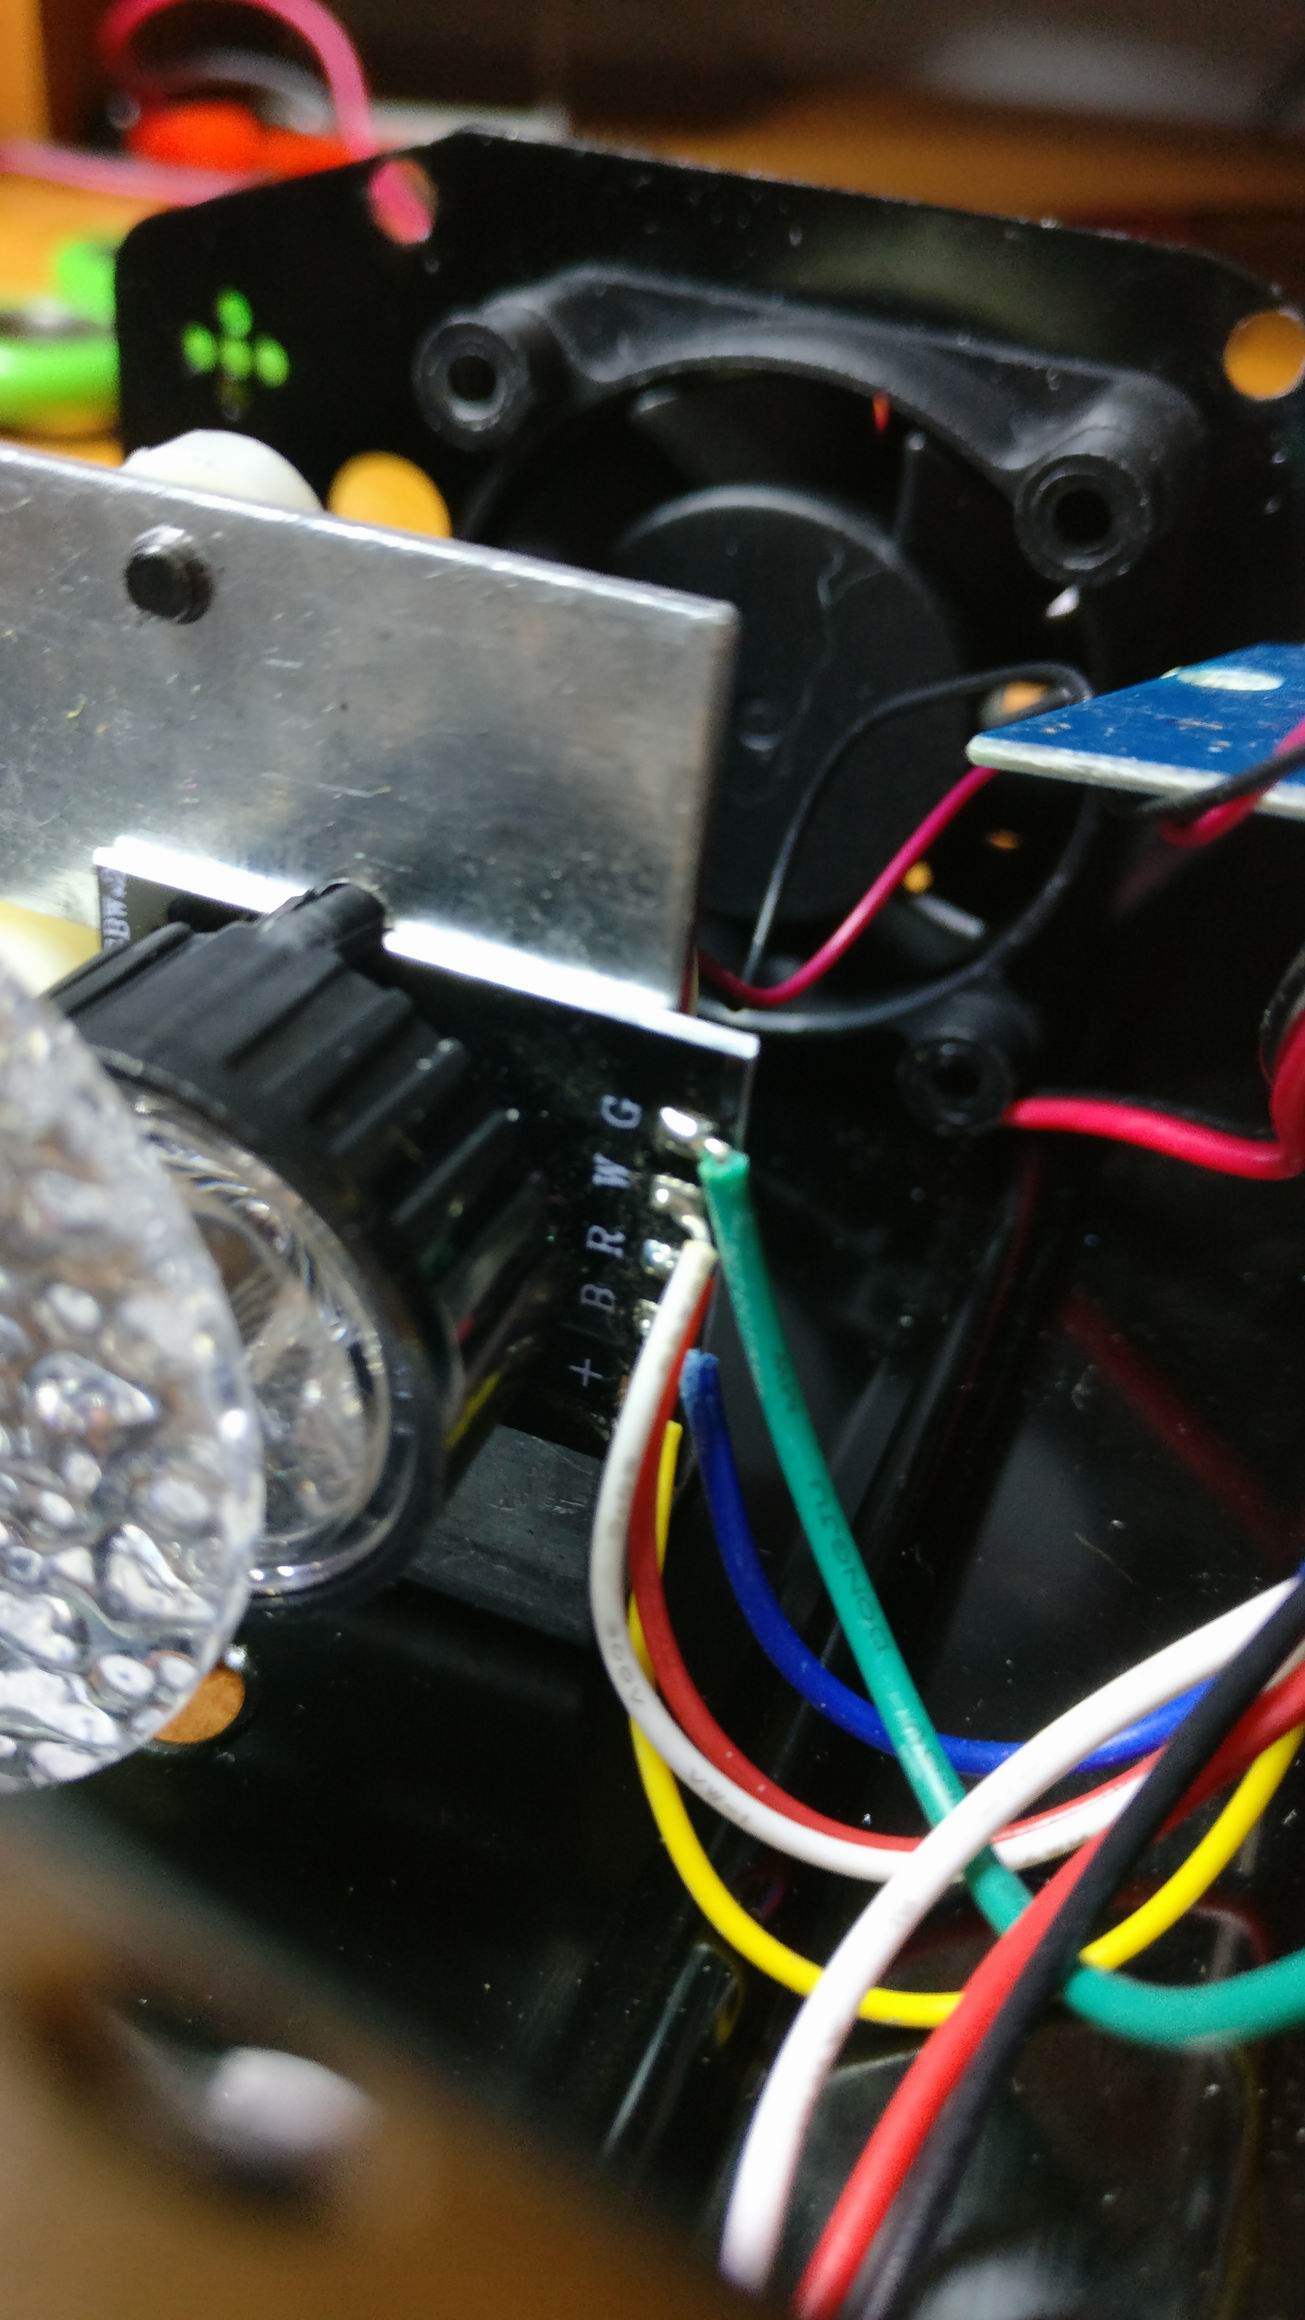
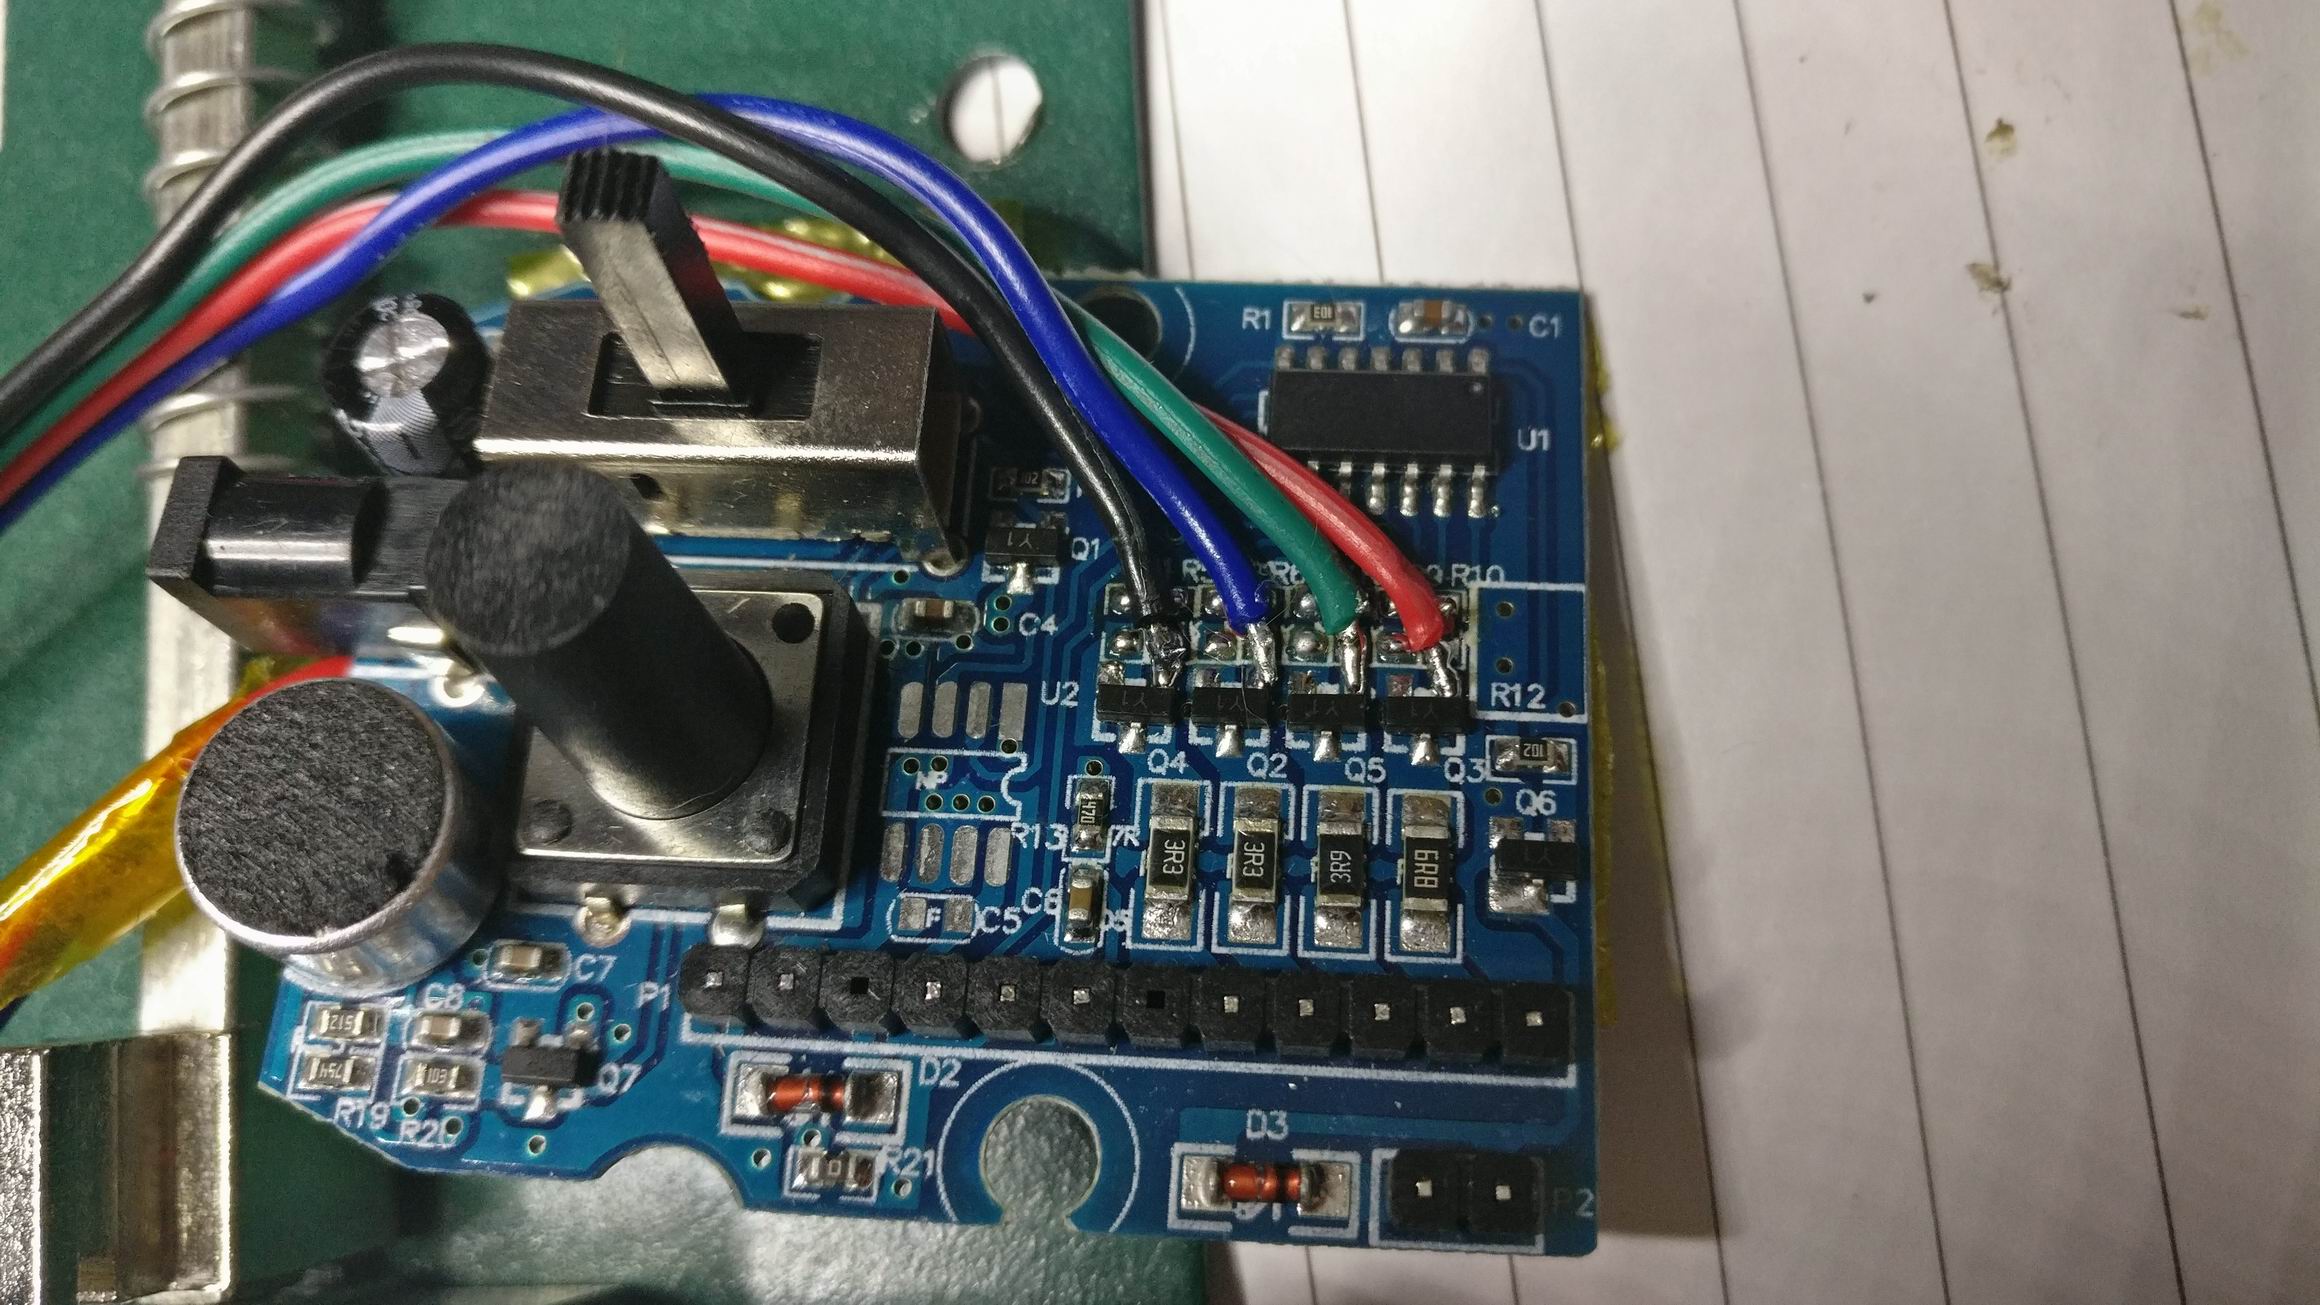
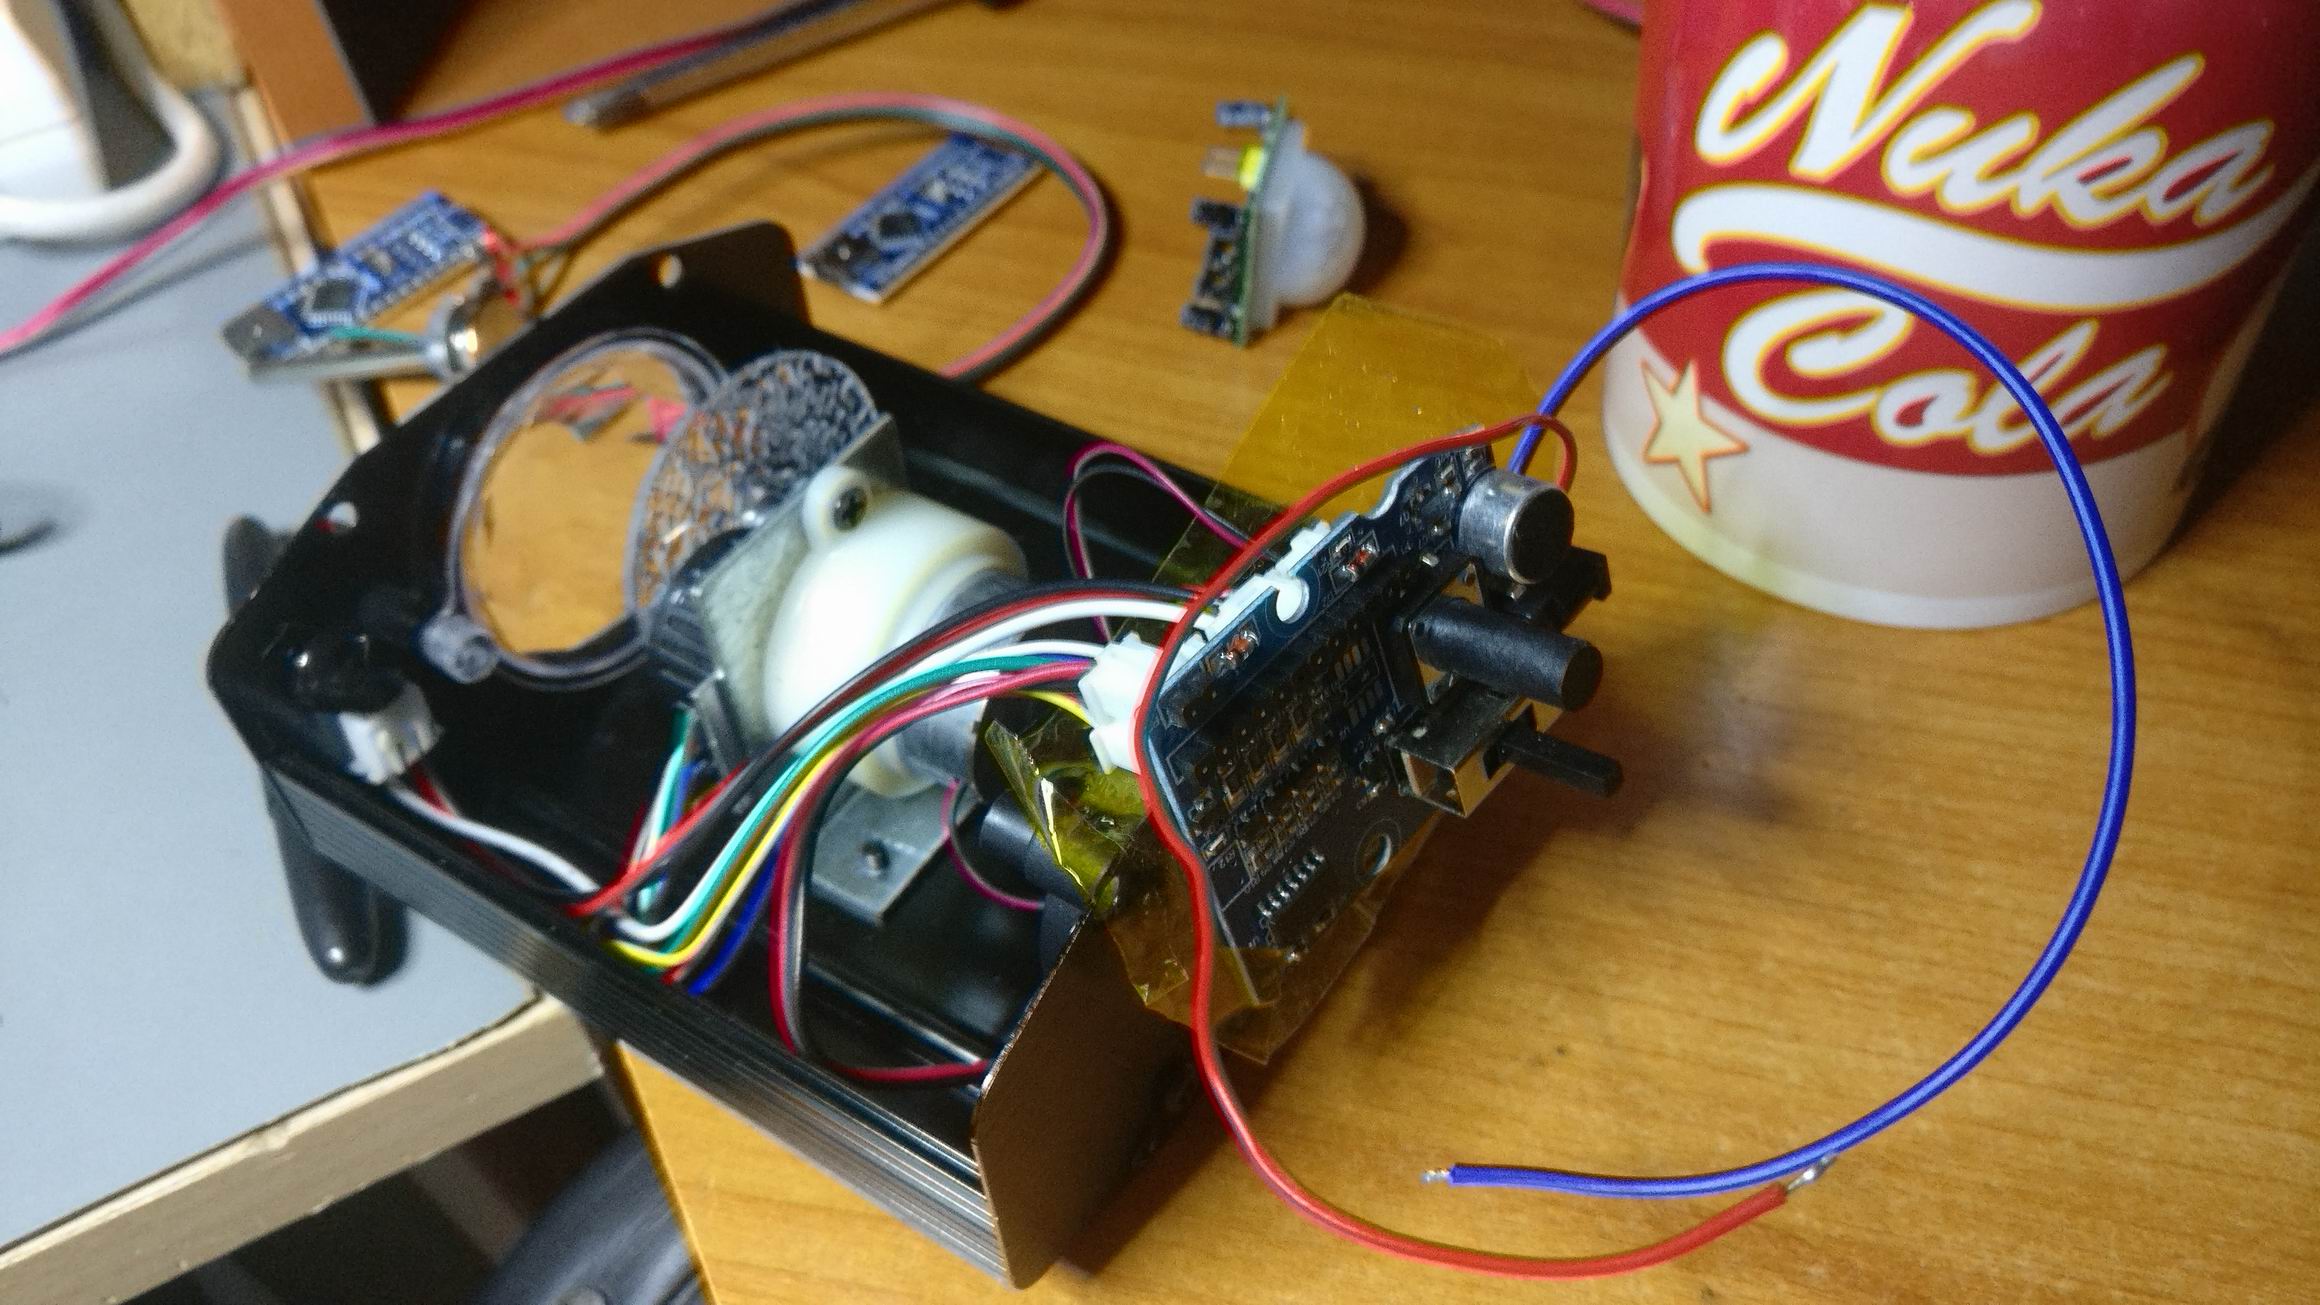
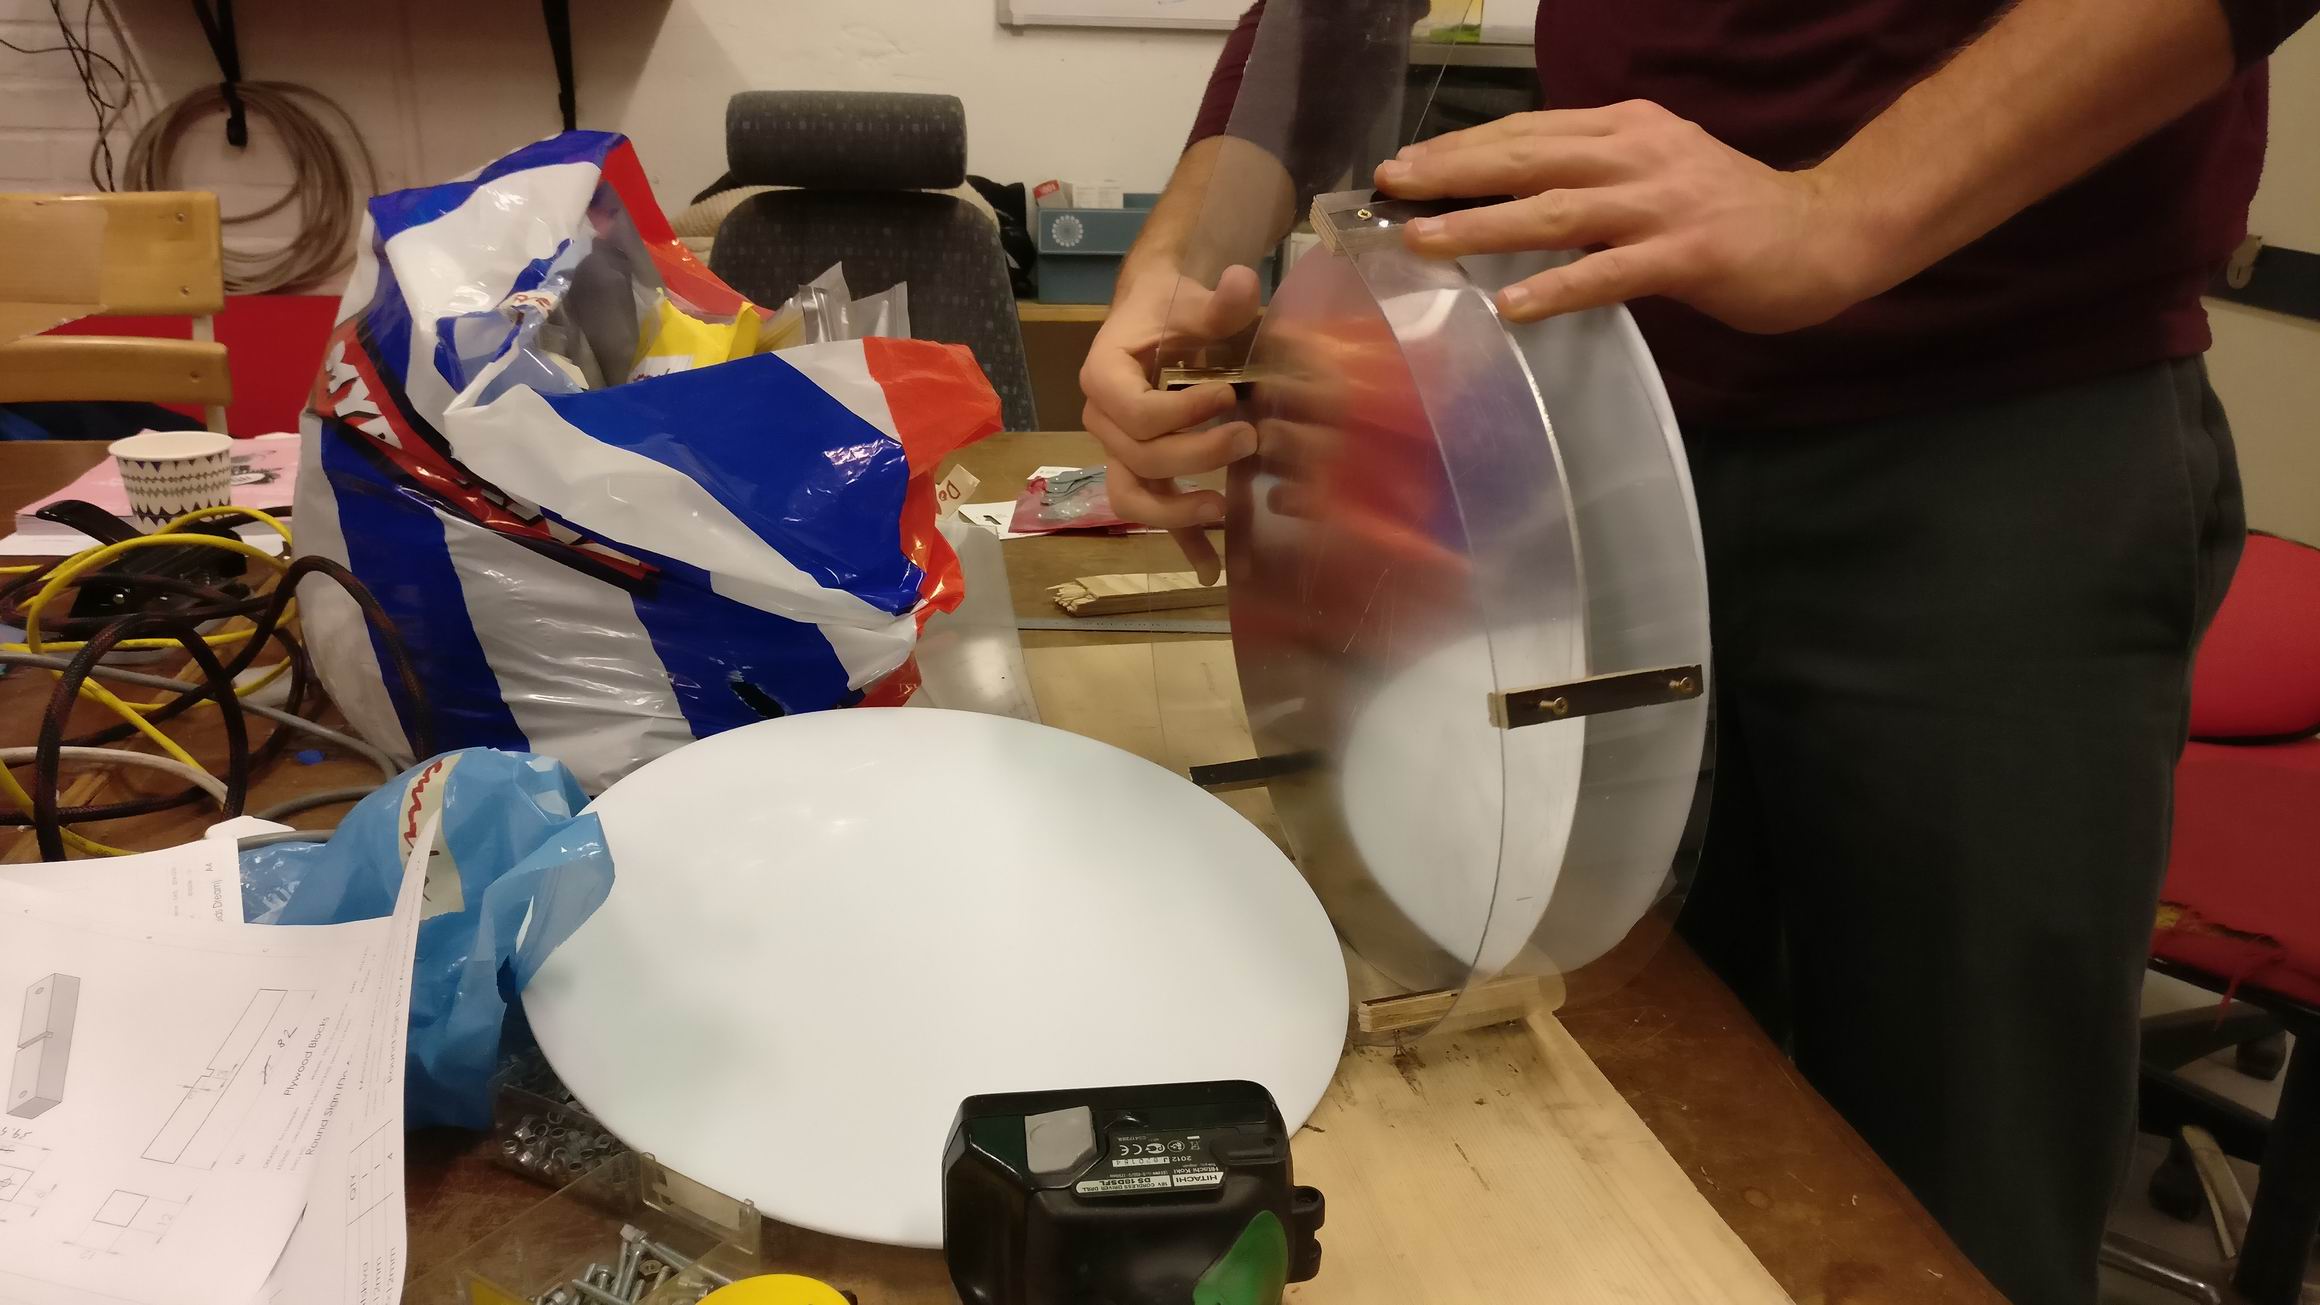
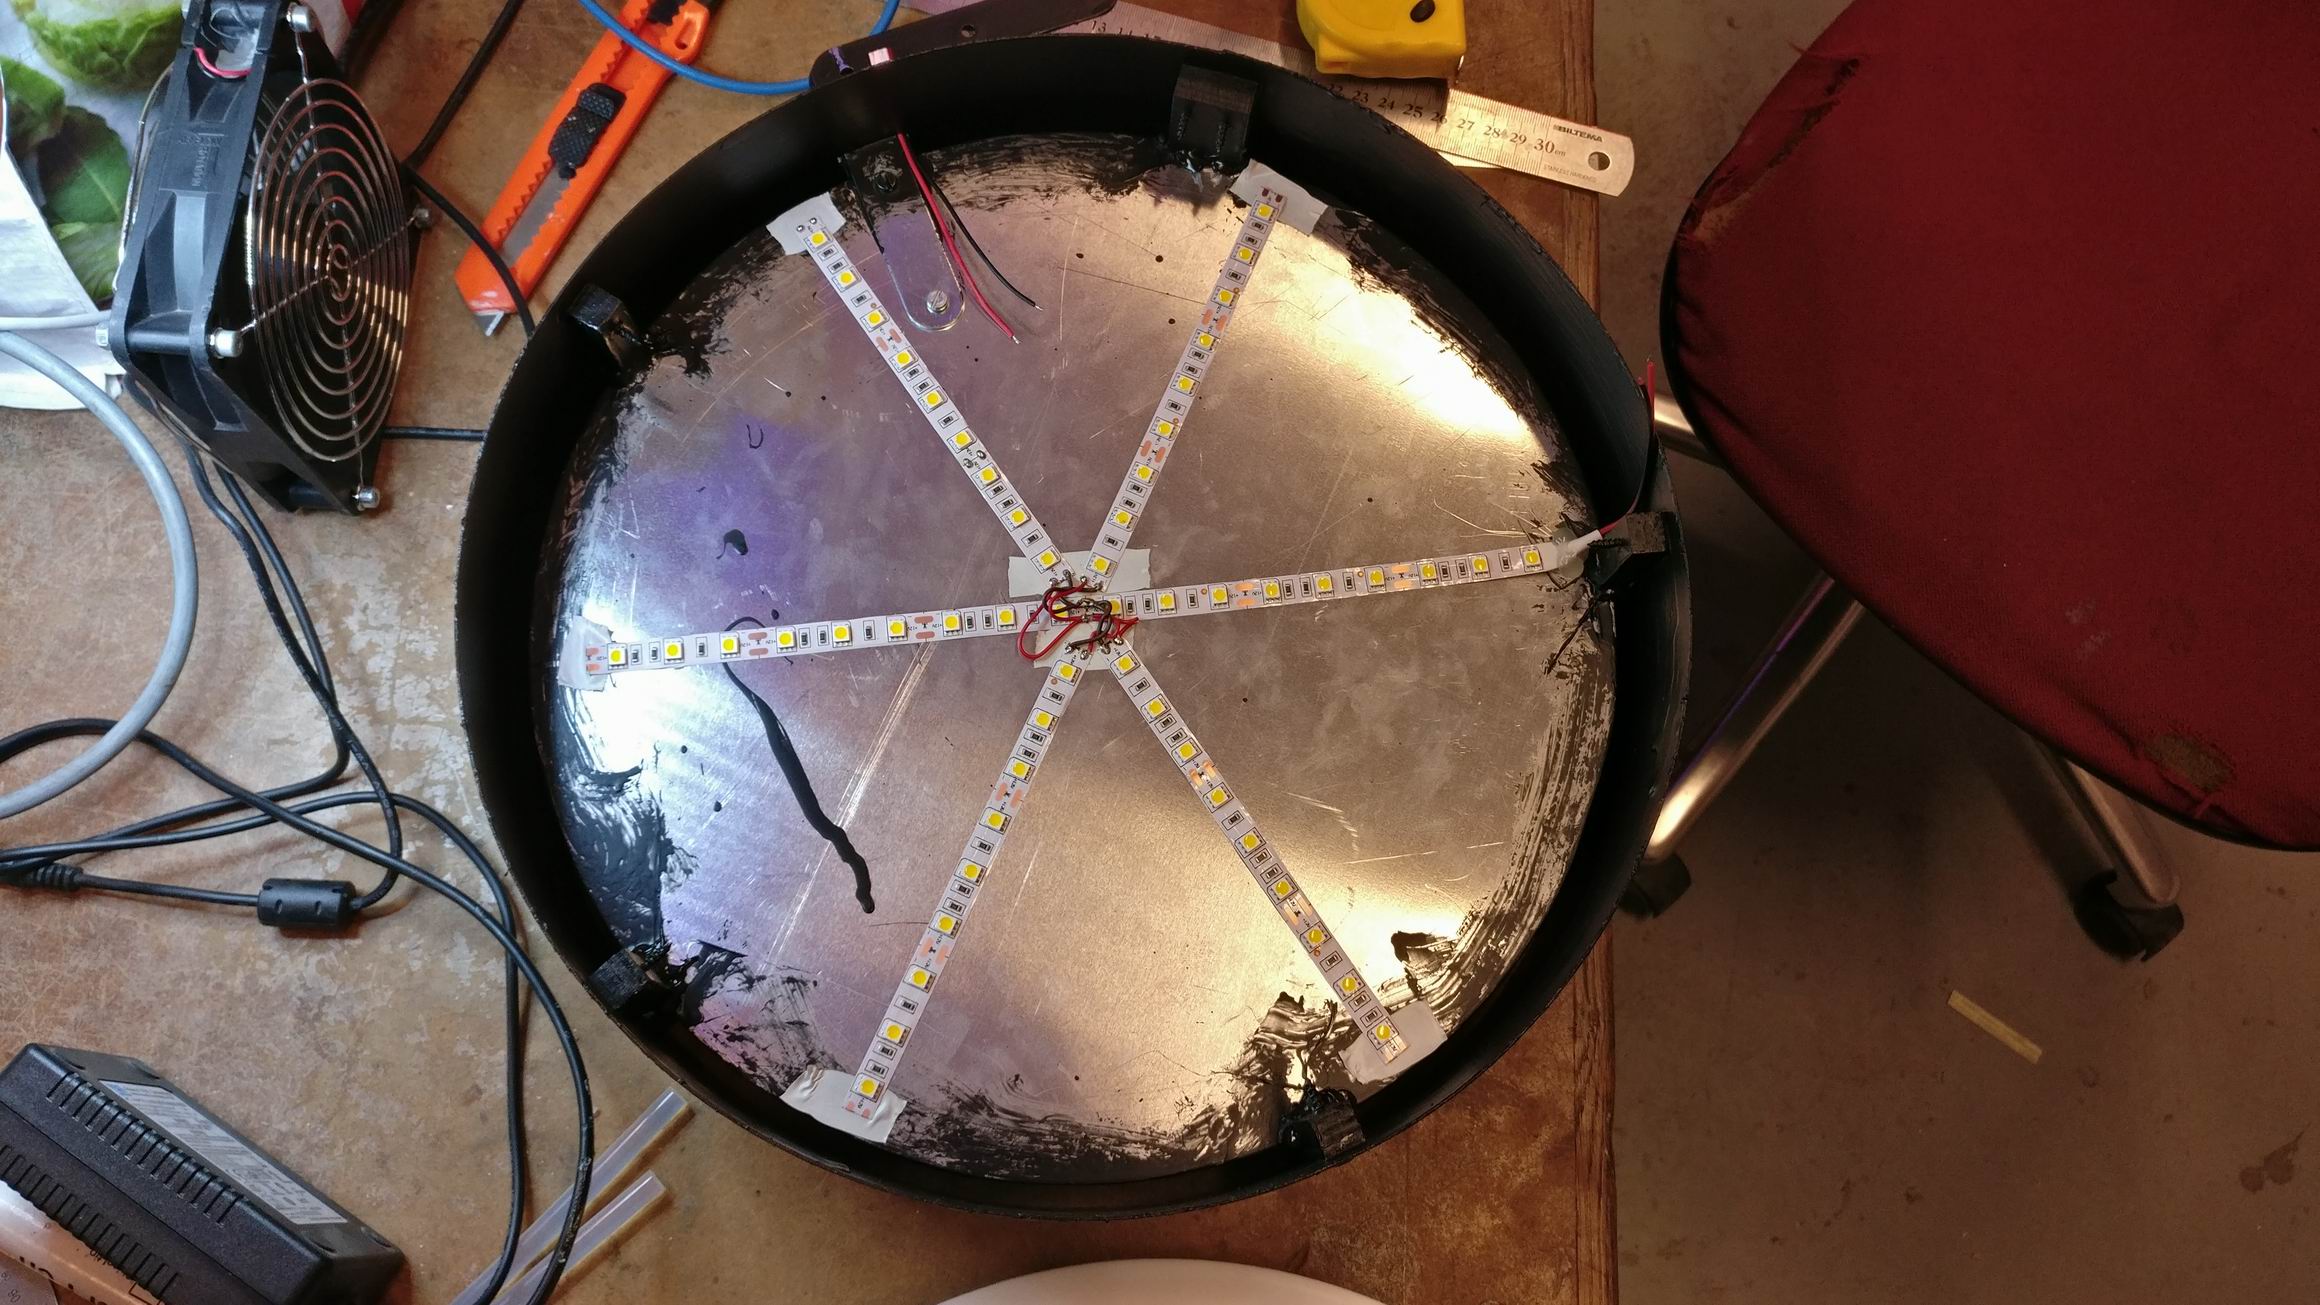
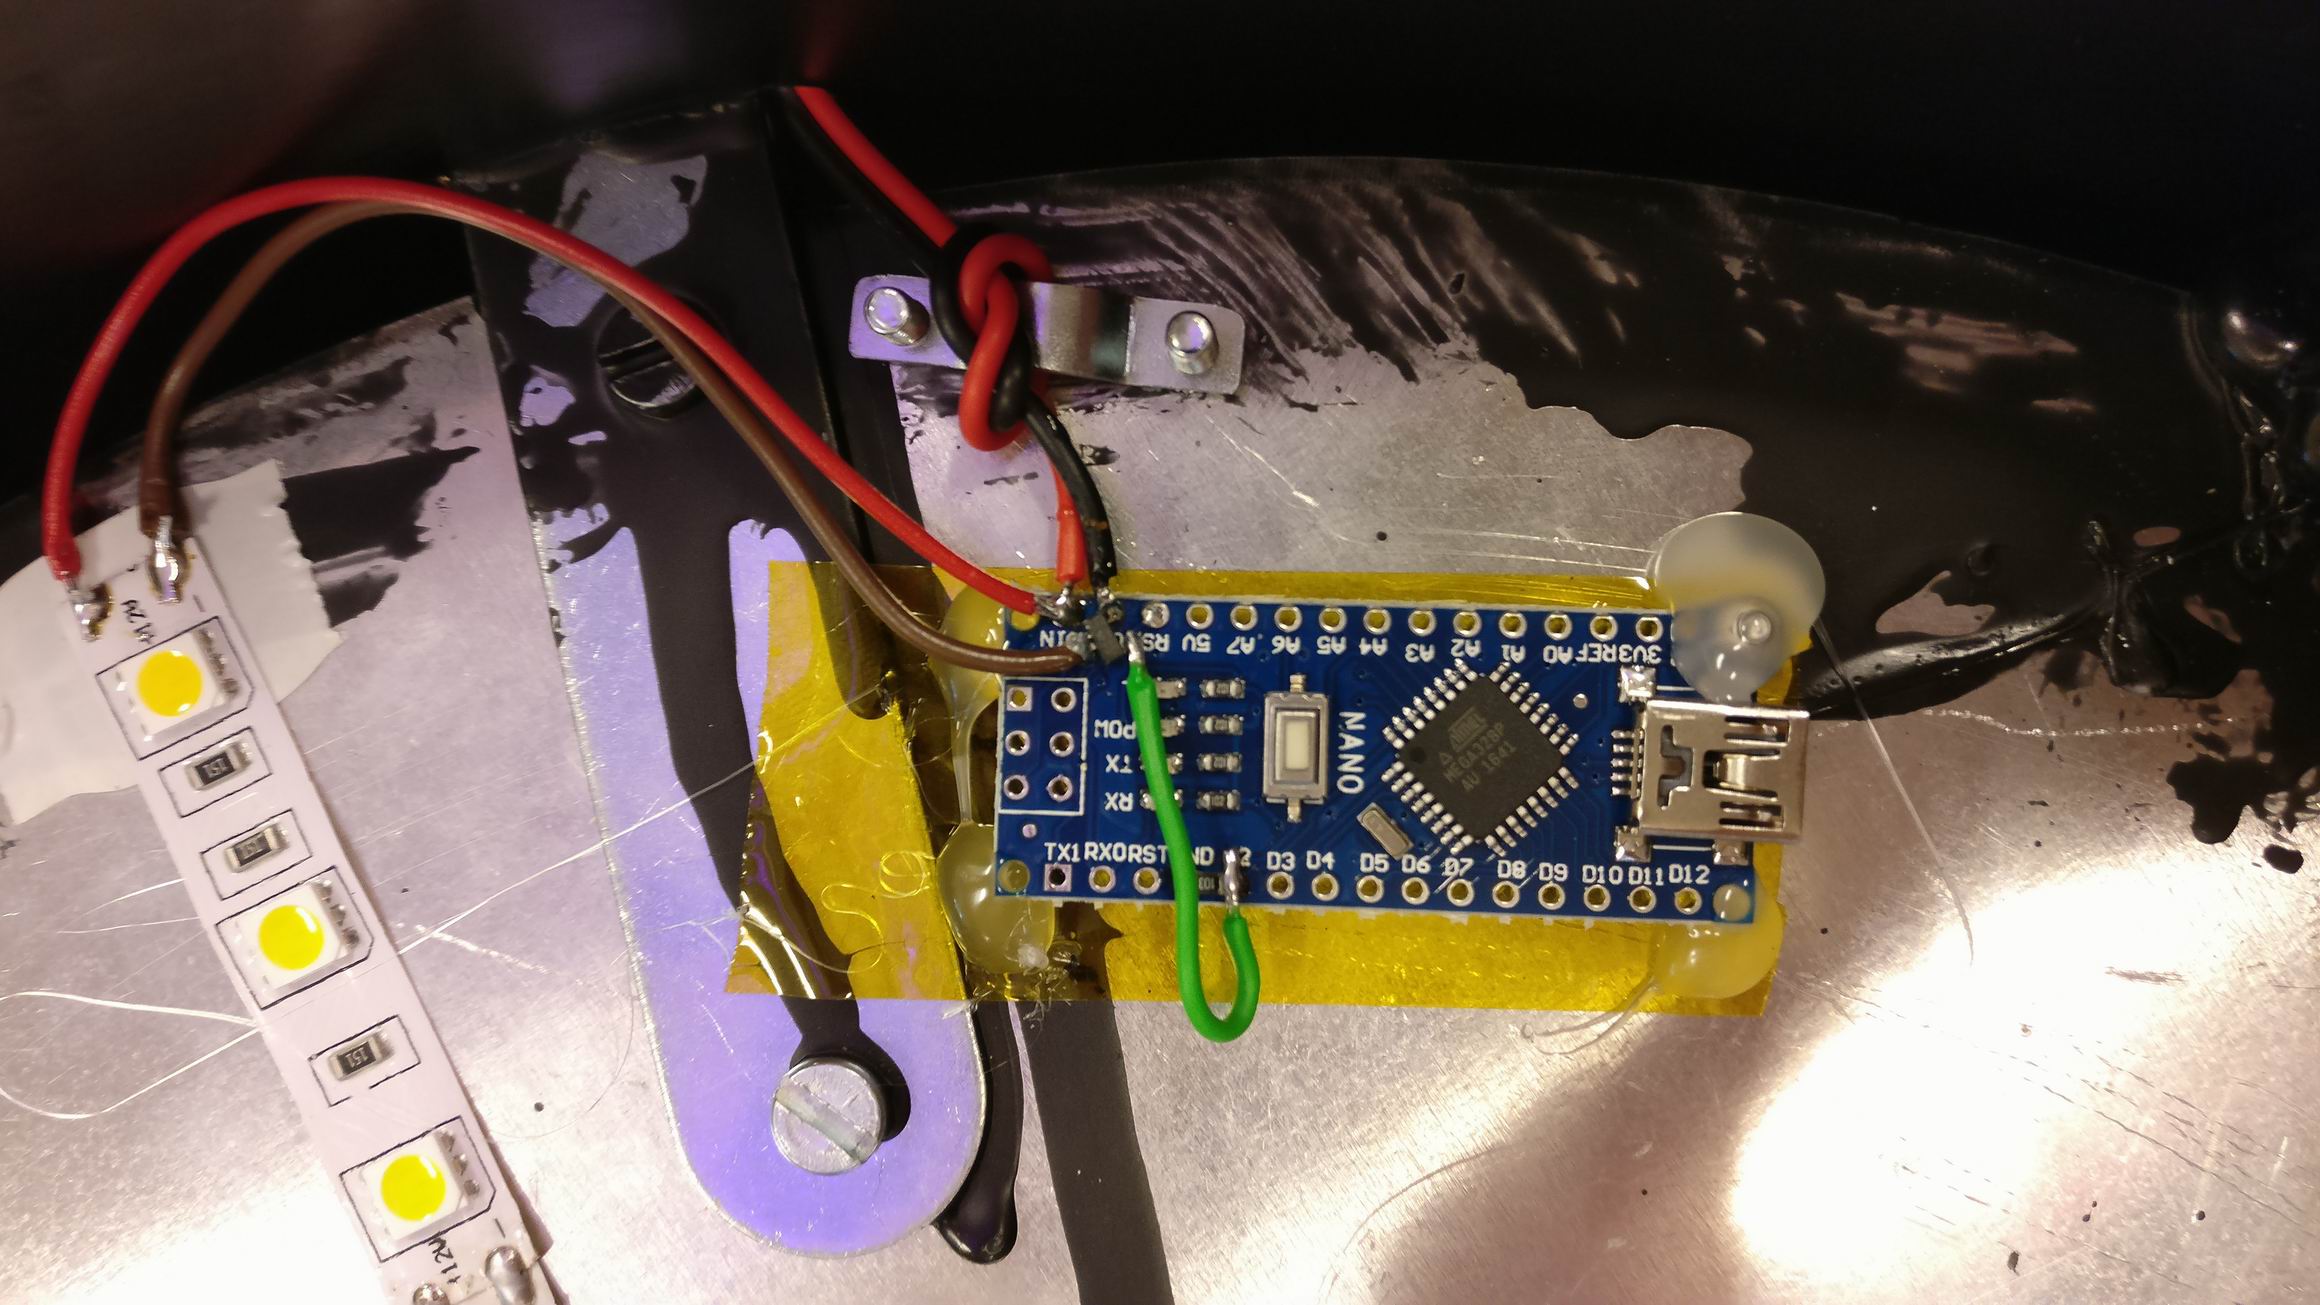
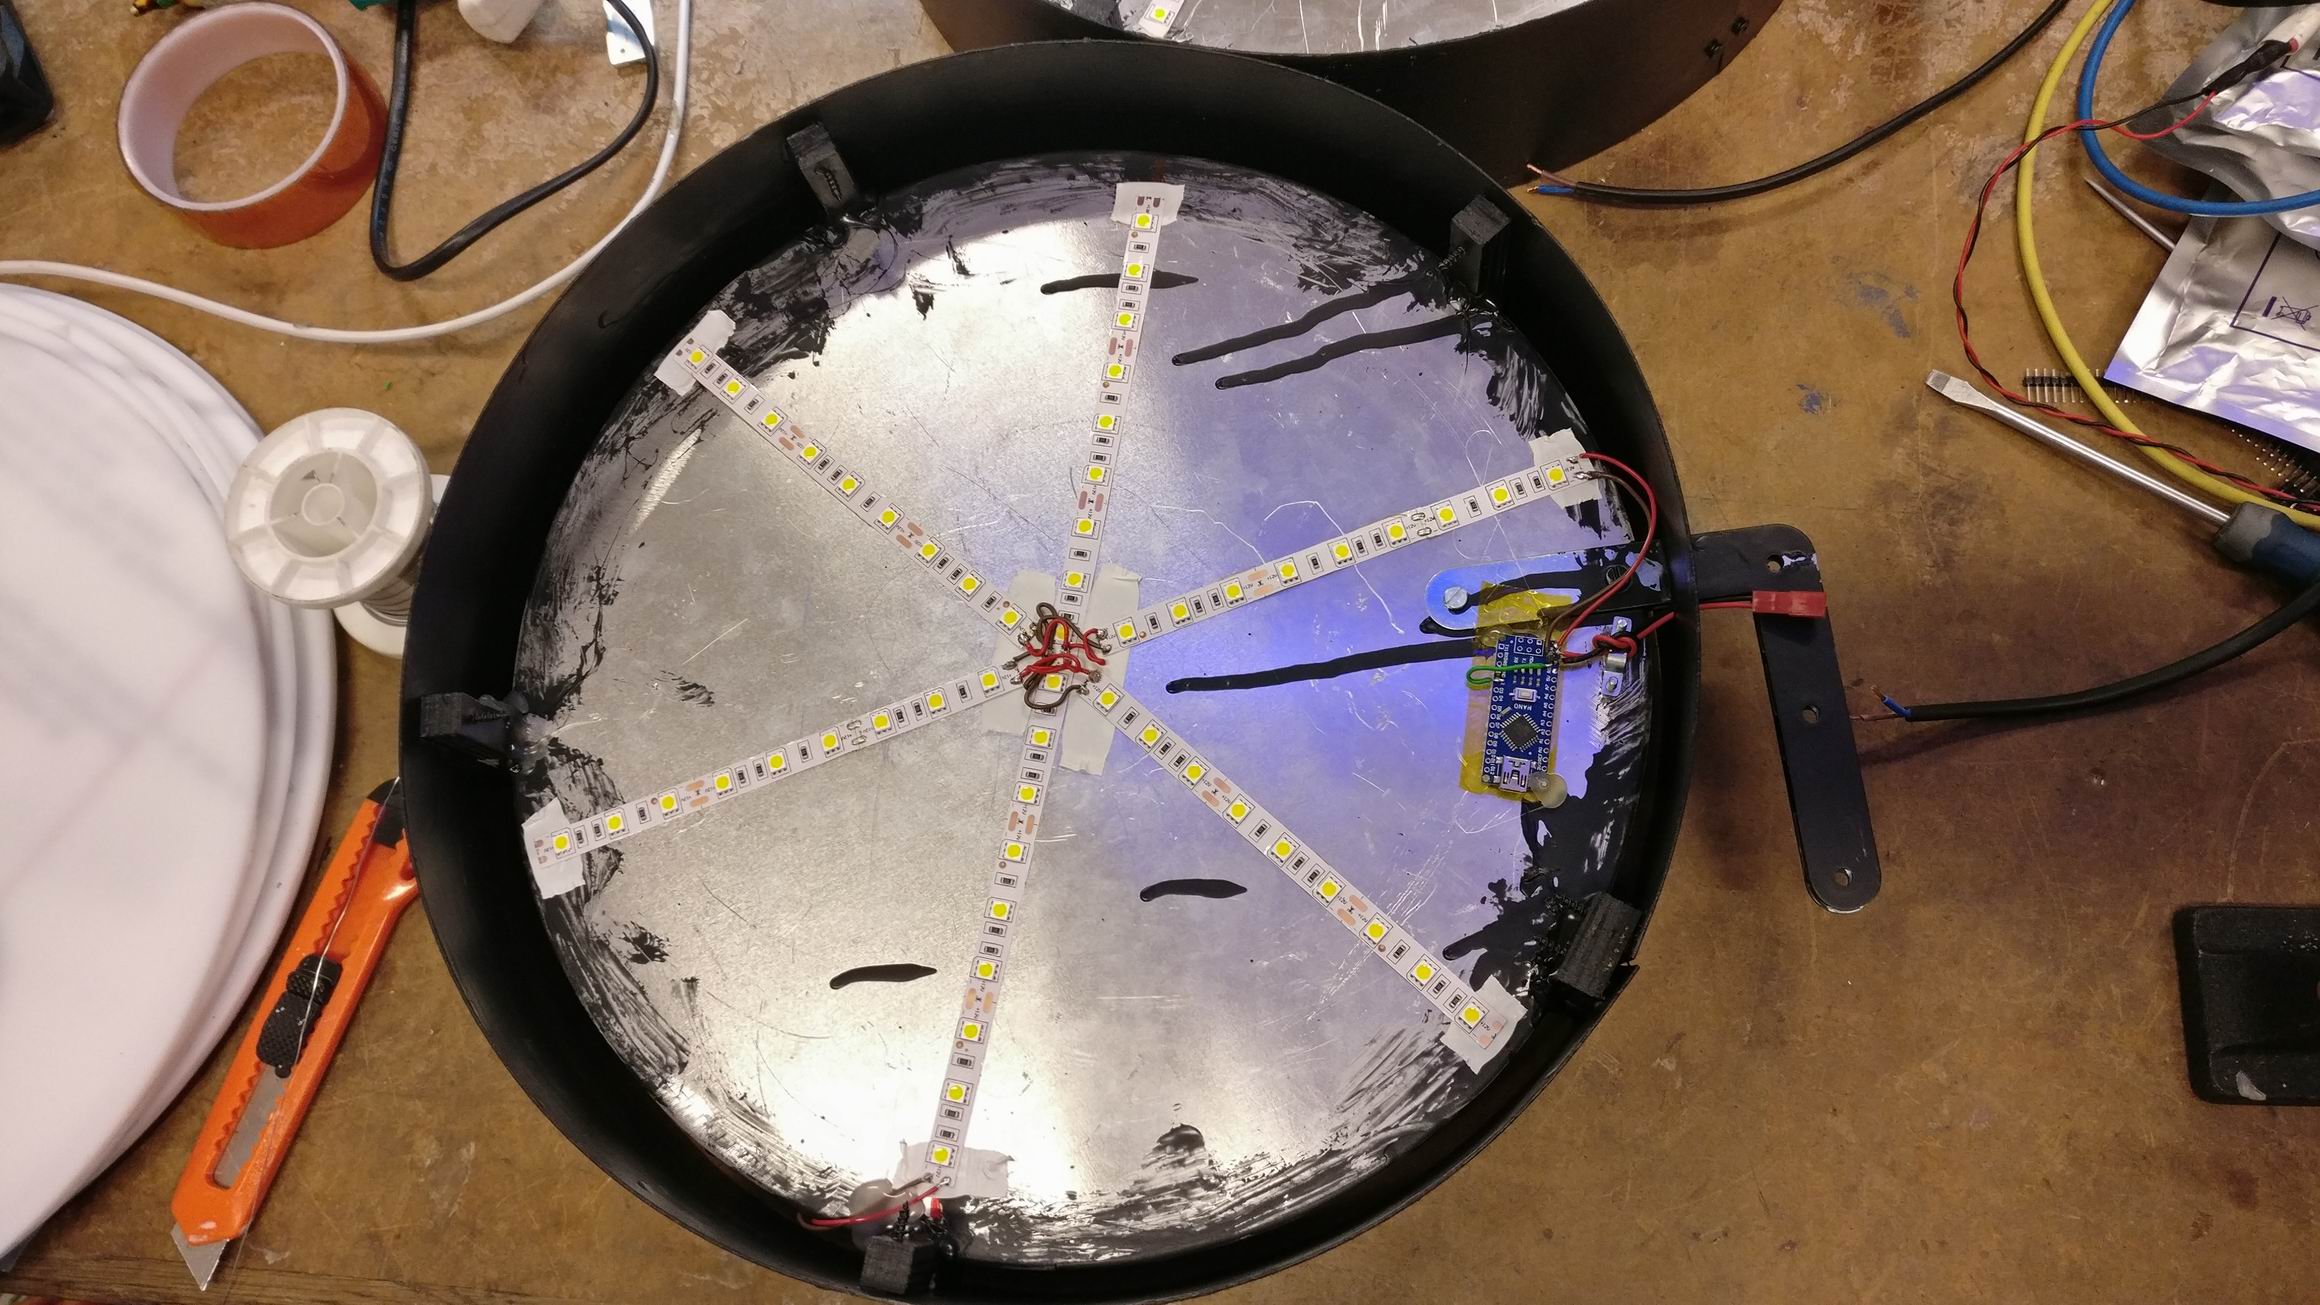
I purchased some cheap water effect lamps of eBay and took them apart to inspect. The LED was hooked up to some mosfets, så I just removed the resistor leading to the original MCU and hotwired some leads to my own MCU.


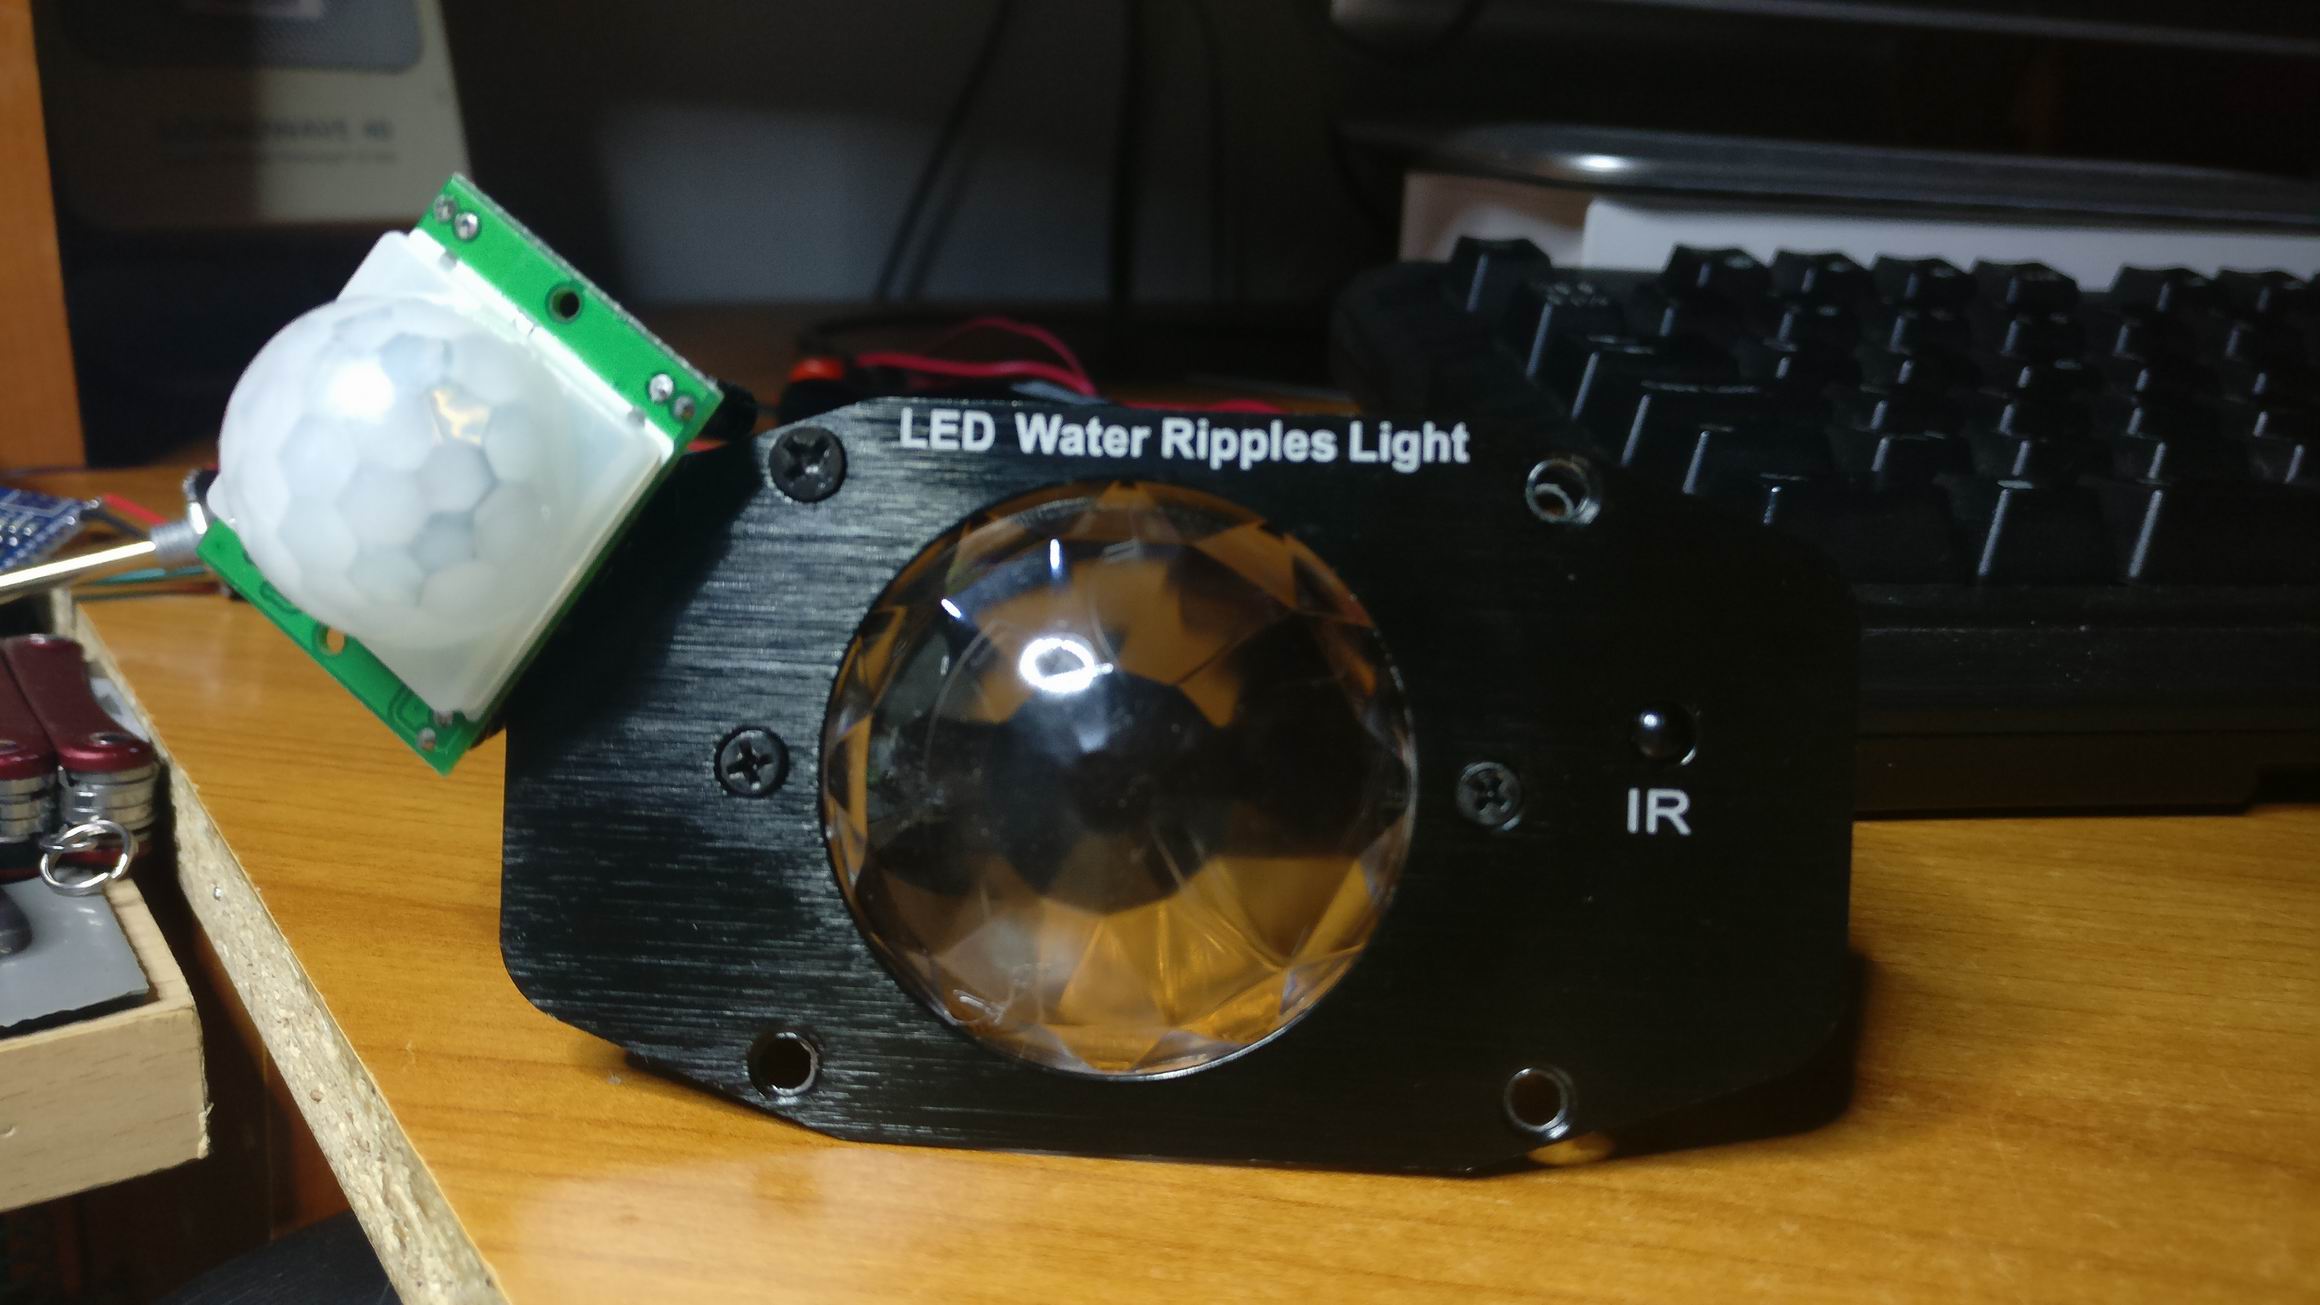
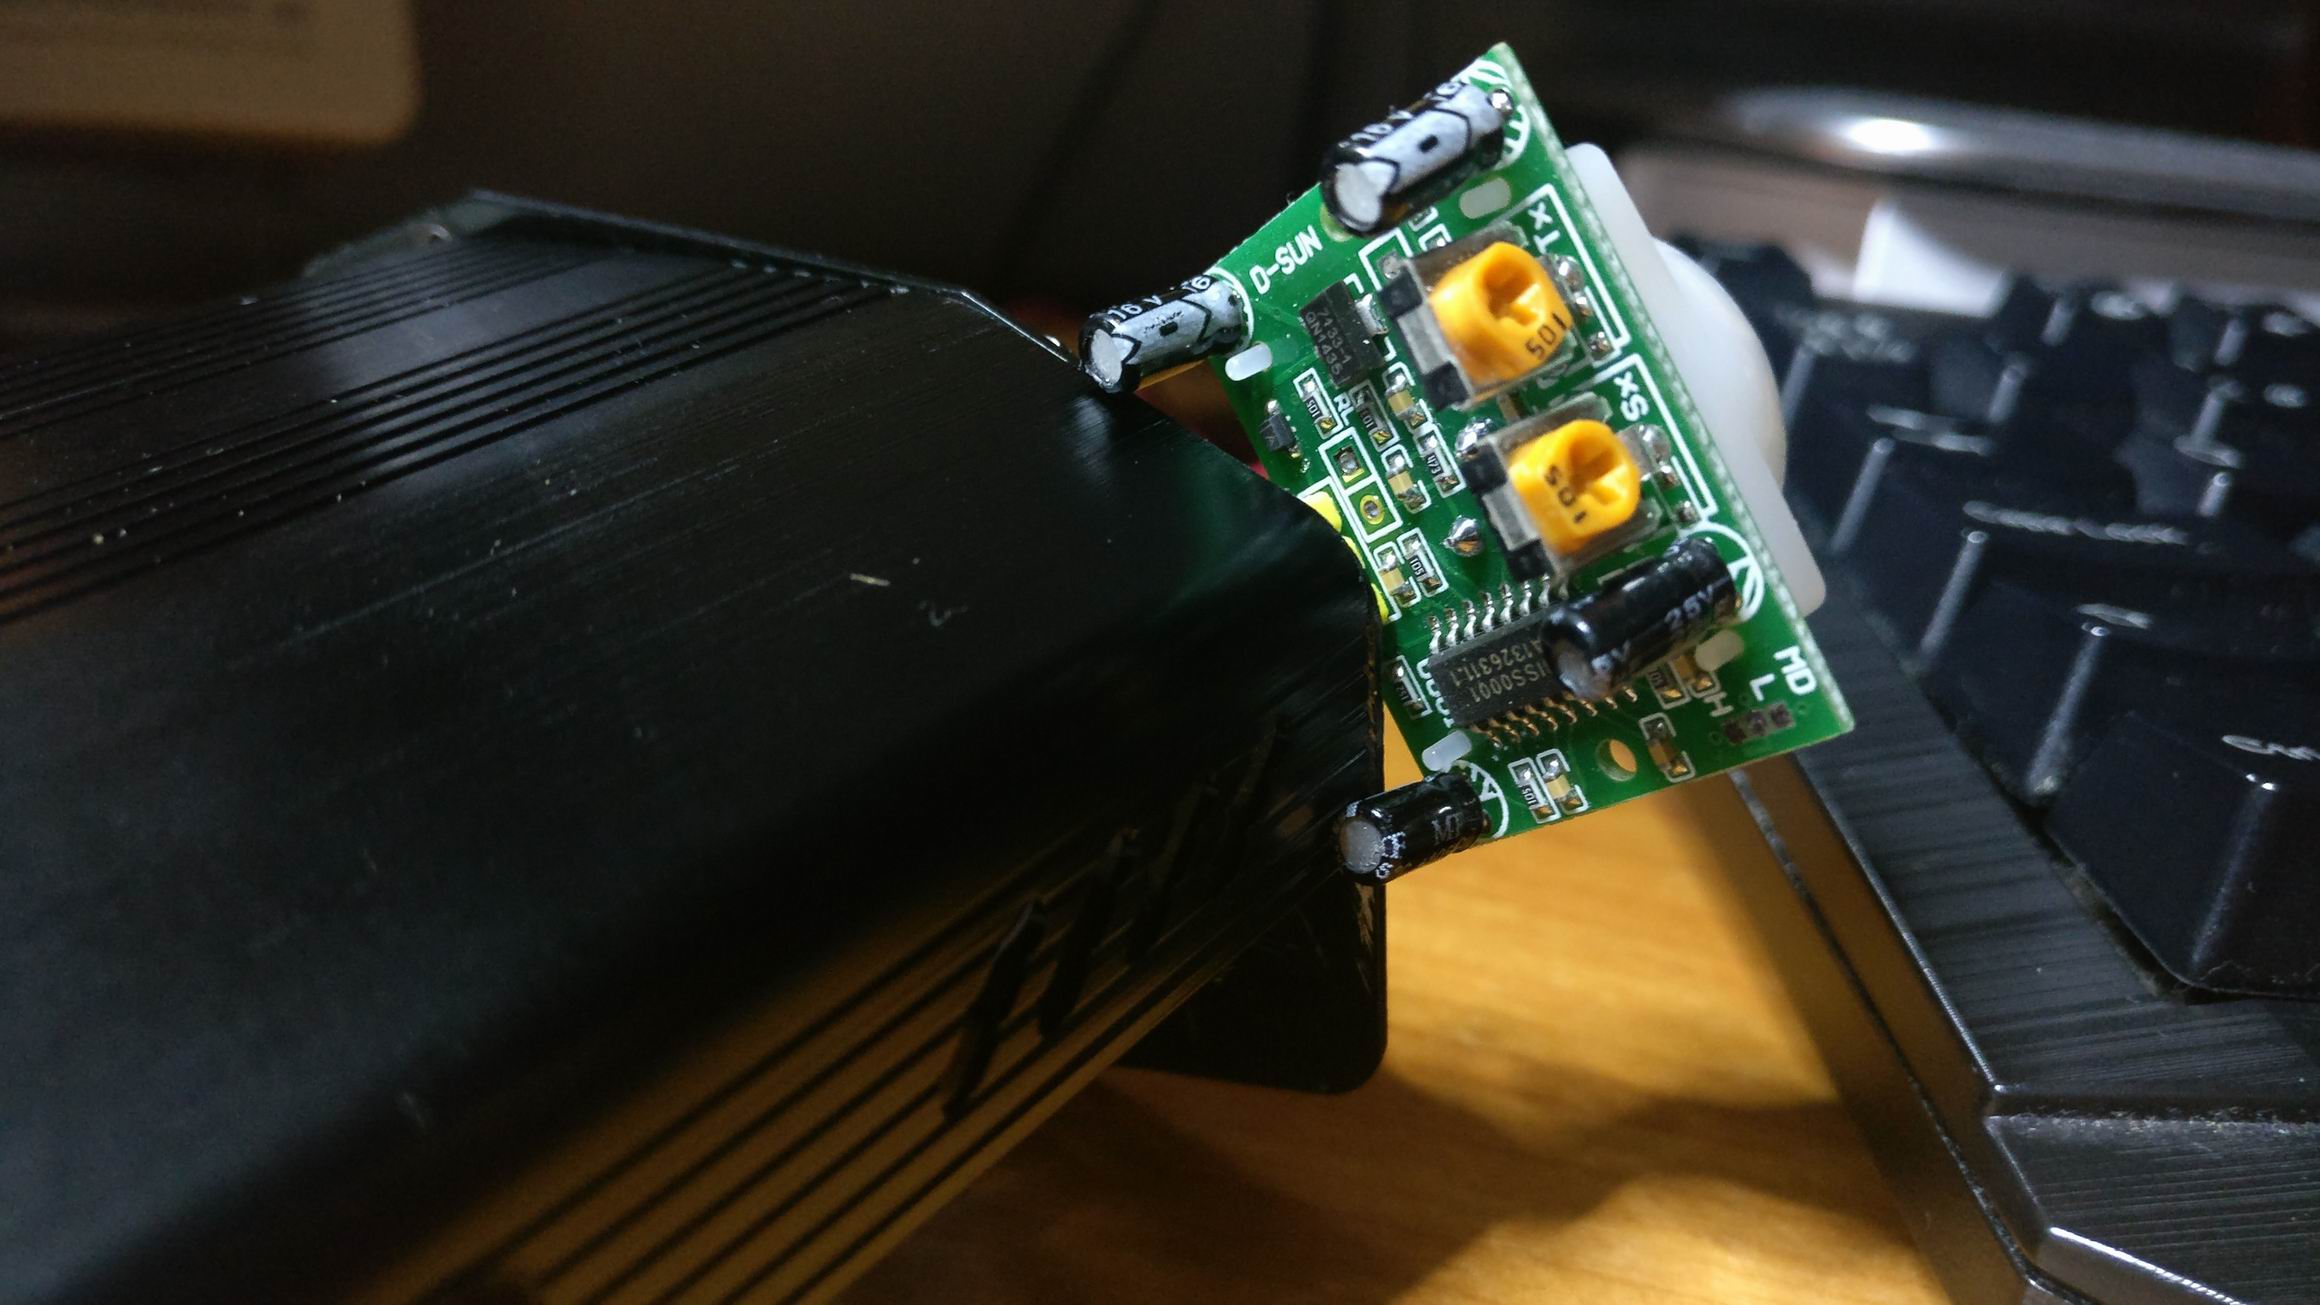
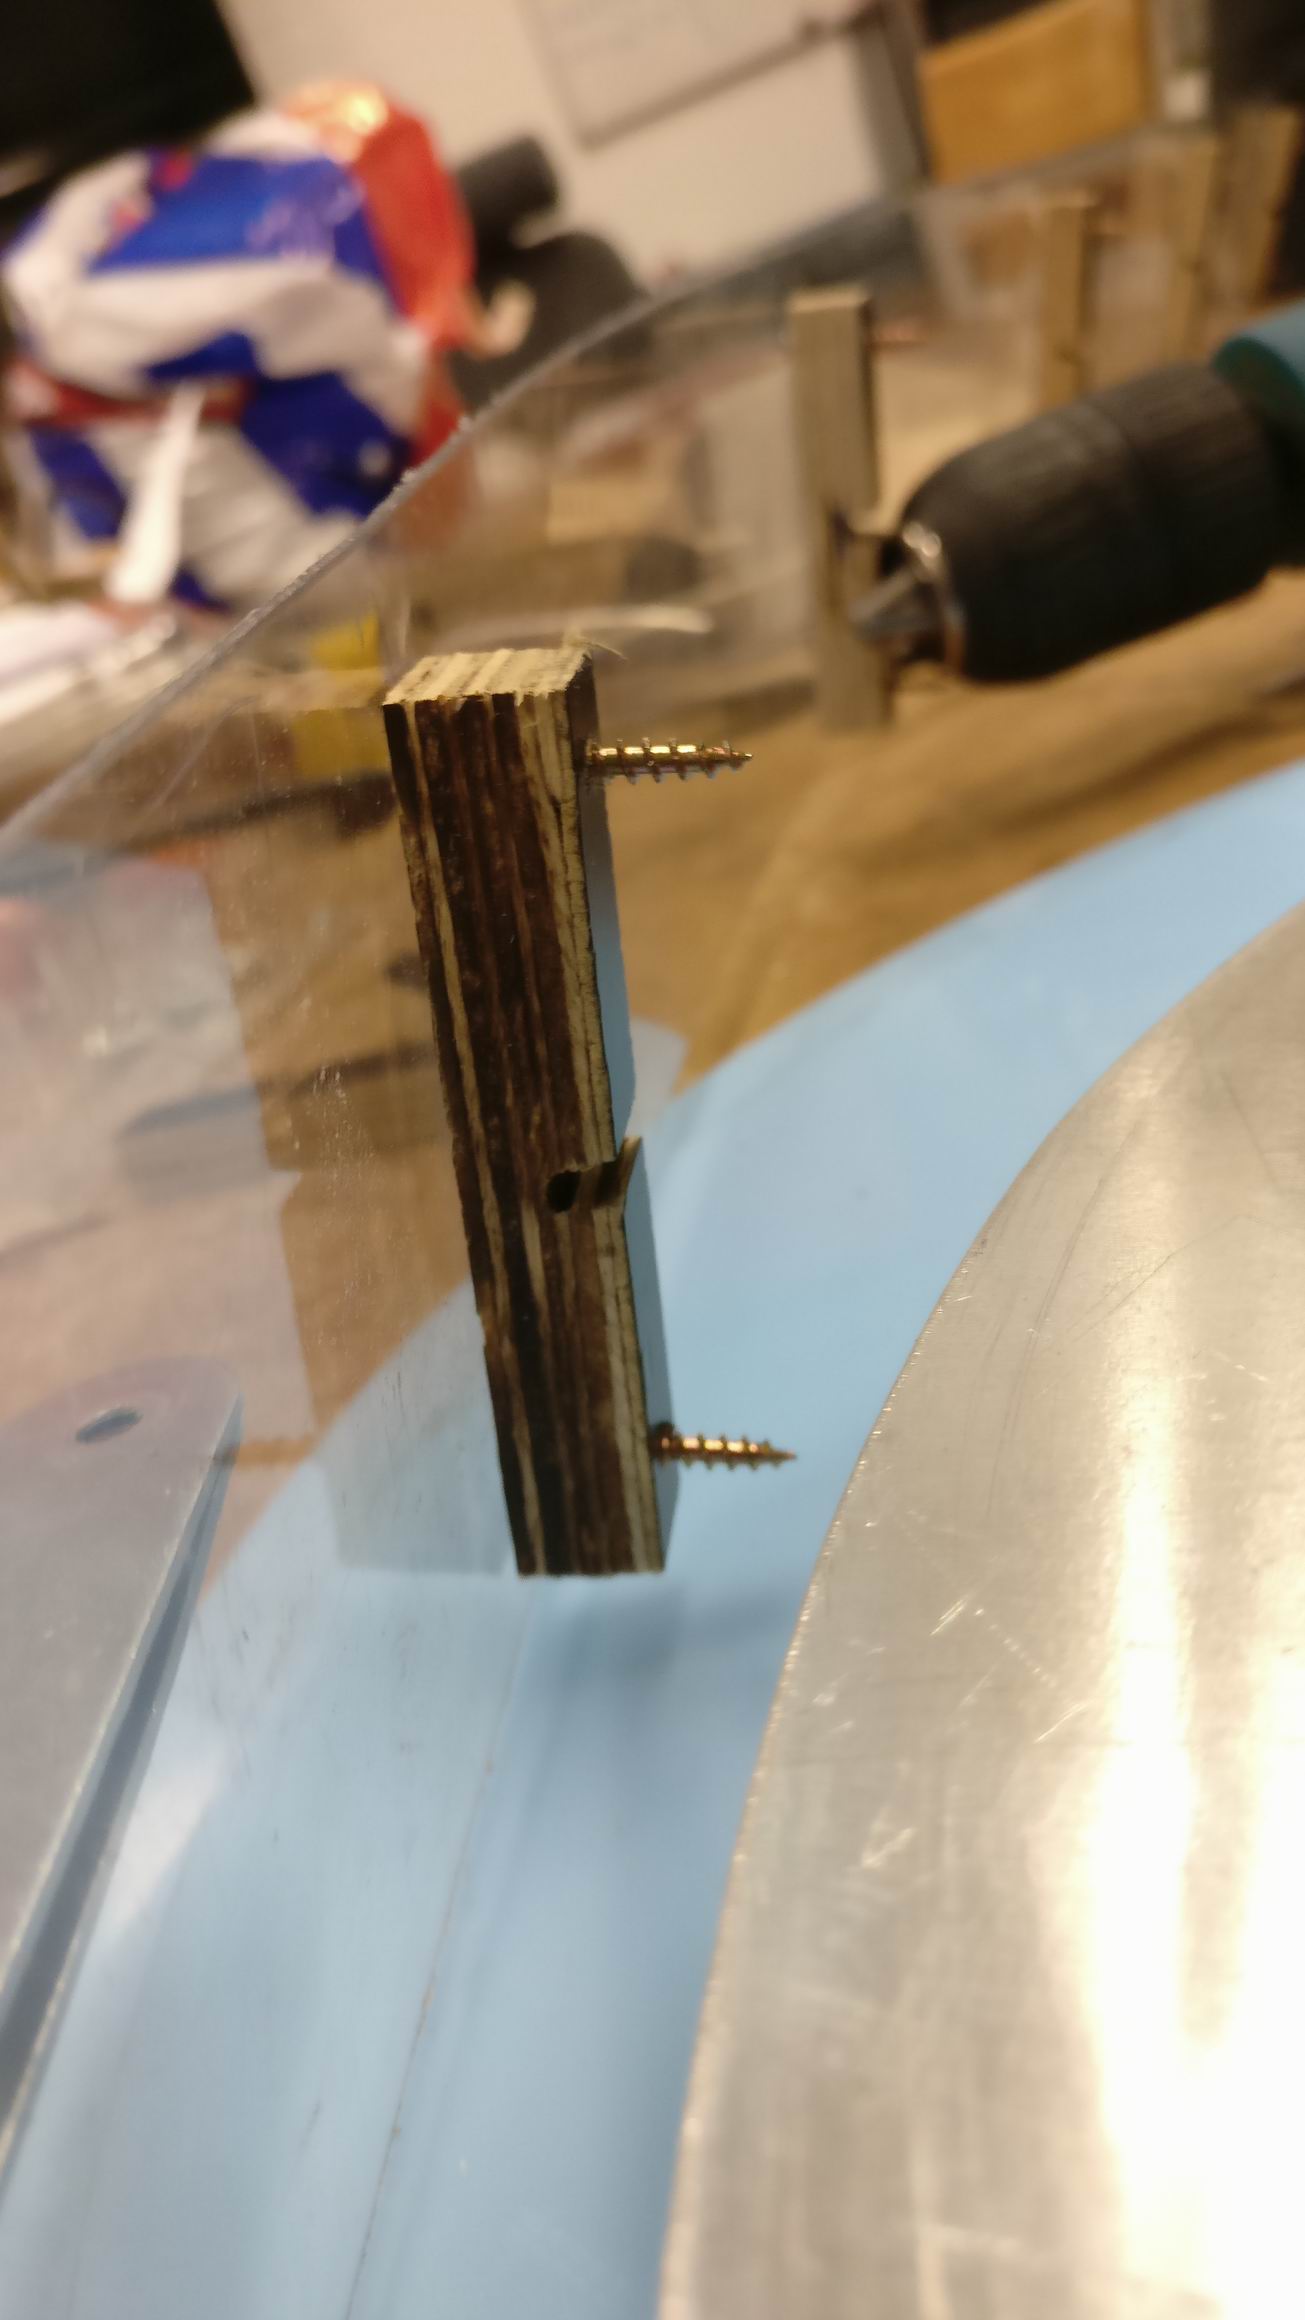
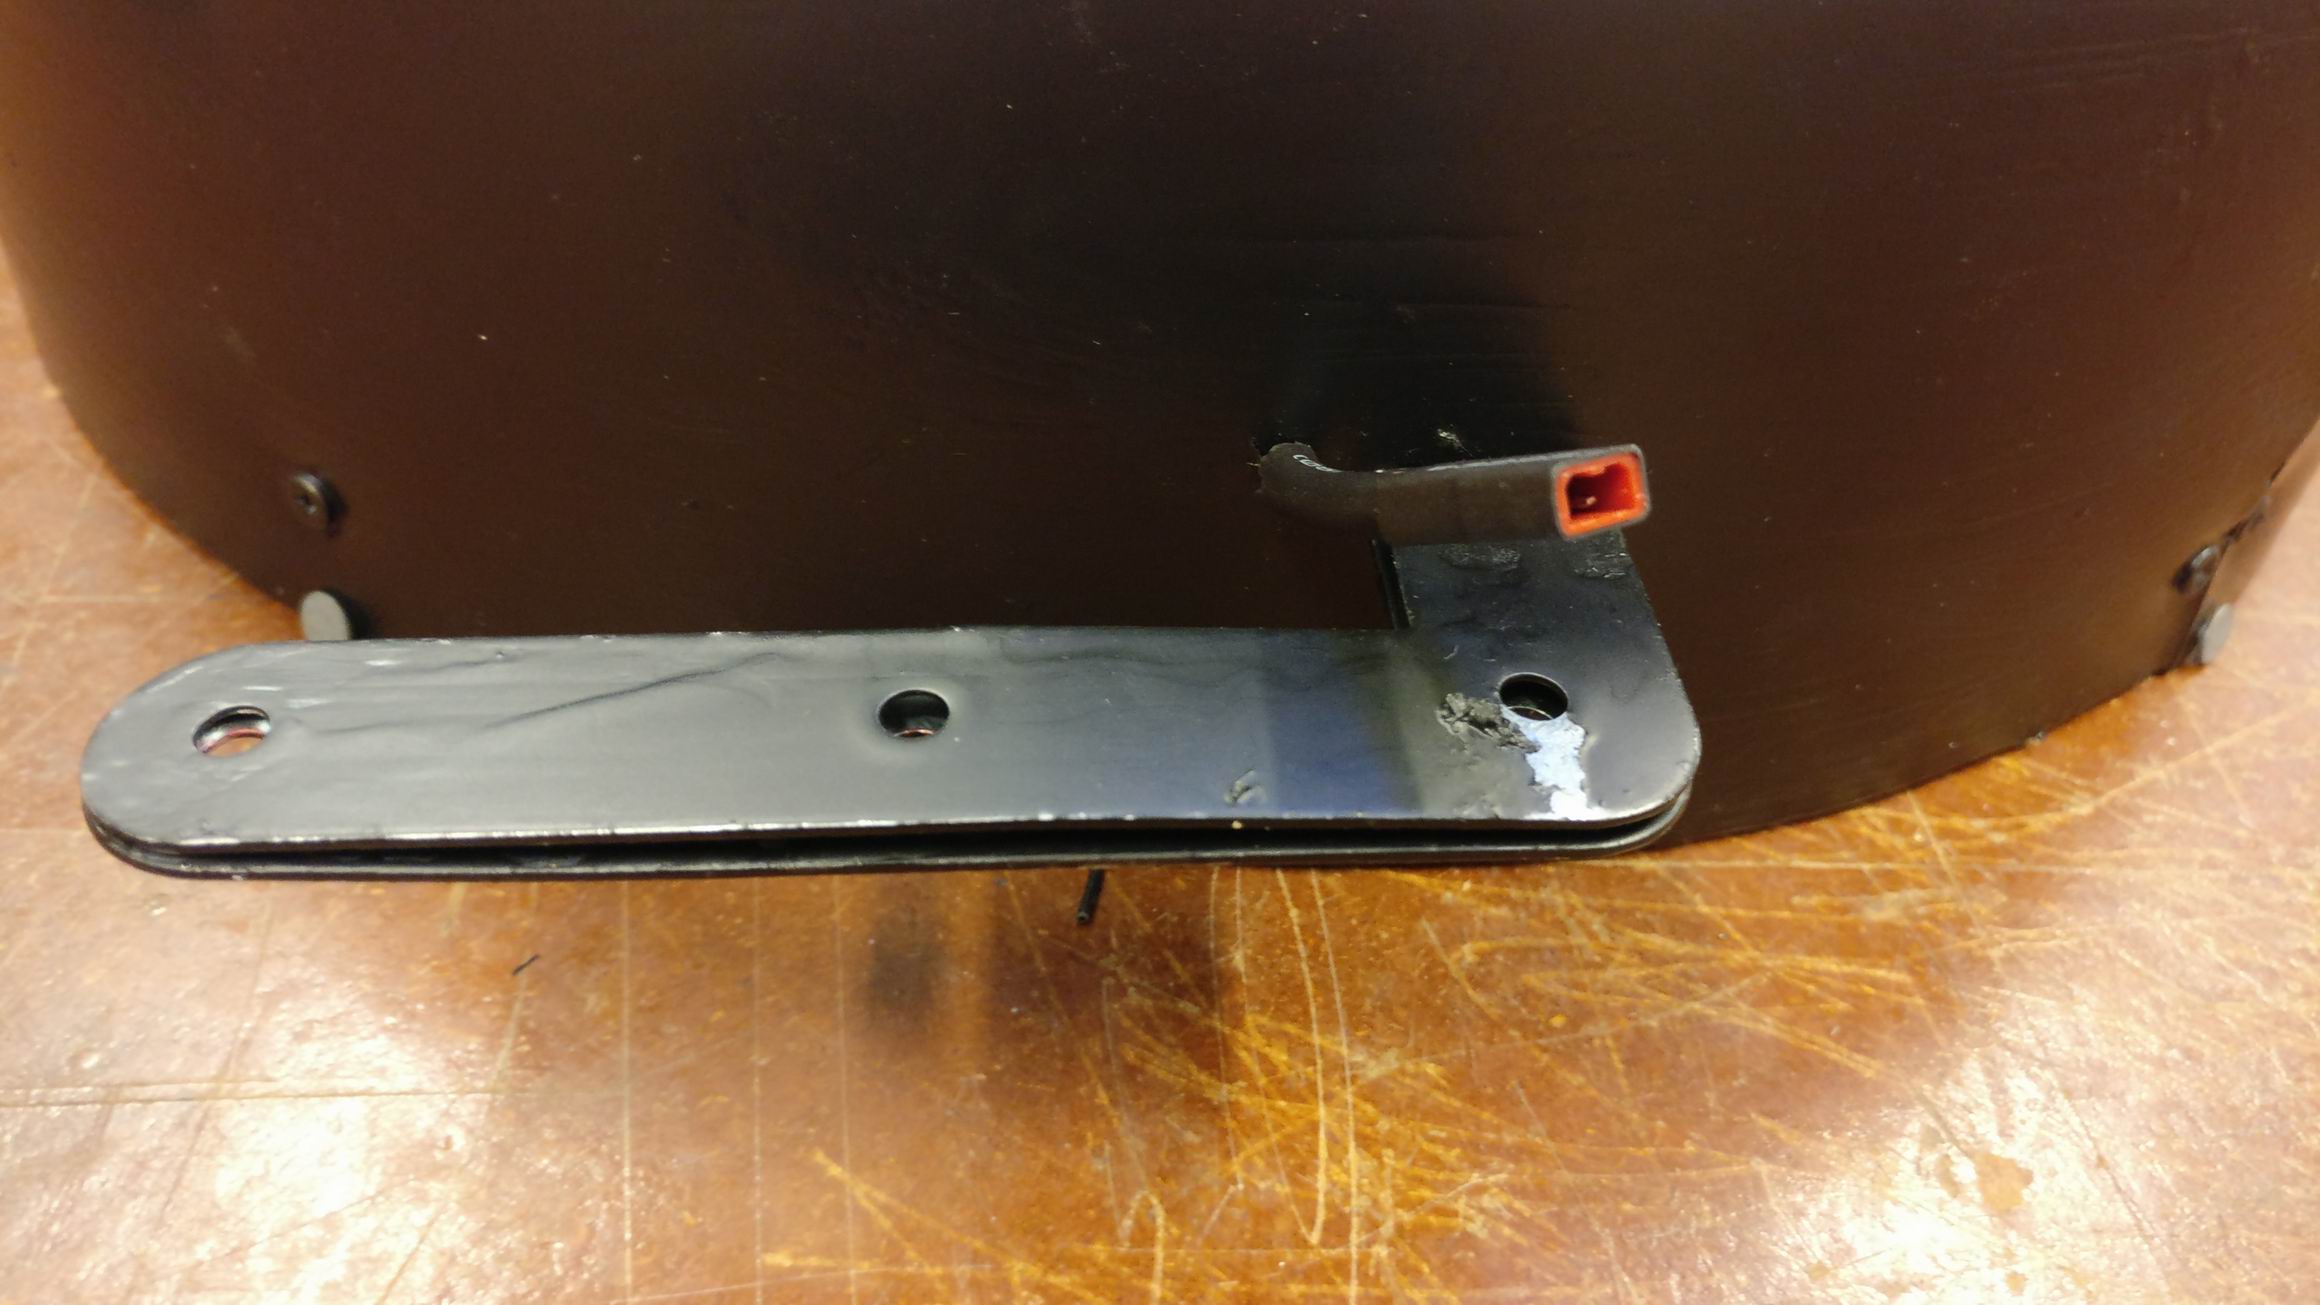
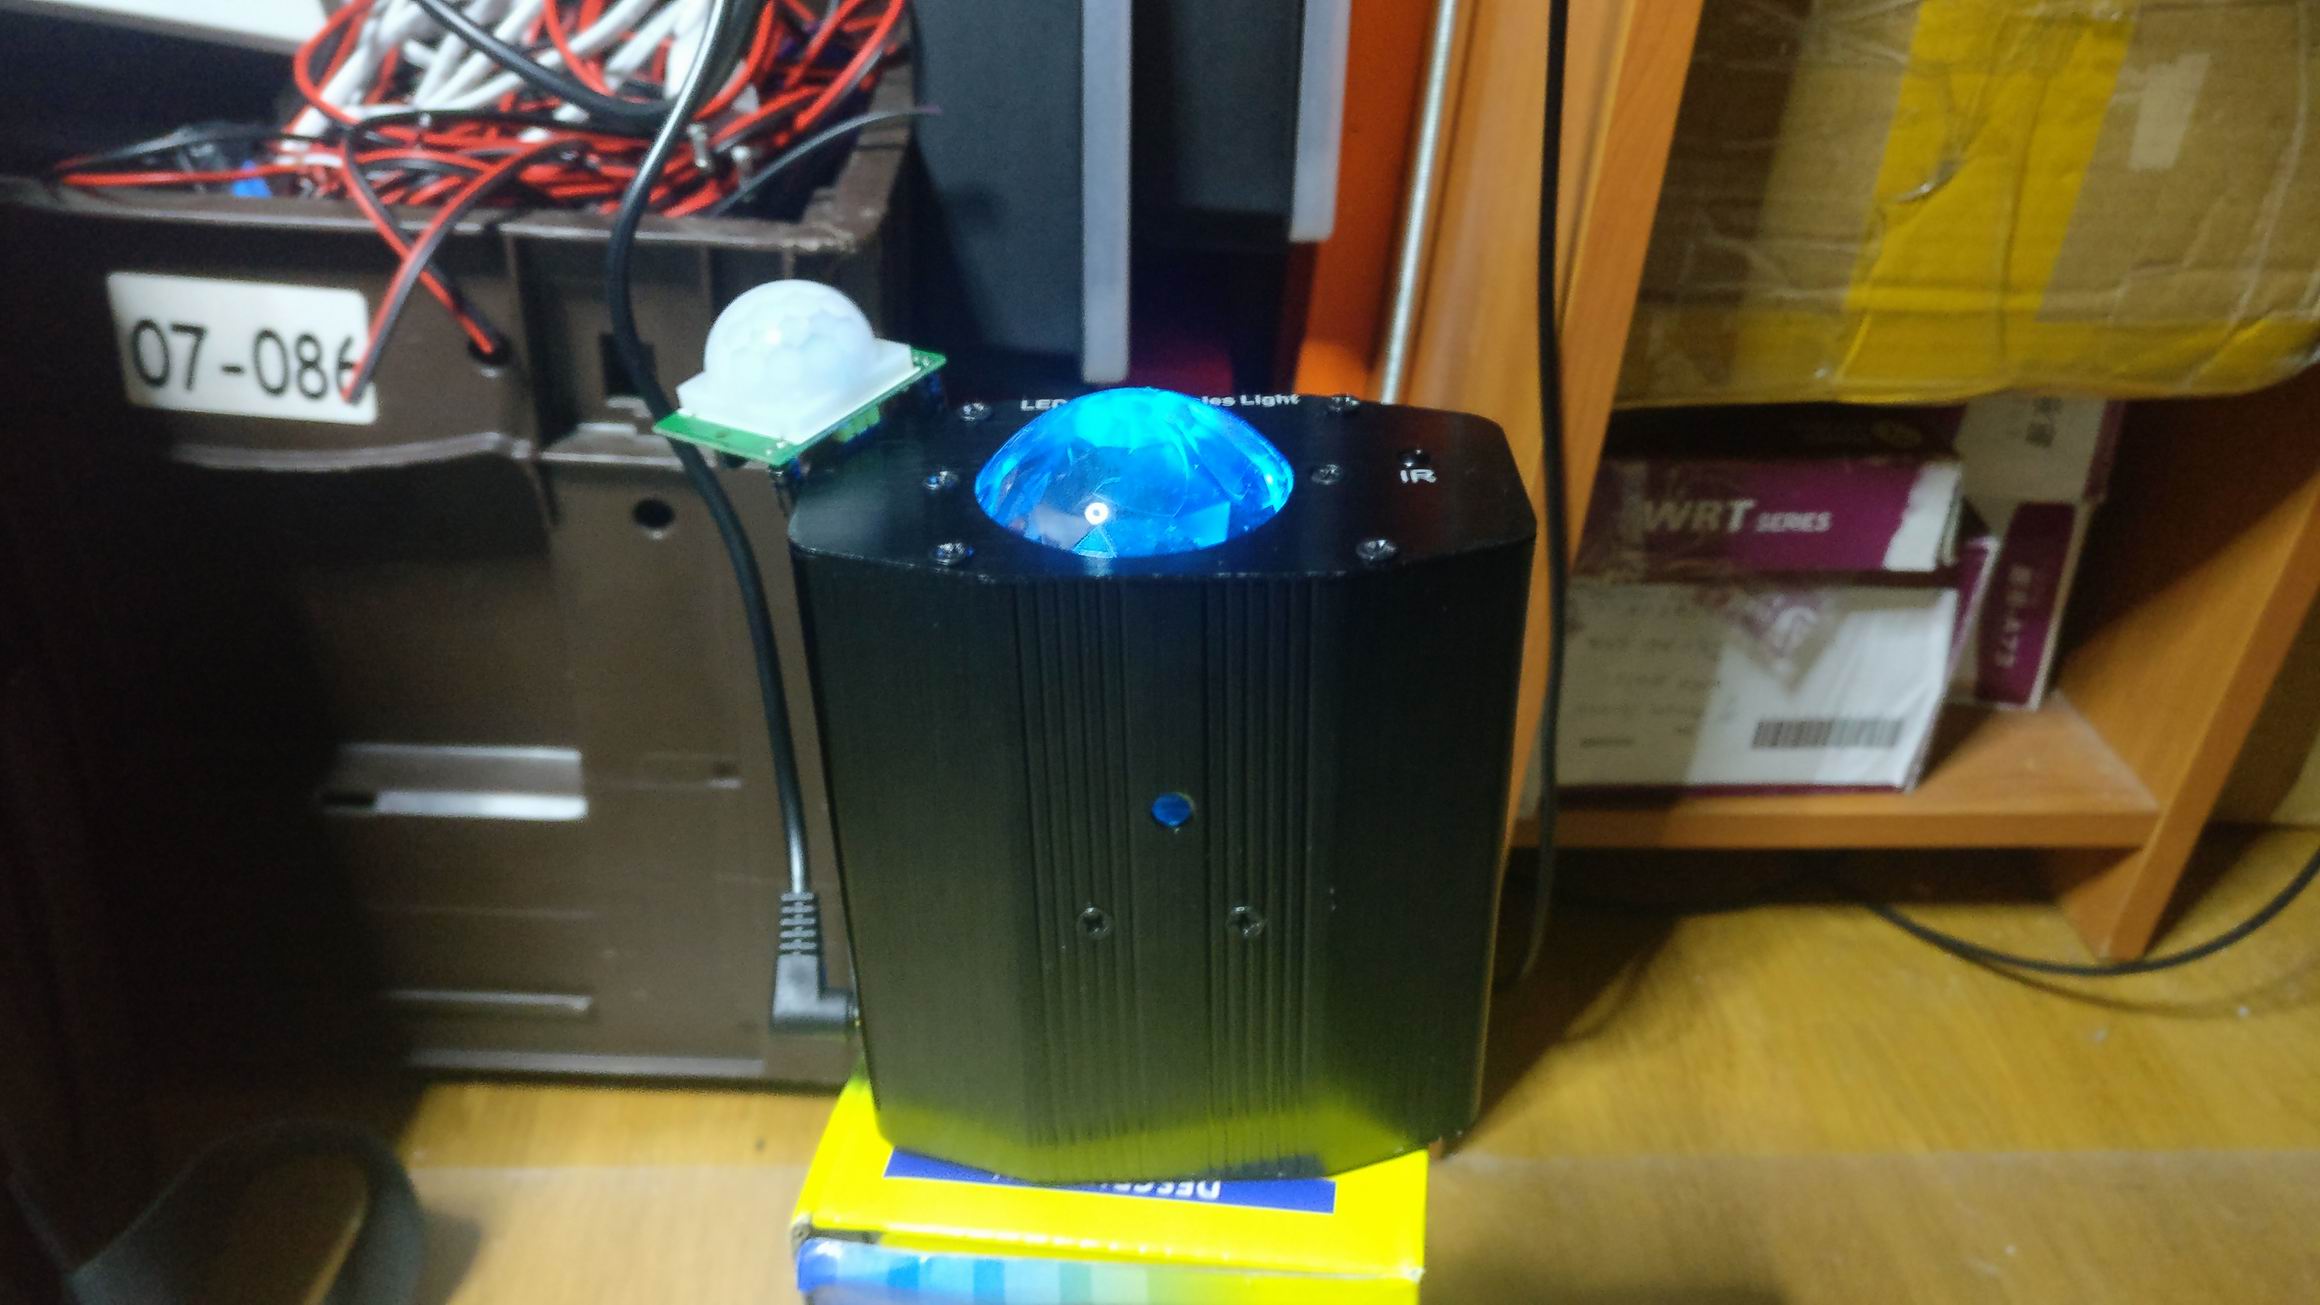
I drilled out a small cut out for a 3 pin header an glued it into place and put a PIR module in.


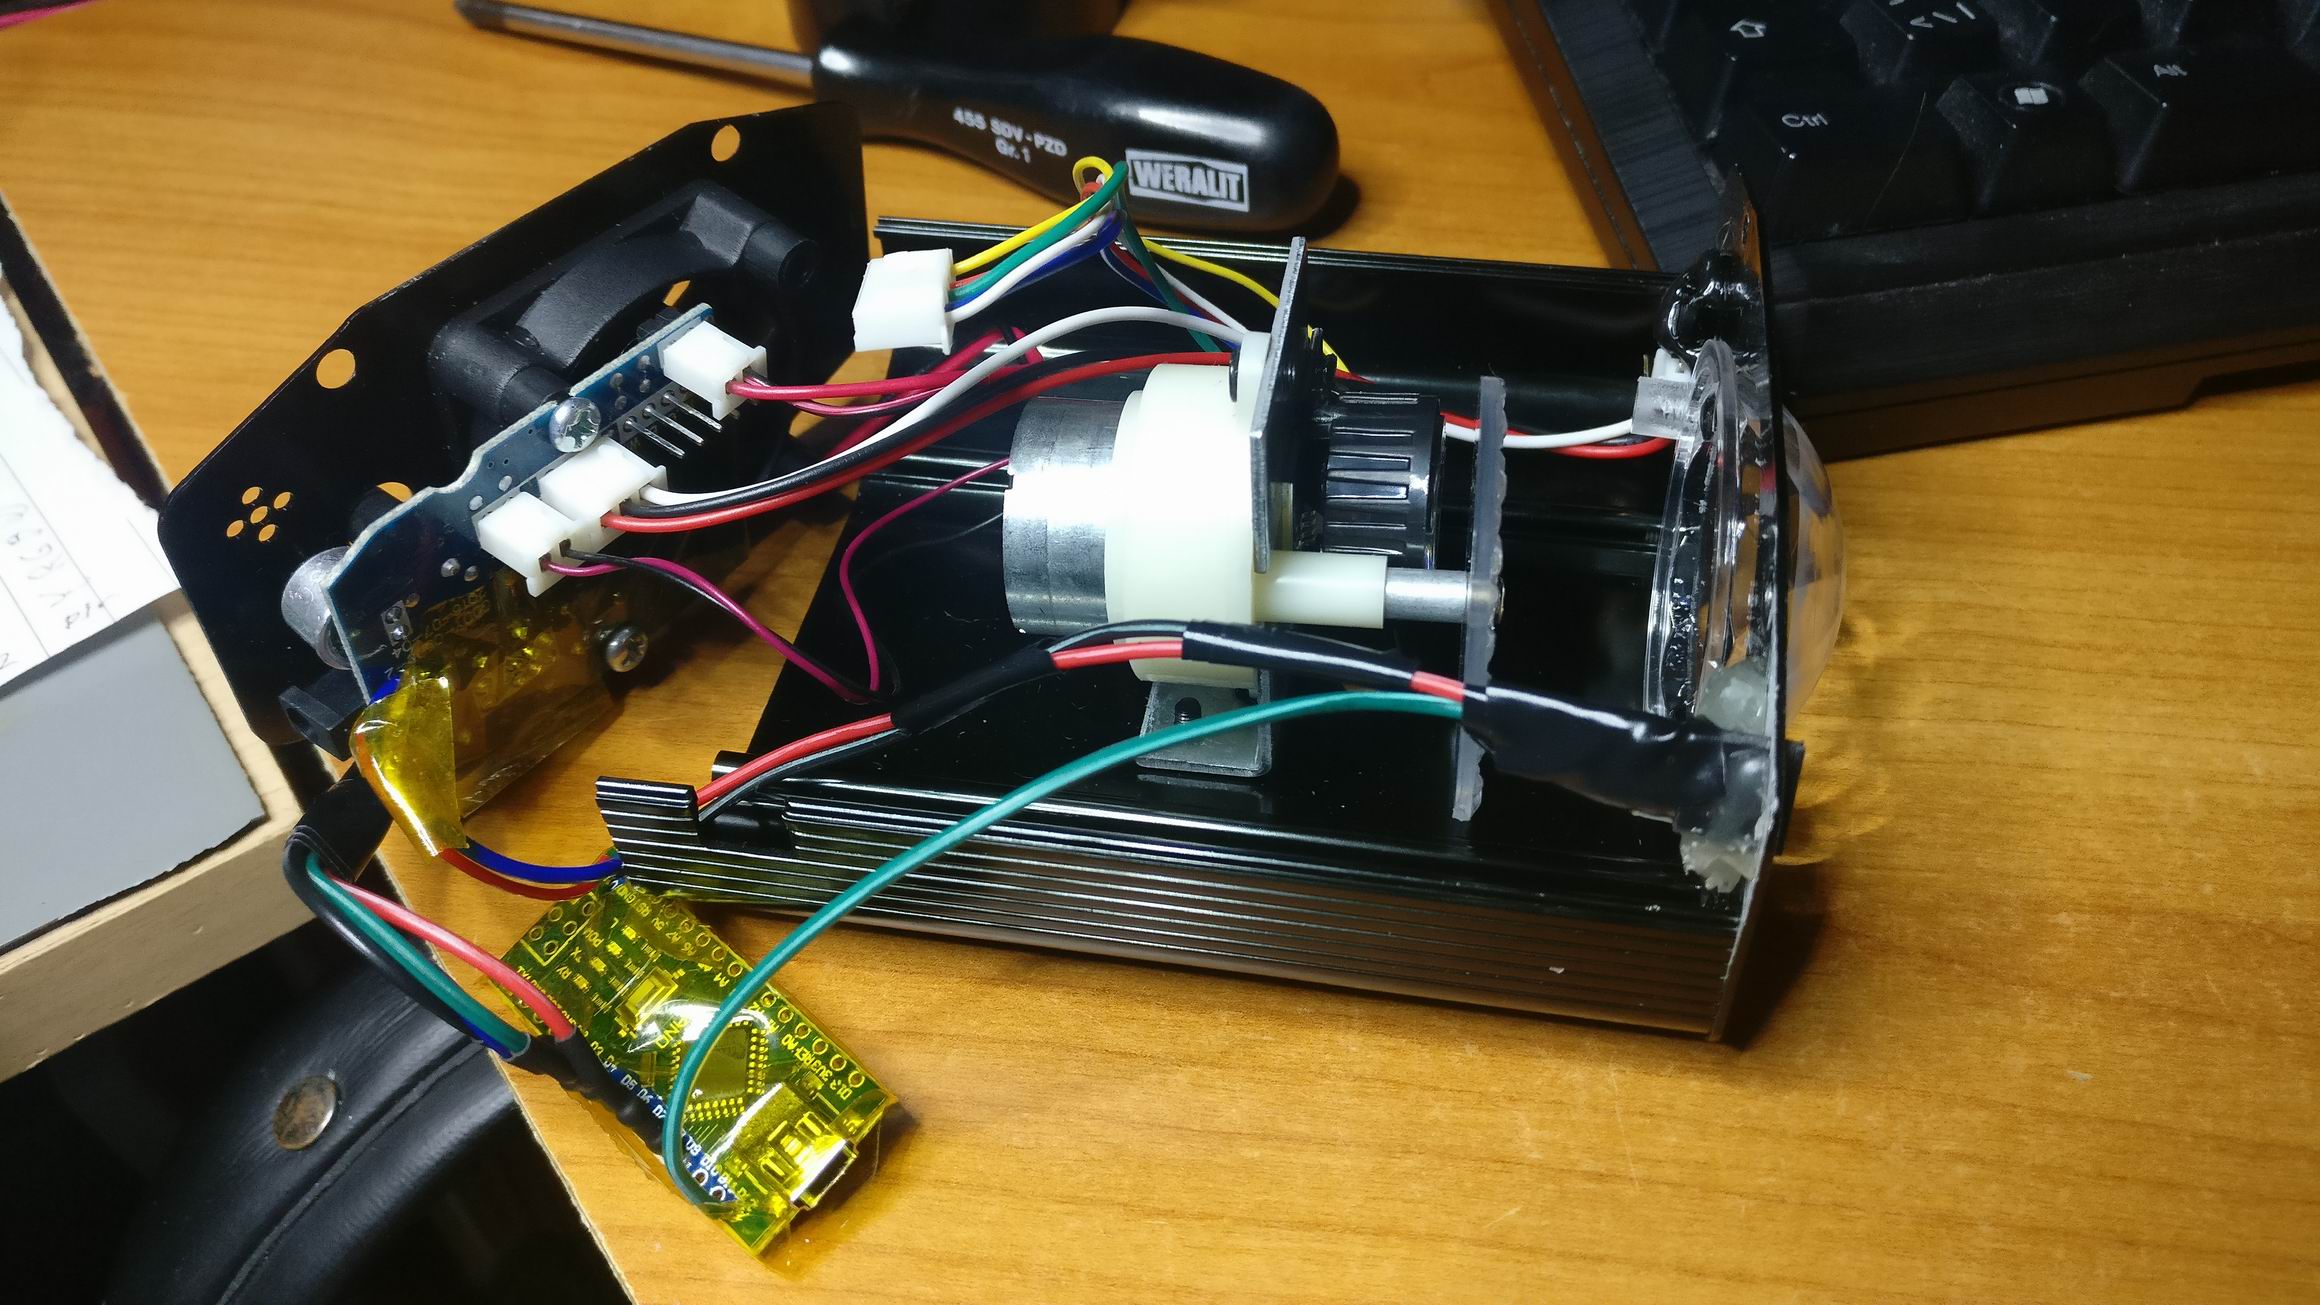
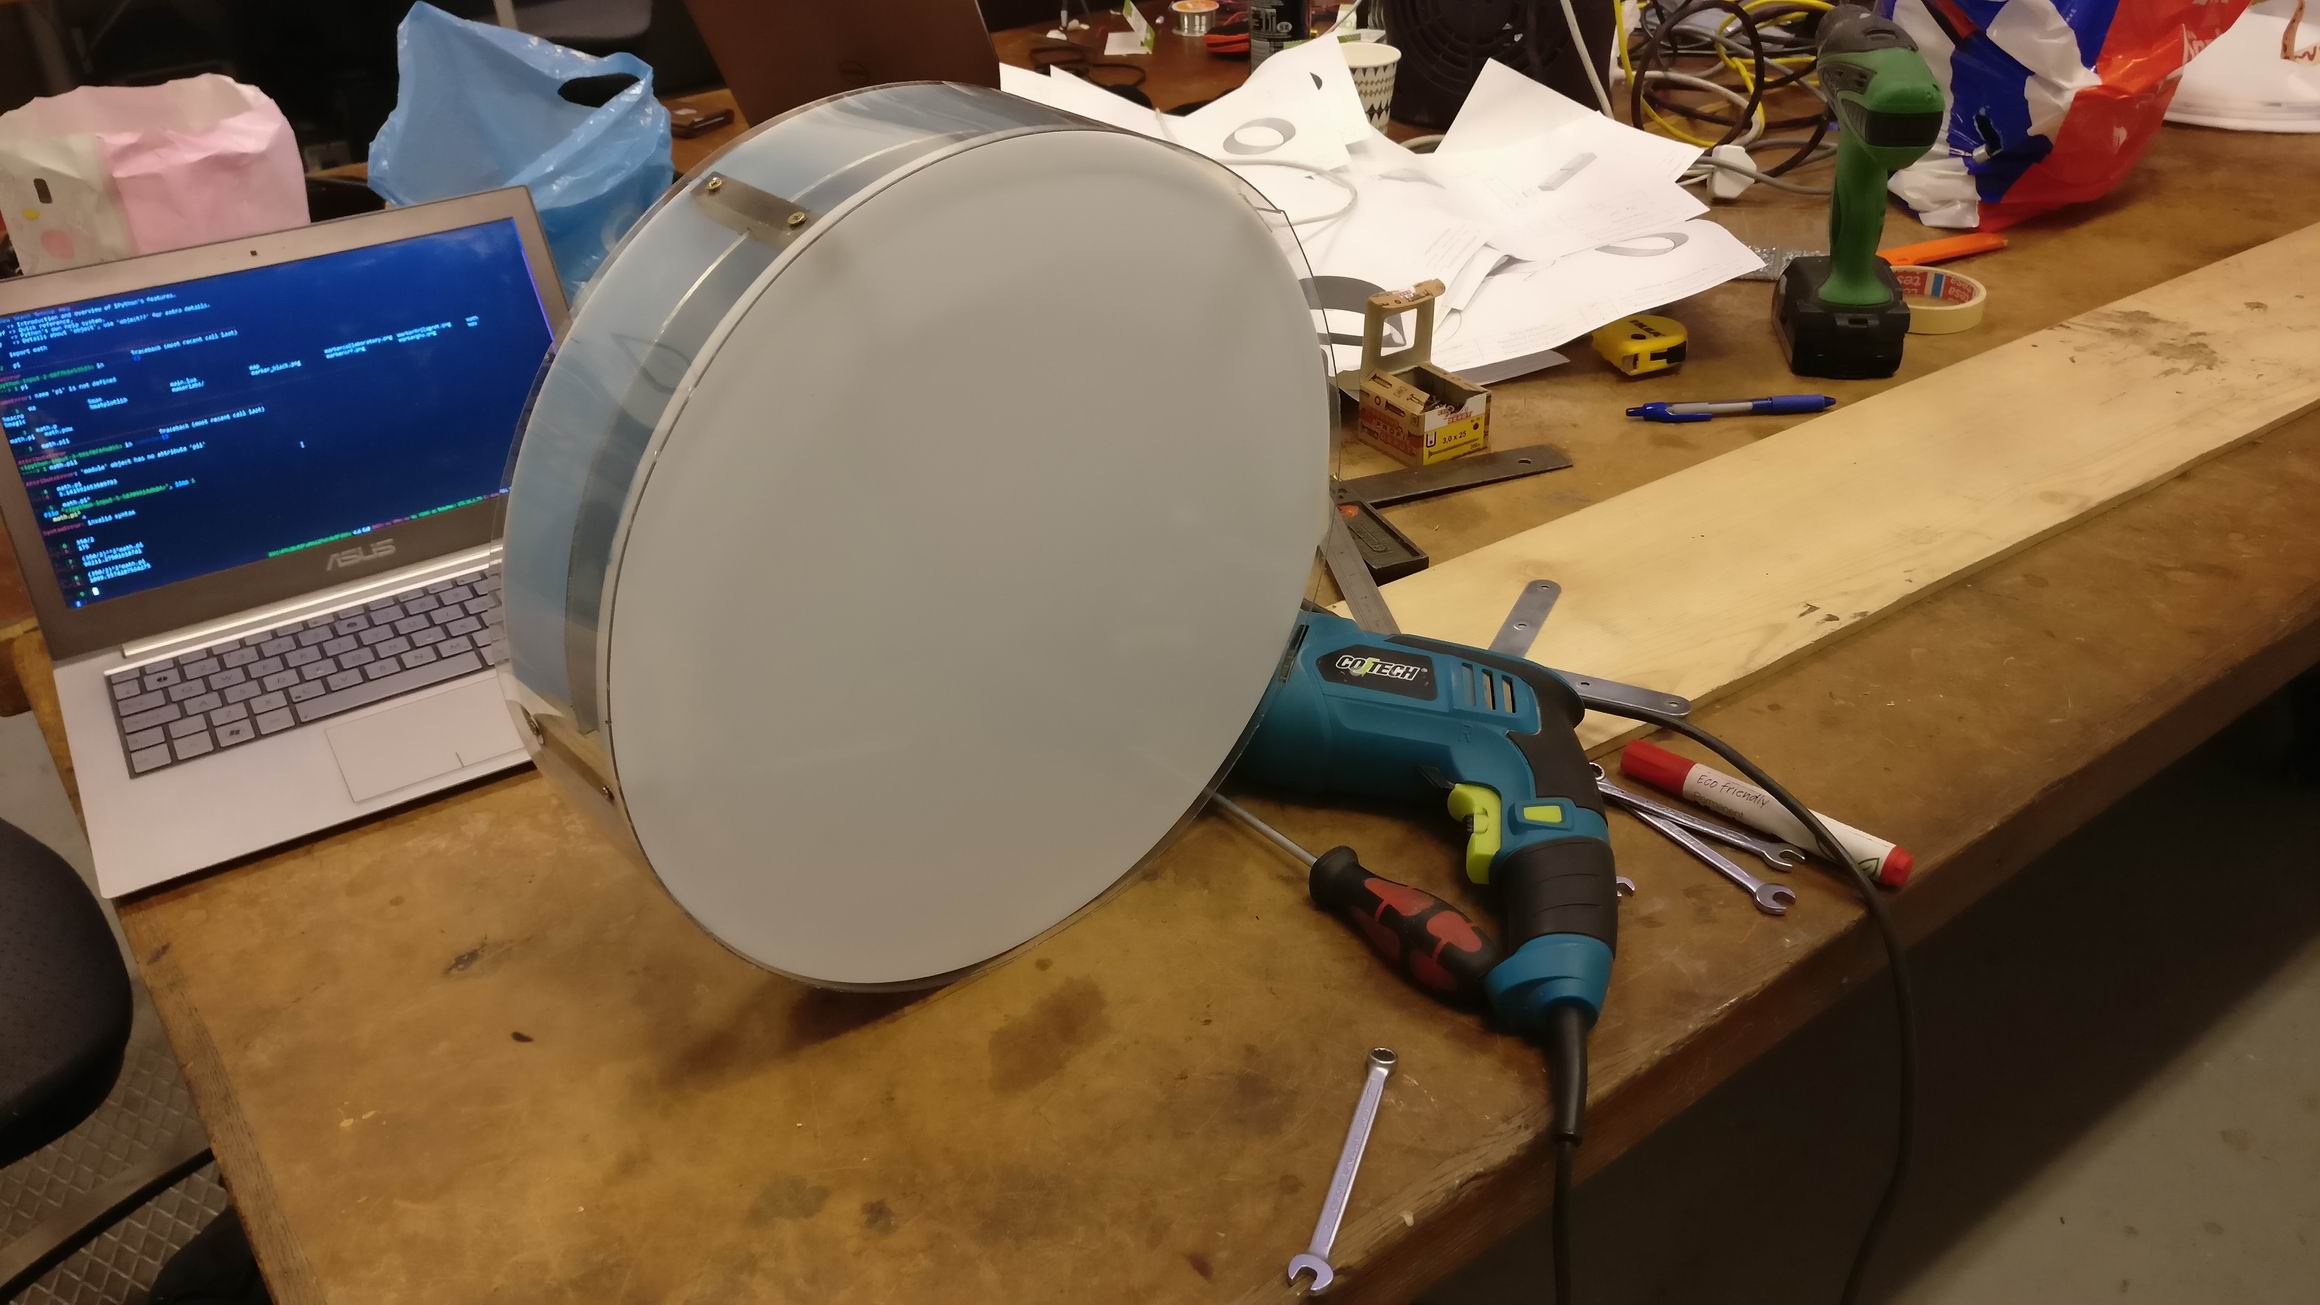
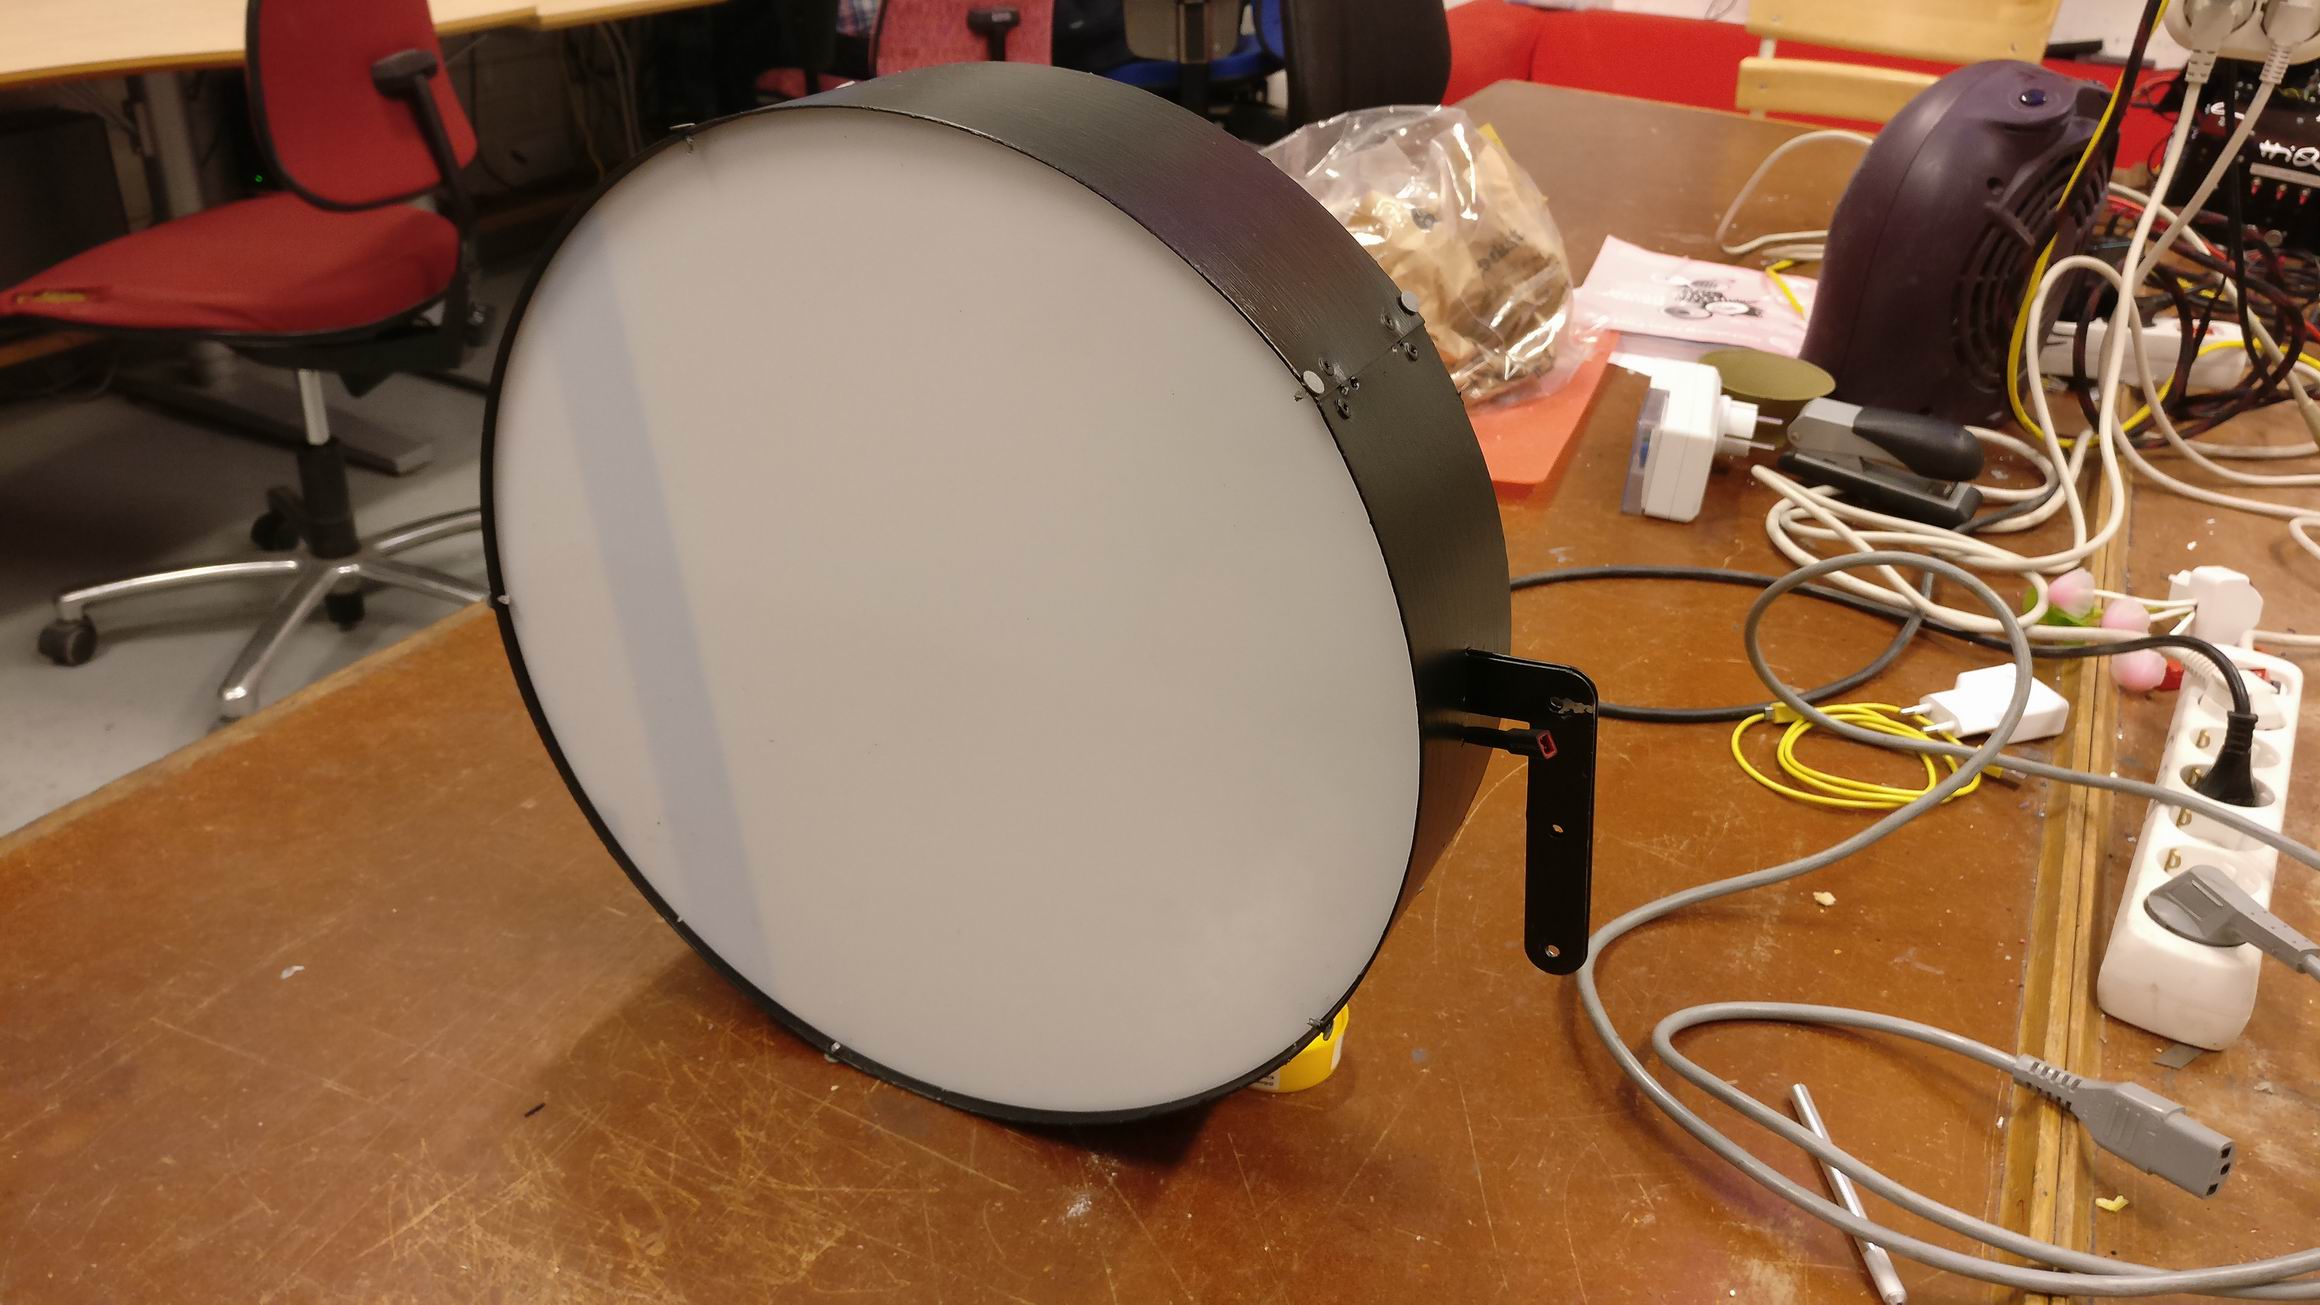
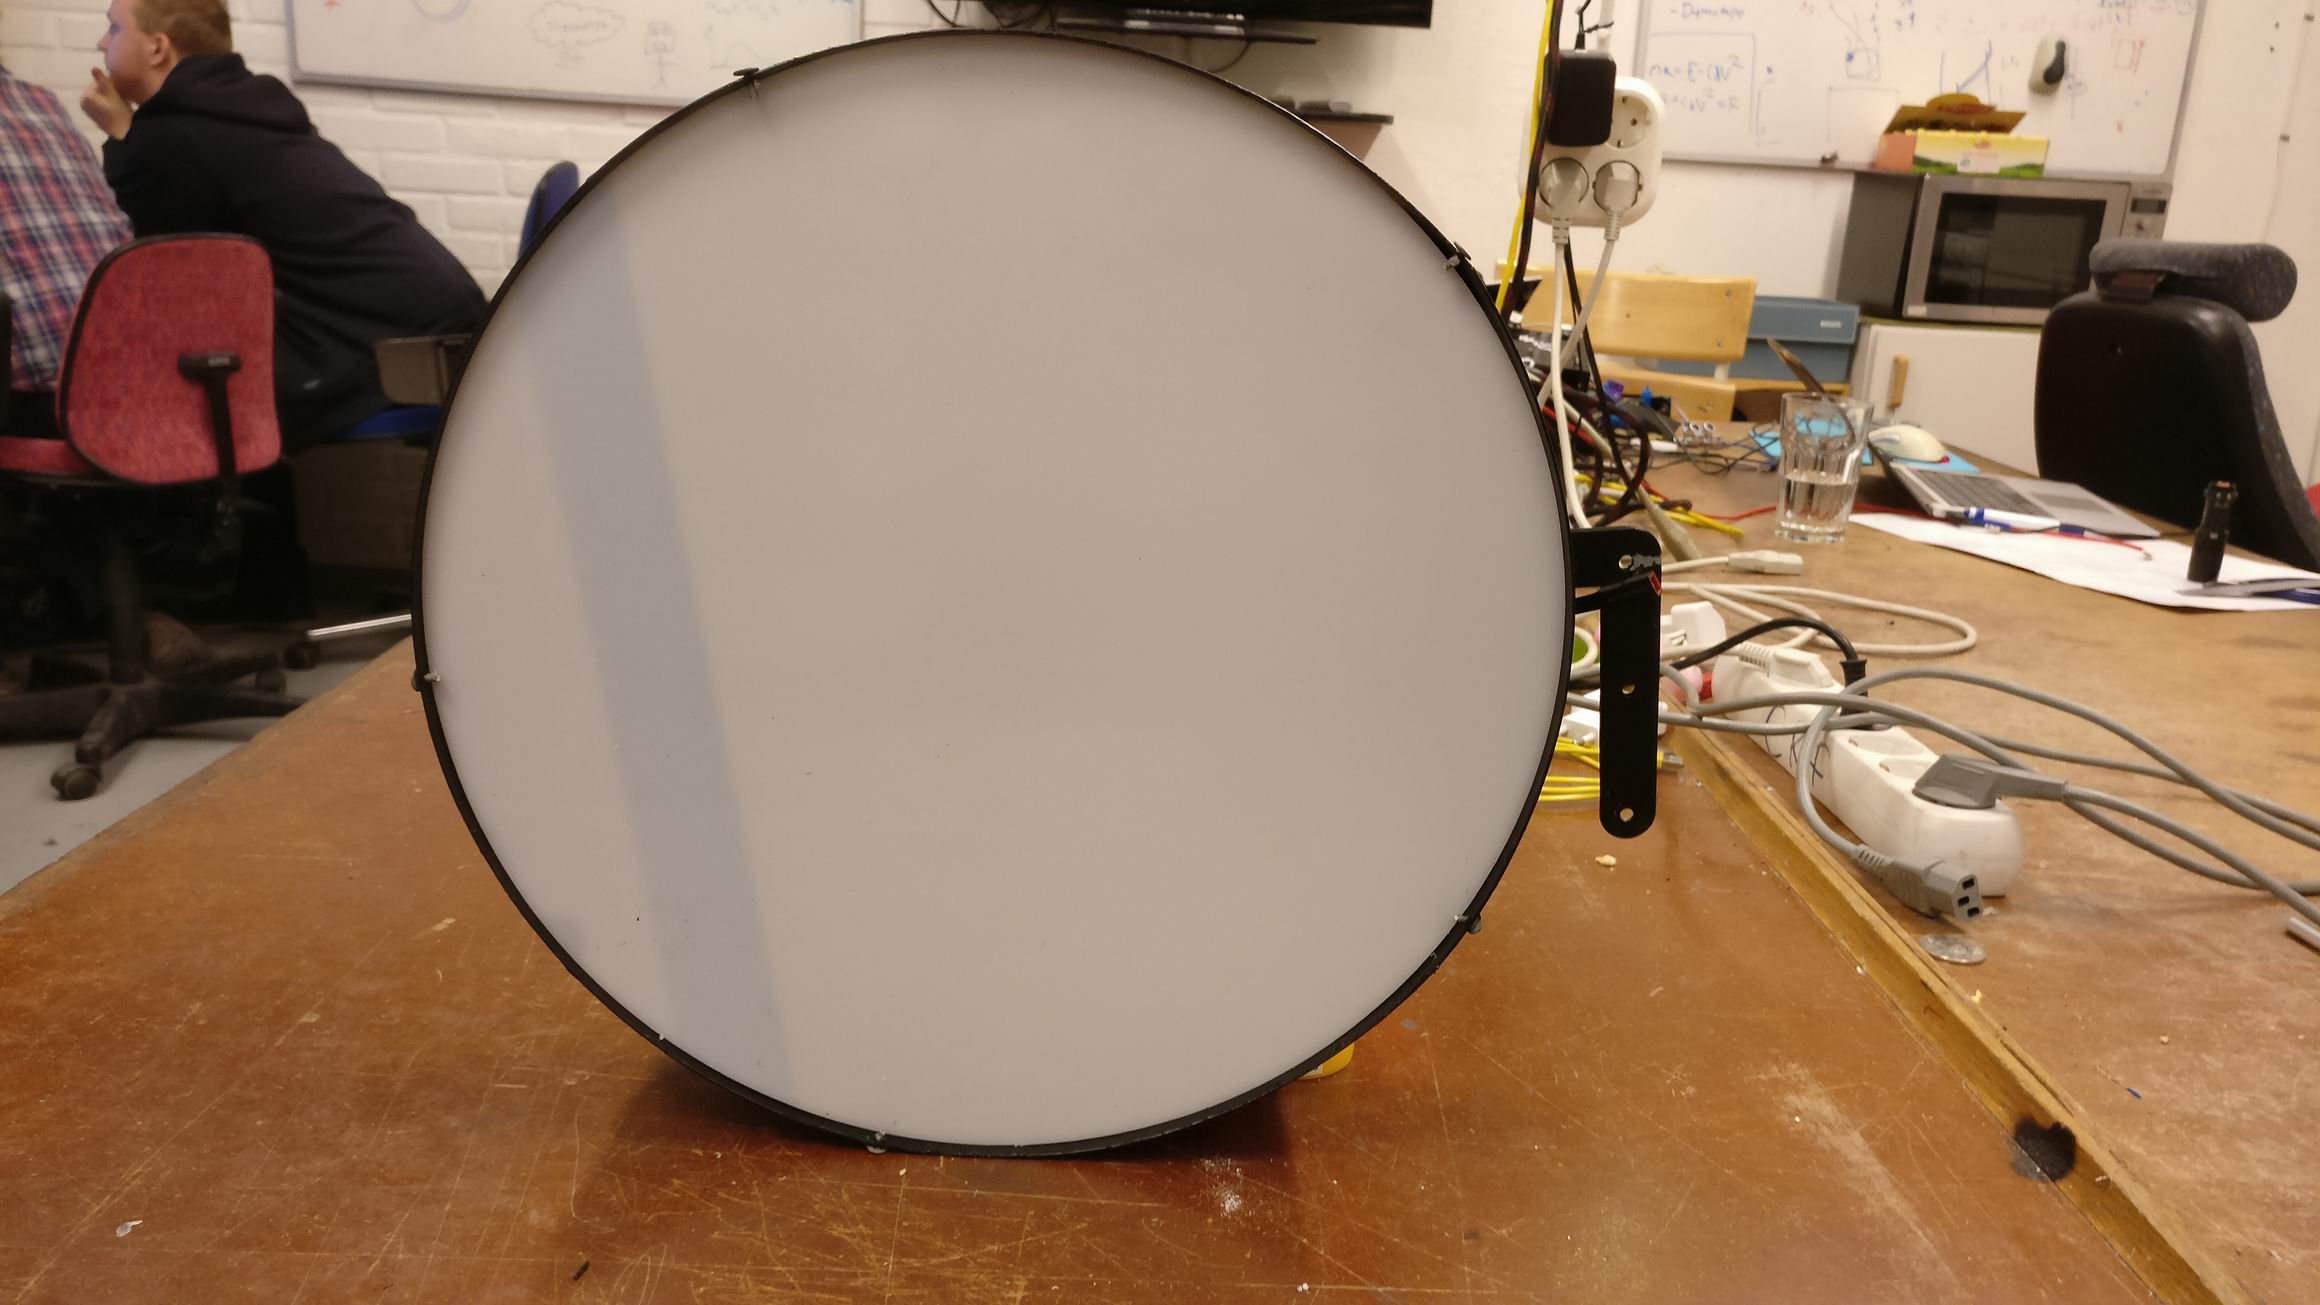
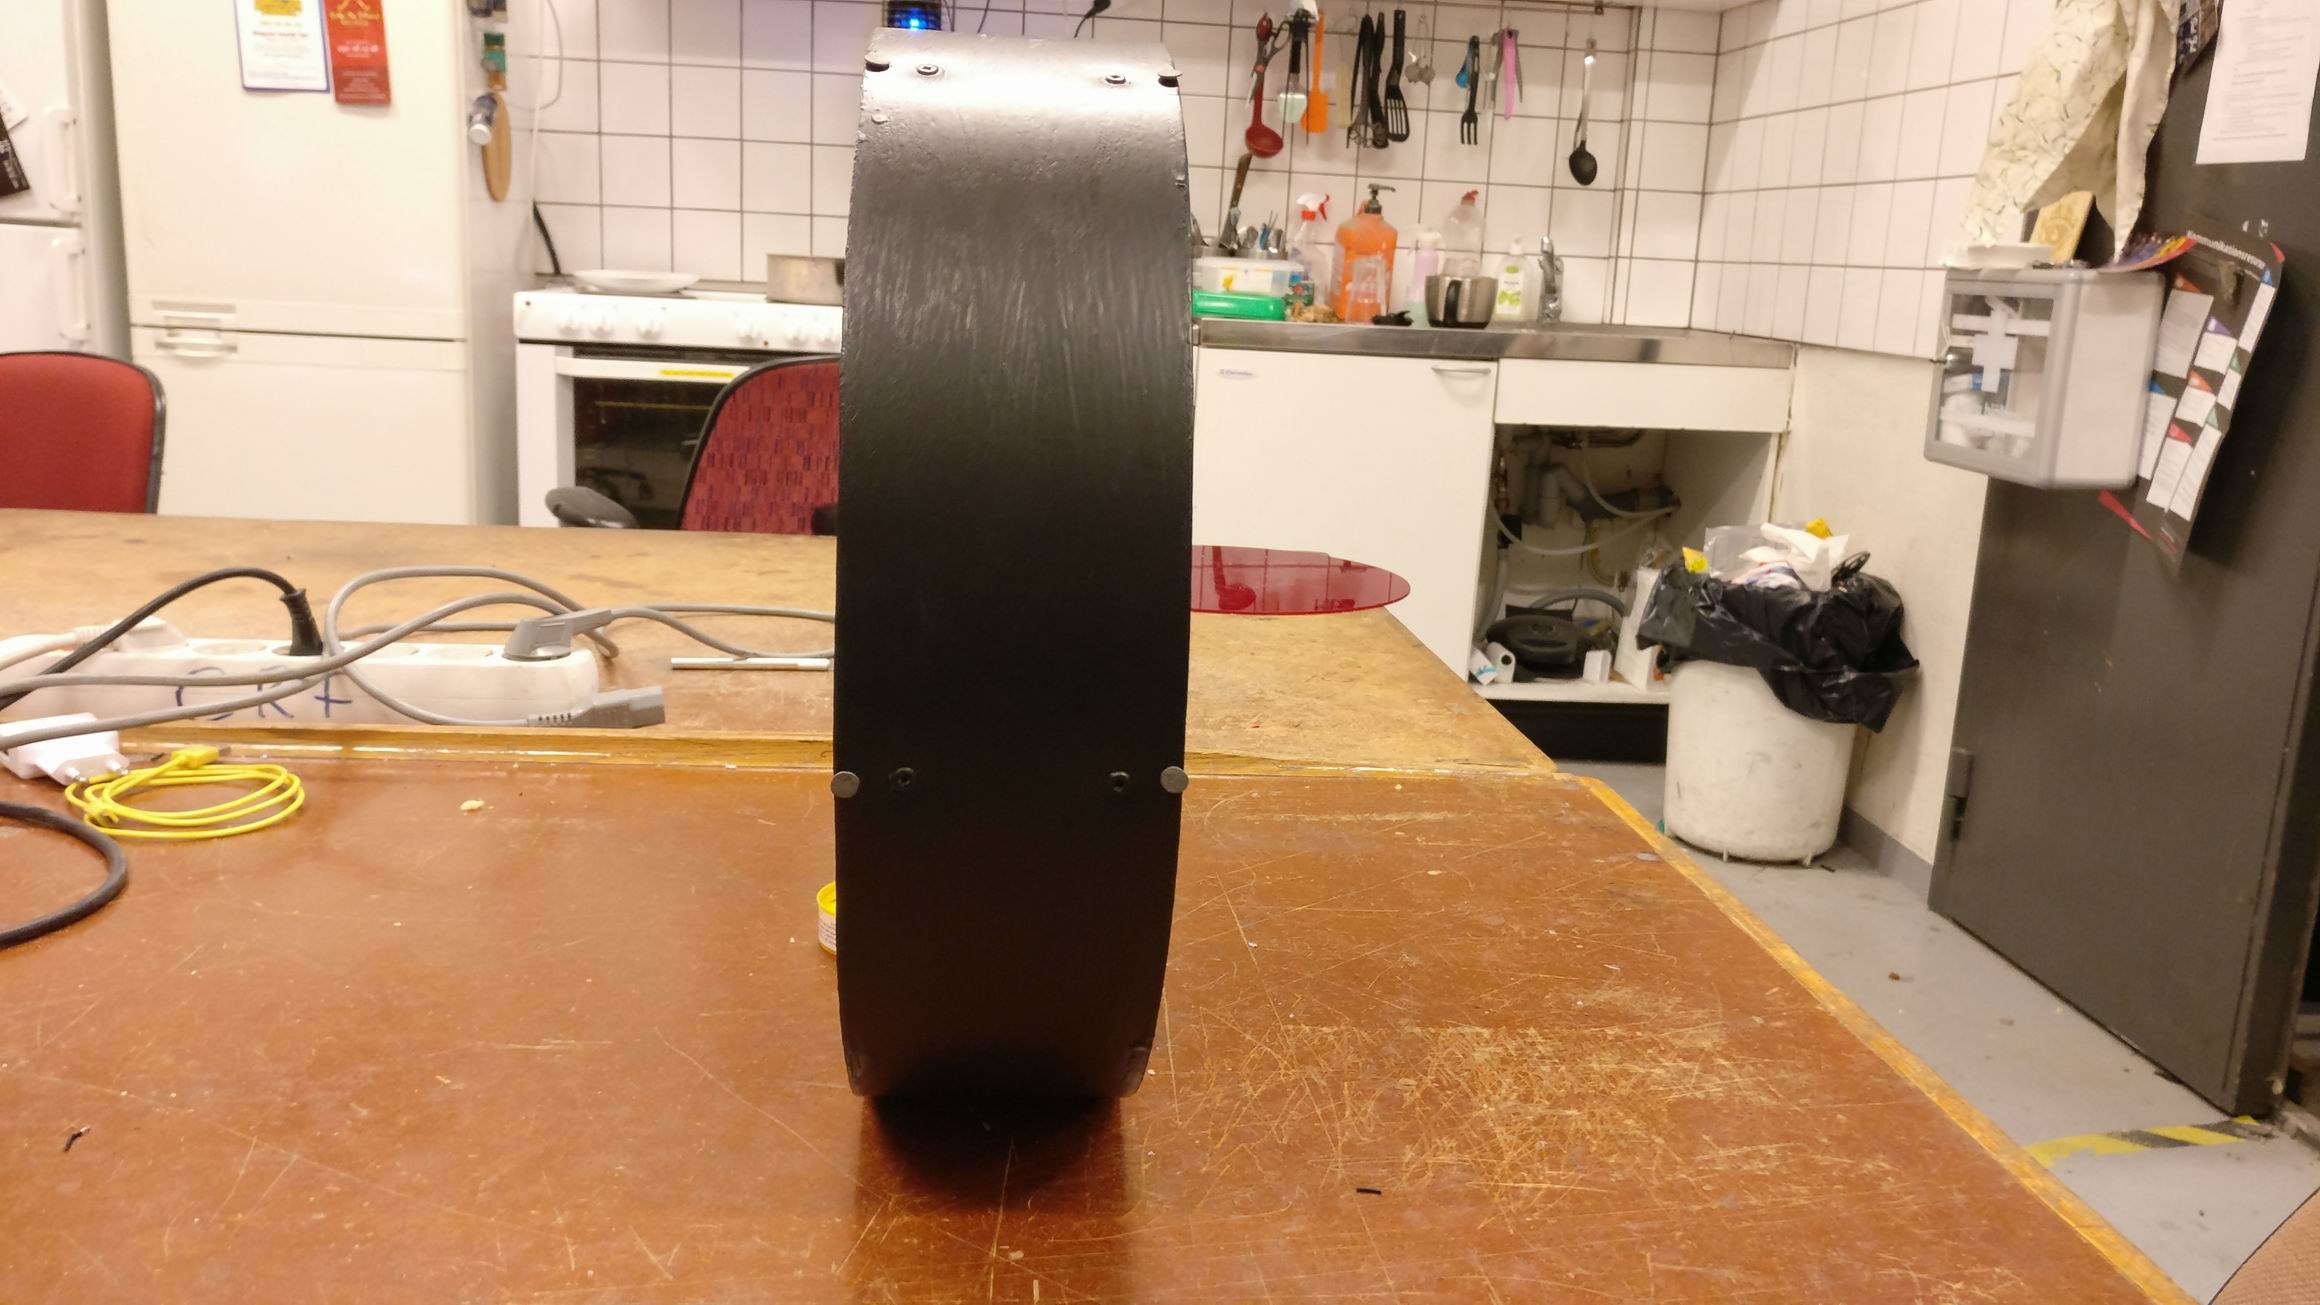
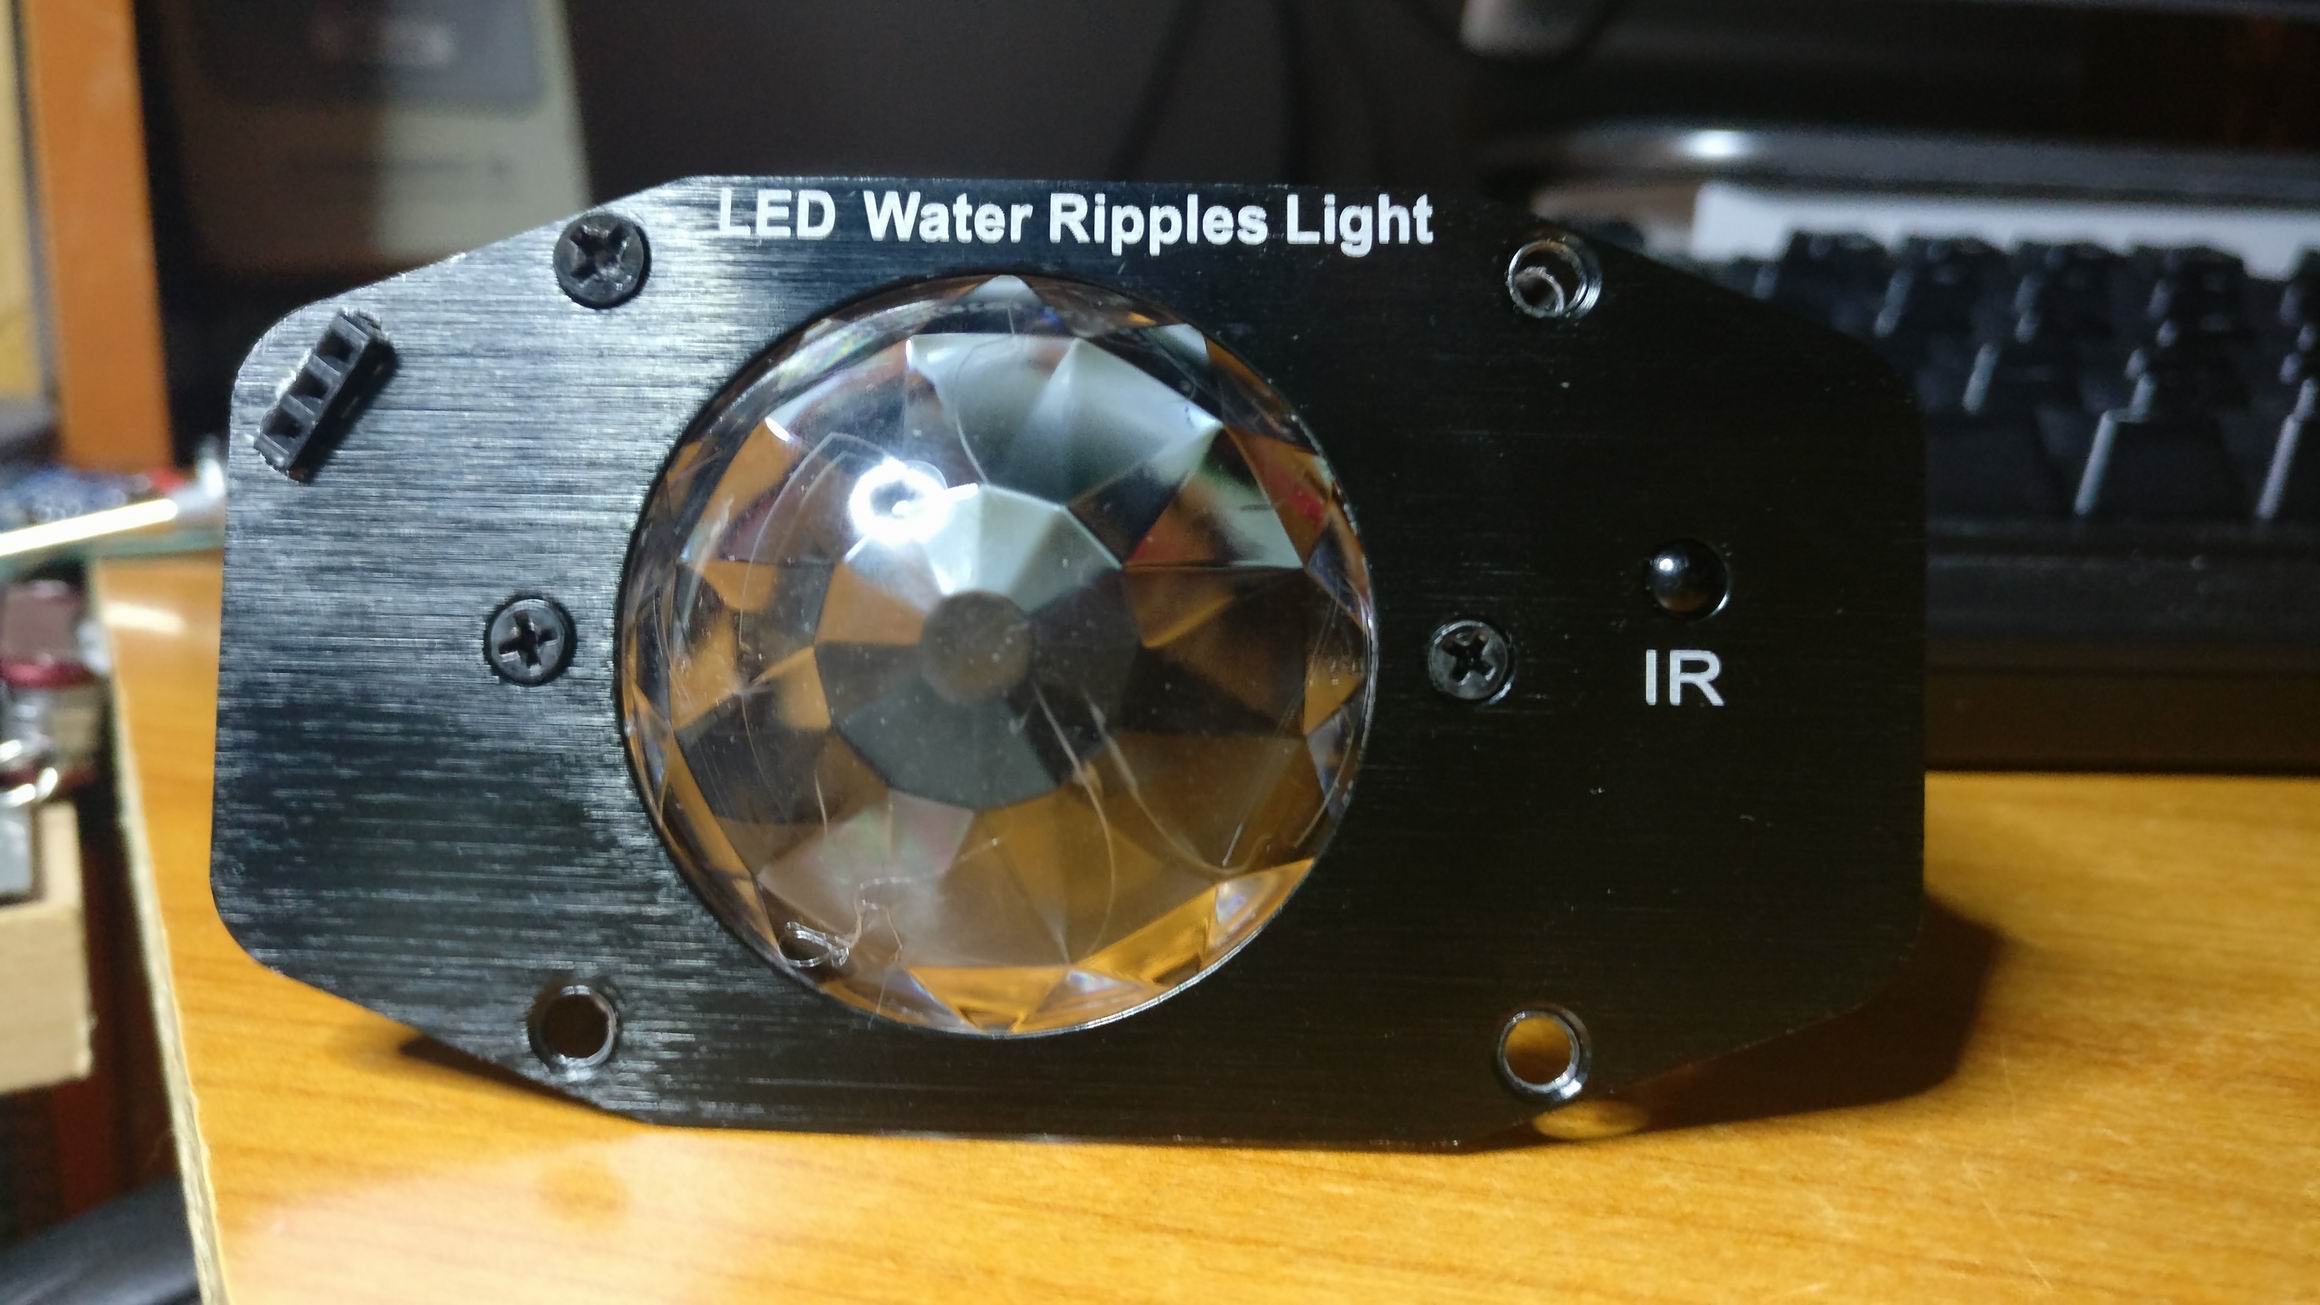
The whole assembly kind of look like it’s original except an exposed PIR module.

Prop Sign “Rund” for the larp Do Androids Dream?

IMG_20170204_023729IMG_20170204_023728
For the larp Do Androids Dream we needed a lot of small props to give a Blade Runner feeling of the scene.
Small lit up signs would give that Hong Kong look that is so common in Blade Runner. Carl Nordblom, the set designer, had some ideas about how the sign should look, and had found some sample pictures.

IMG_20170204_023730IMG_20170204_023756
From the sample pictures I got an idea of how to produce a design. And from that idea I started to make a CAD-design.
The finished design ended up being almost exactly like the CAD-design.
Here is the Drawing of the Round Sign (Do Androids Dream).pdf

IMG_20170204_023731
IMG_20170204_023732IMG_20170204_023733
Small wooden block for holding a aluminium plate in a slot.

IMG_20170204_023735
IMG_20170204_023736IMG_20170204_023737IMG_20170204_023738IMG_20170204_023739IMG_20170204_023740
IMG_20170204_023742
The wooden blocks attached on to a sheet of flexible PET plastic.
The sheet is bent around the round aluminum plate with the help of the slots.

IMG_20170204_023743
The PET ring is transparent with a blue tint which would not be fitting in a light fixture. So we painted the PET ring in black to make it opaque.

IMG_20170204_023744IMG_20170204_023745IMG_20170204_023746IMG_20170204_023747
Warm white 5050 LED strip was glued on to the aluminium plate.
9×6 strips with 54 LED’s on each side makes 108 LED’s in total
108 * 20mA = 2.16A
2.16A * 12V = 26W

IMG_20170204_023749
IMG_20170204_023748IMG_20170204_023750IMG_20170204_023751
The LED strips is driven by 12V that comes in from JST-connector.
But the sign is supposed to look like an old florescent light, so to give that look the light should look like it flicker occasionally.
I hooked up an N-channel MOSFET IRLML6344 and connected it to a Arduino Nano for timing the random flickering.

IMG_20170204_023752
A big steel angle attached to the heavy aluminium plate of the sign, this is used for screwing the signs to a wall. Also the JST power connector, hidden in black heat shrink tubing.

IMG_20170204_023755
IMG_20170204_023753IMG_20170204_023754
In the outer sides of the sign round white acrylic plates will be inserted. They will rest against the wooden blocks and hold back by small sprints.
Each side of the sign is mirrored, so one sign have two faces.
The light is powerful enough to project through the white acrylic plastic. And with opaque paint on top will make a huge contrast perfect for a sign.