This is the making of go:toTrash were we are showing the steps involved in the construction.
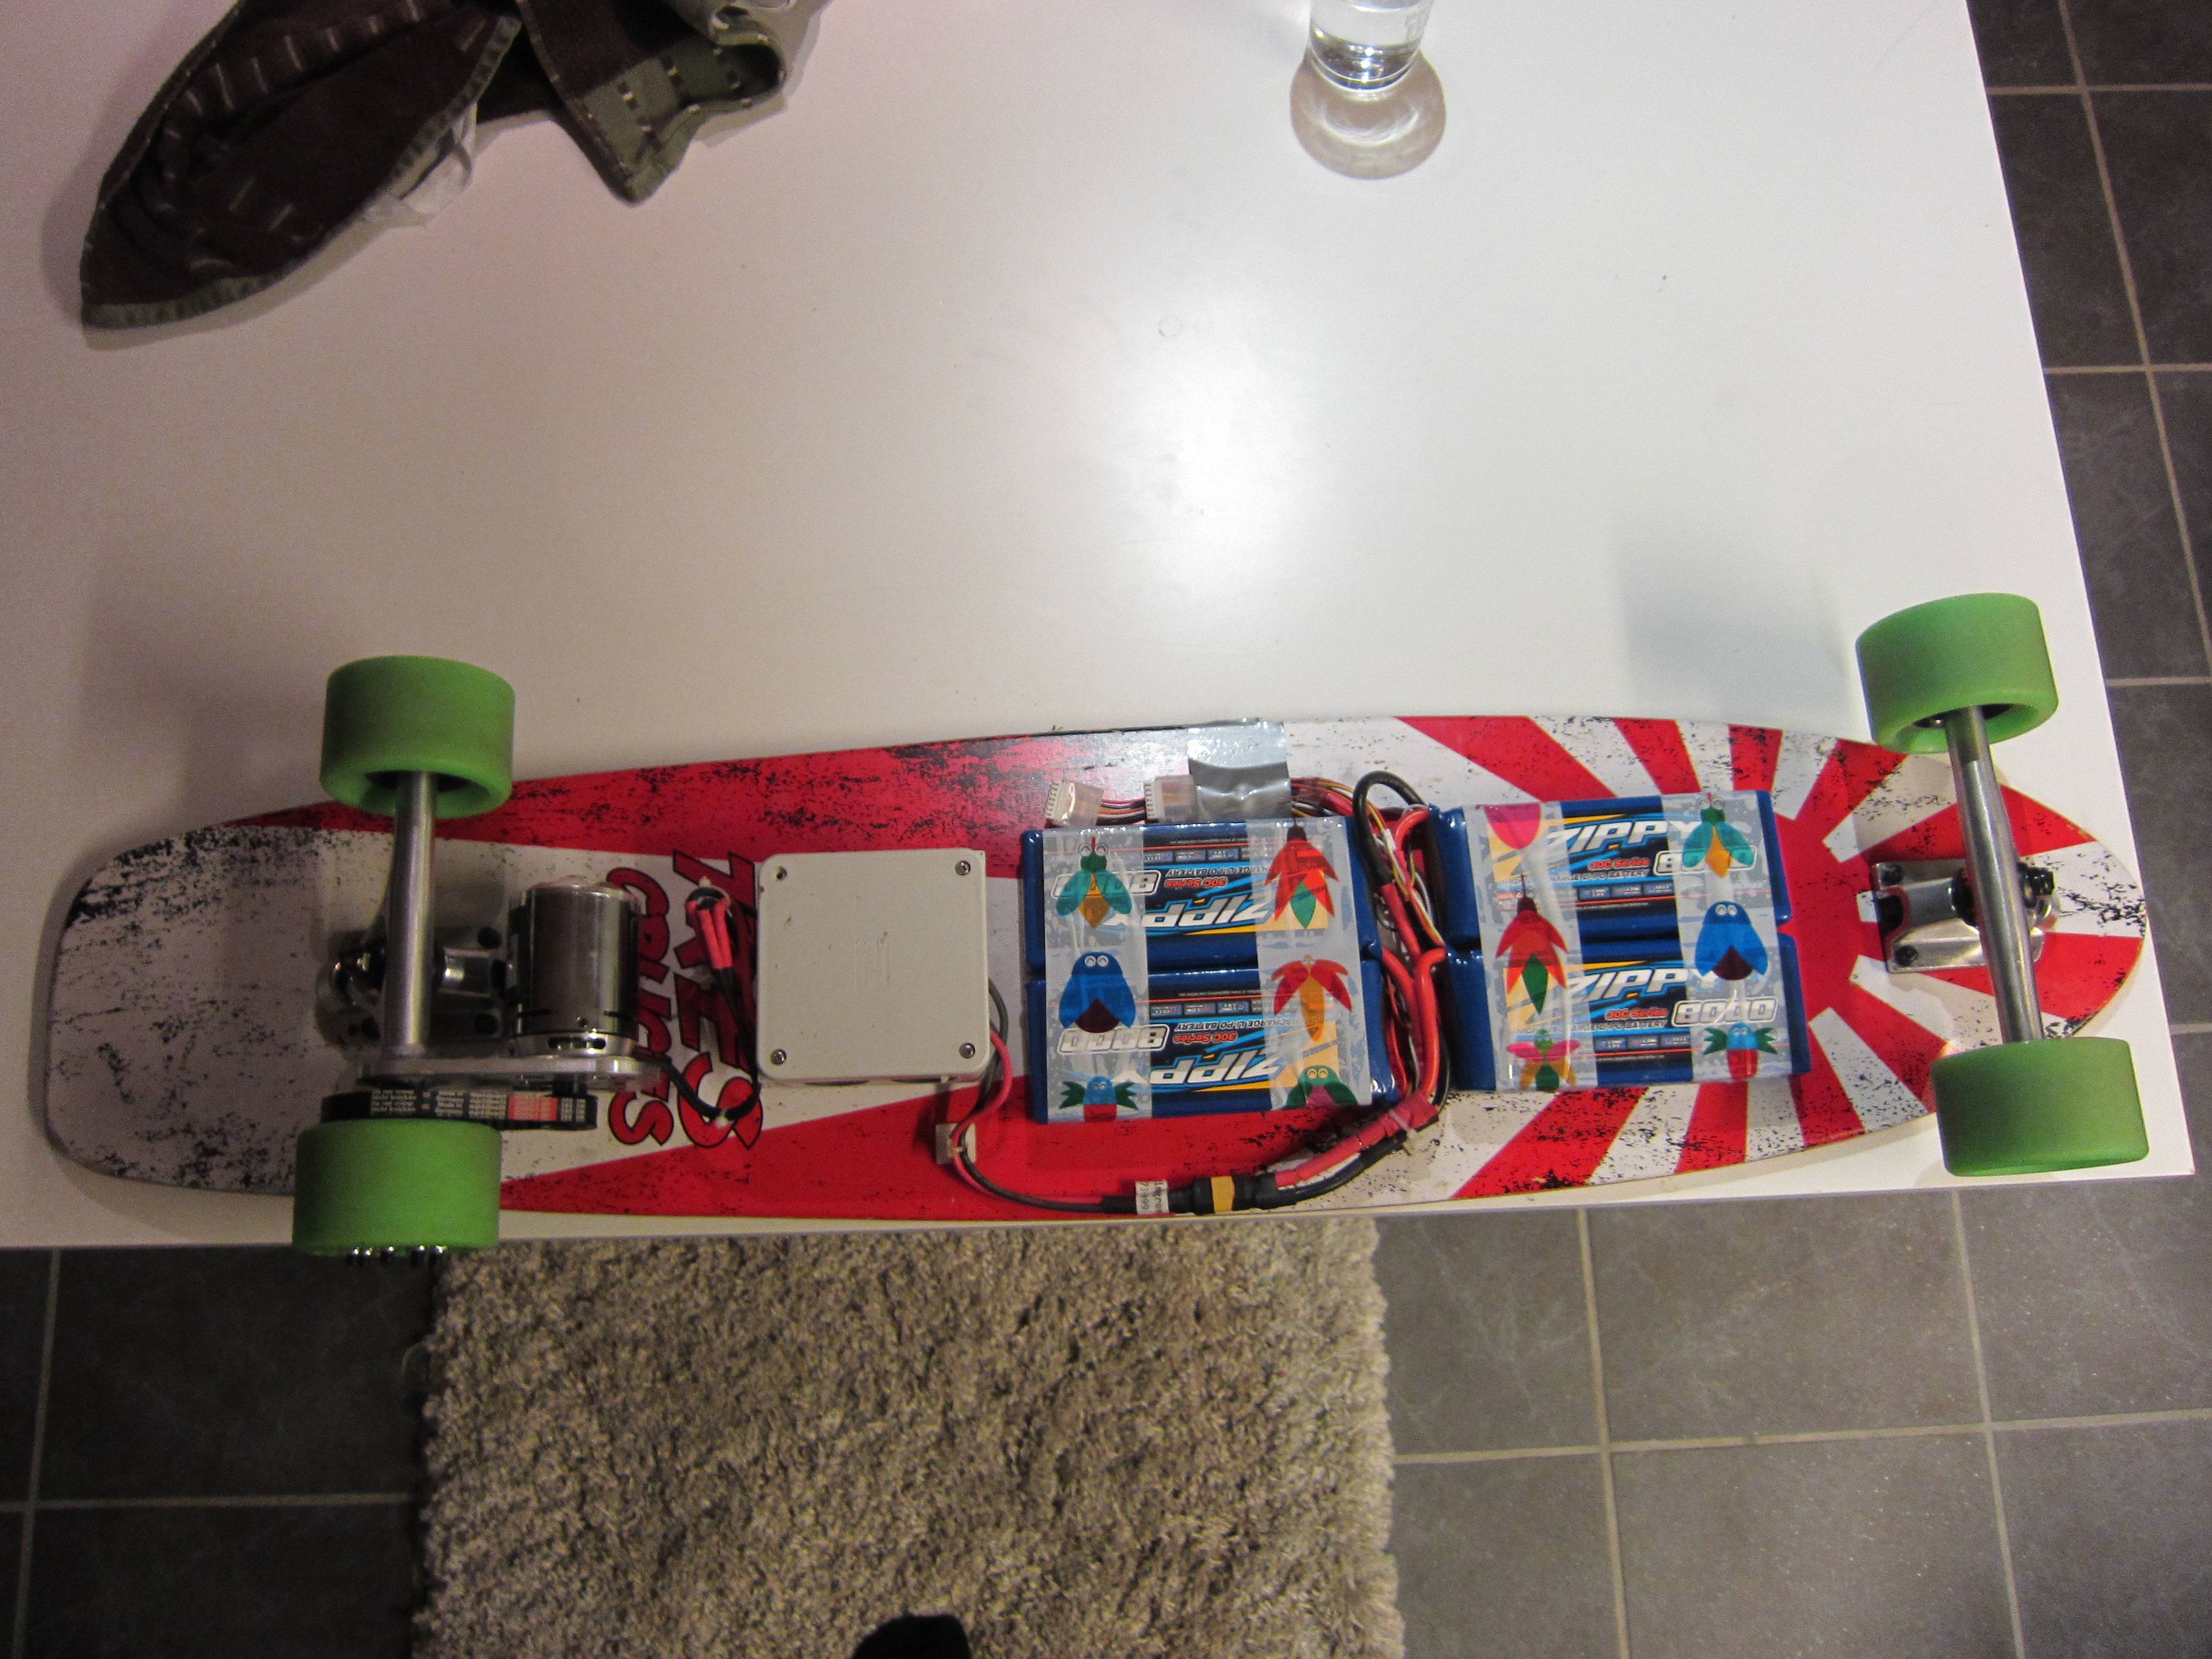
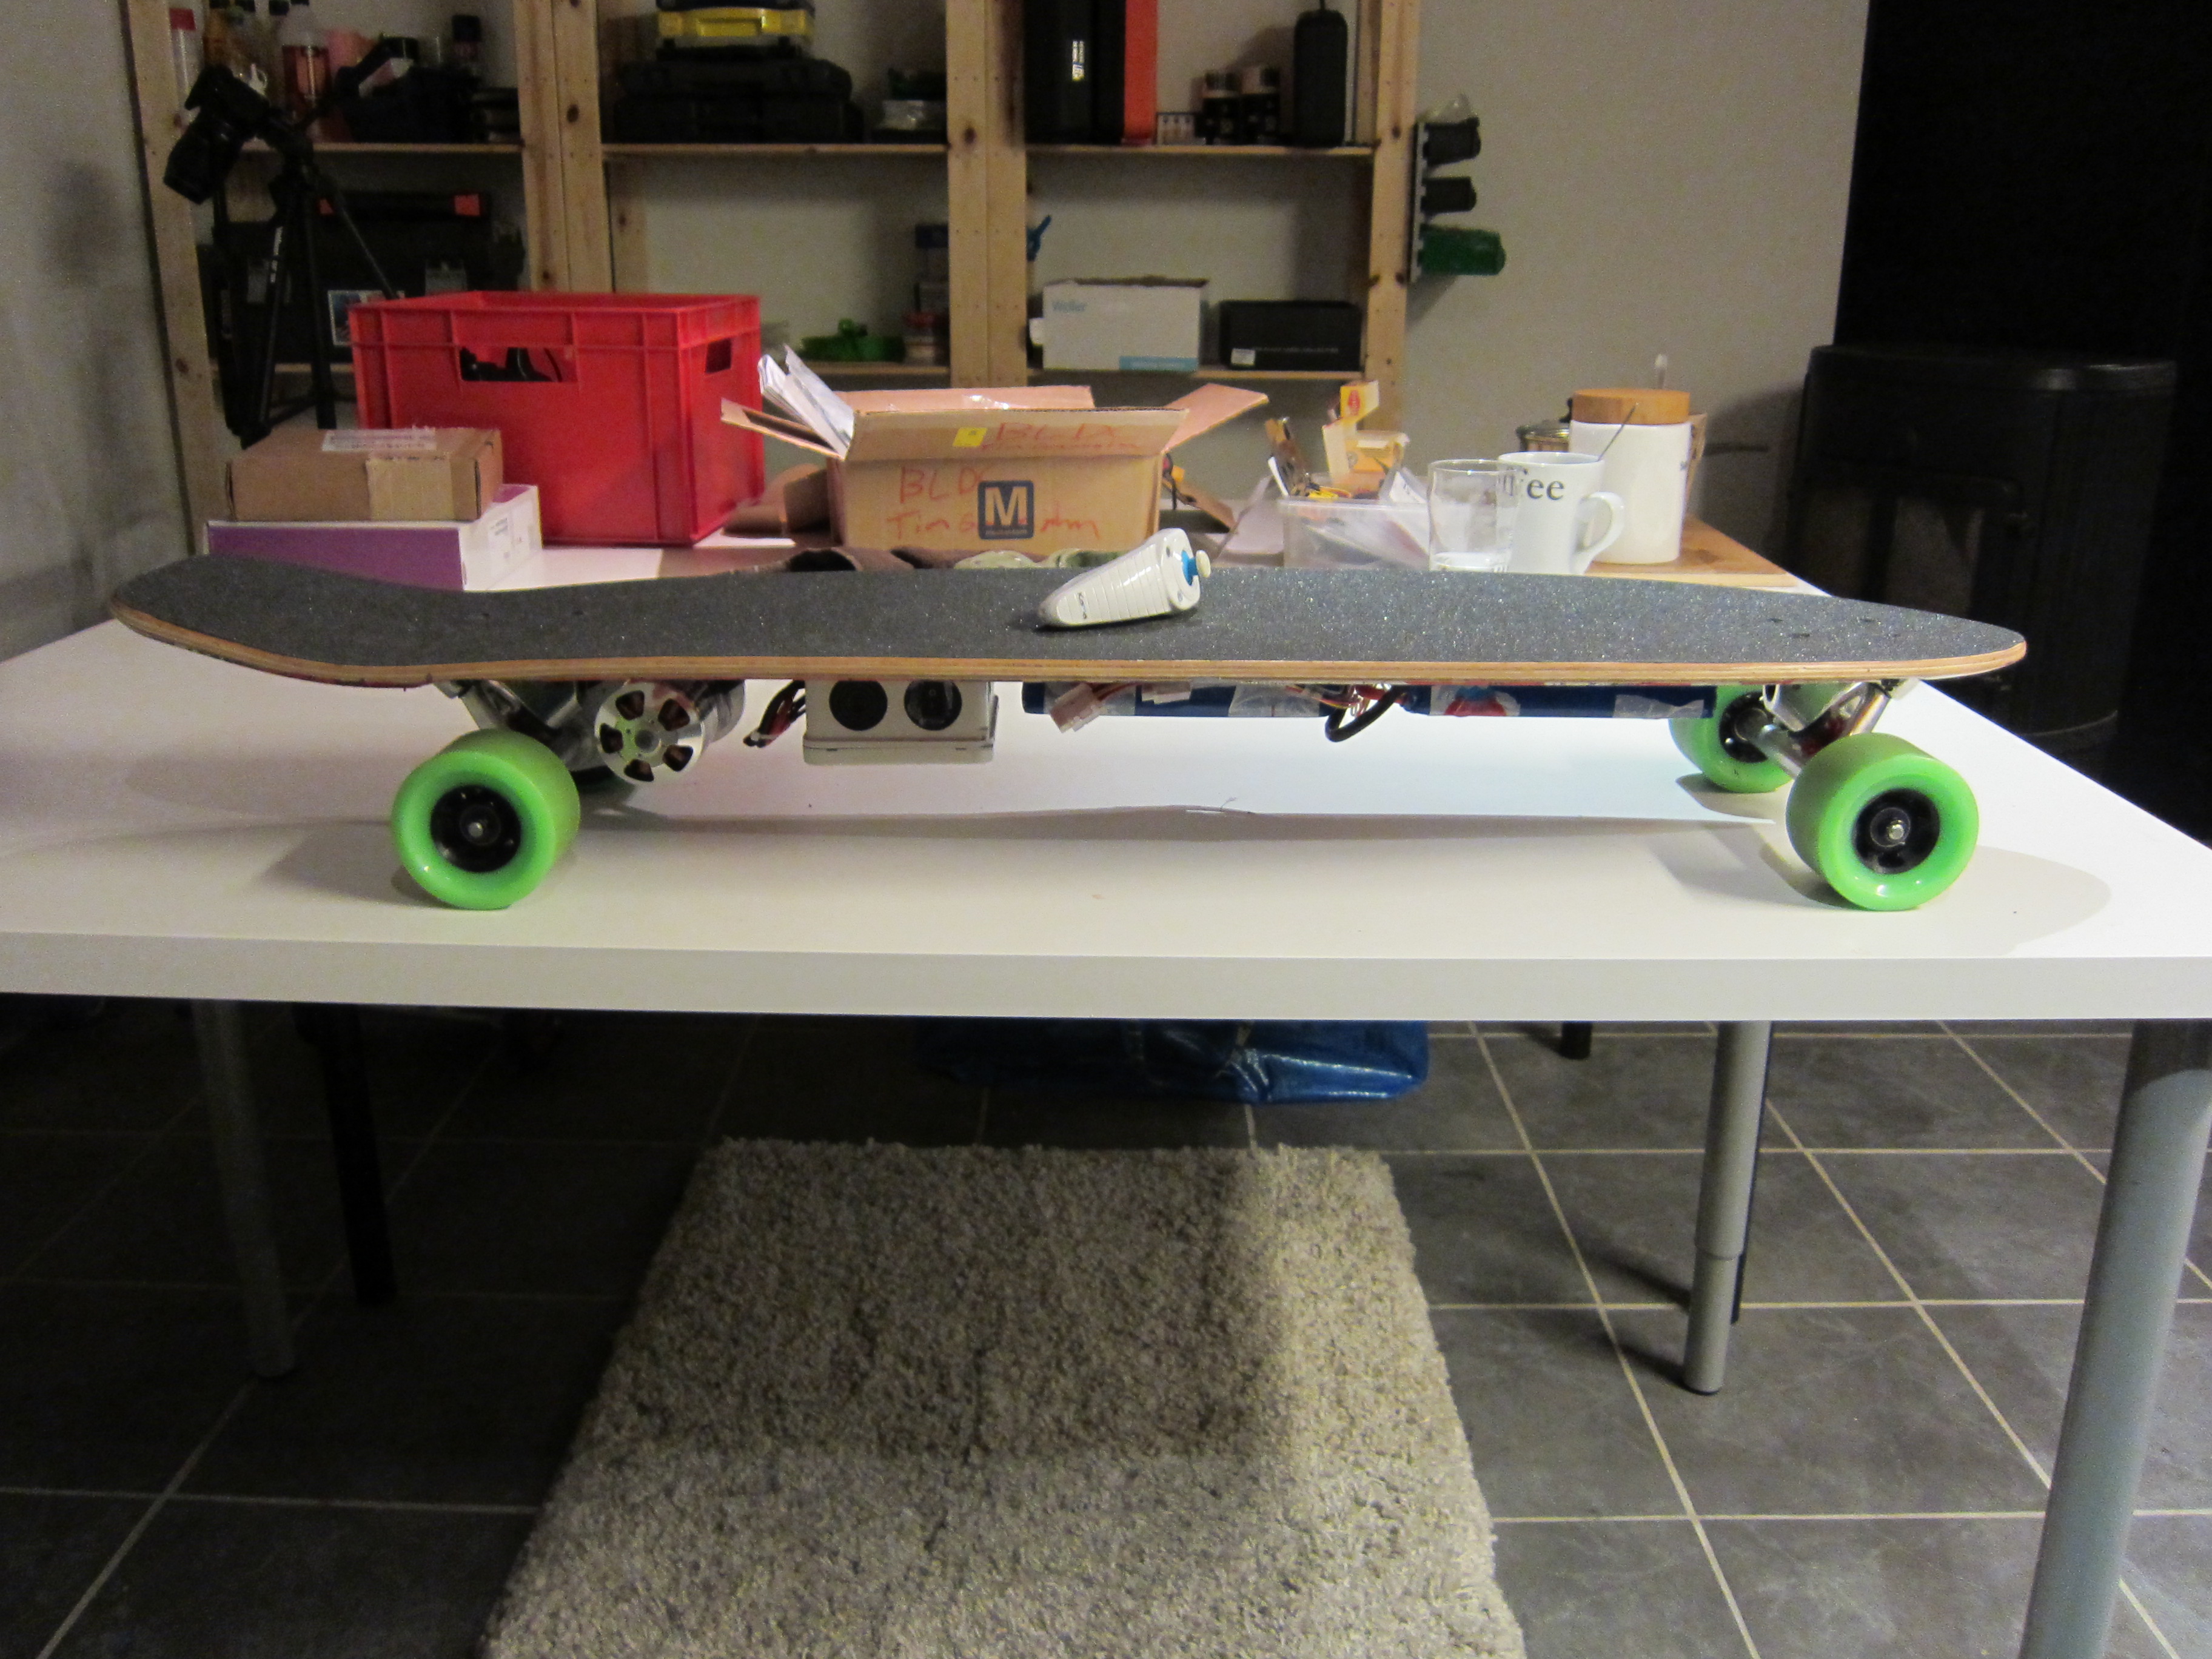
Electric Longboard with VESC
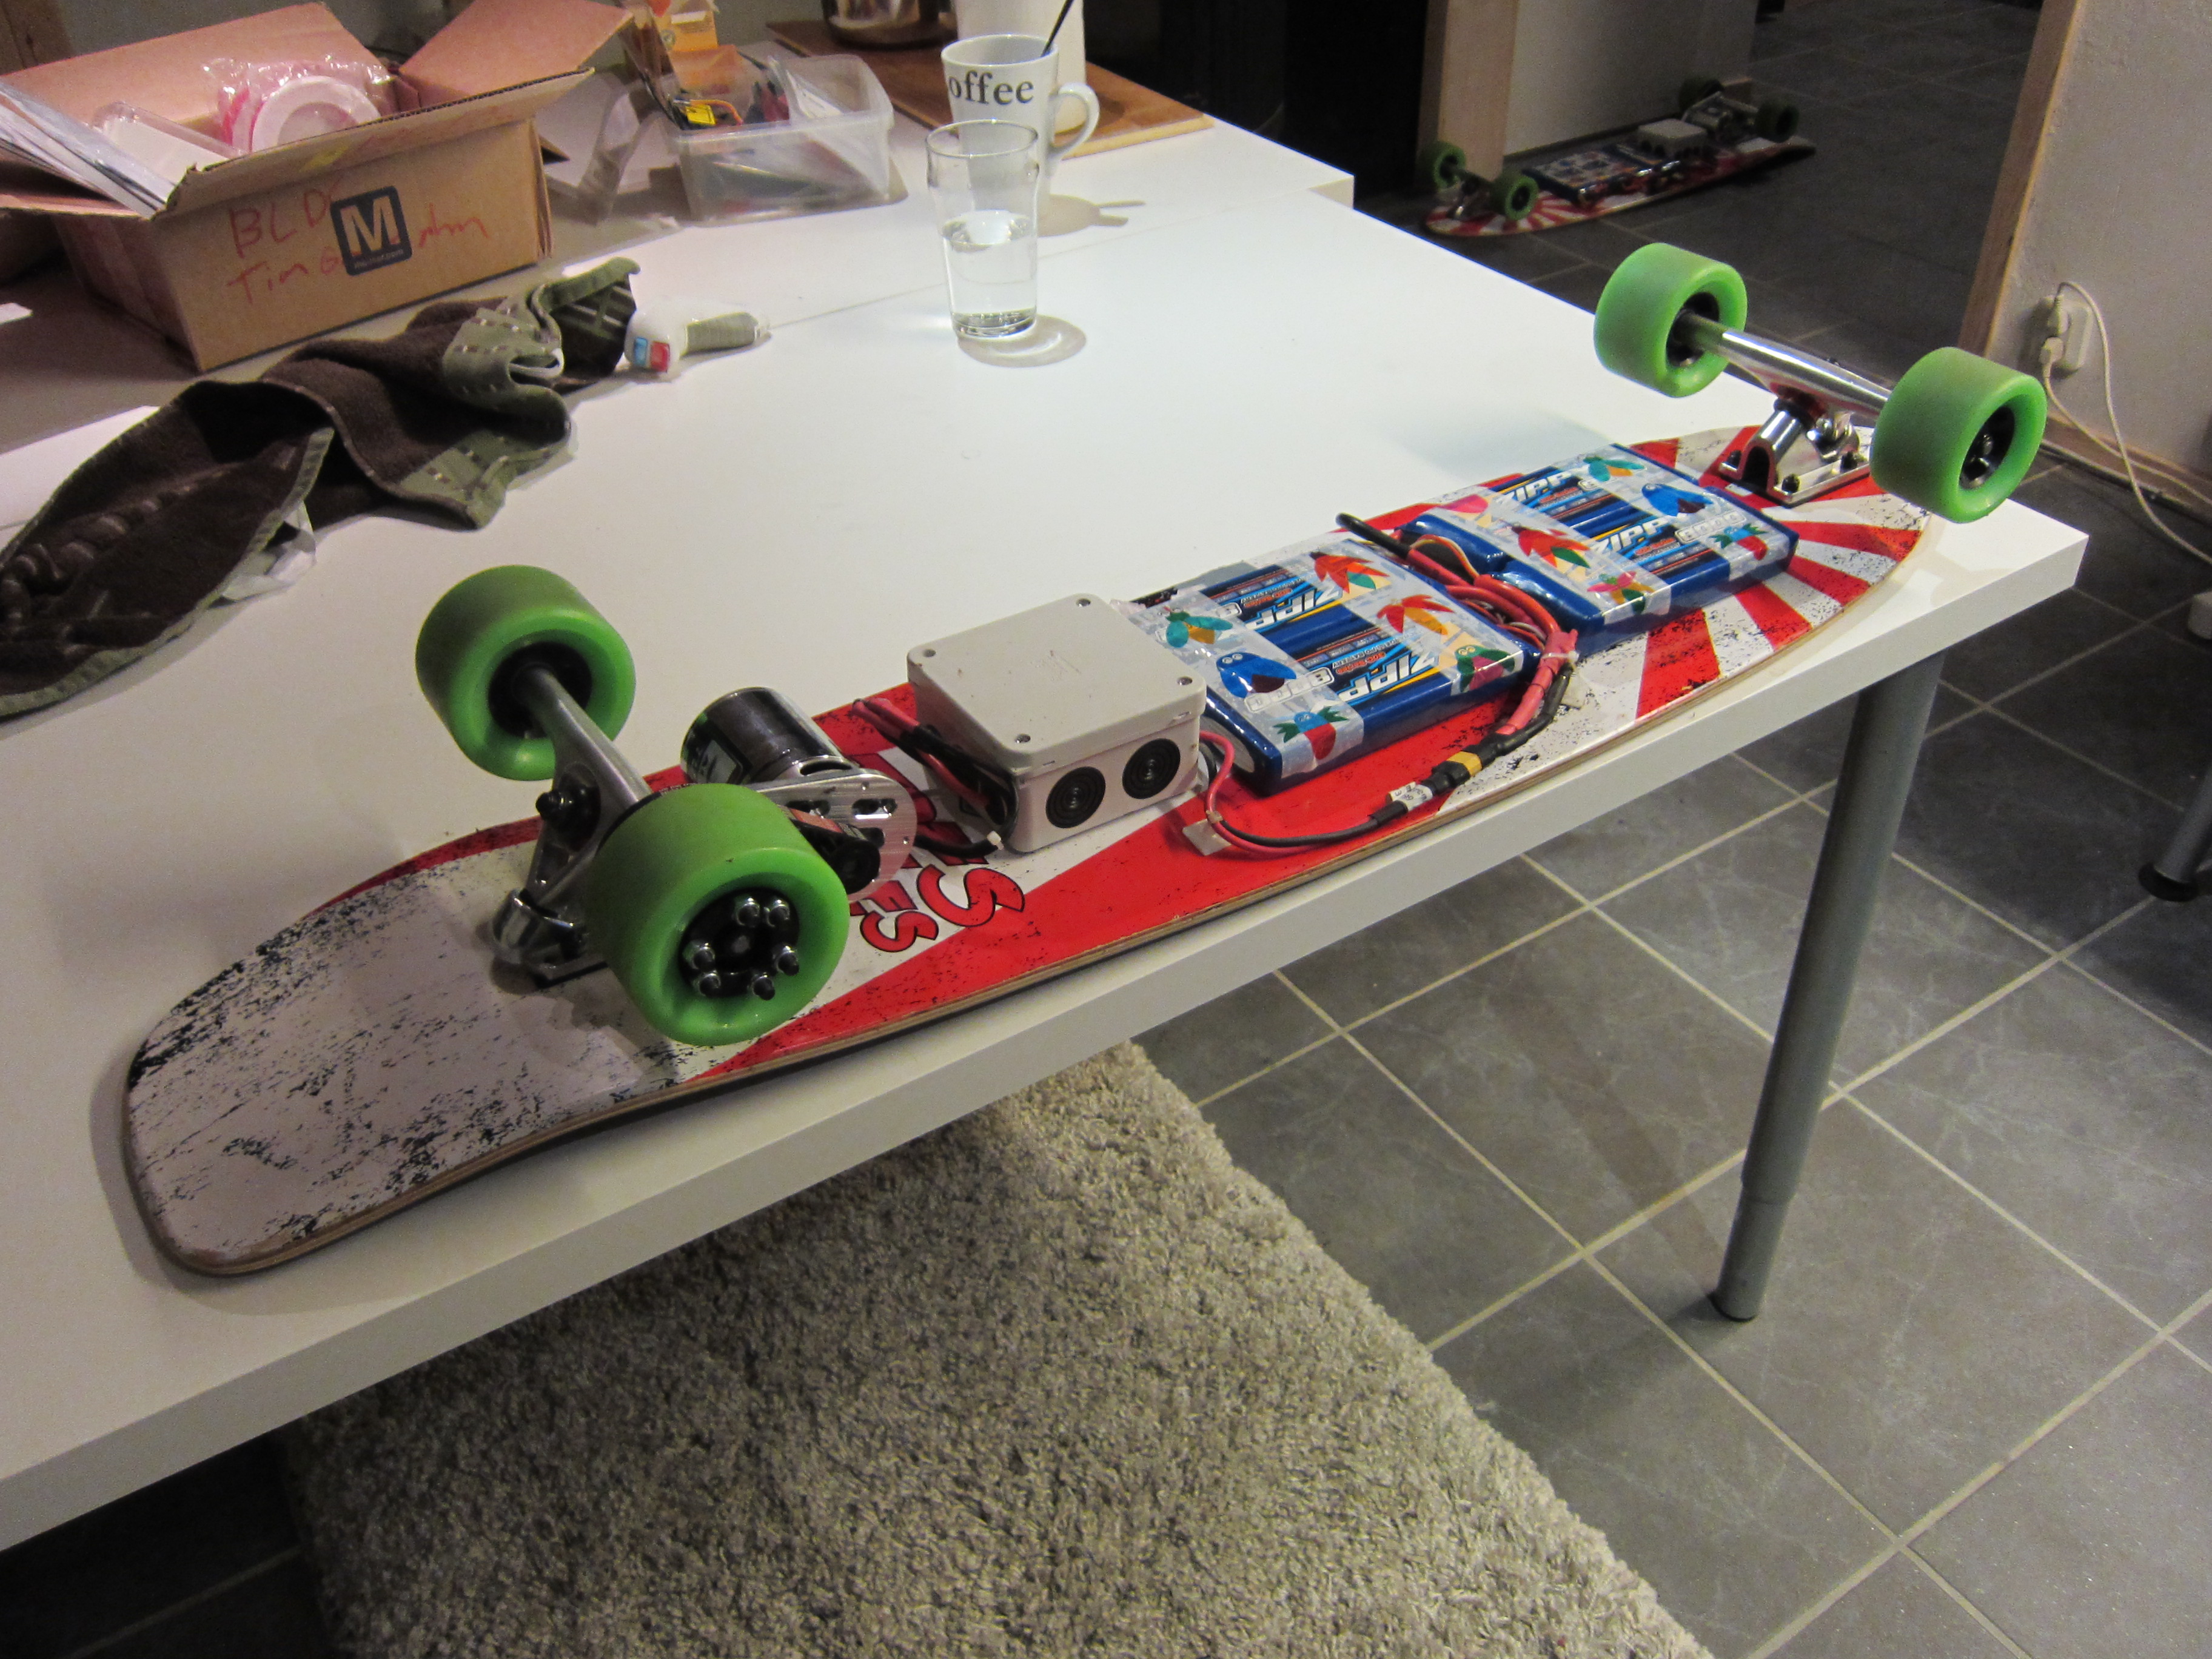
This longboard is driven by a BLDC-motor, that is controlled by a VESC (Vedder’s Electronic Speed Control). The throttle and brake is controlled by a wireless Wiimote Nunchuck.
Driveline
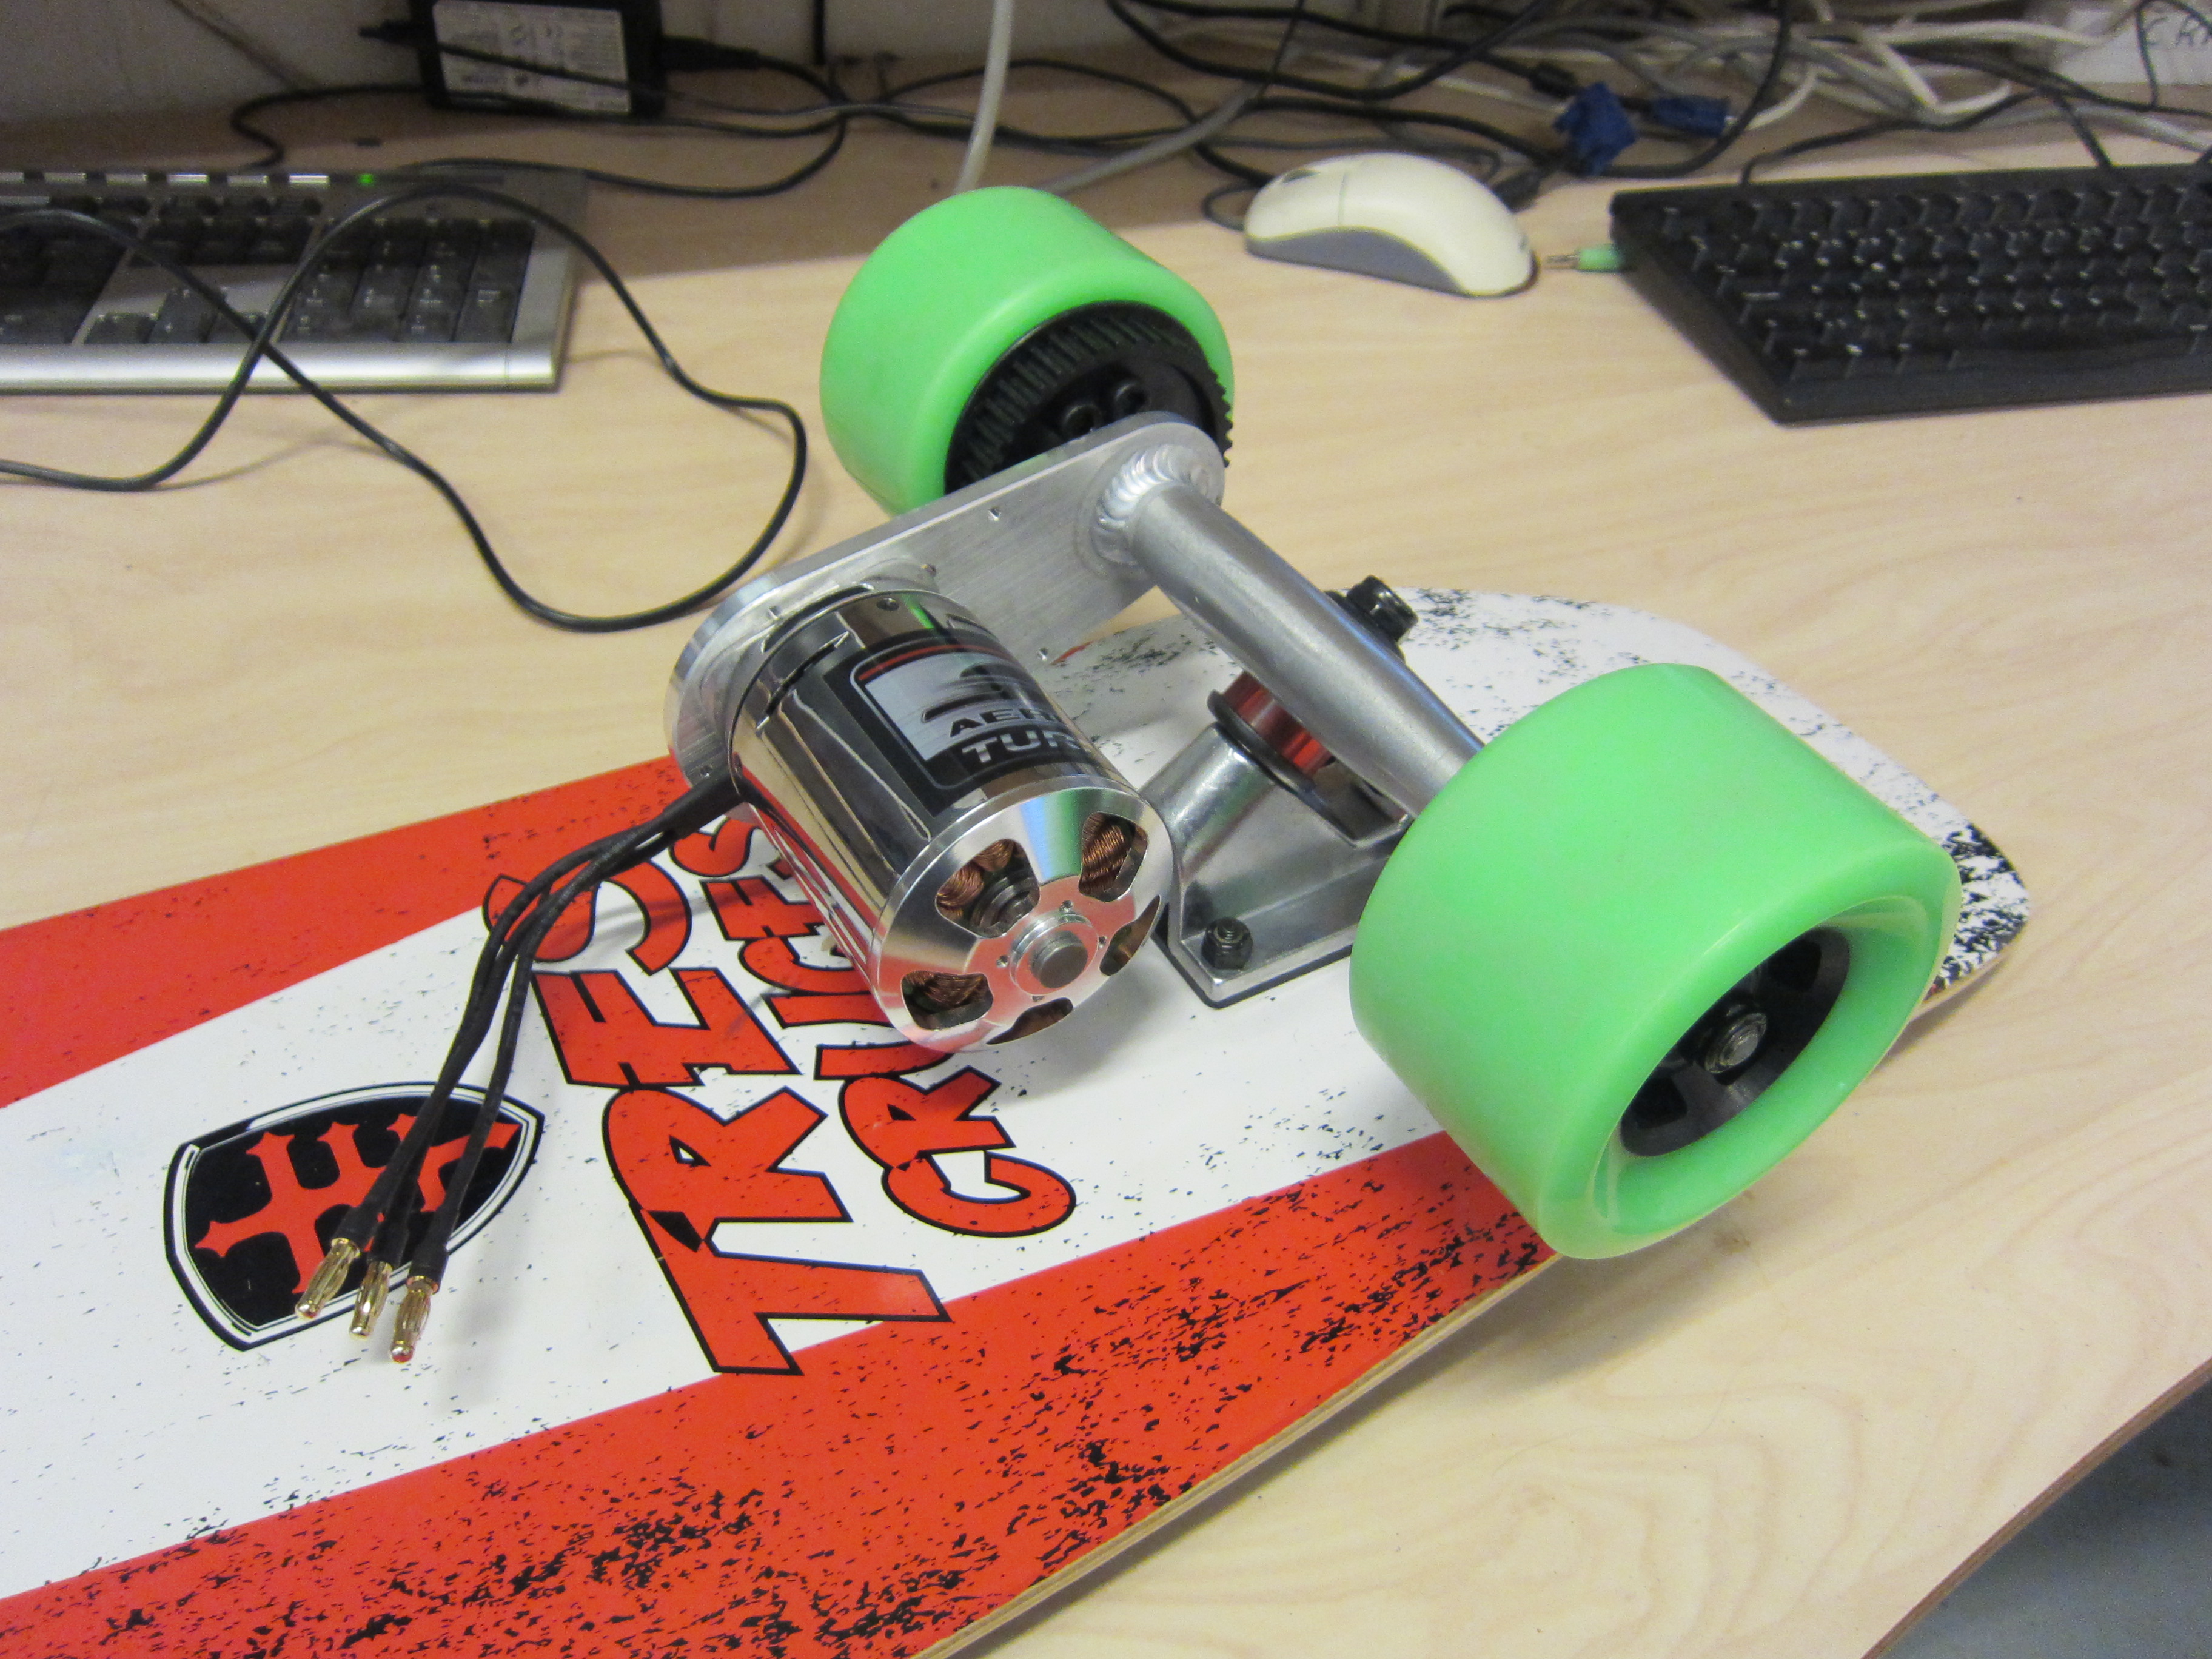
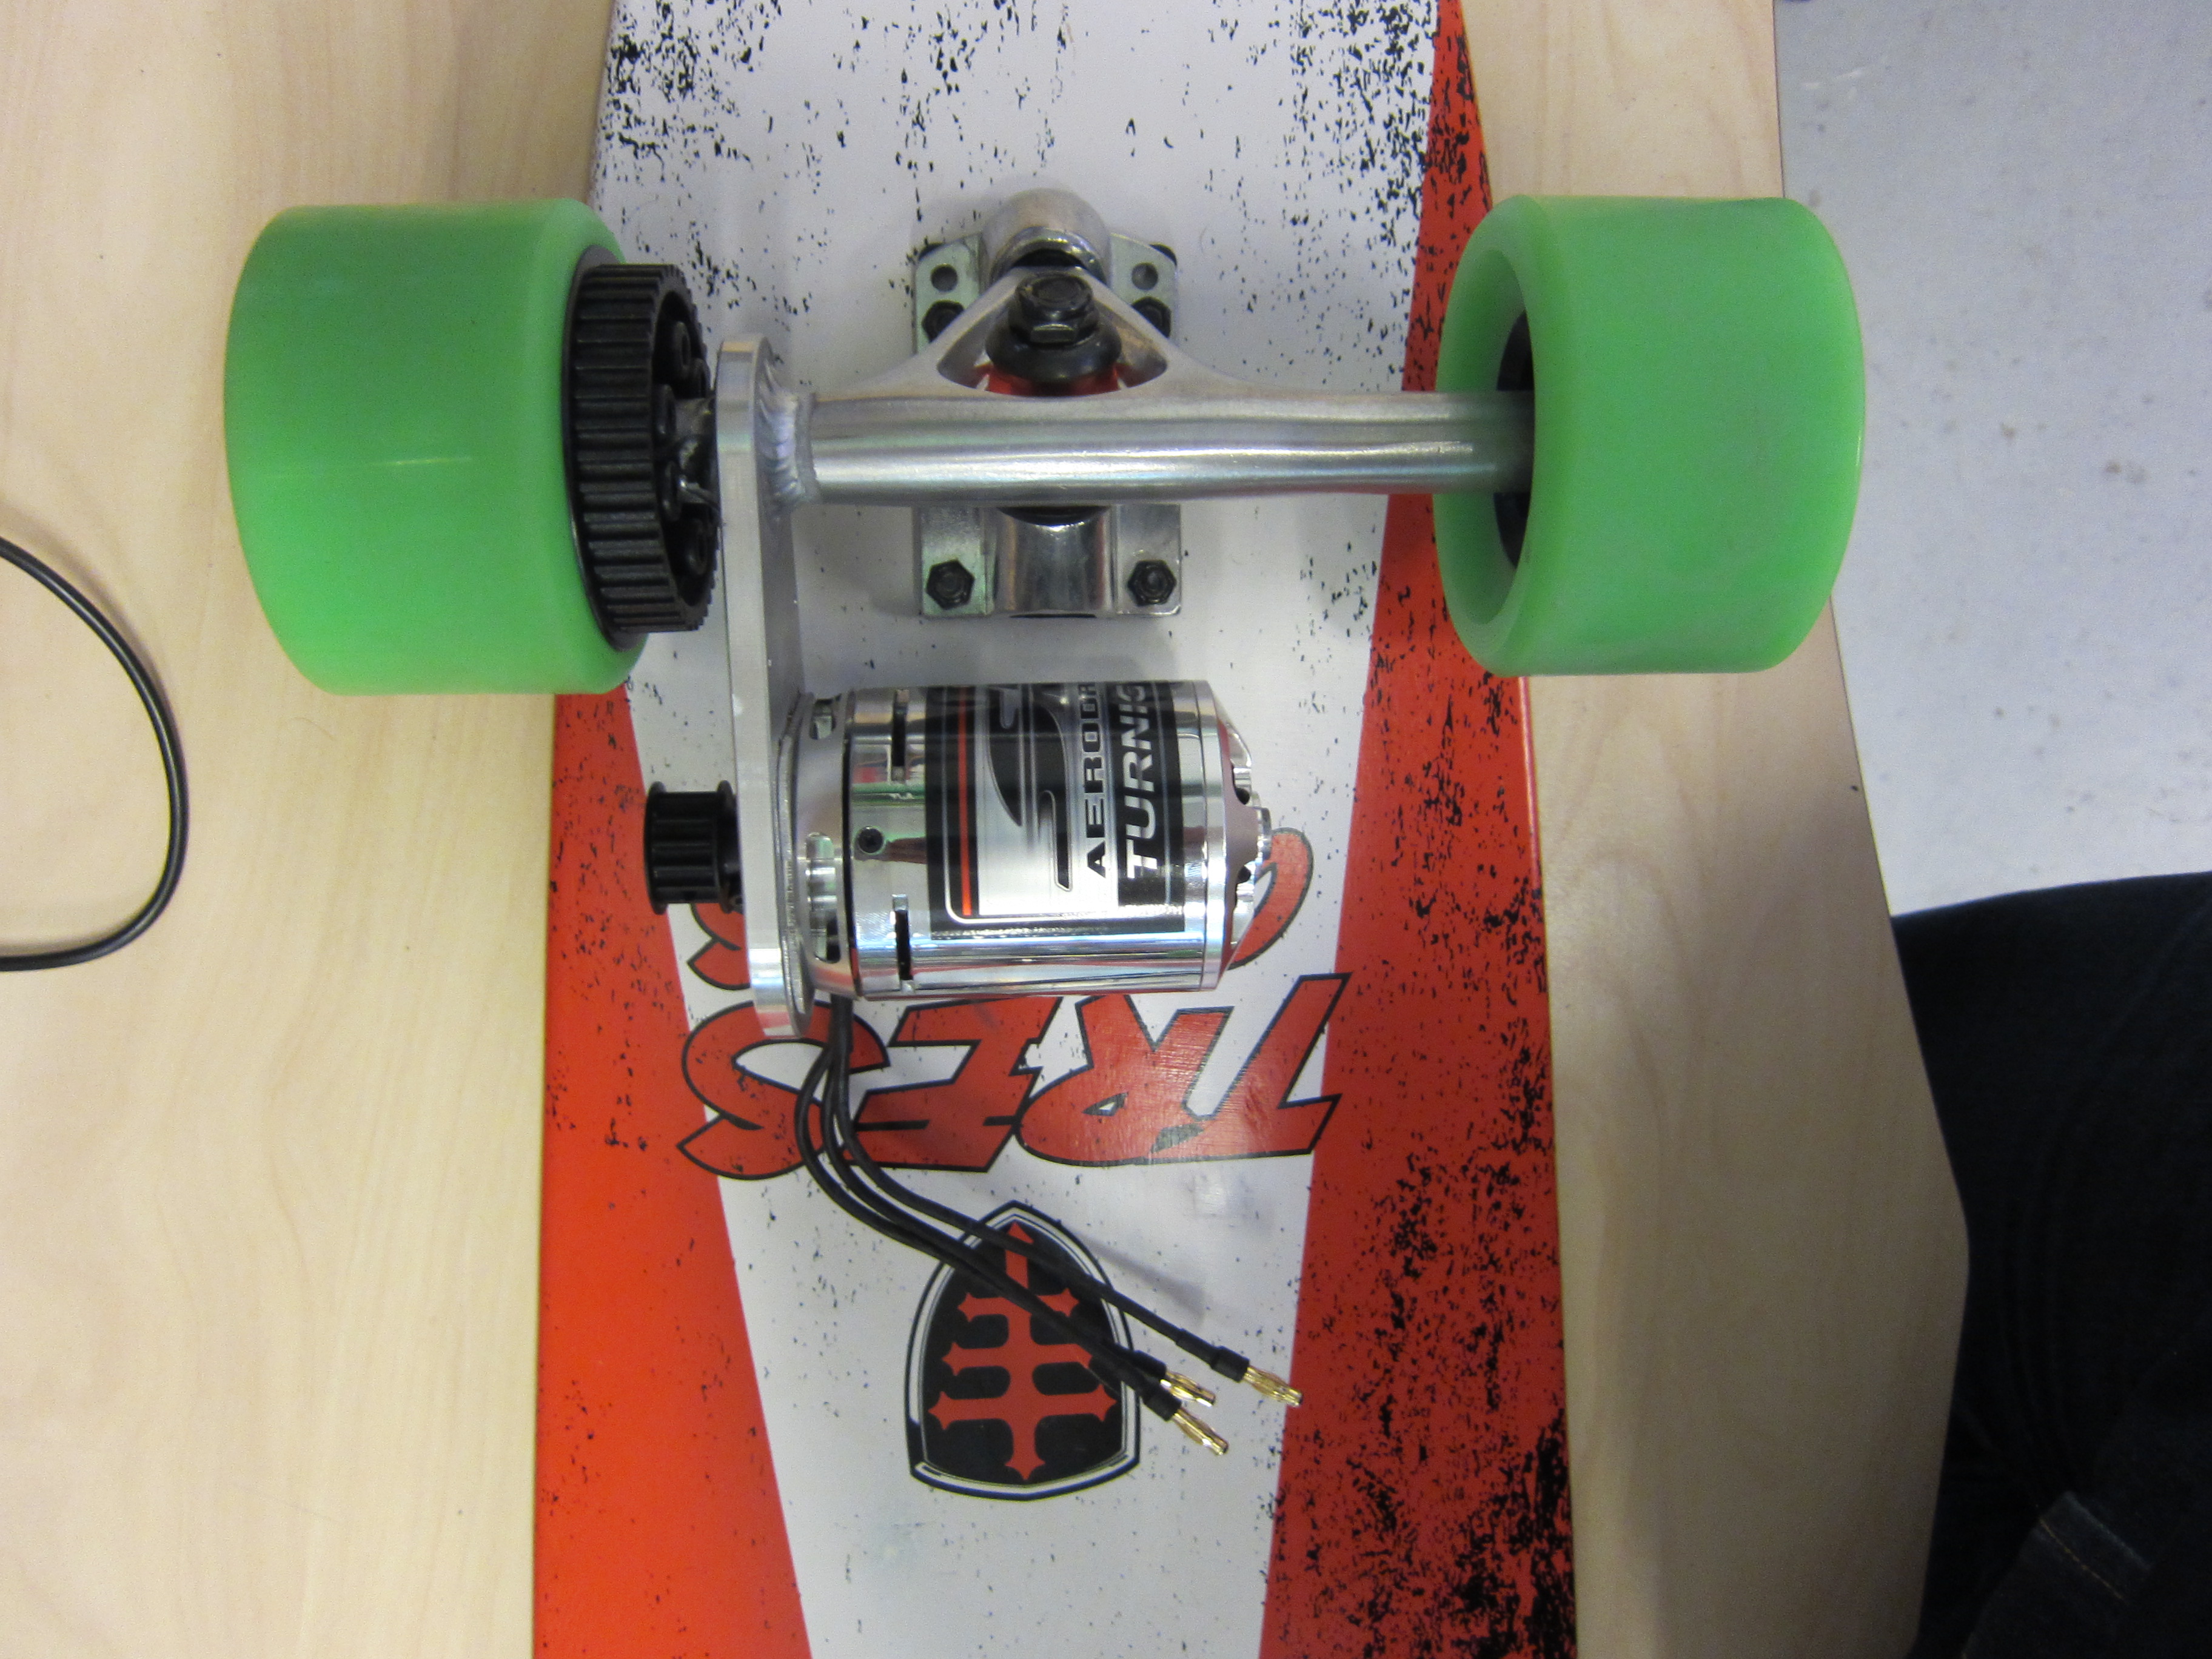
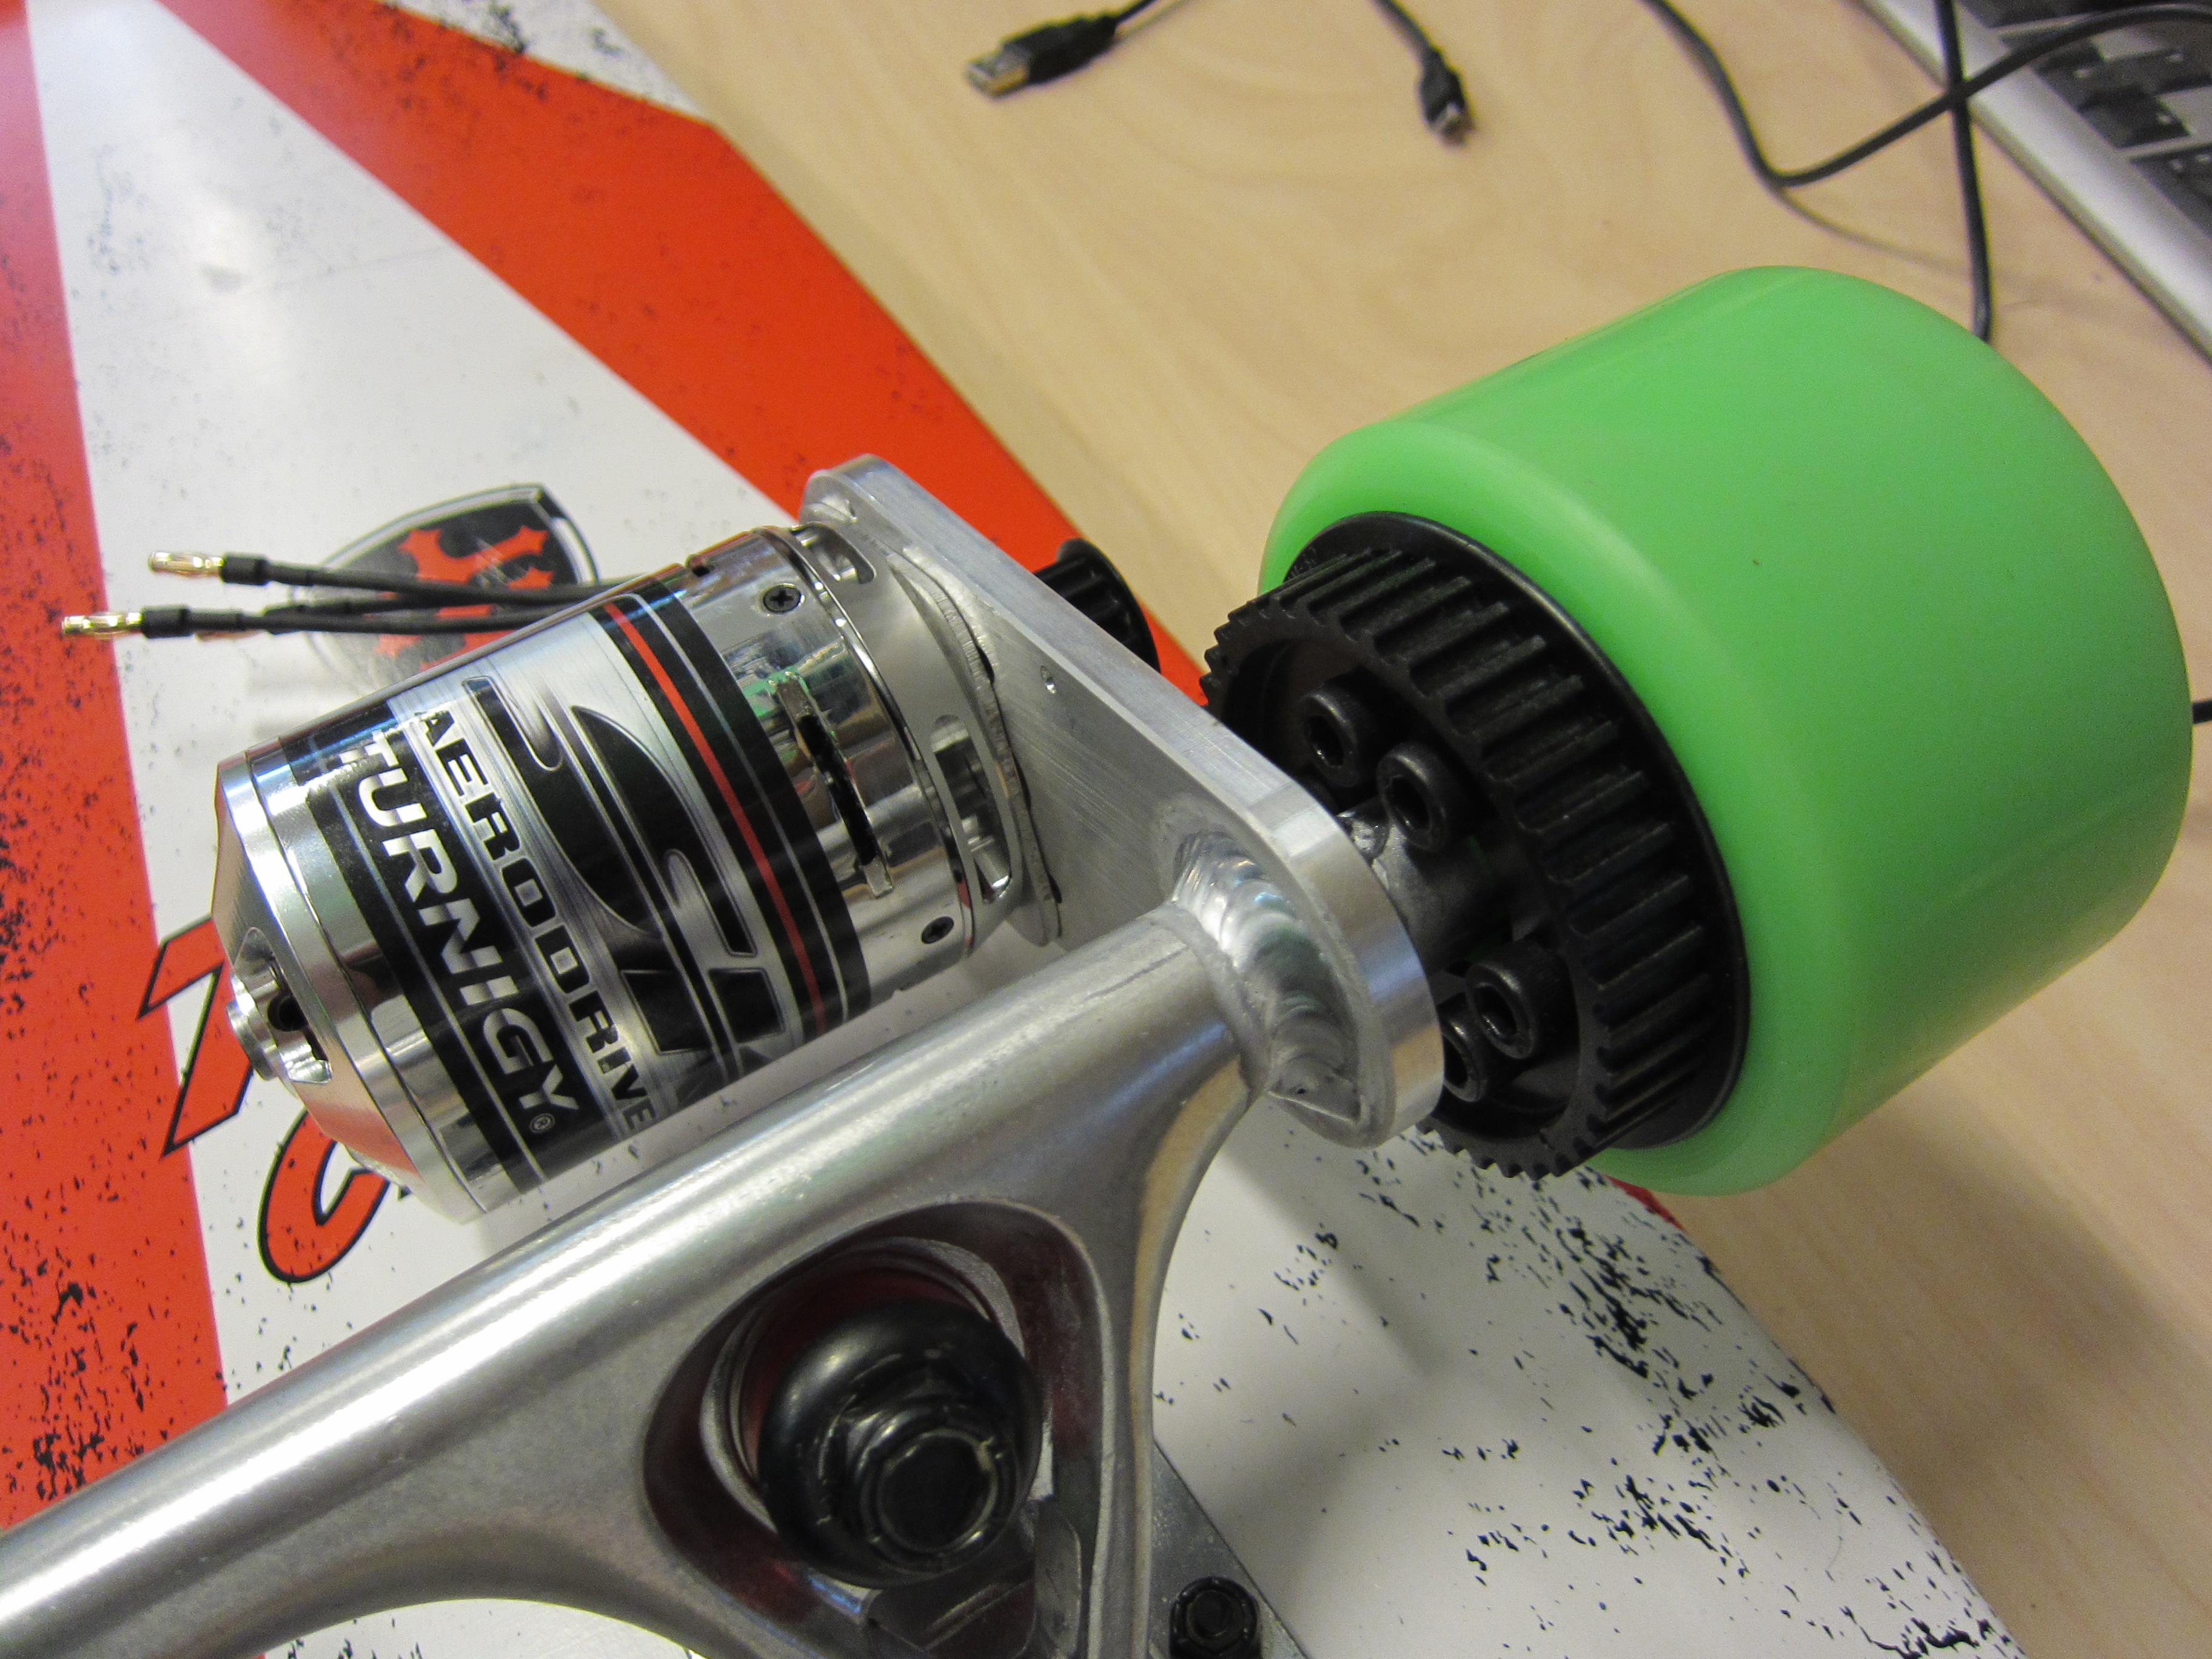
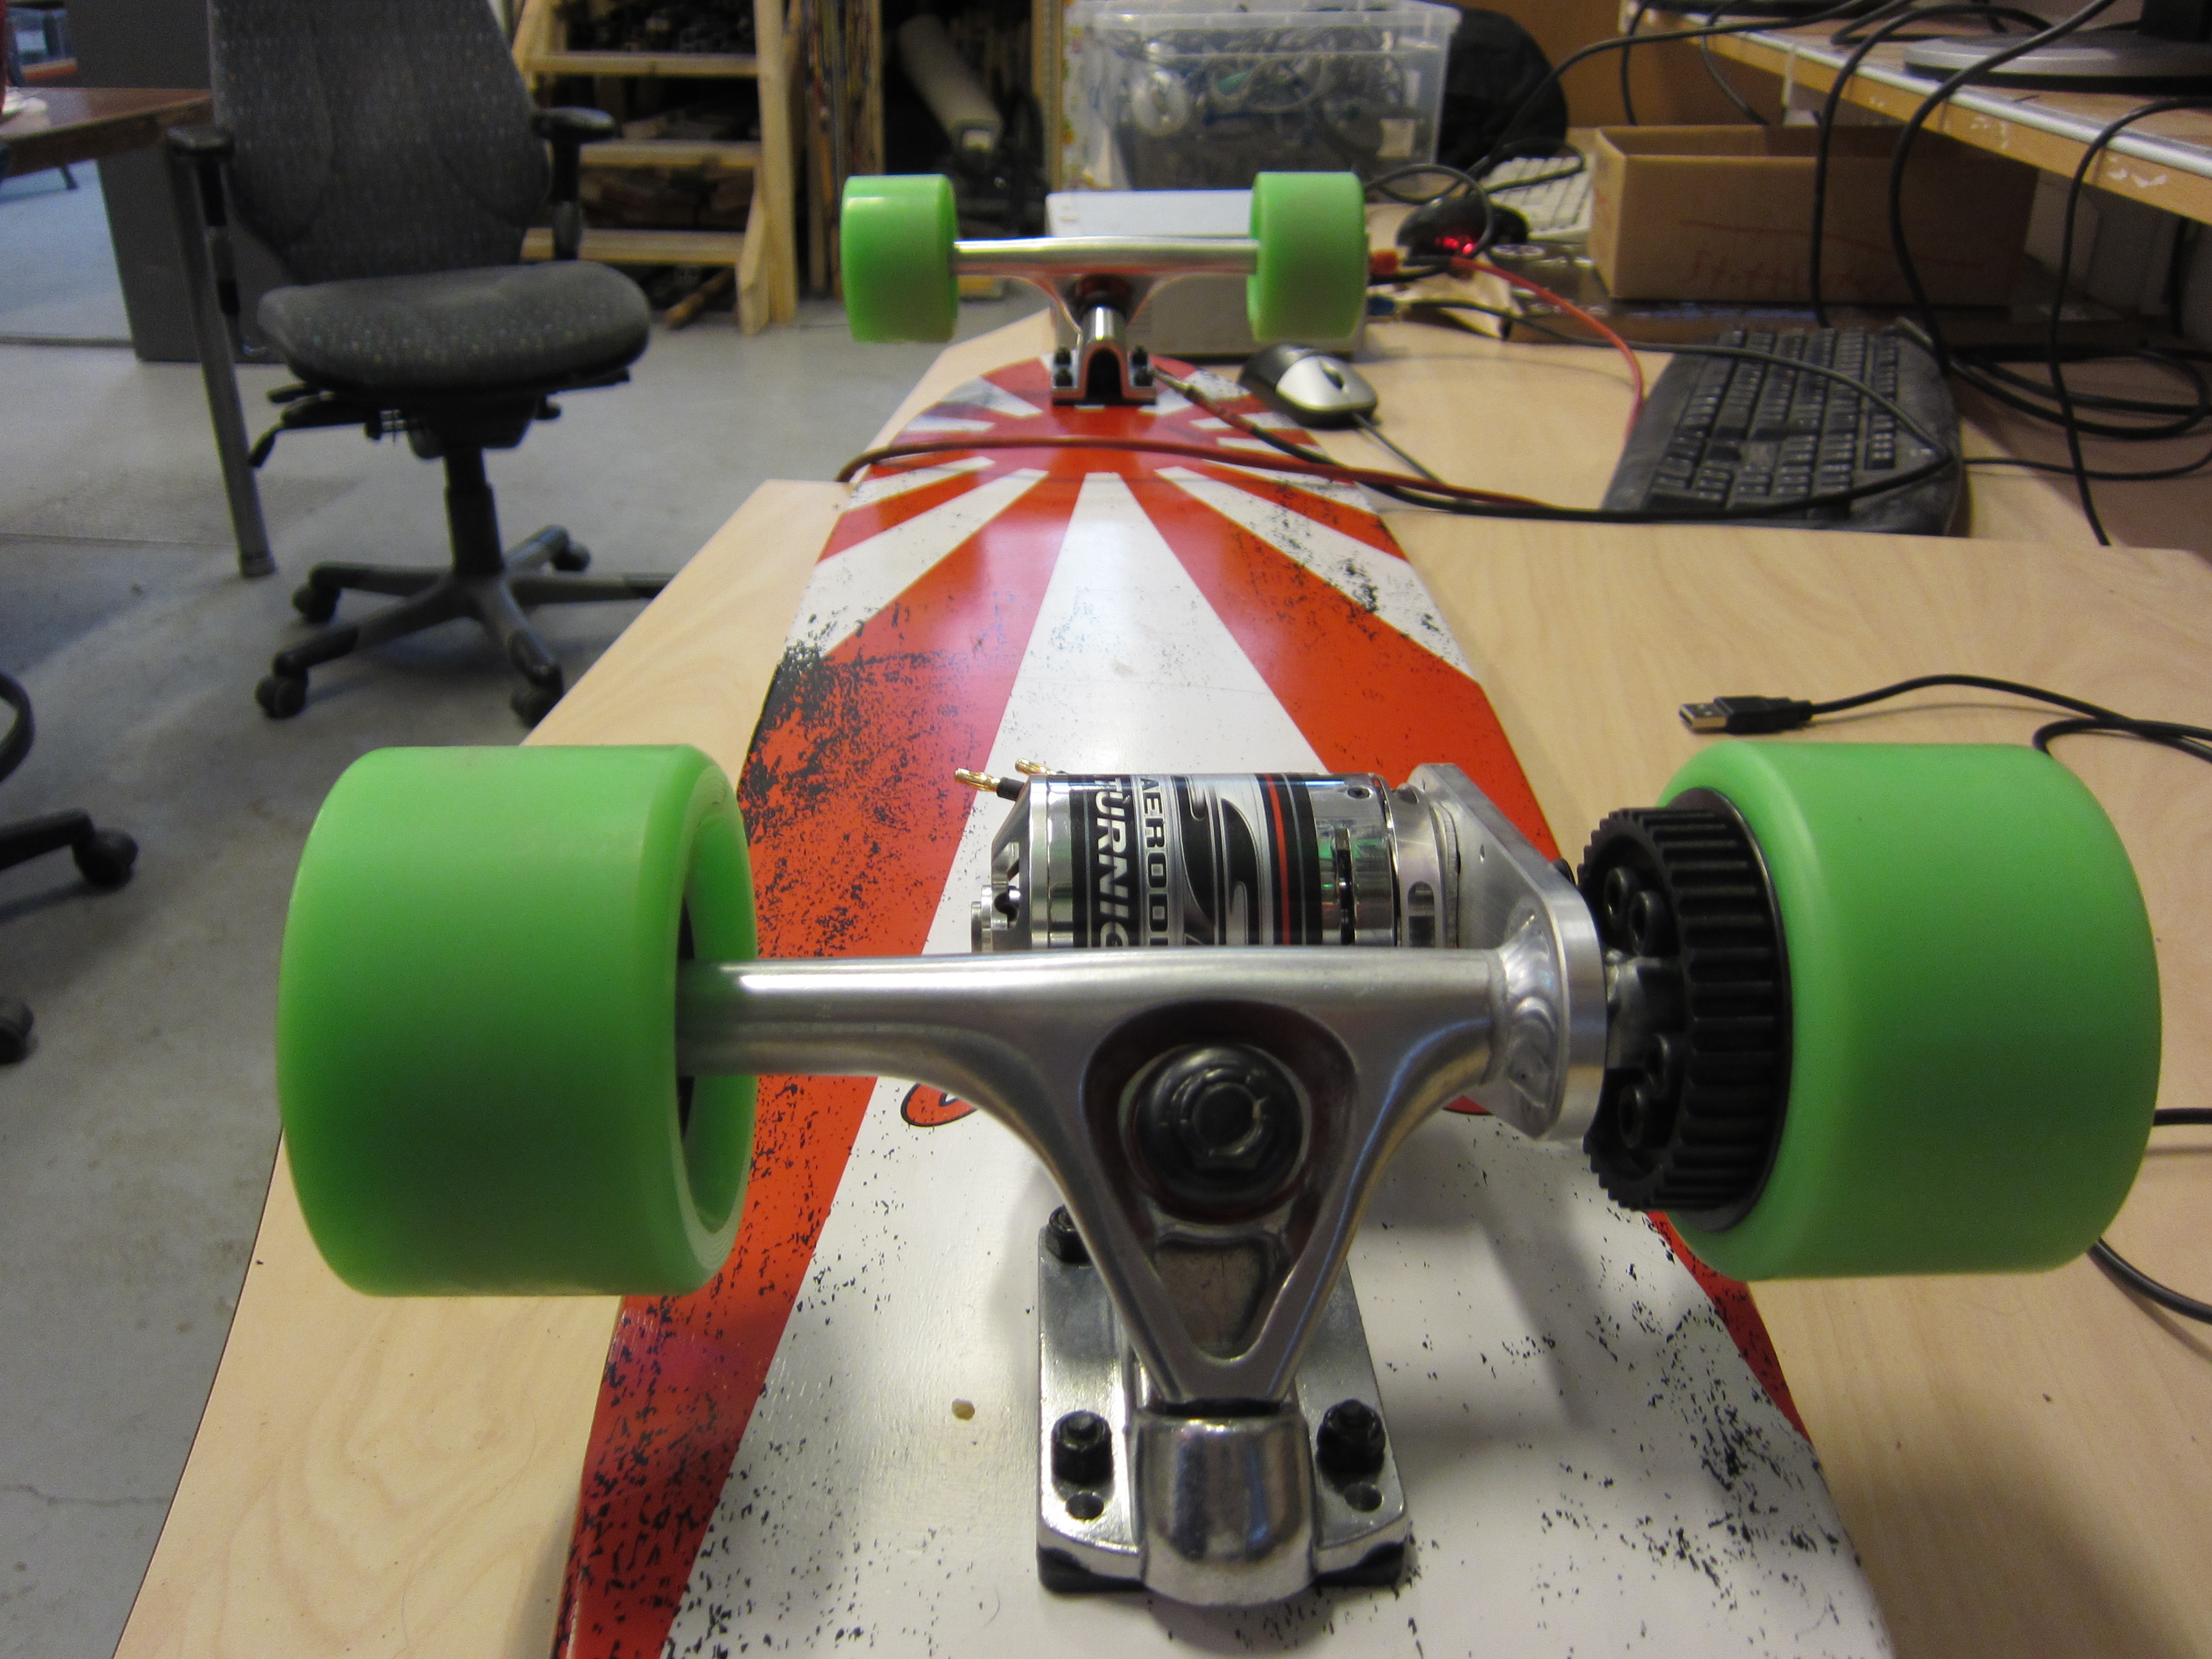
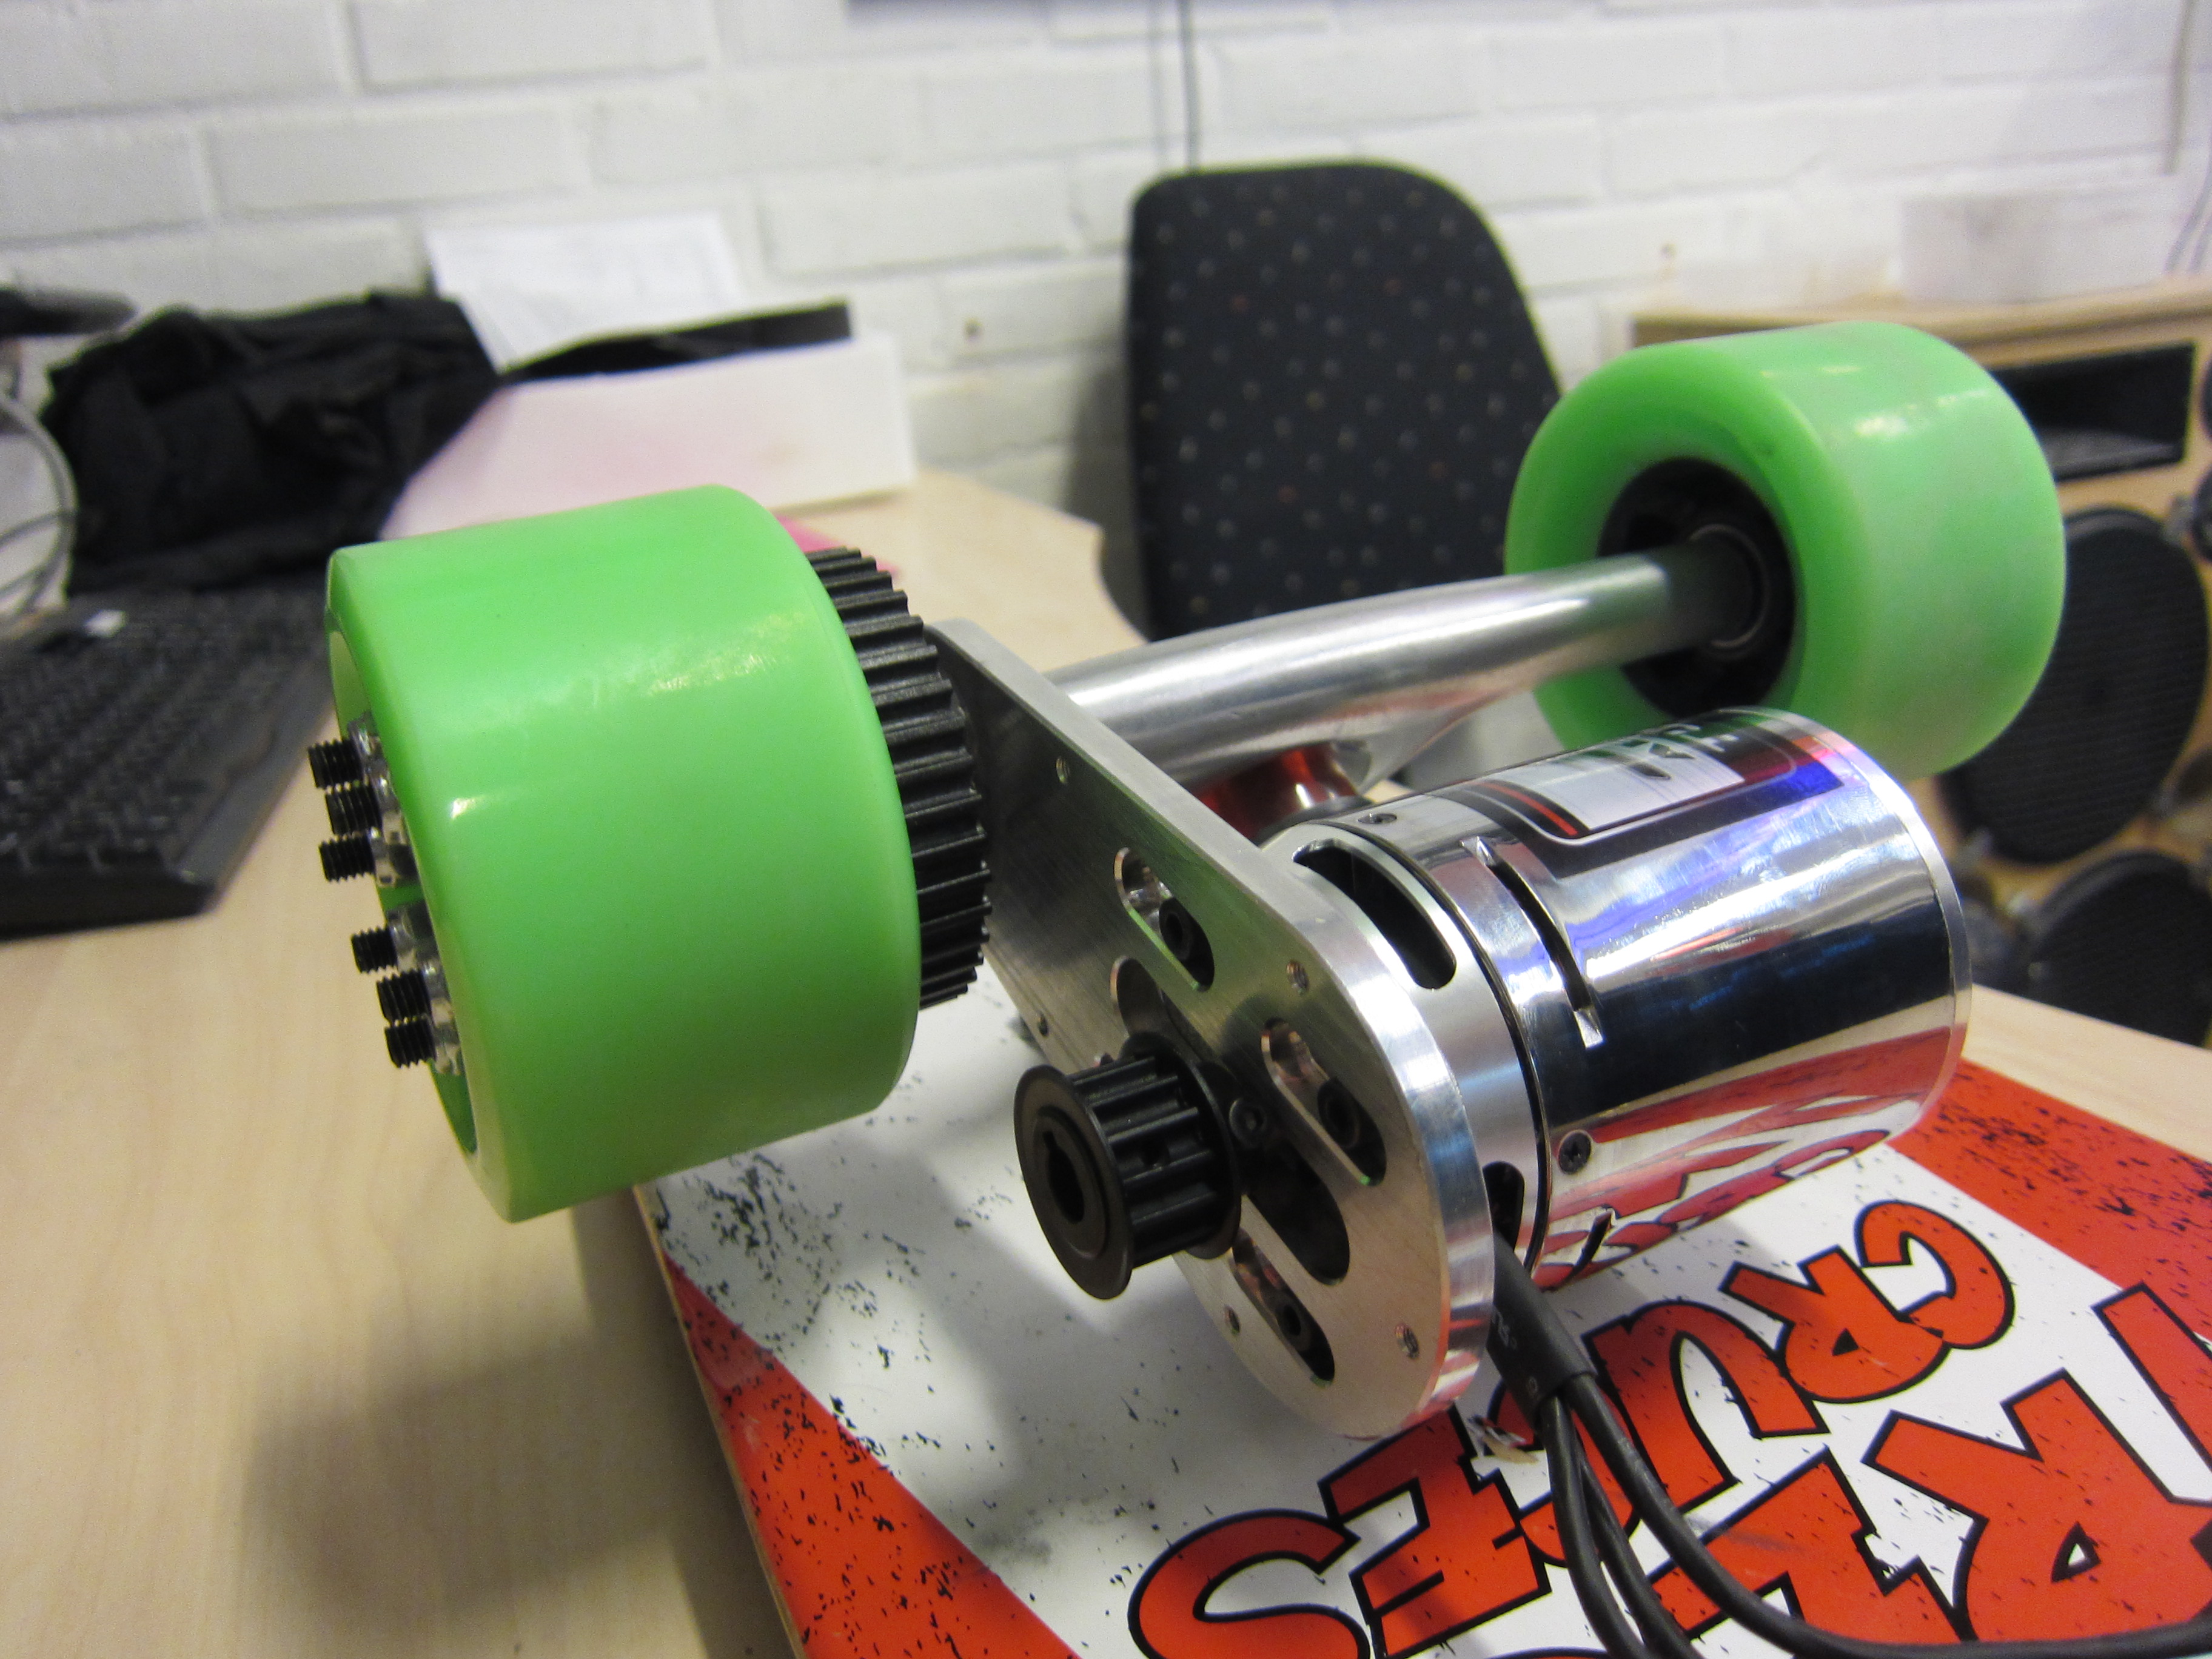
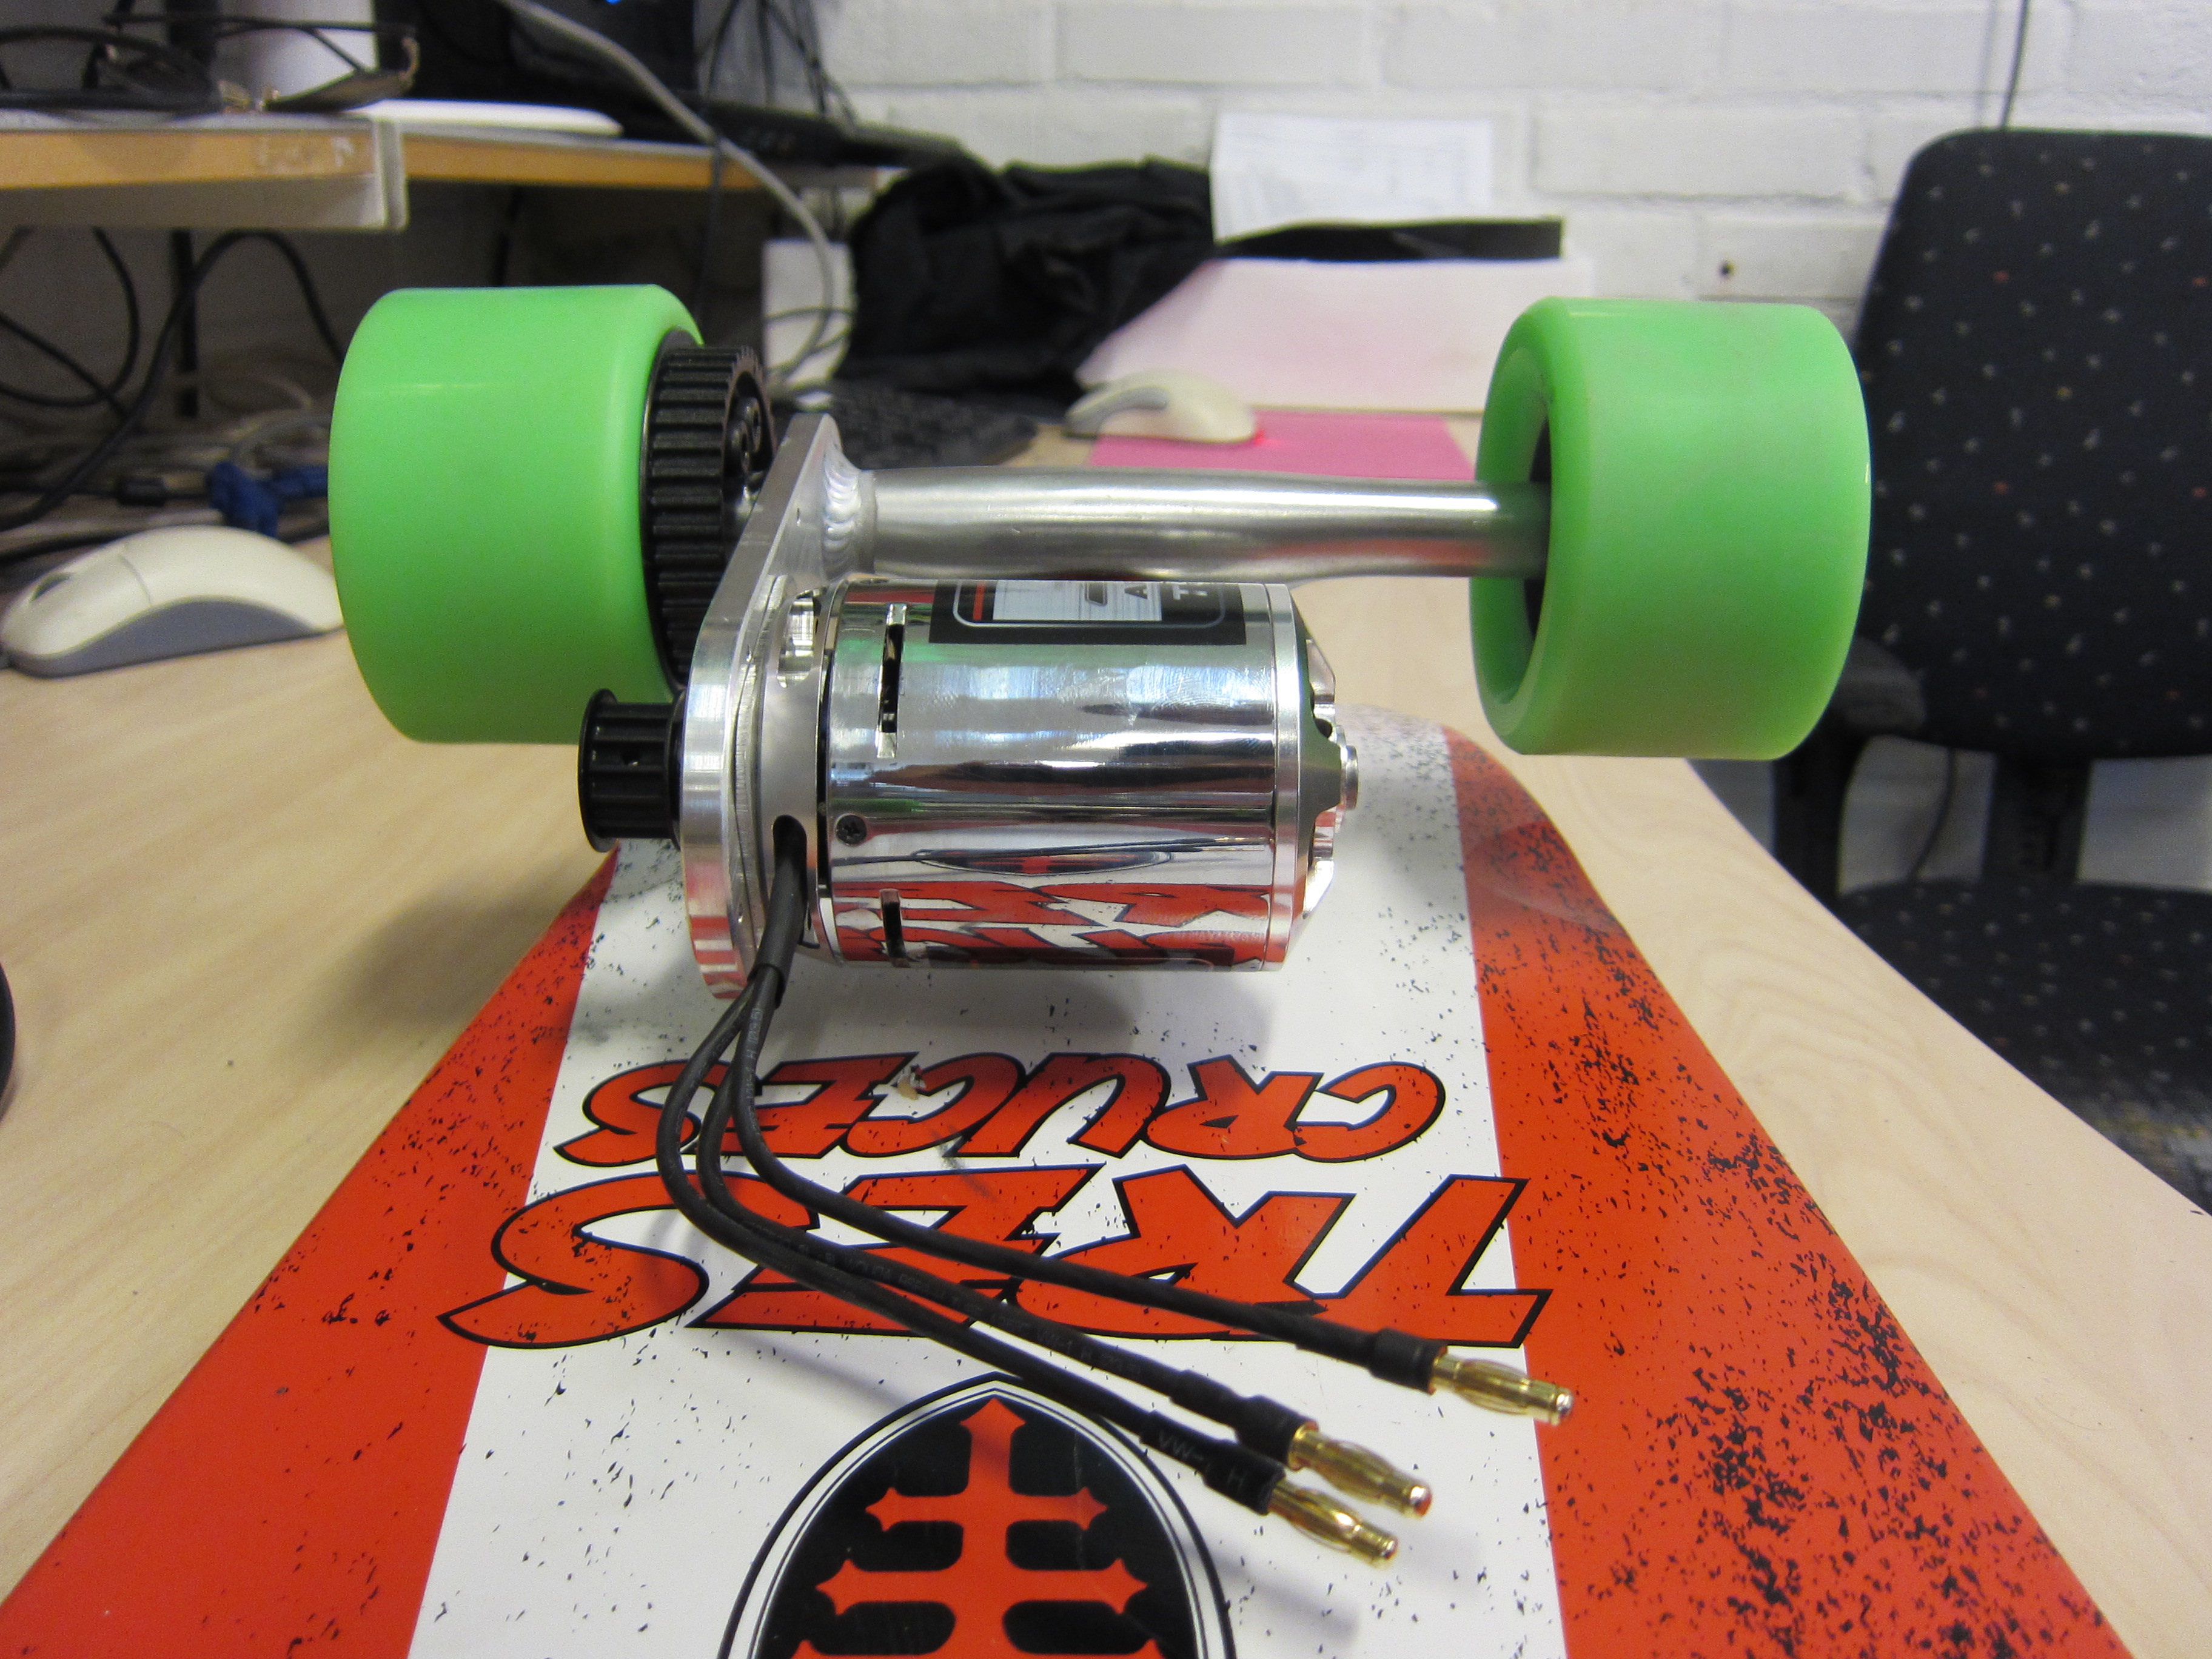
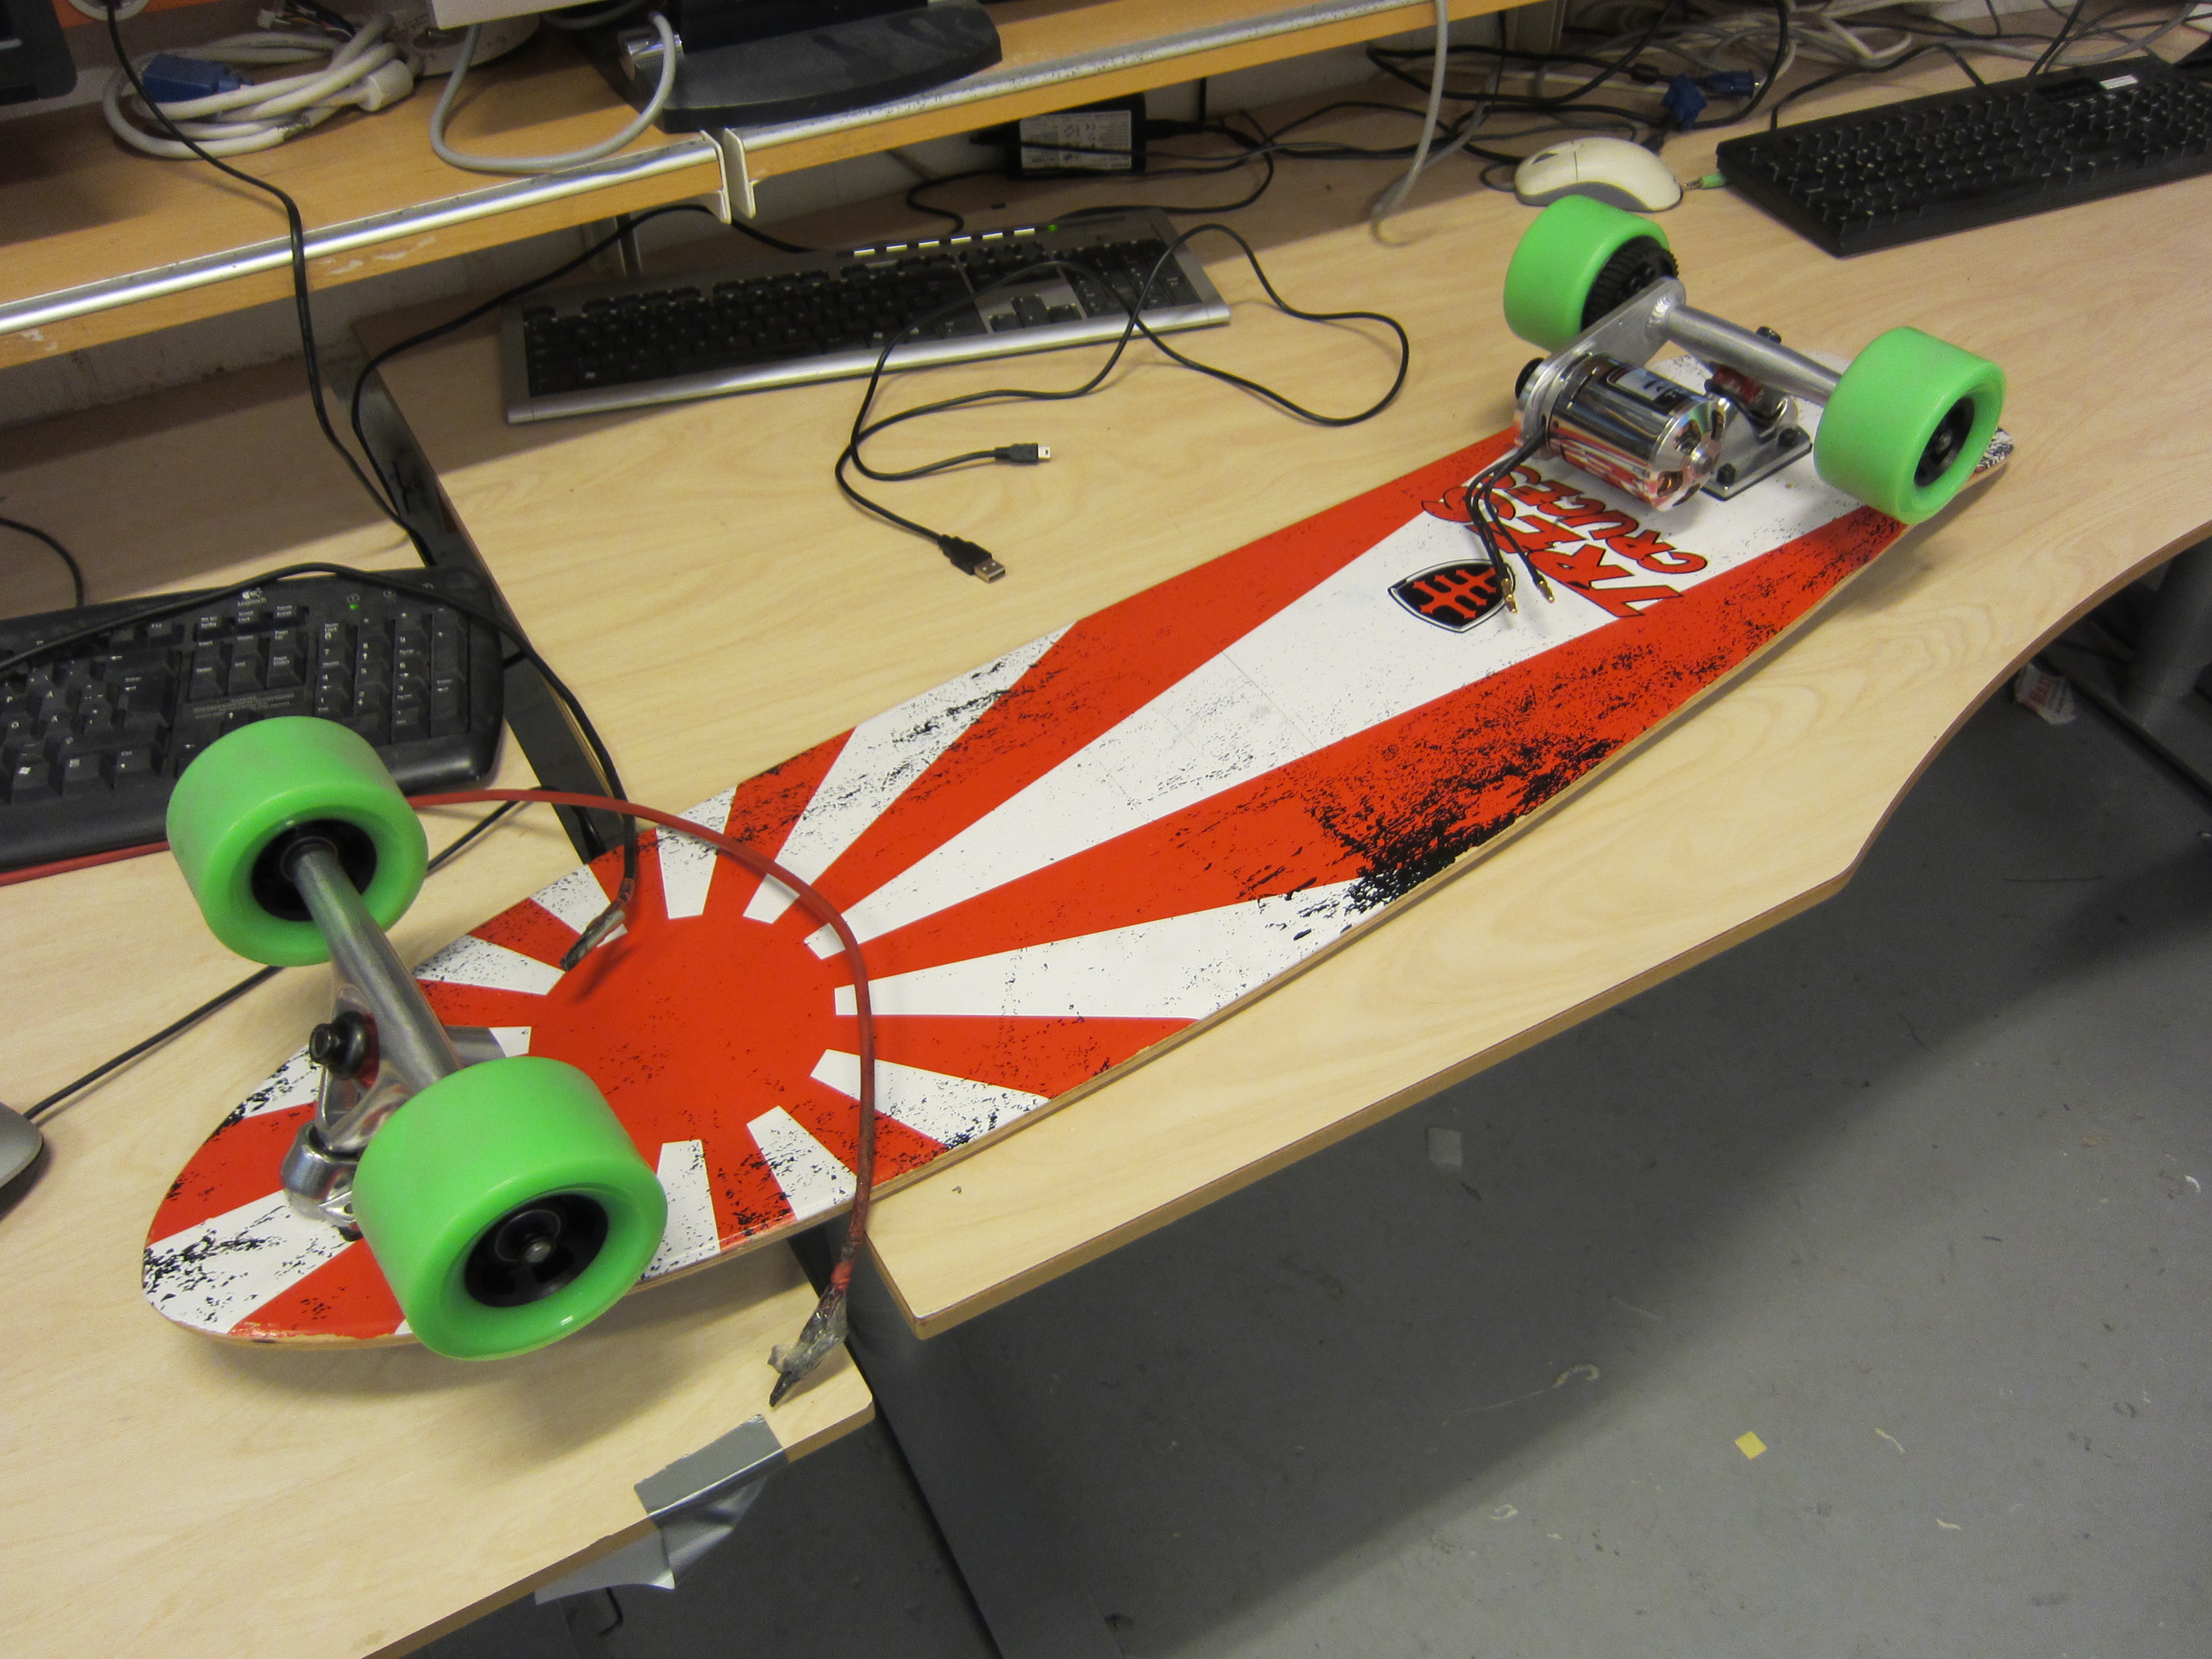
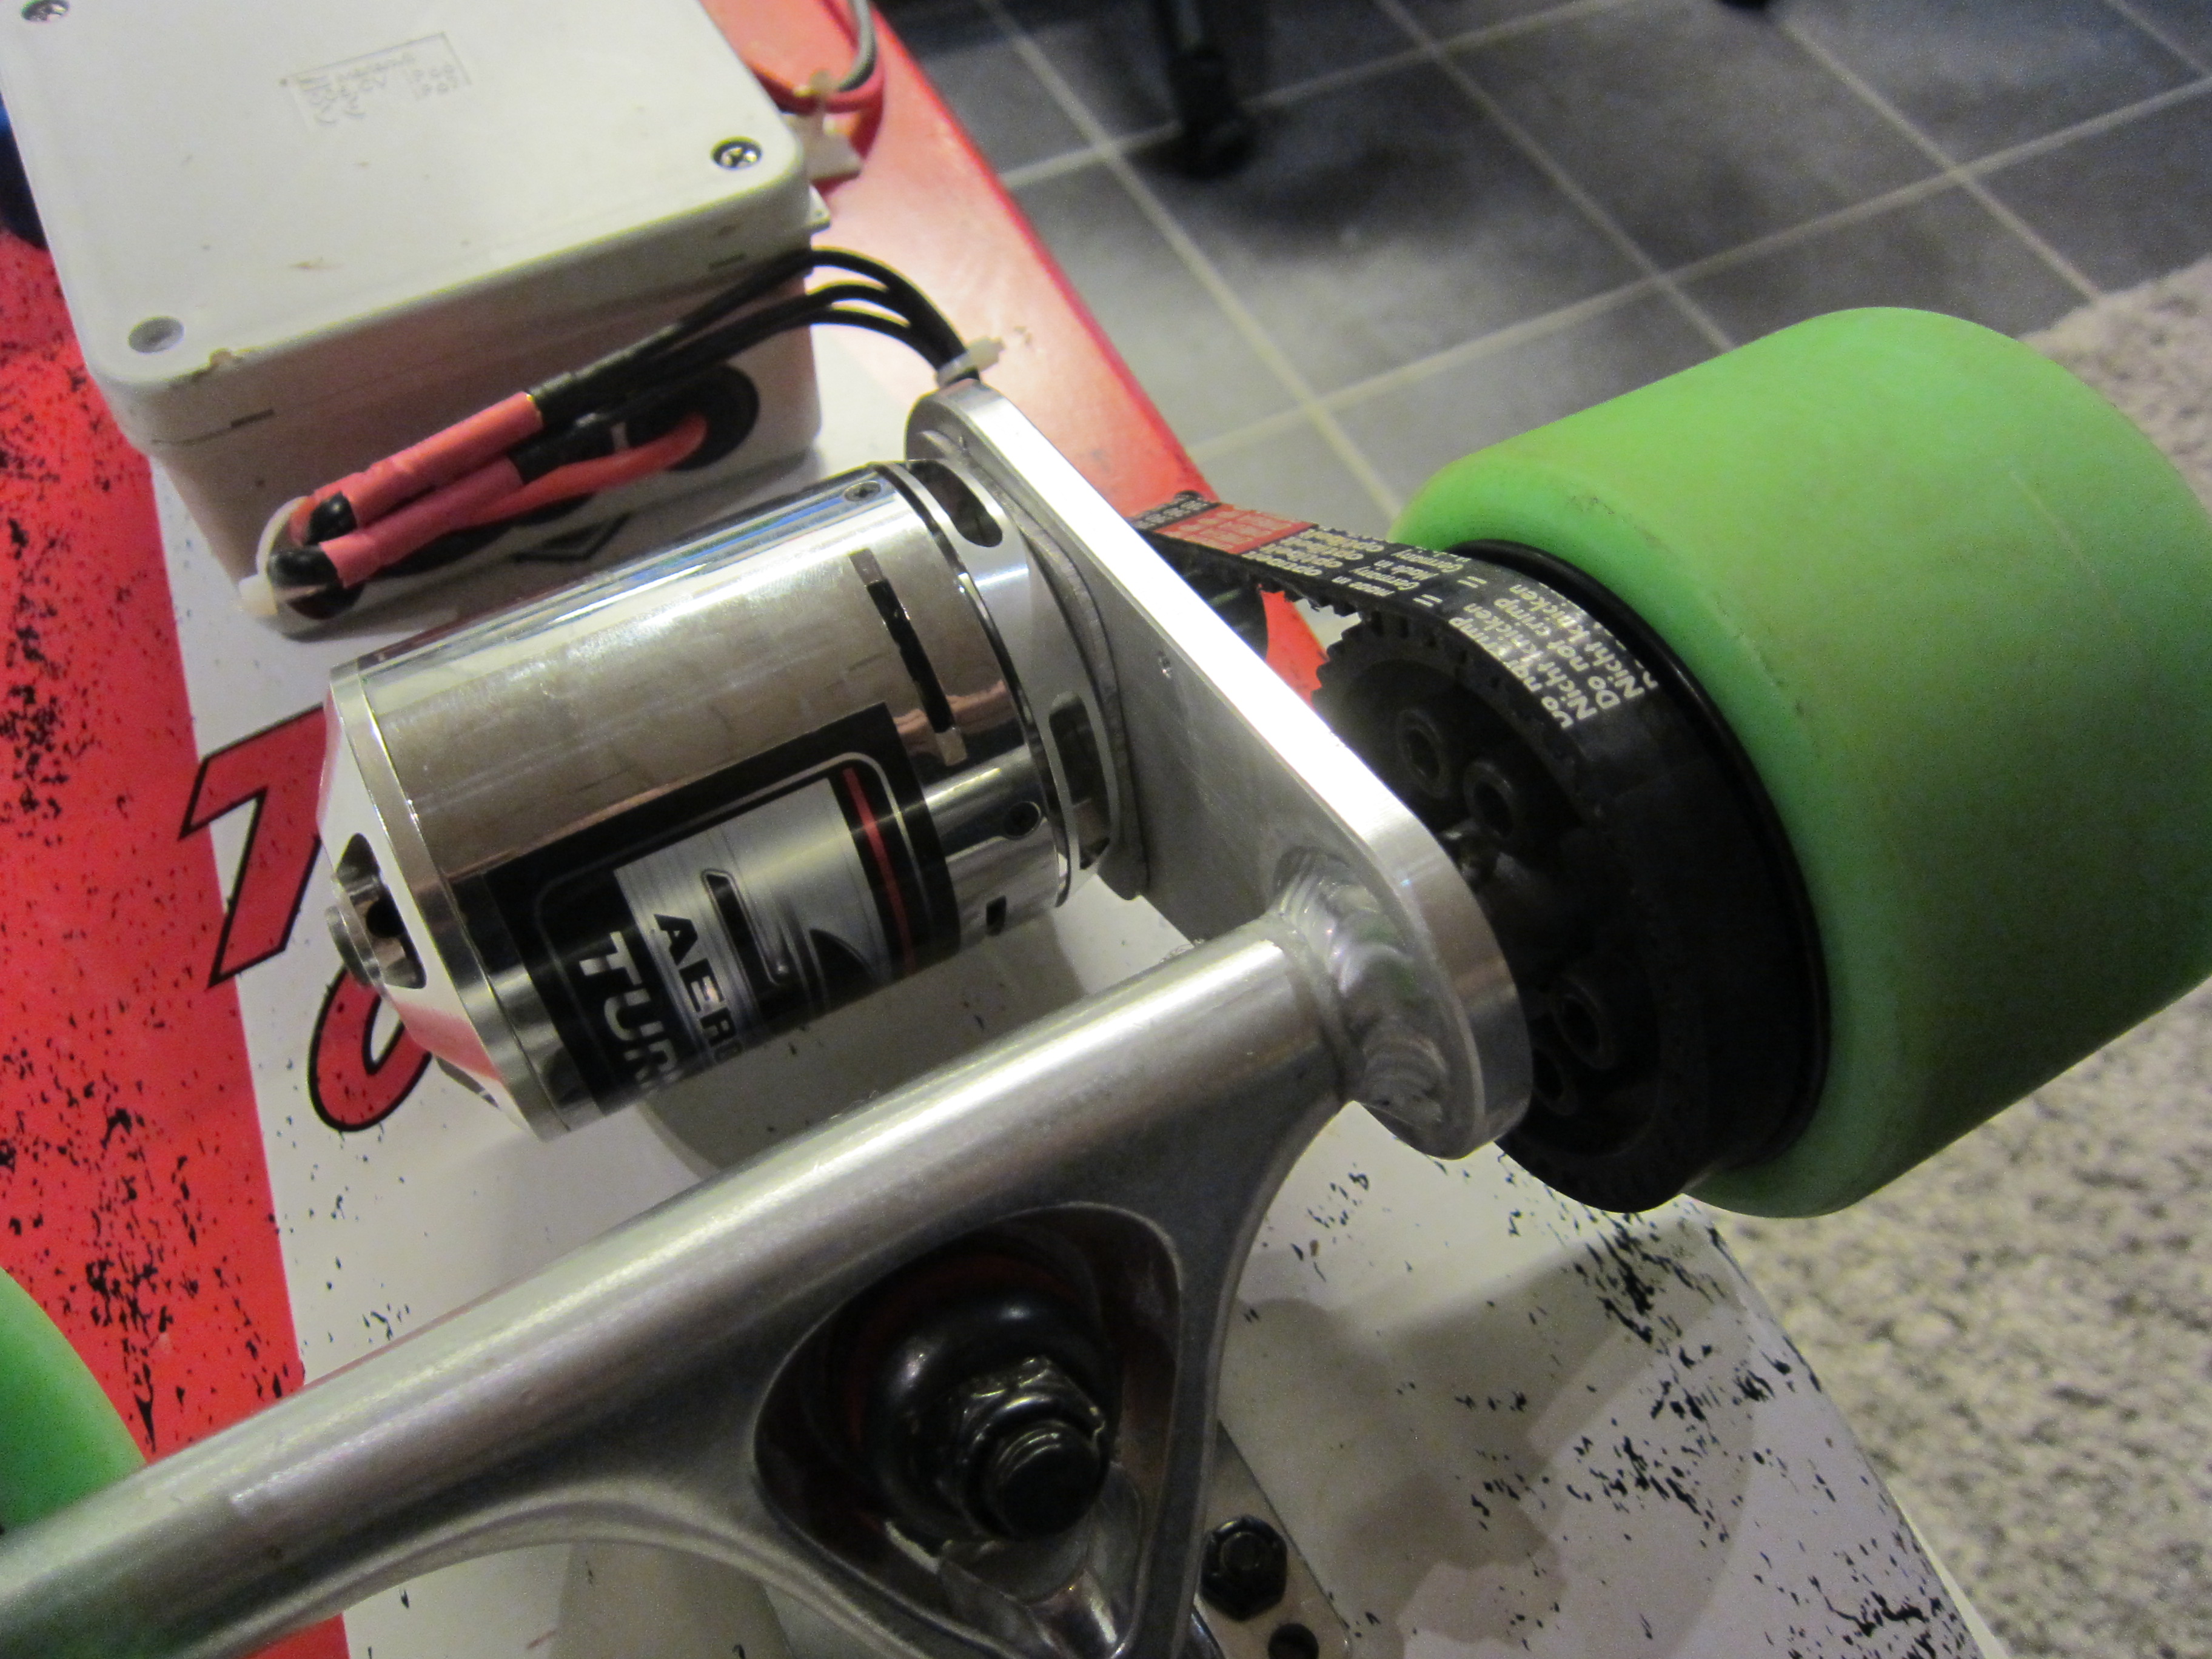
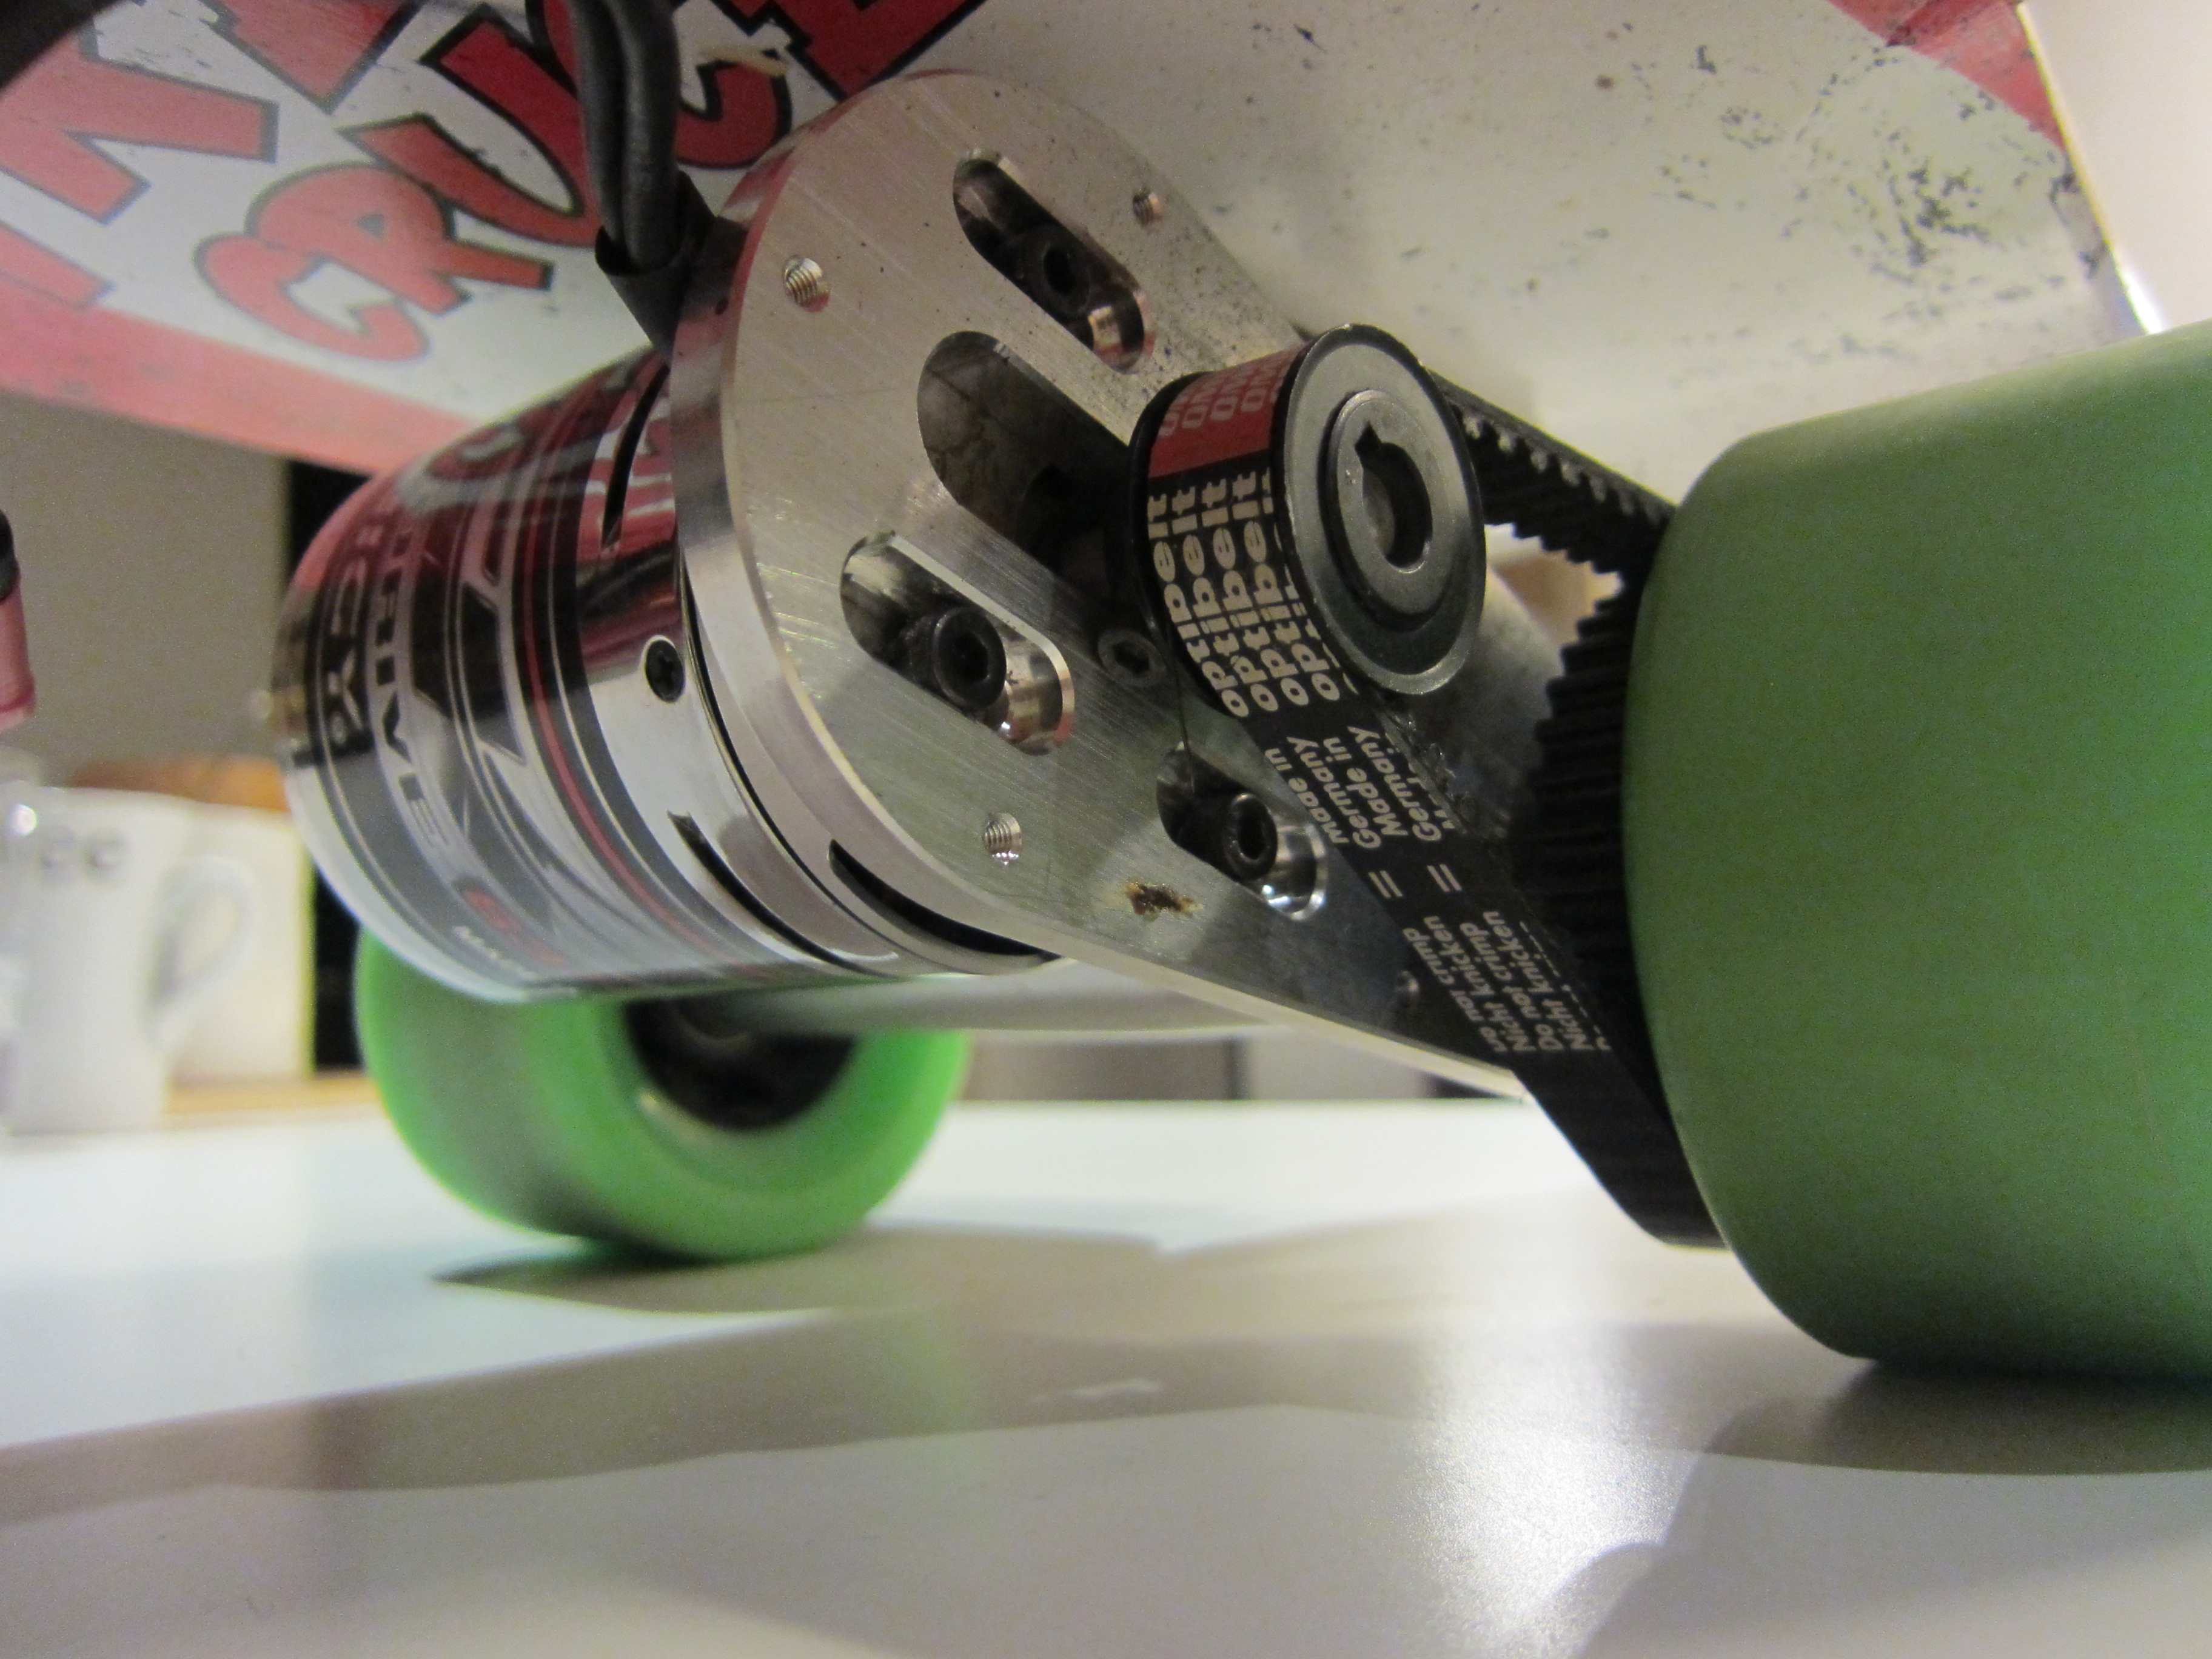
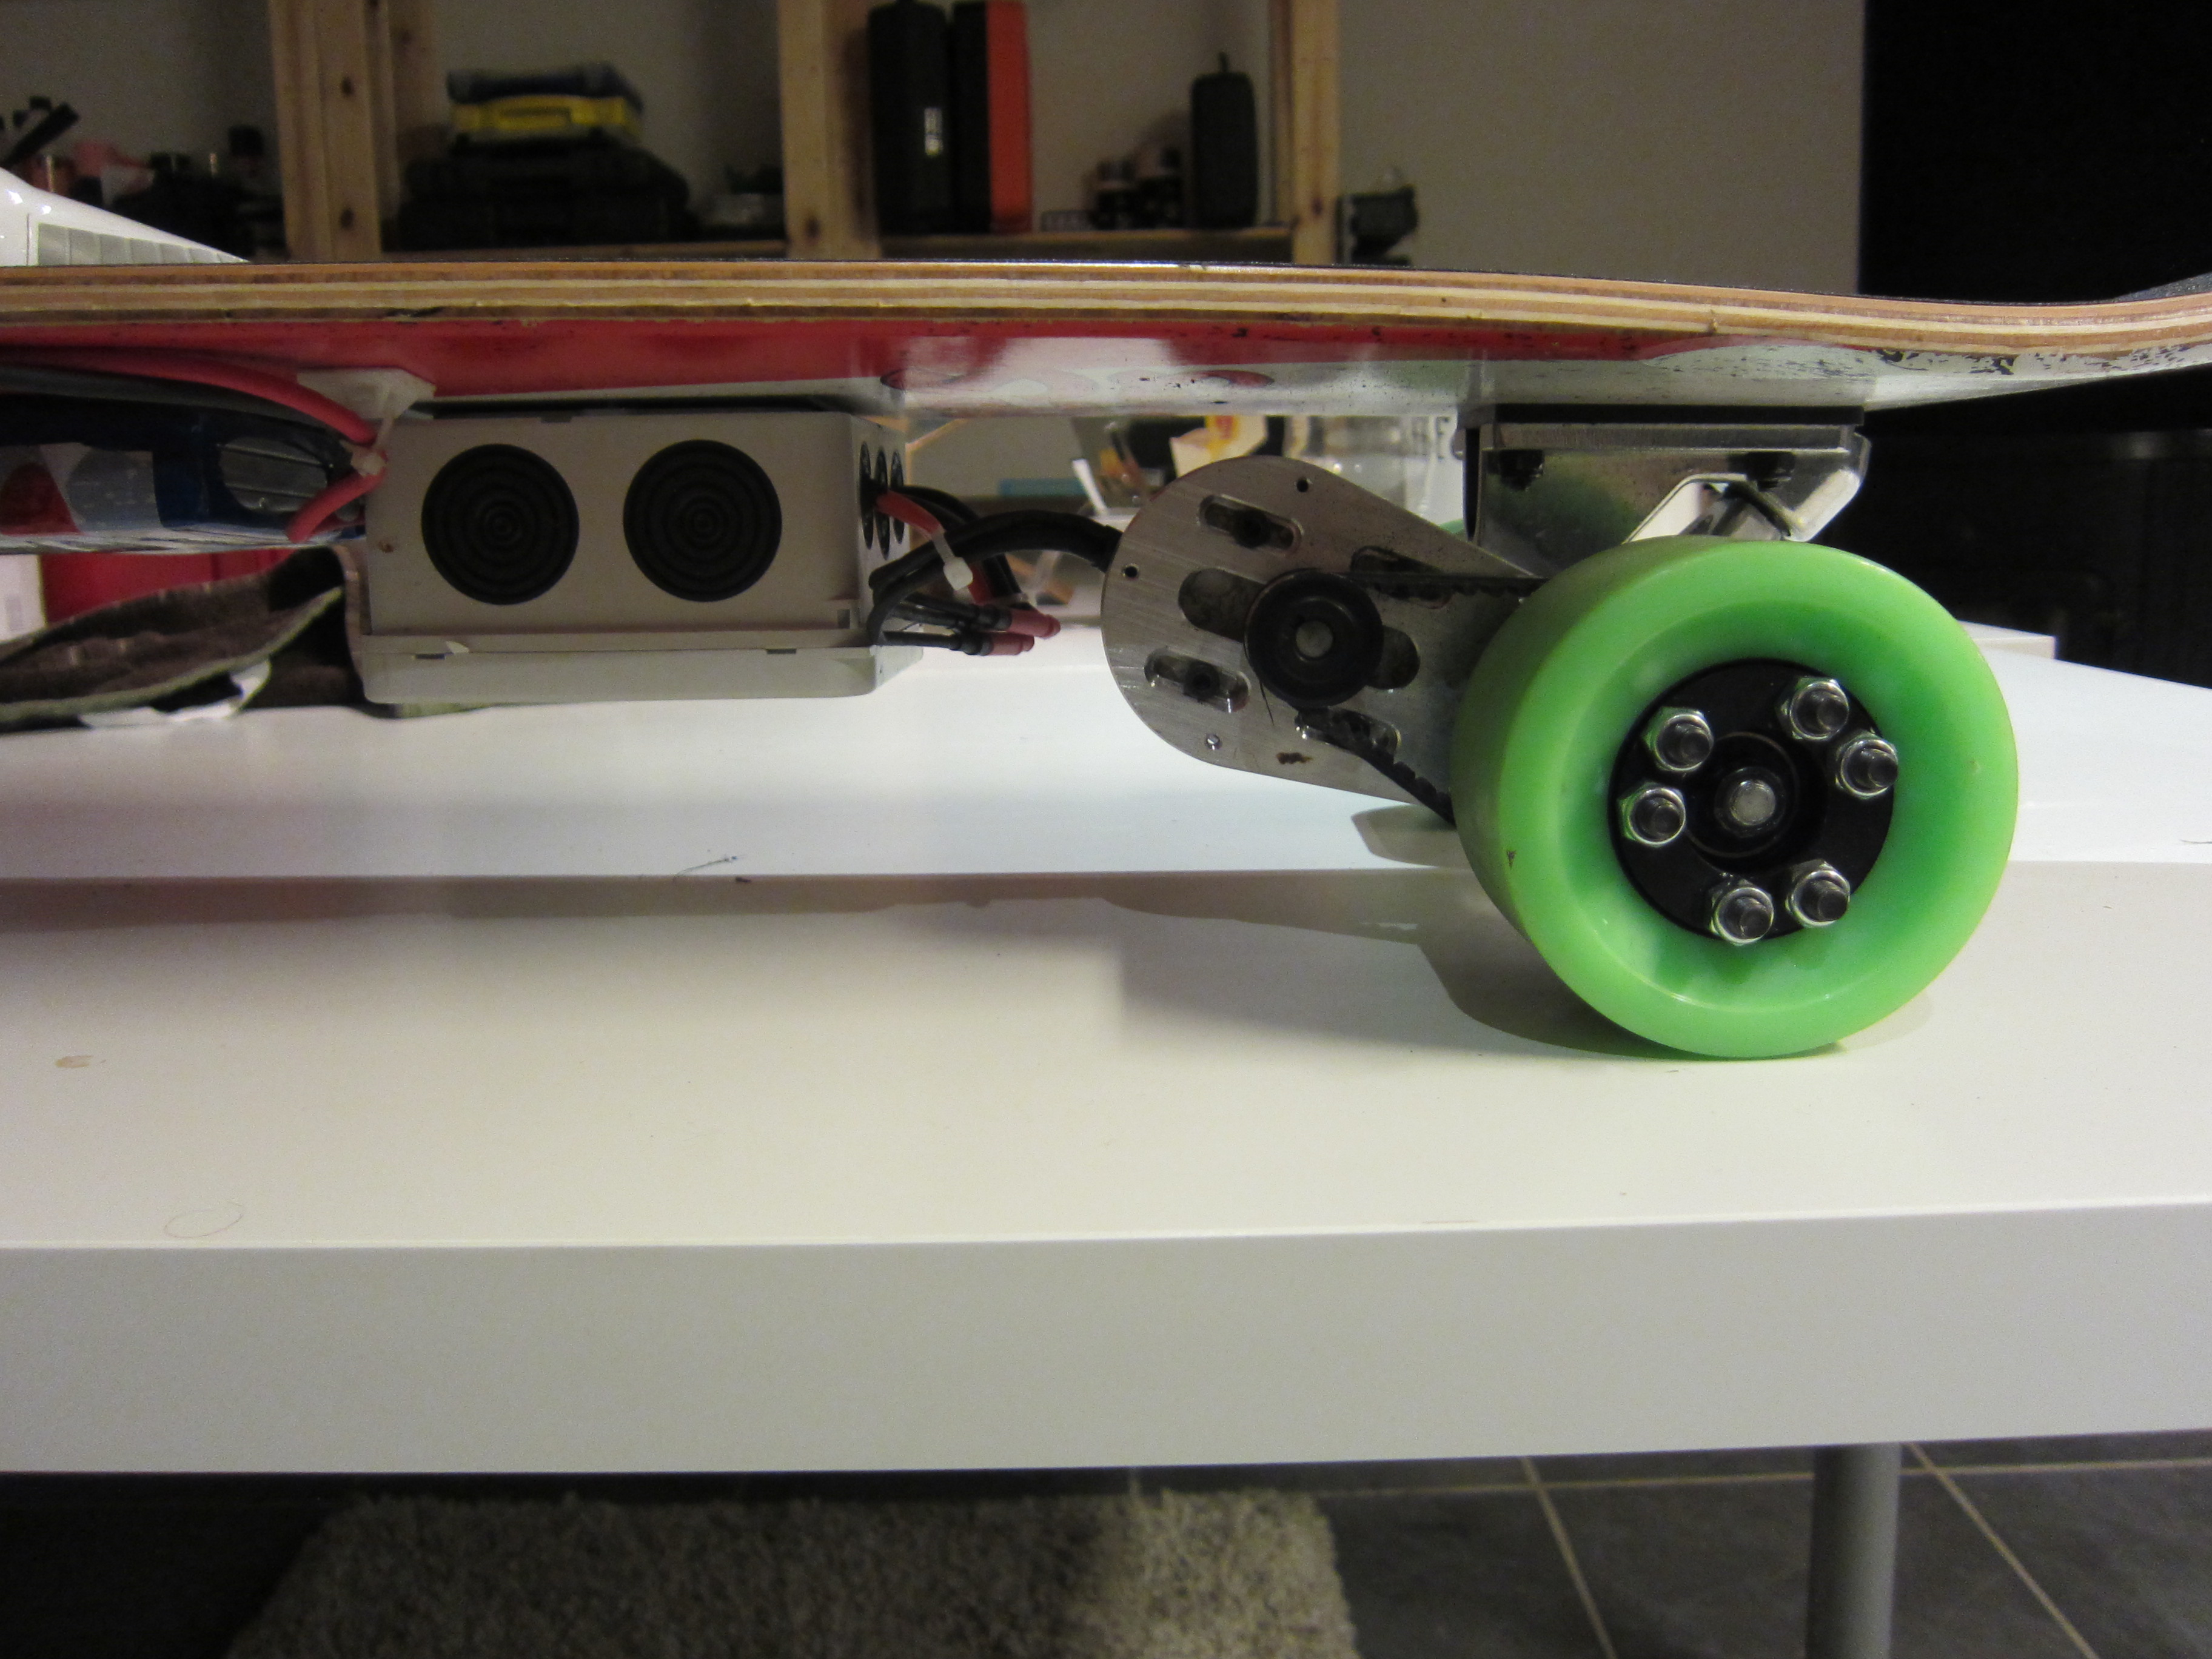
The base of the driveline is a kit by DIY Electric Skateboard (http://diyelectricskateboard.com/product/single-motor-electric-longboard-kit/).
The kit is made for the SK3 motor series and included trucks with motor mount, wheels, pulleys and timing belt.
The motor mount is welded into the truck, the design is really good and the welding job is well done. The drive pulley is the weak point in the drive line, it’s wobbly and hard to calibrate. DIY Electric Skateboard seems to have switched it for a new pulley made out of aluminum now.
The motor is a Turnigy Aerodrive SK3 168kv 2400W Brushless Outrunner Motor (http://hobbyking.com/hobbyking/store/uh_viewItem.asp?idProduct=38055).
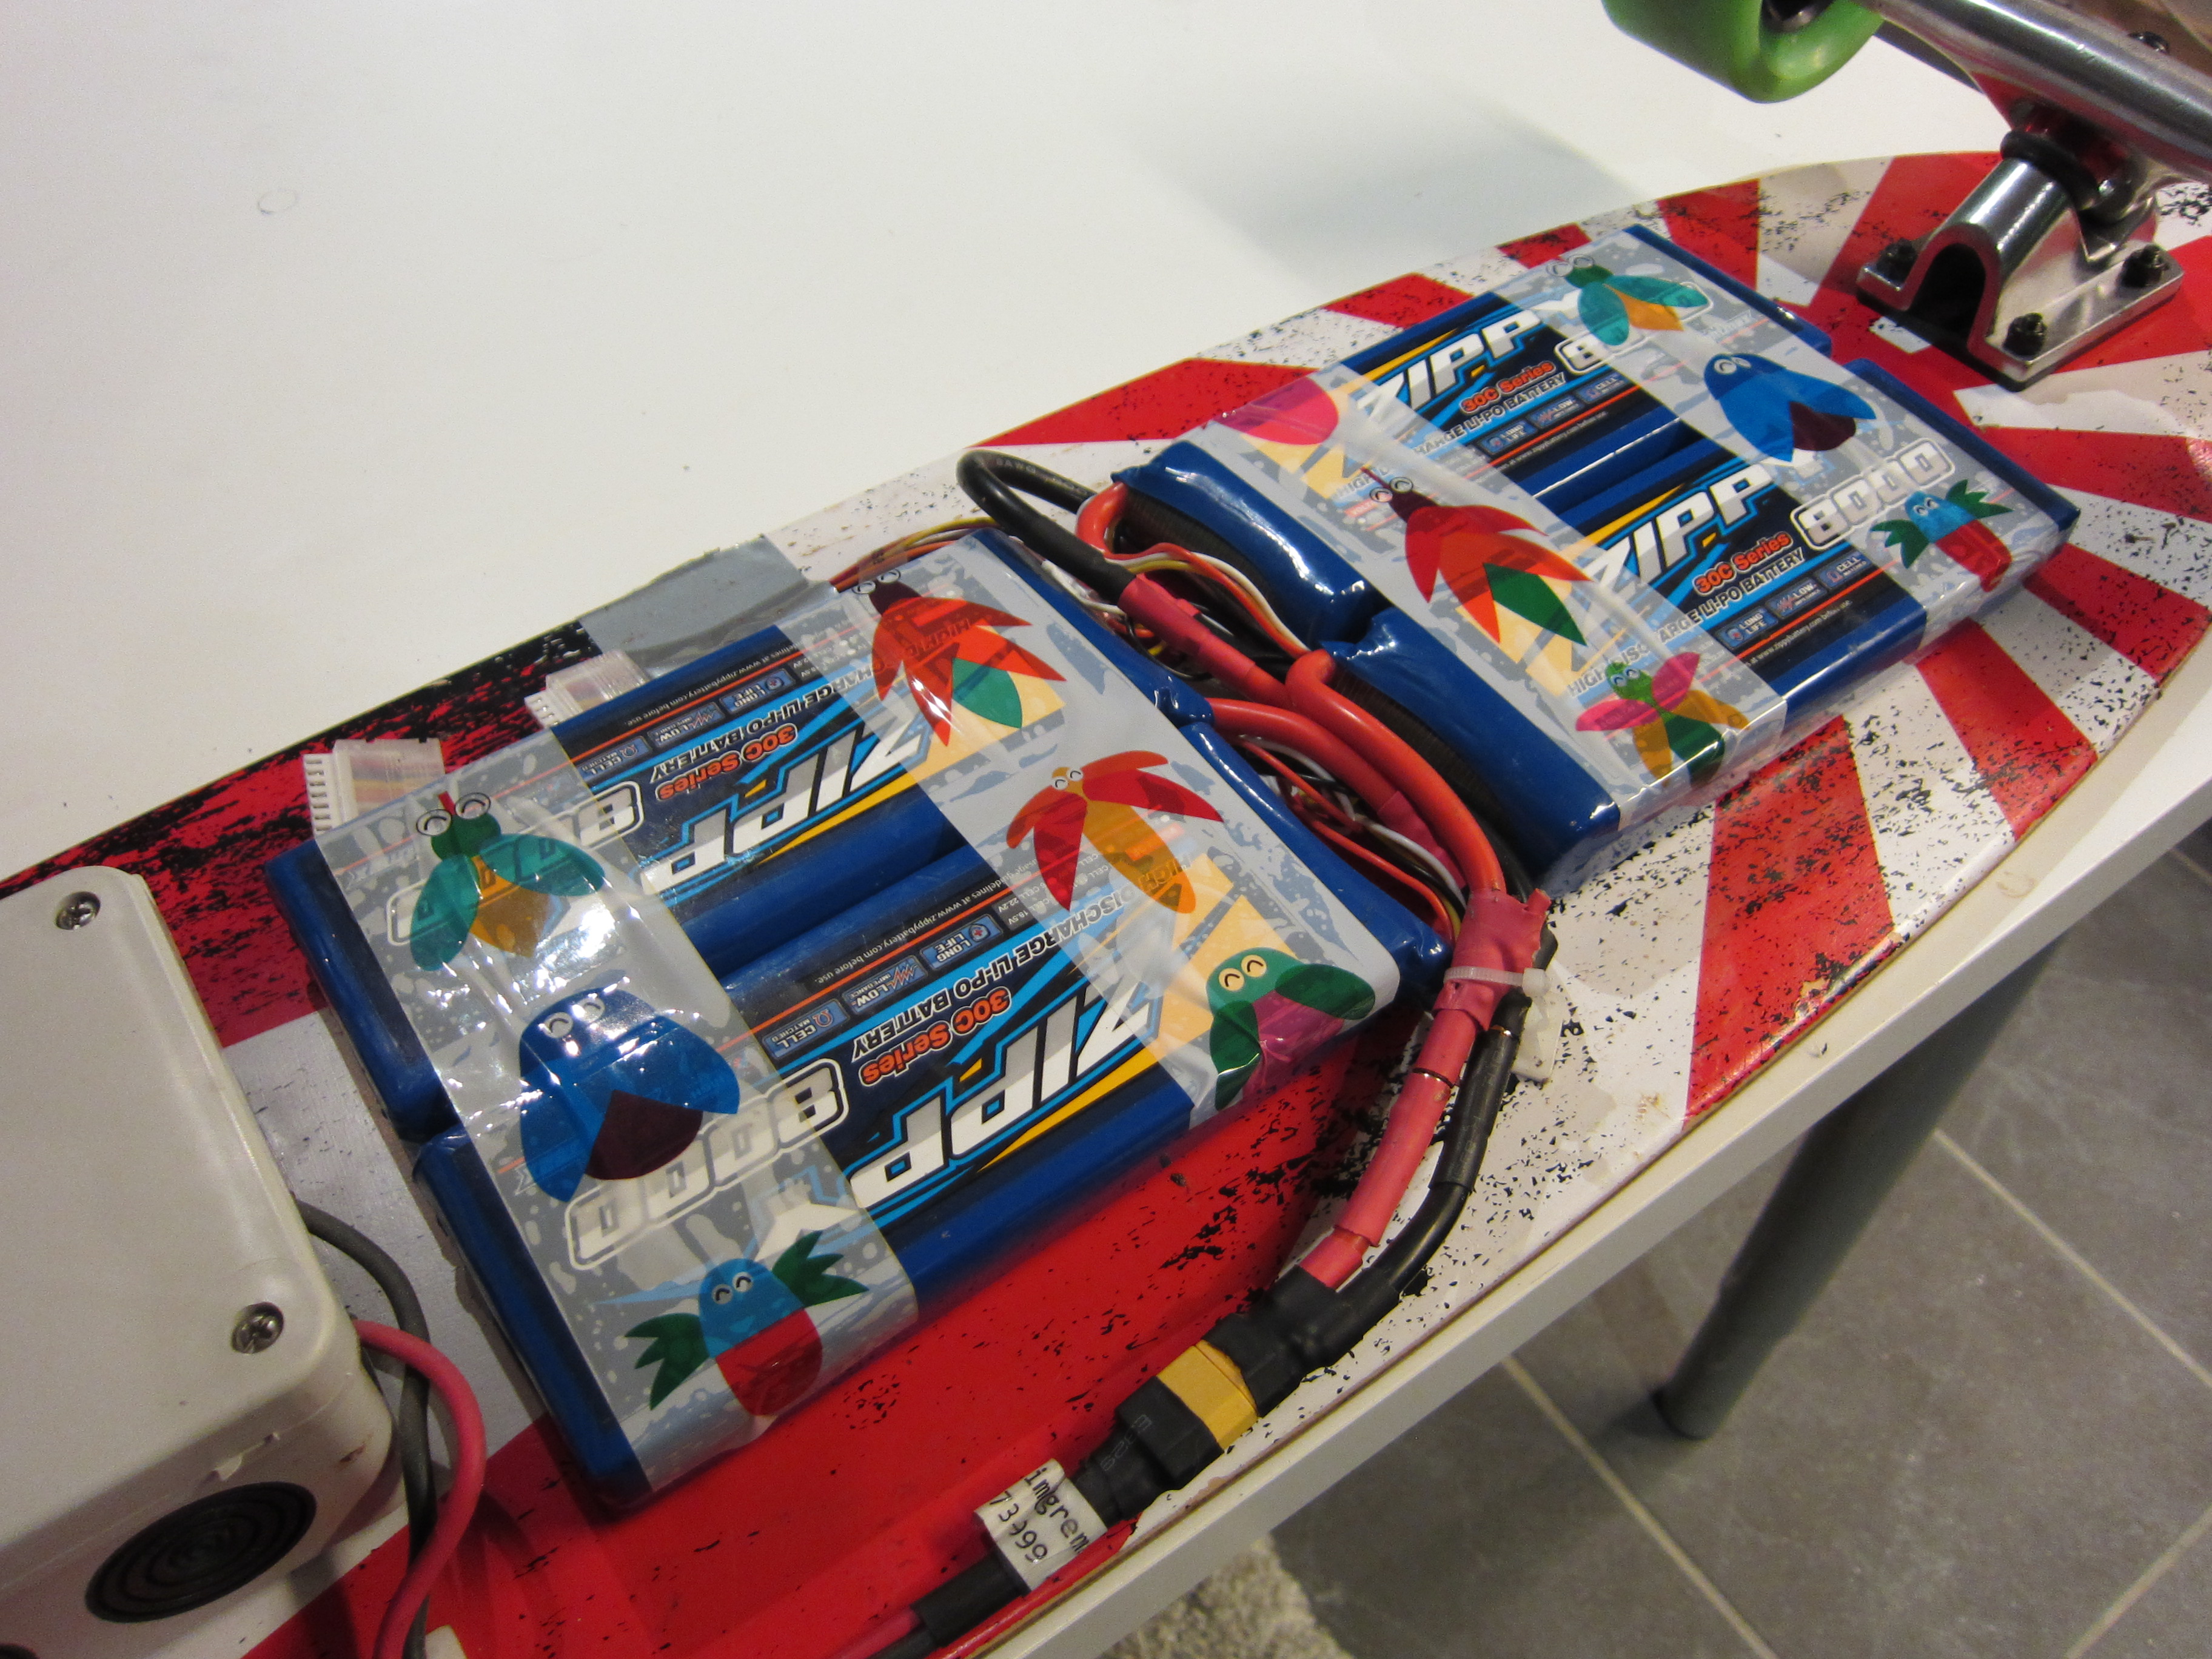
Battery
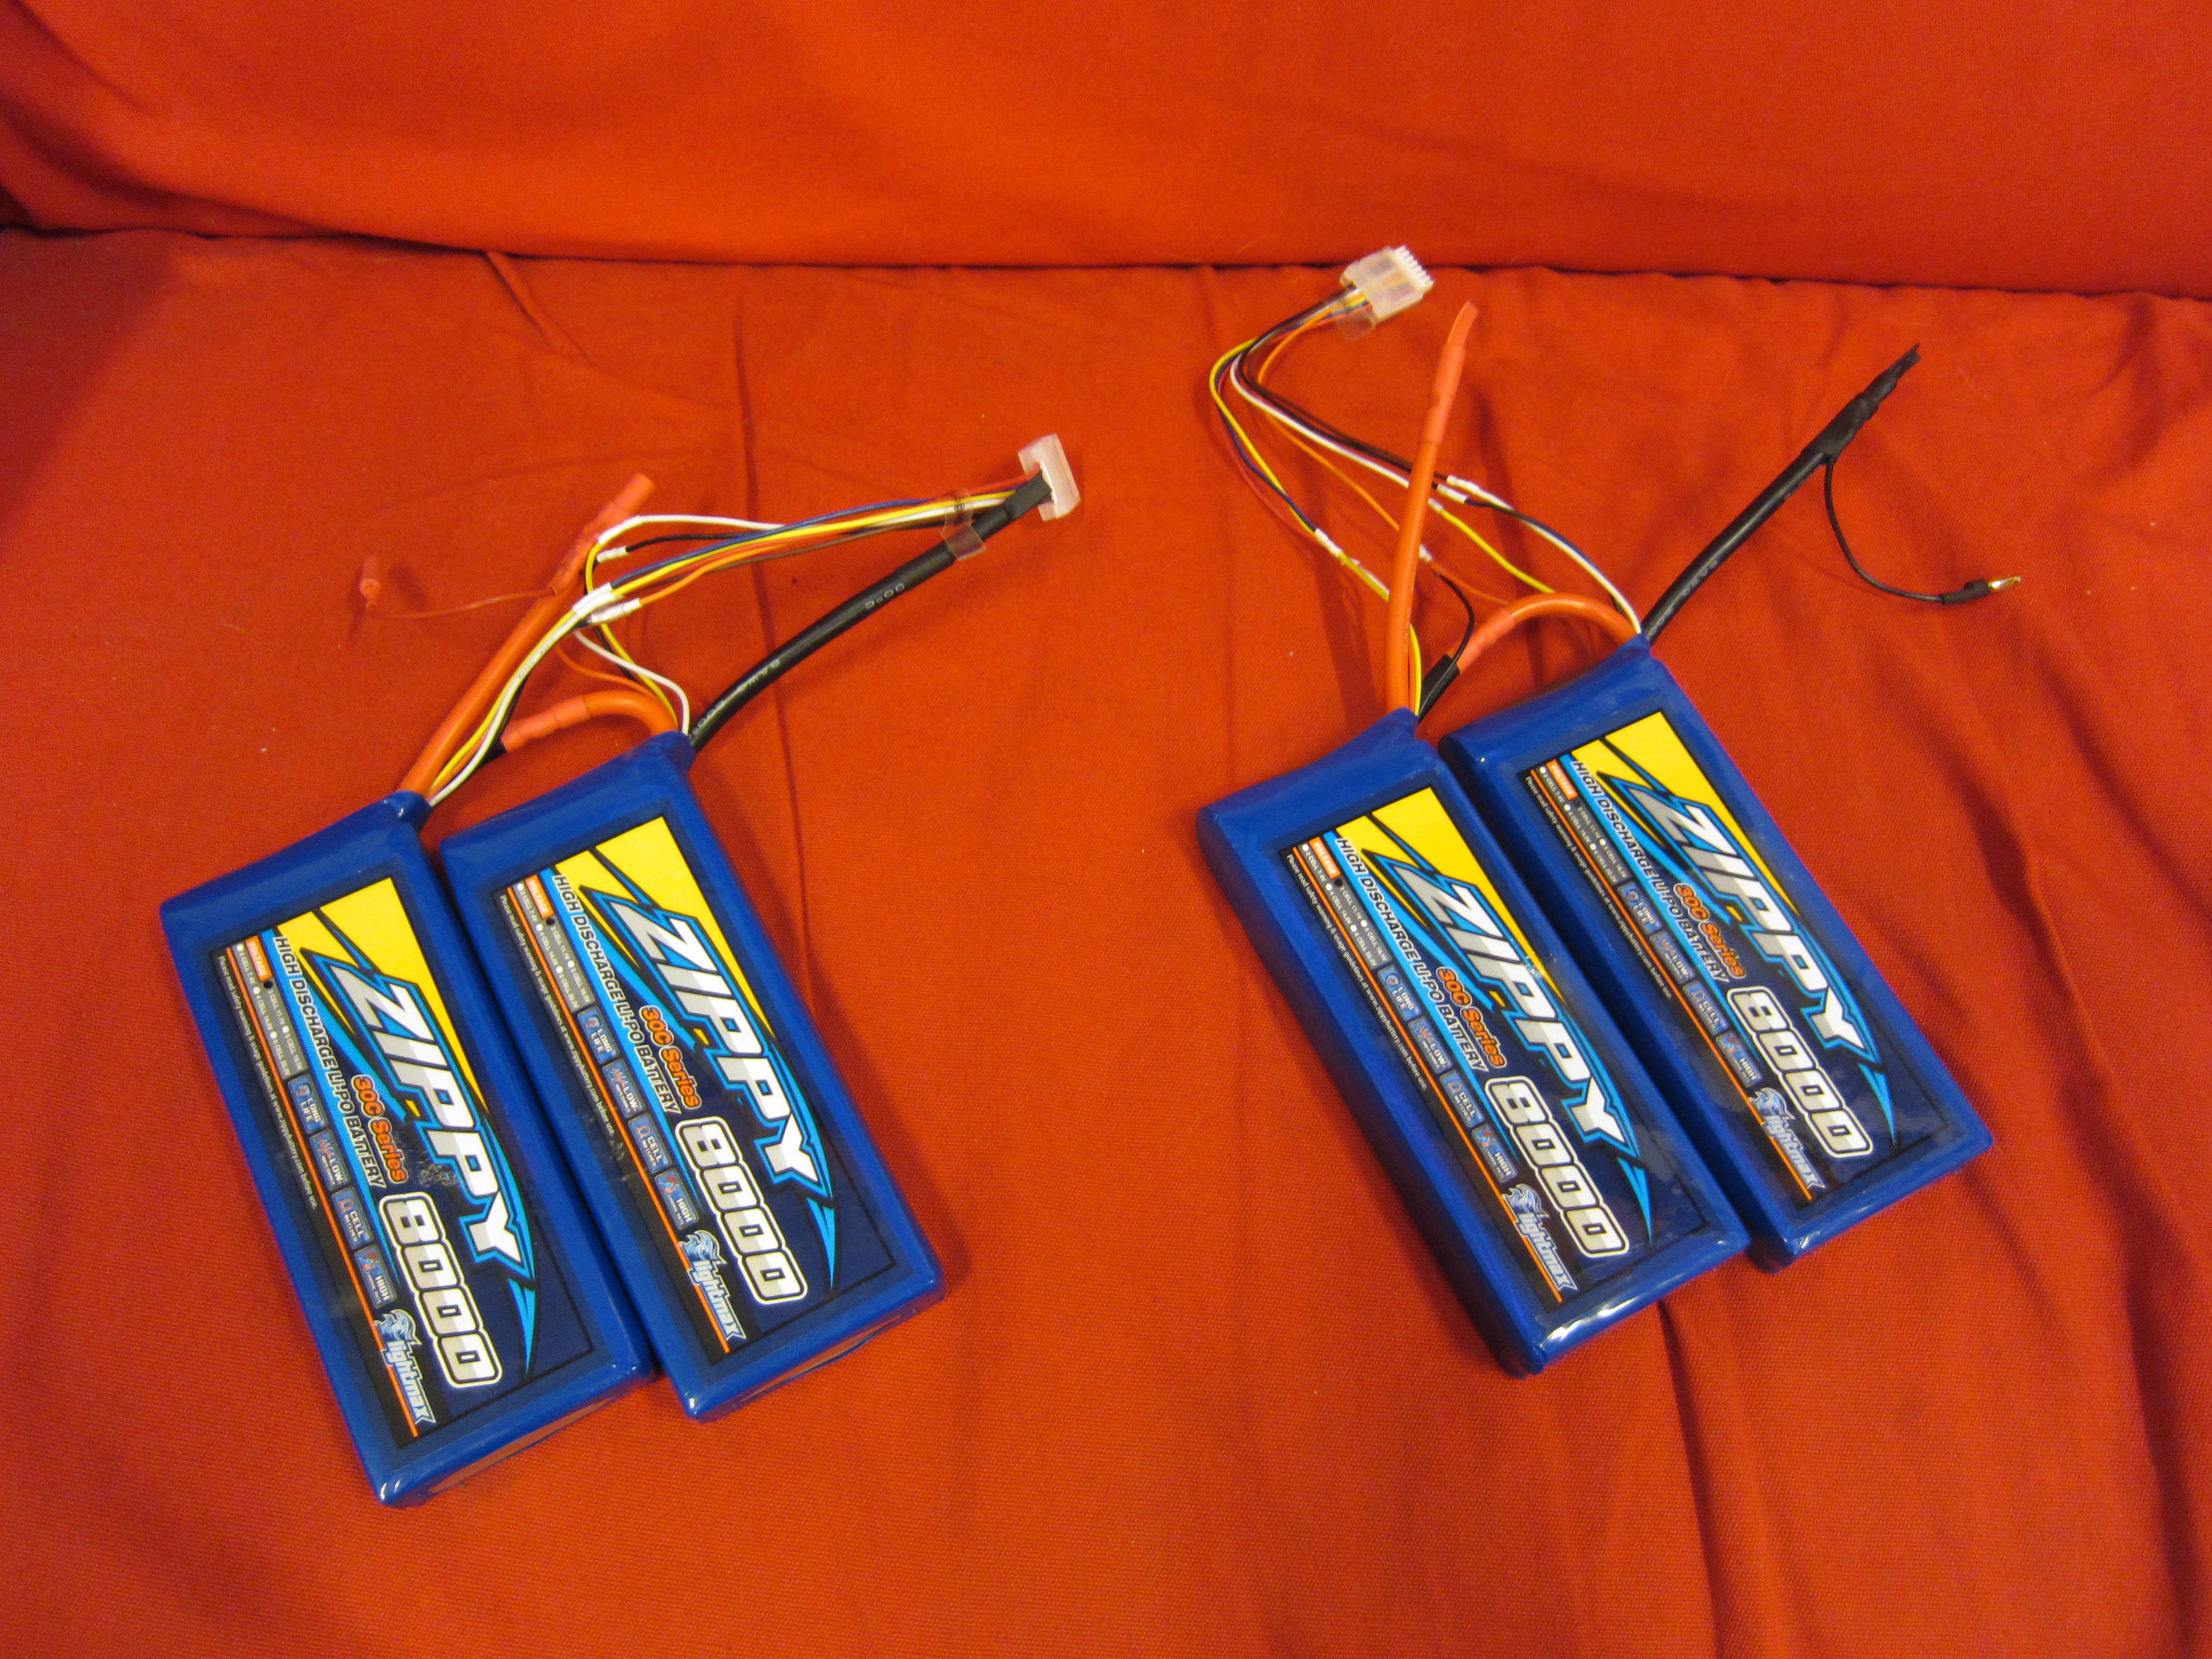
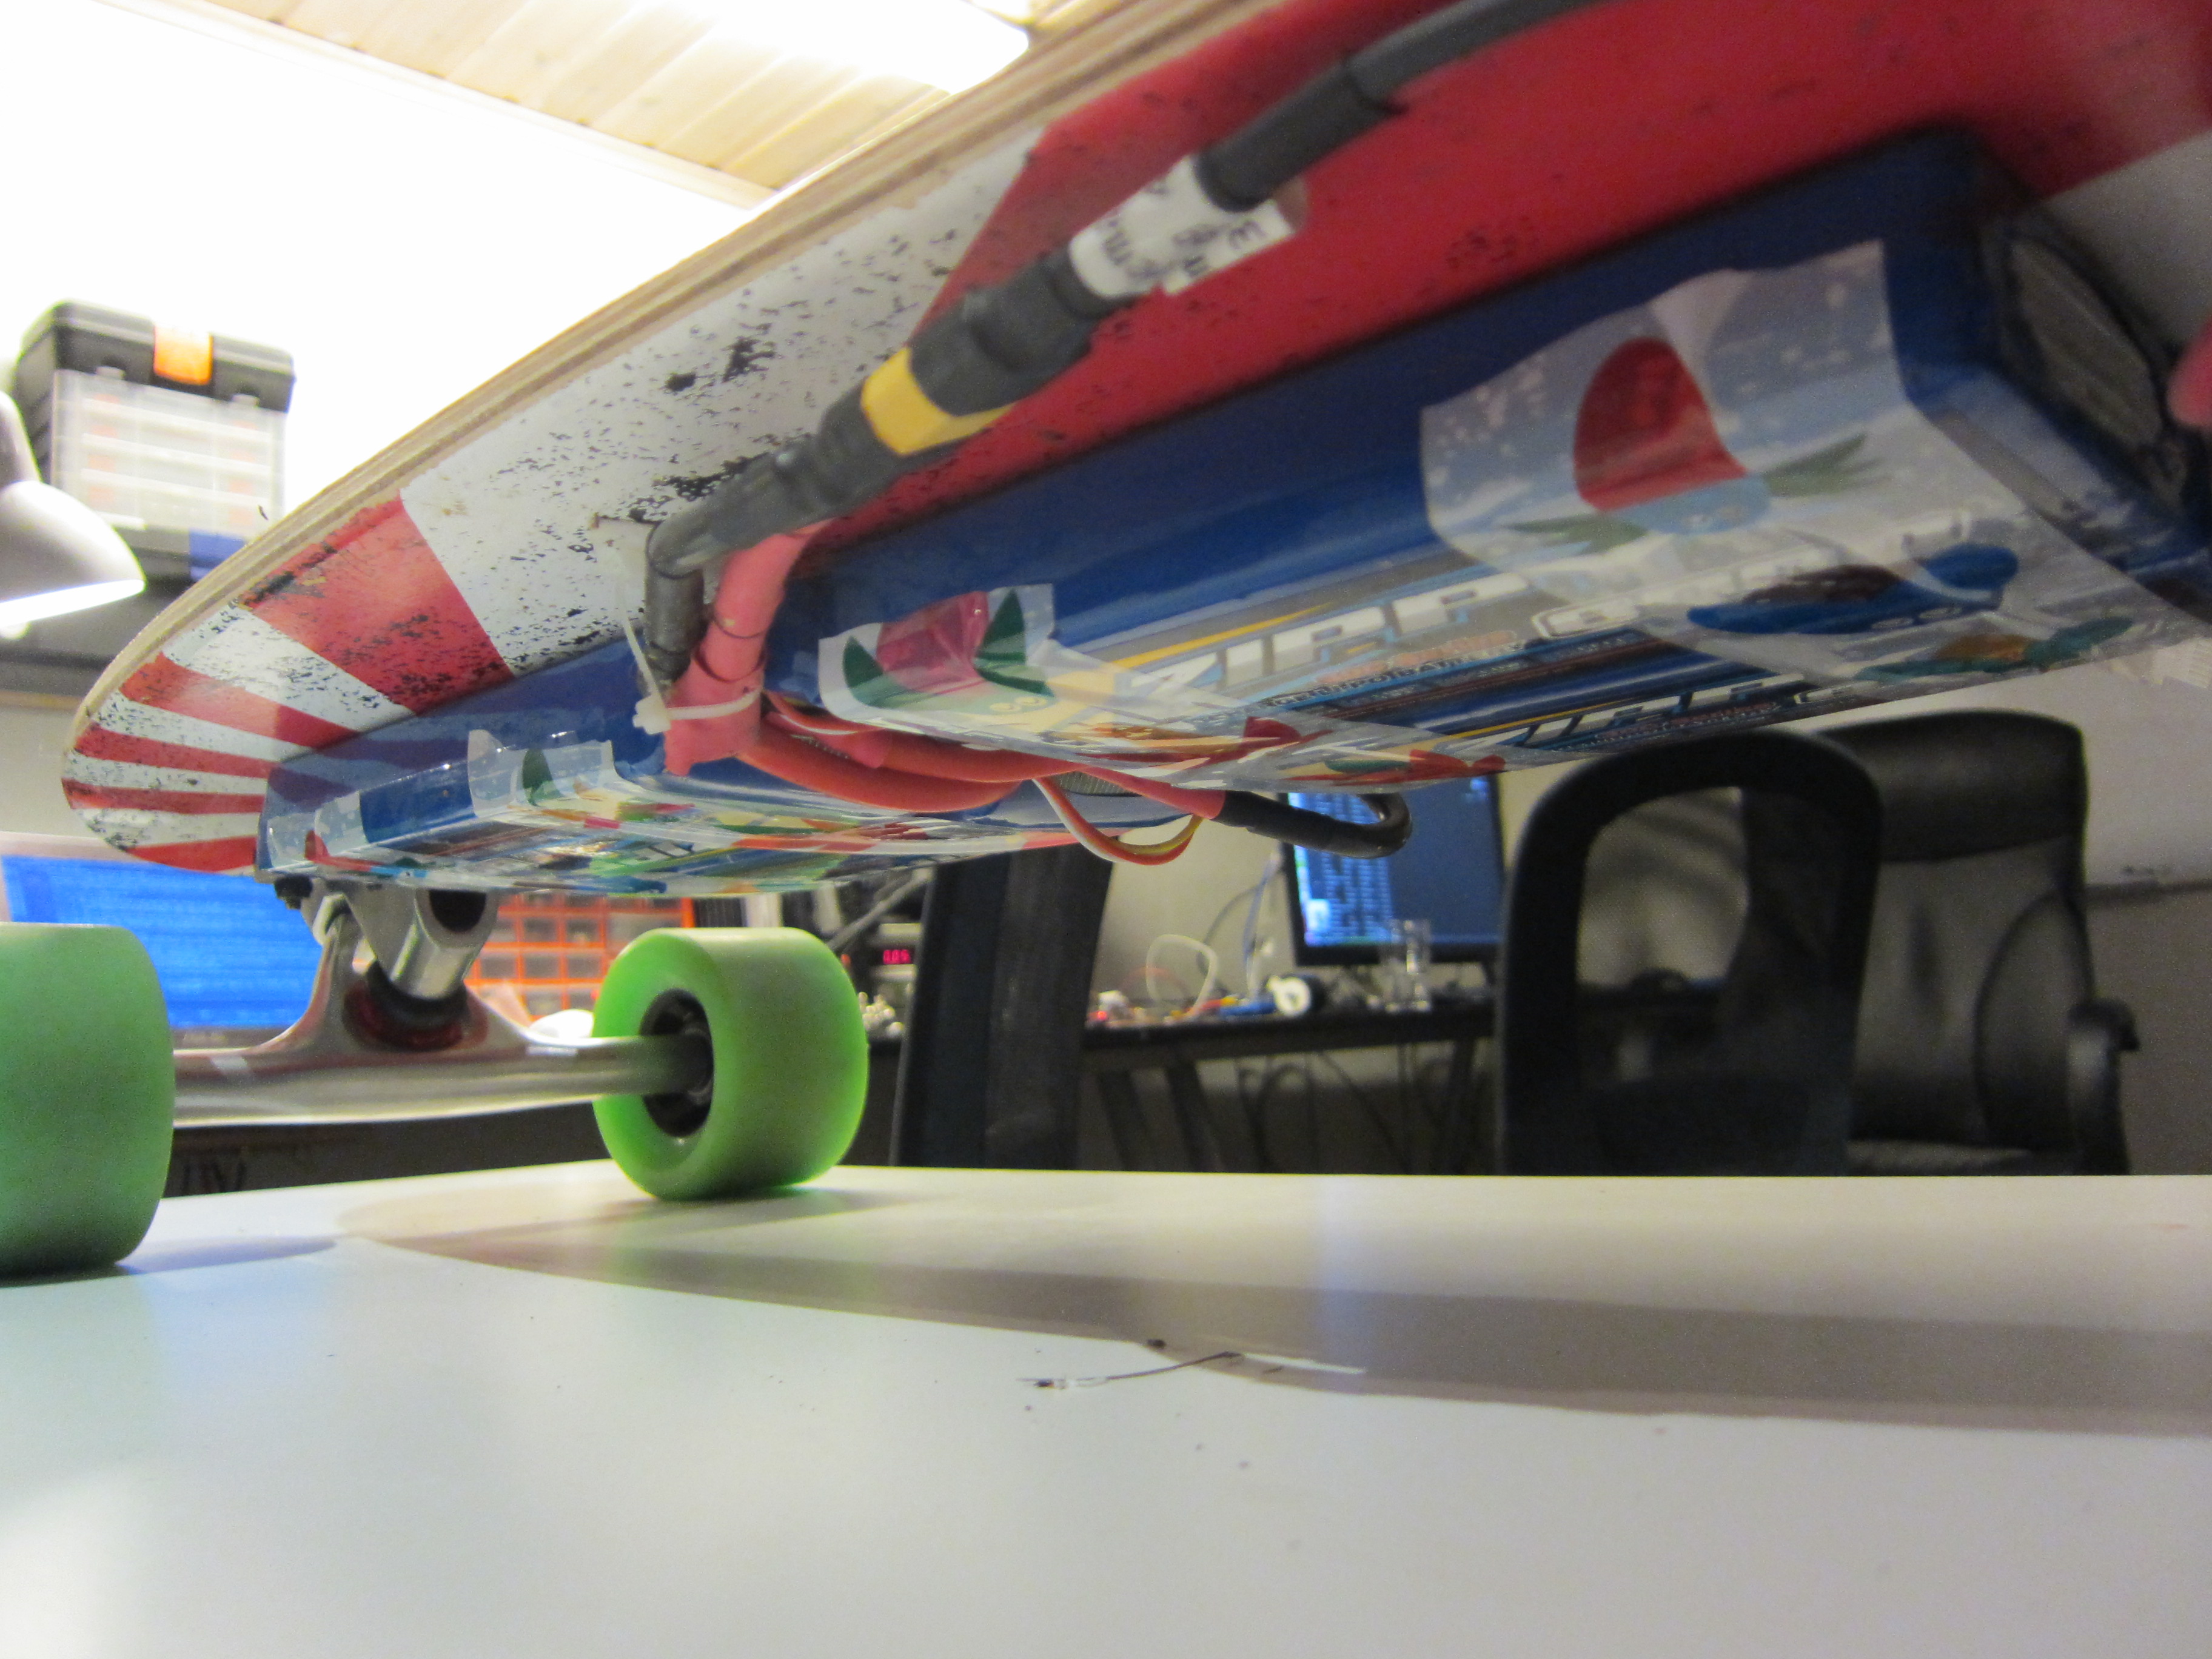
On the board I use 4x3s LiPo 8Ah 30C (http://hobbyking.com/hobbyking/store/uh_viewItem.asp?idProduct=32214), it gives about 350 Watt hours of energy.
VESC
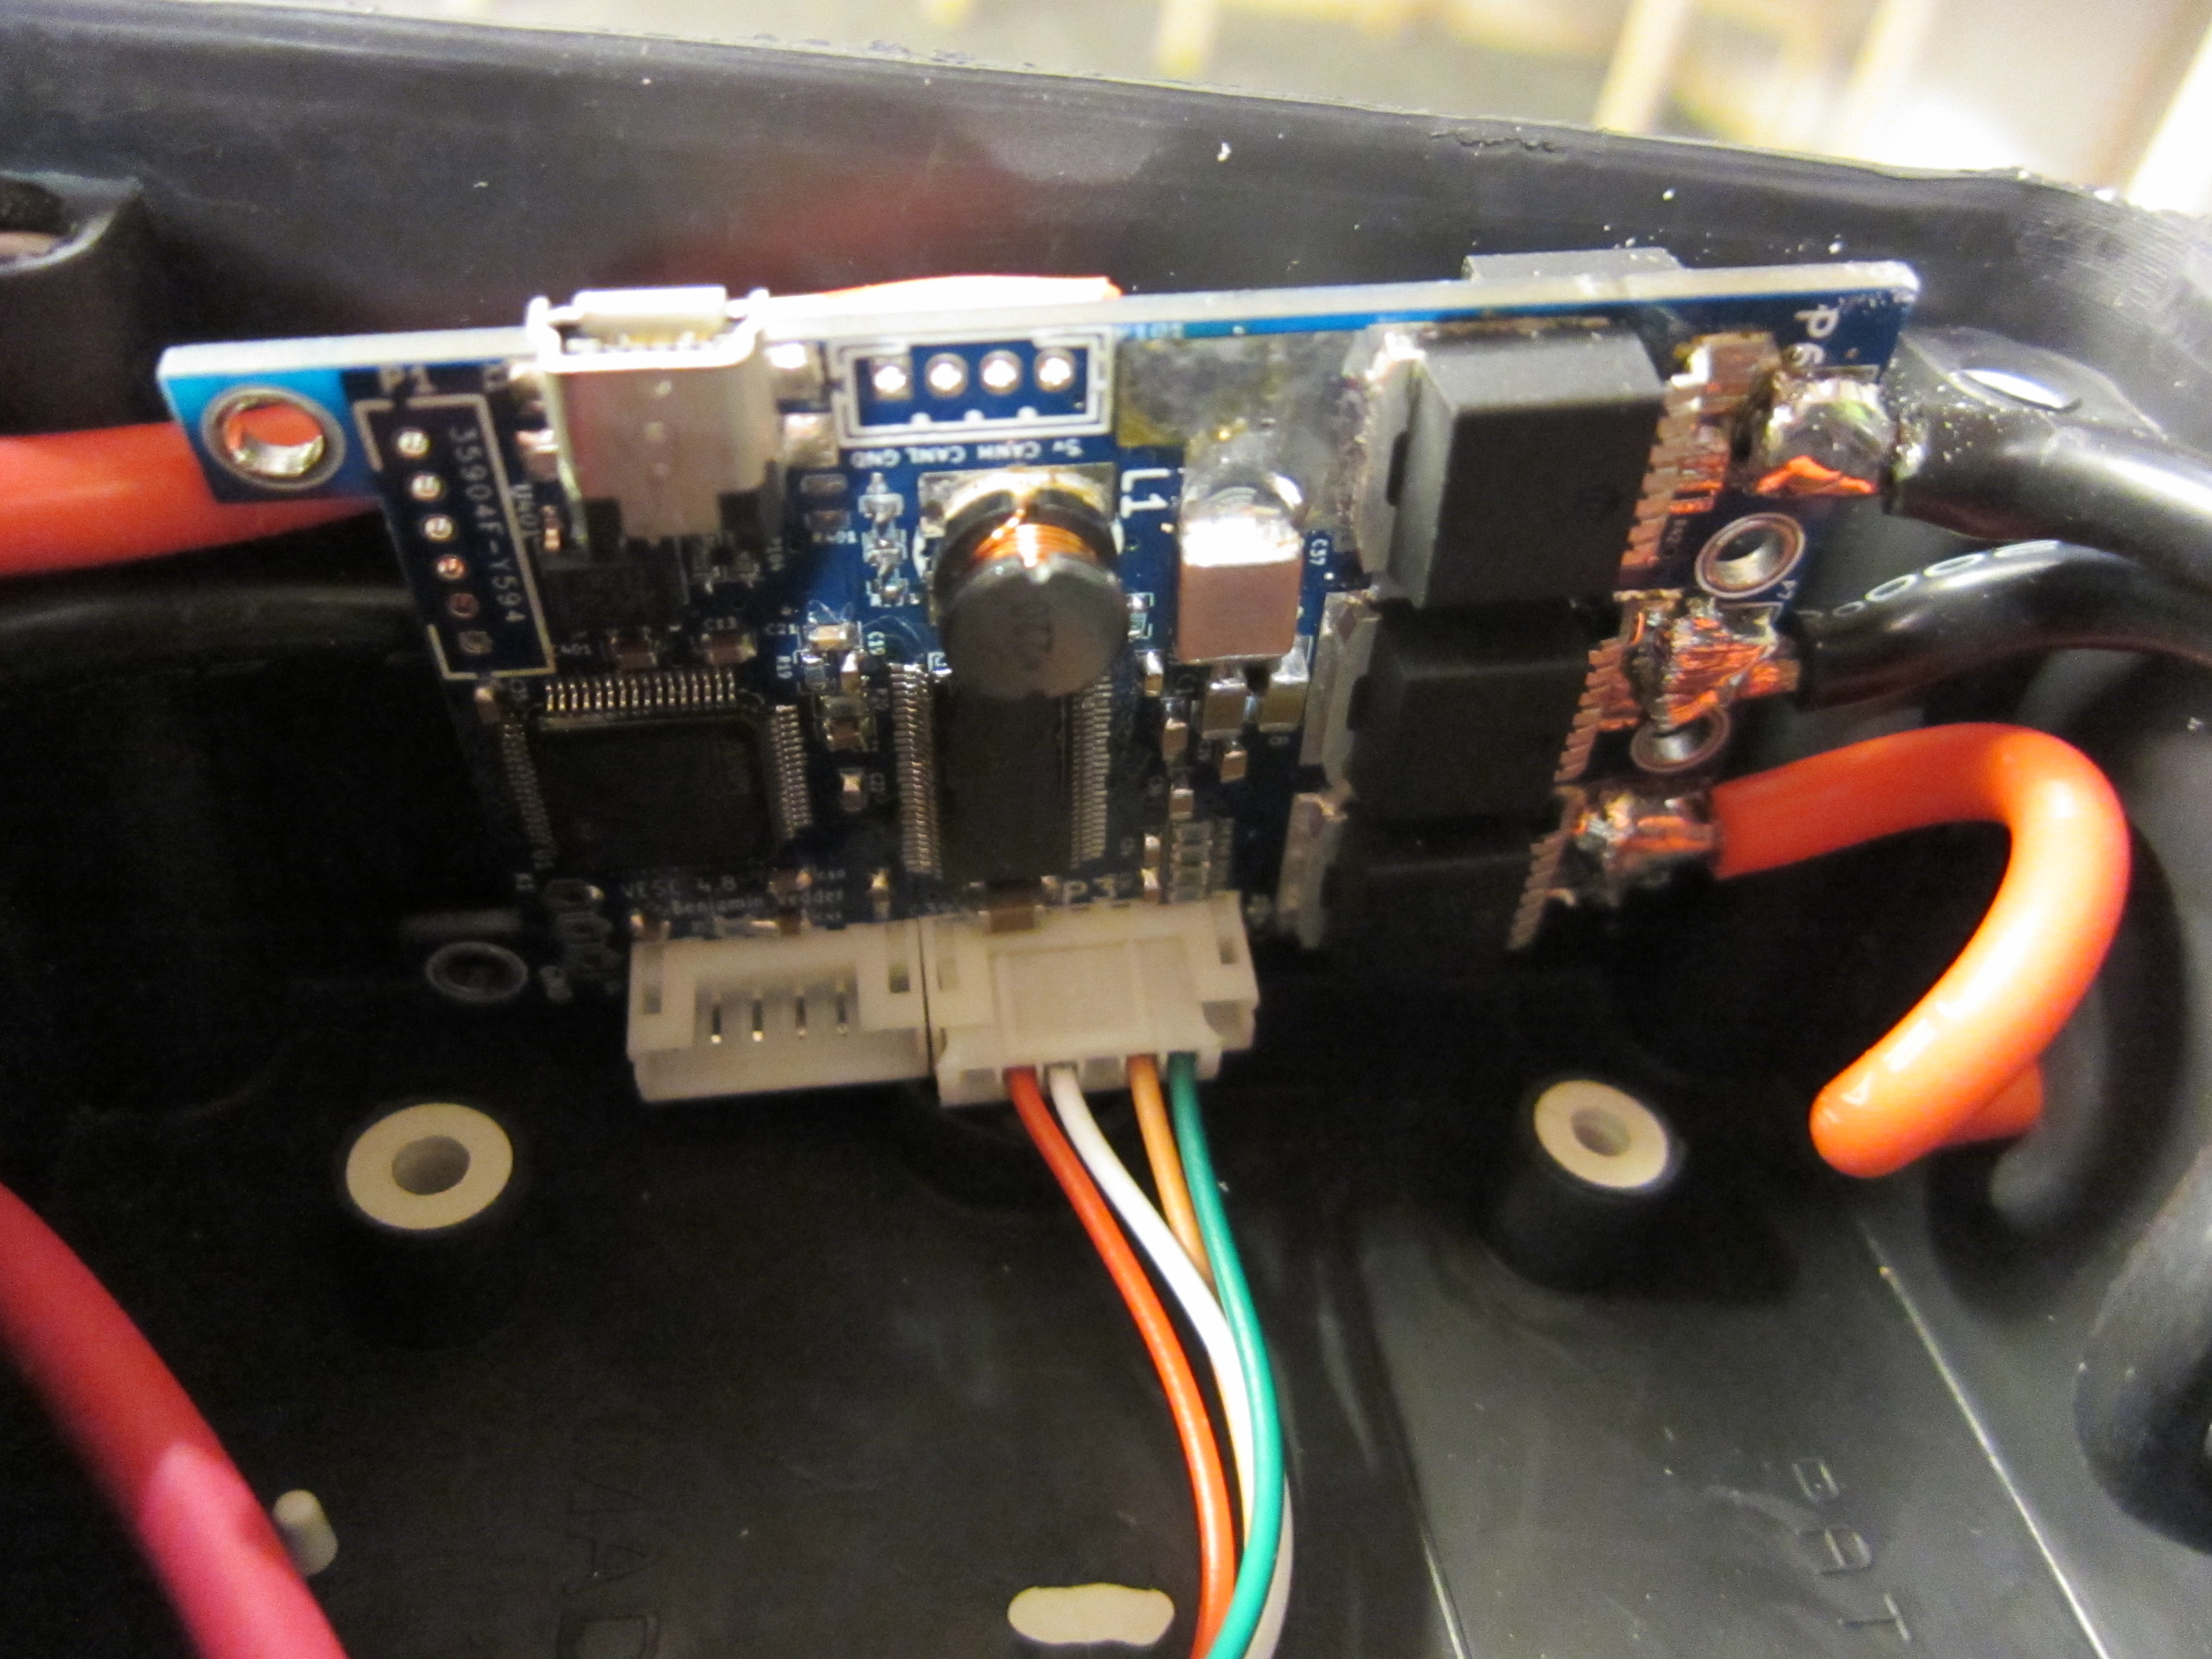
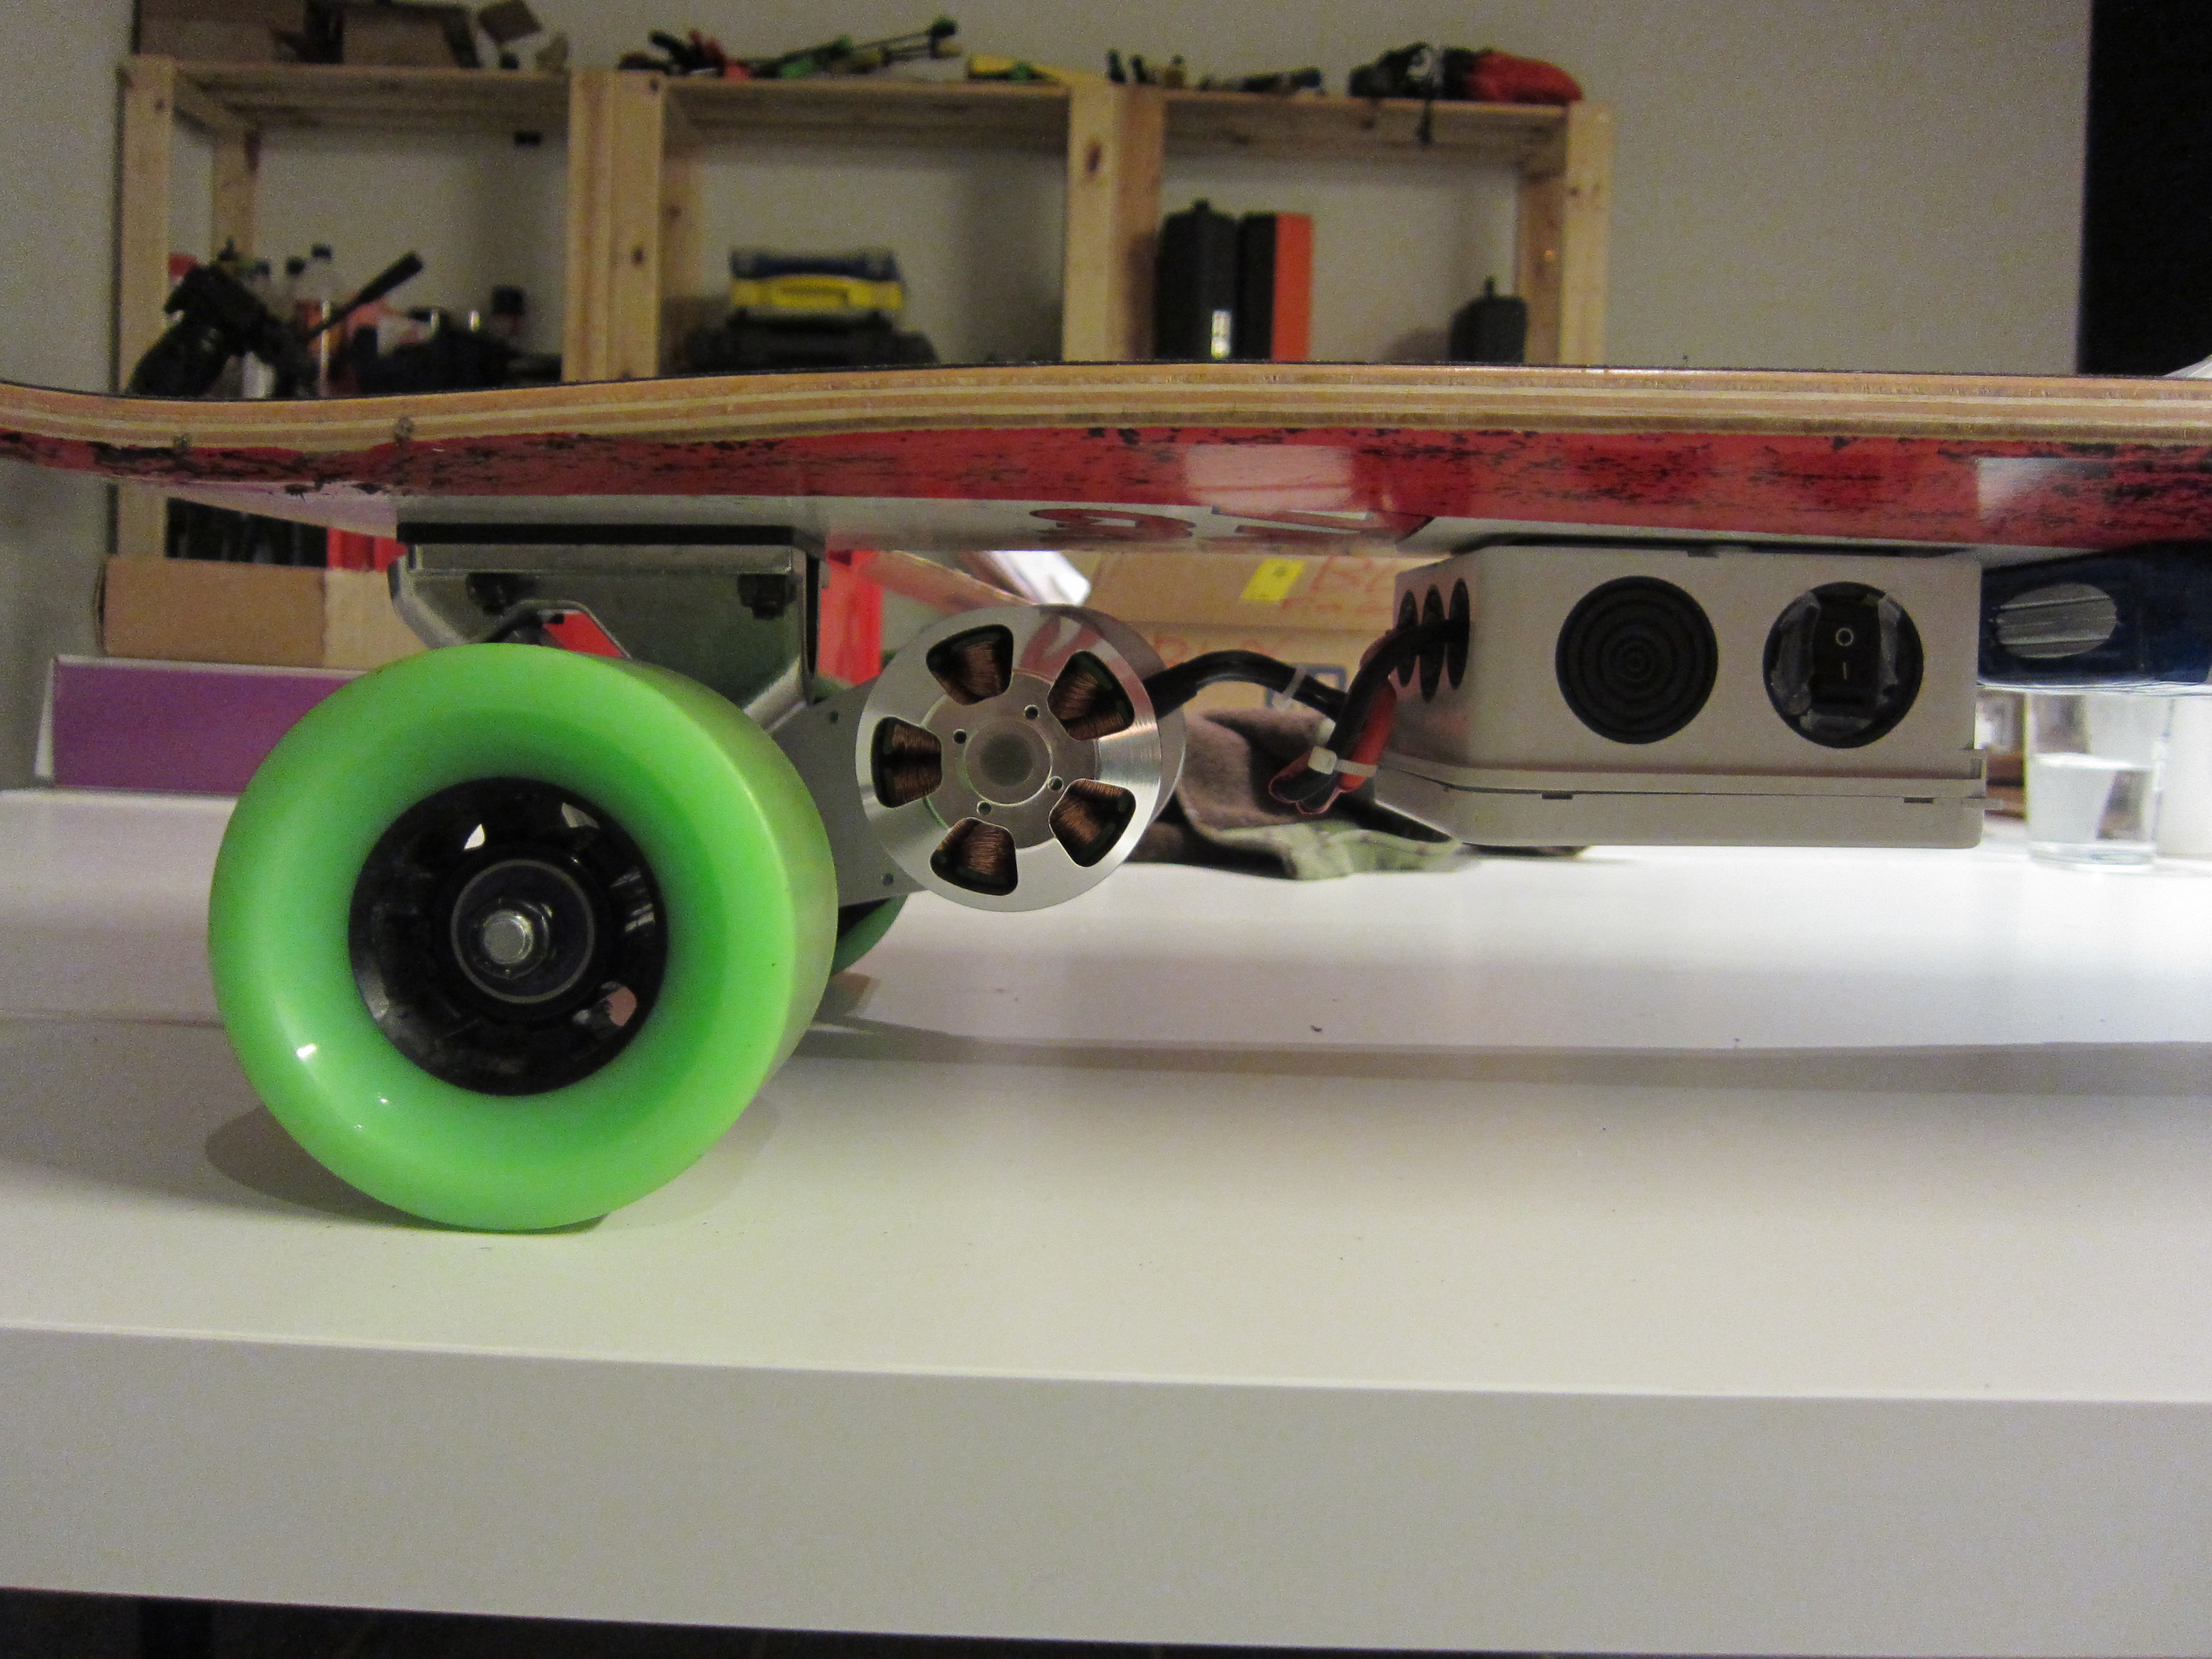
The motor driver is developed by Benjamin Vedder, he have been developing several years now and he have been implementing a lot of nice features into the ESC.
The VESC can drive a brushless motor sensorless, it measures the back-EMF and can track the position very accurate even at low RPM’s. It also has regenerative braking that charges the battery’s while braking.
A nice feature is also the cruise control, it’s PID regulated and very accurate because of the good tracking of the motors position.
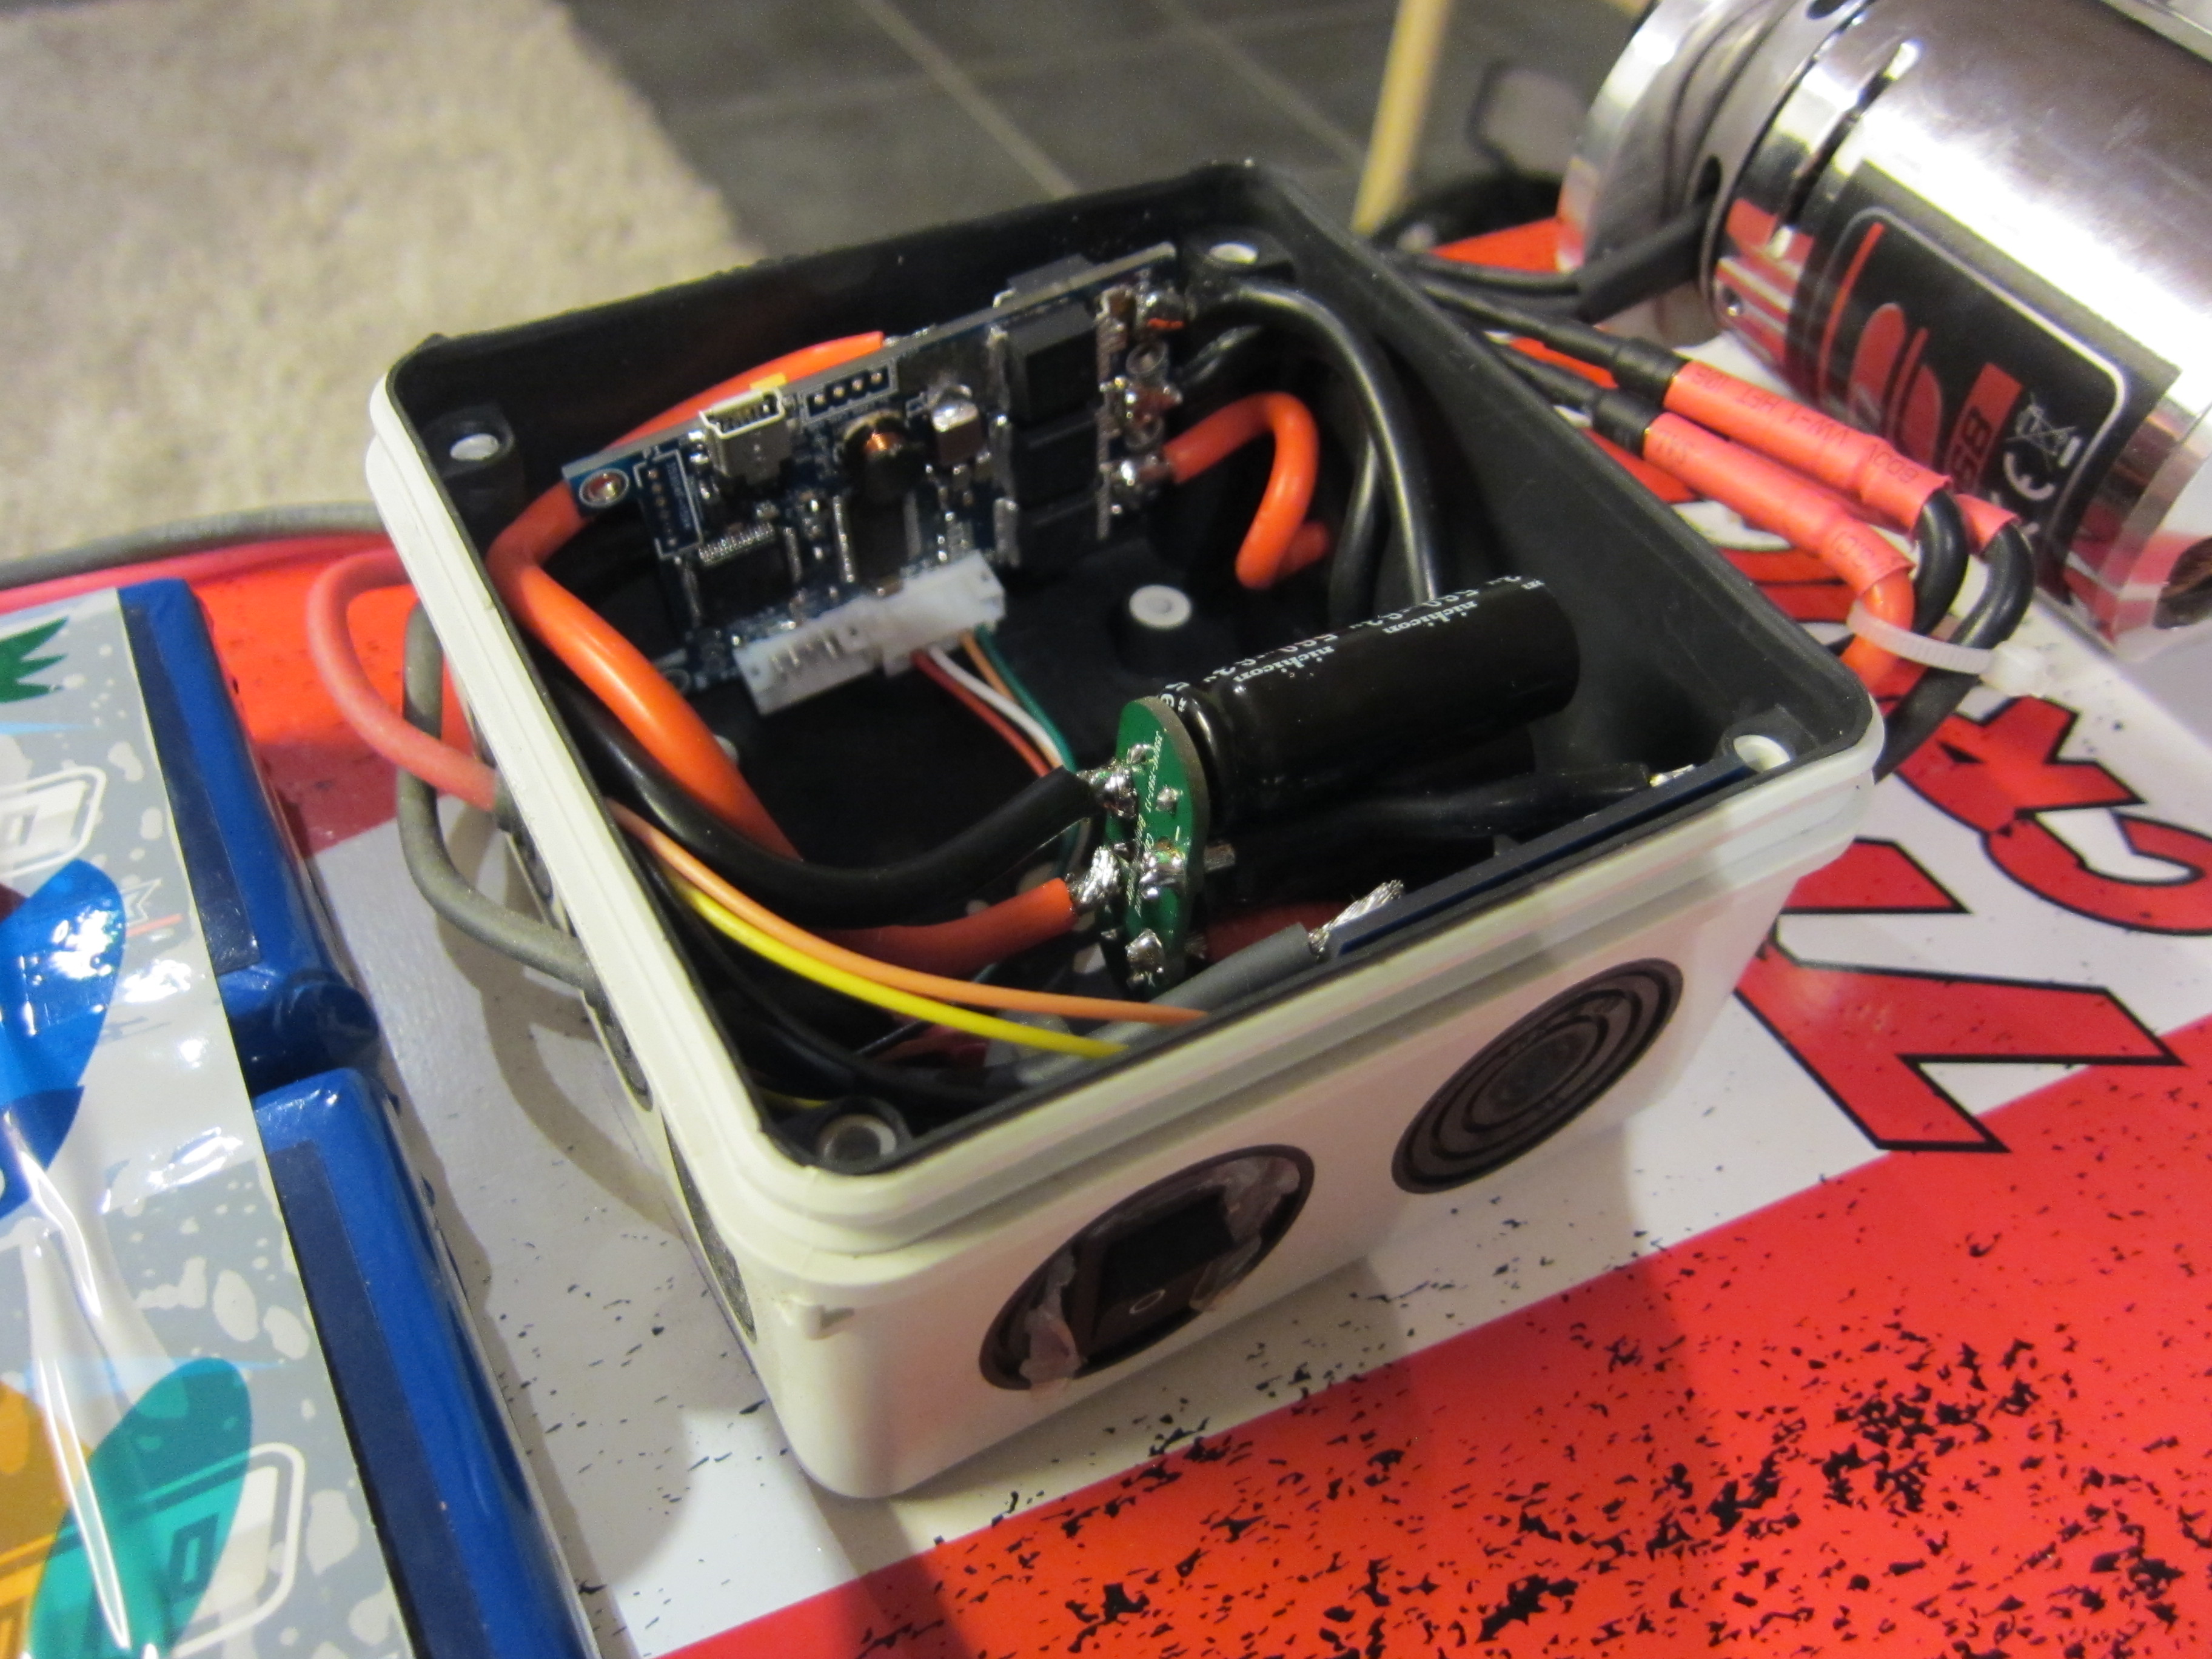
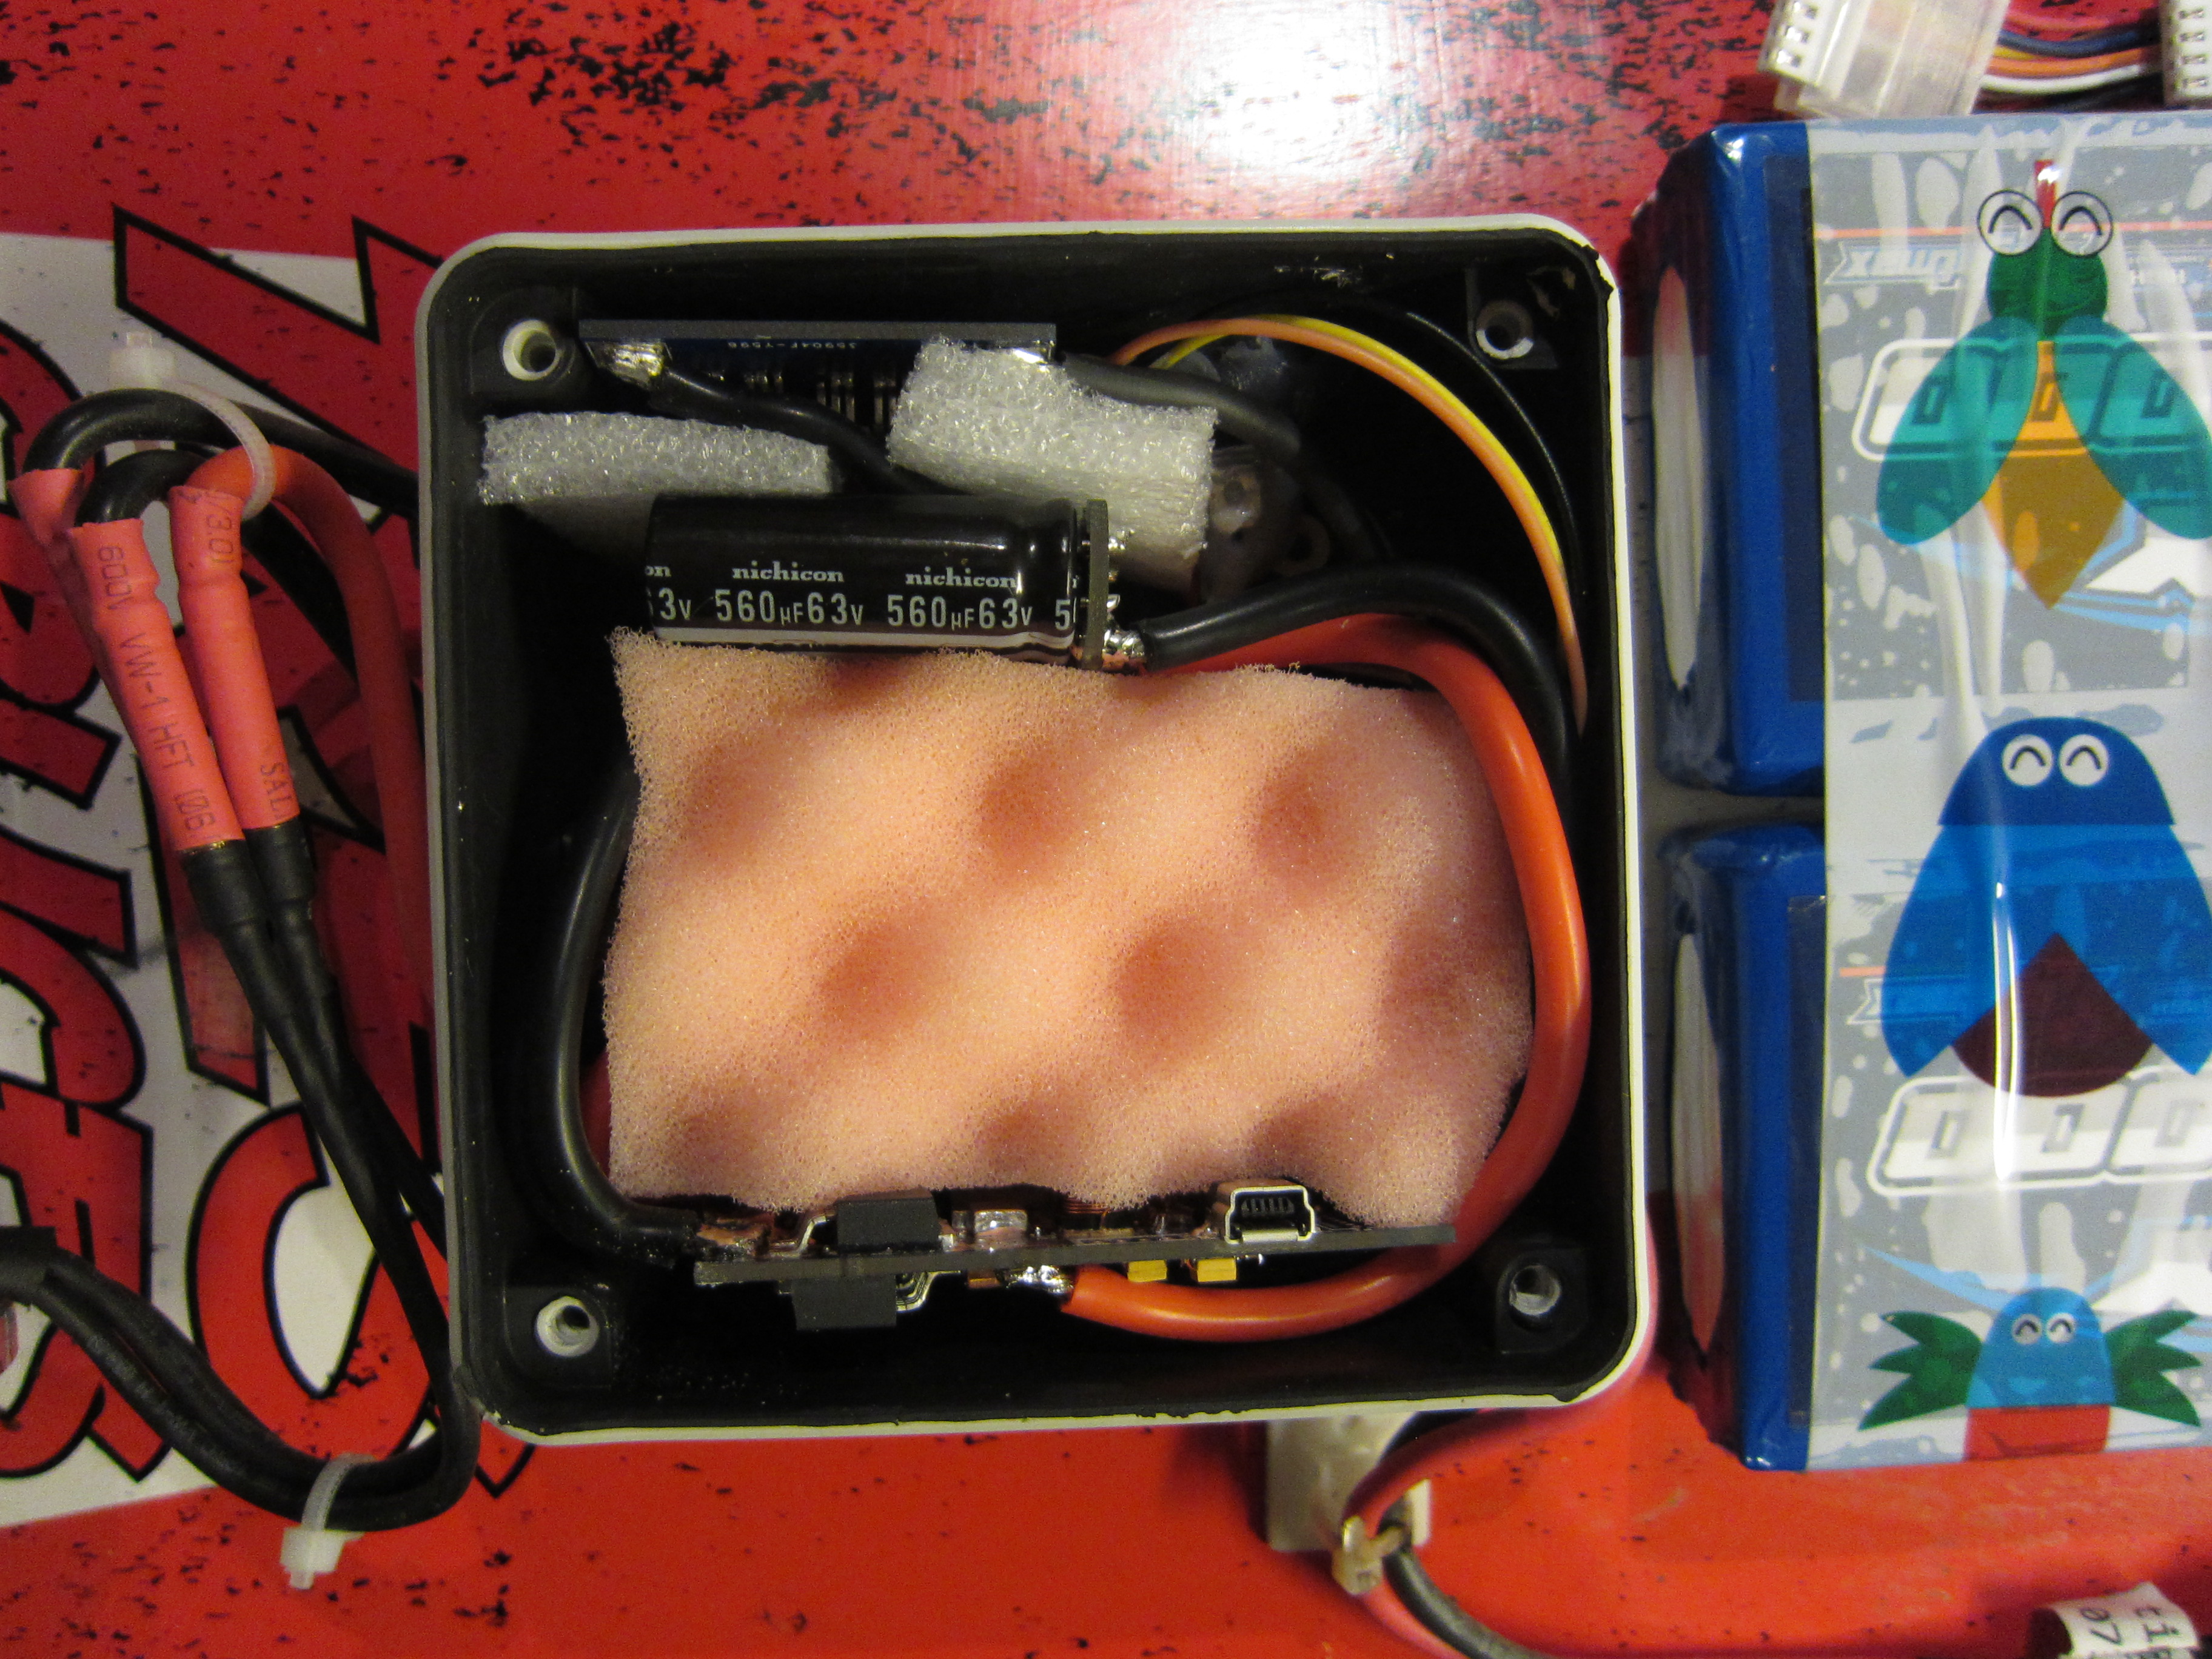
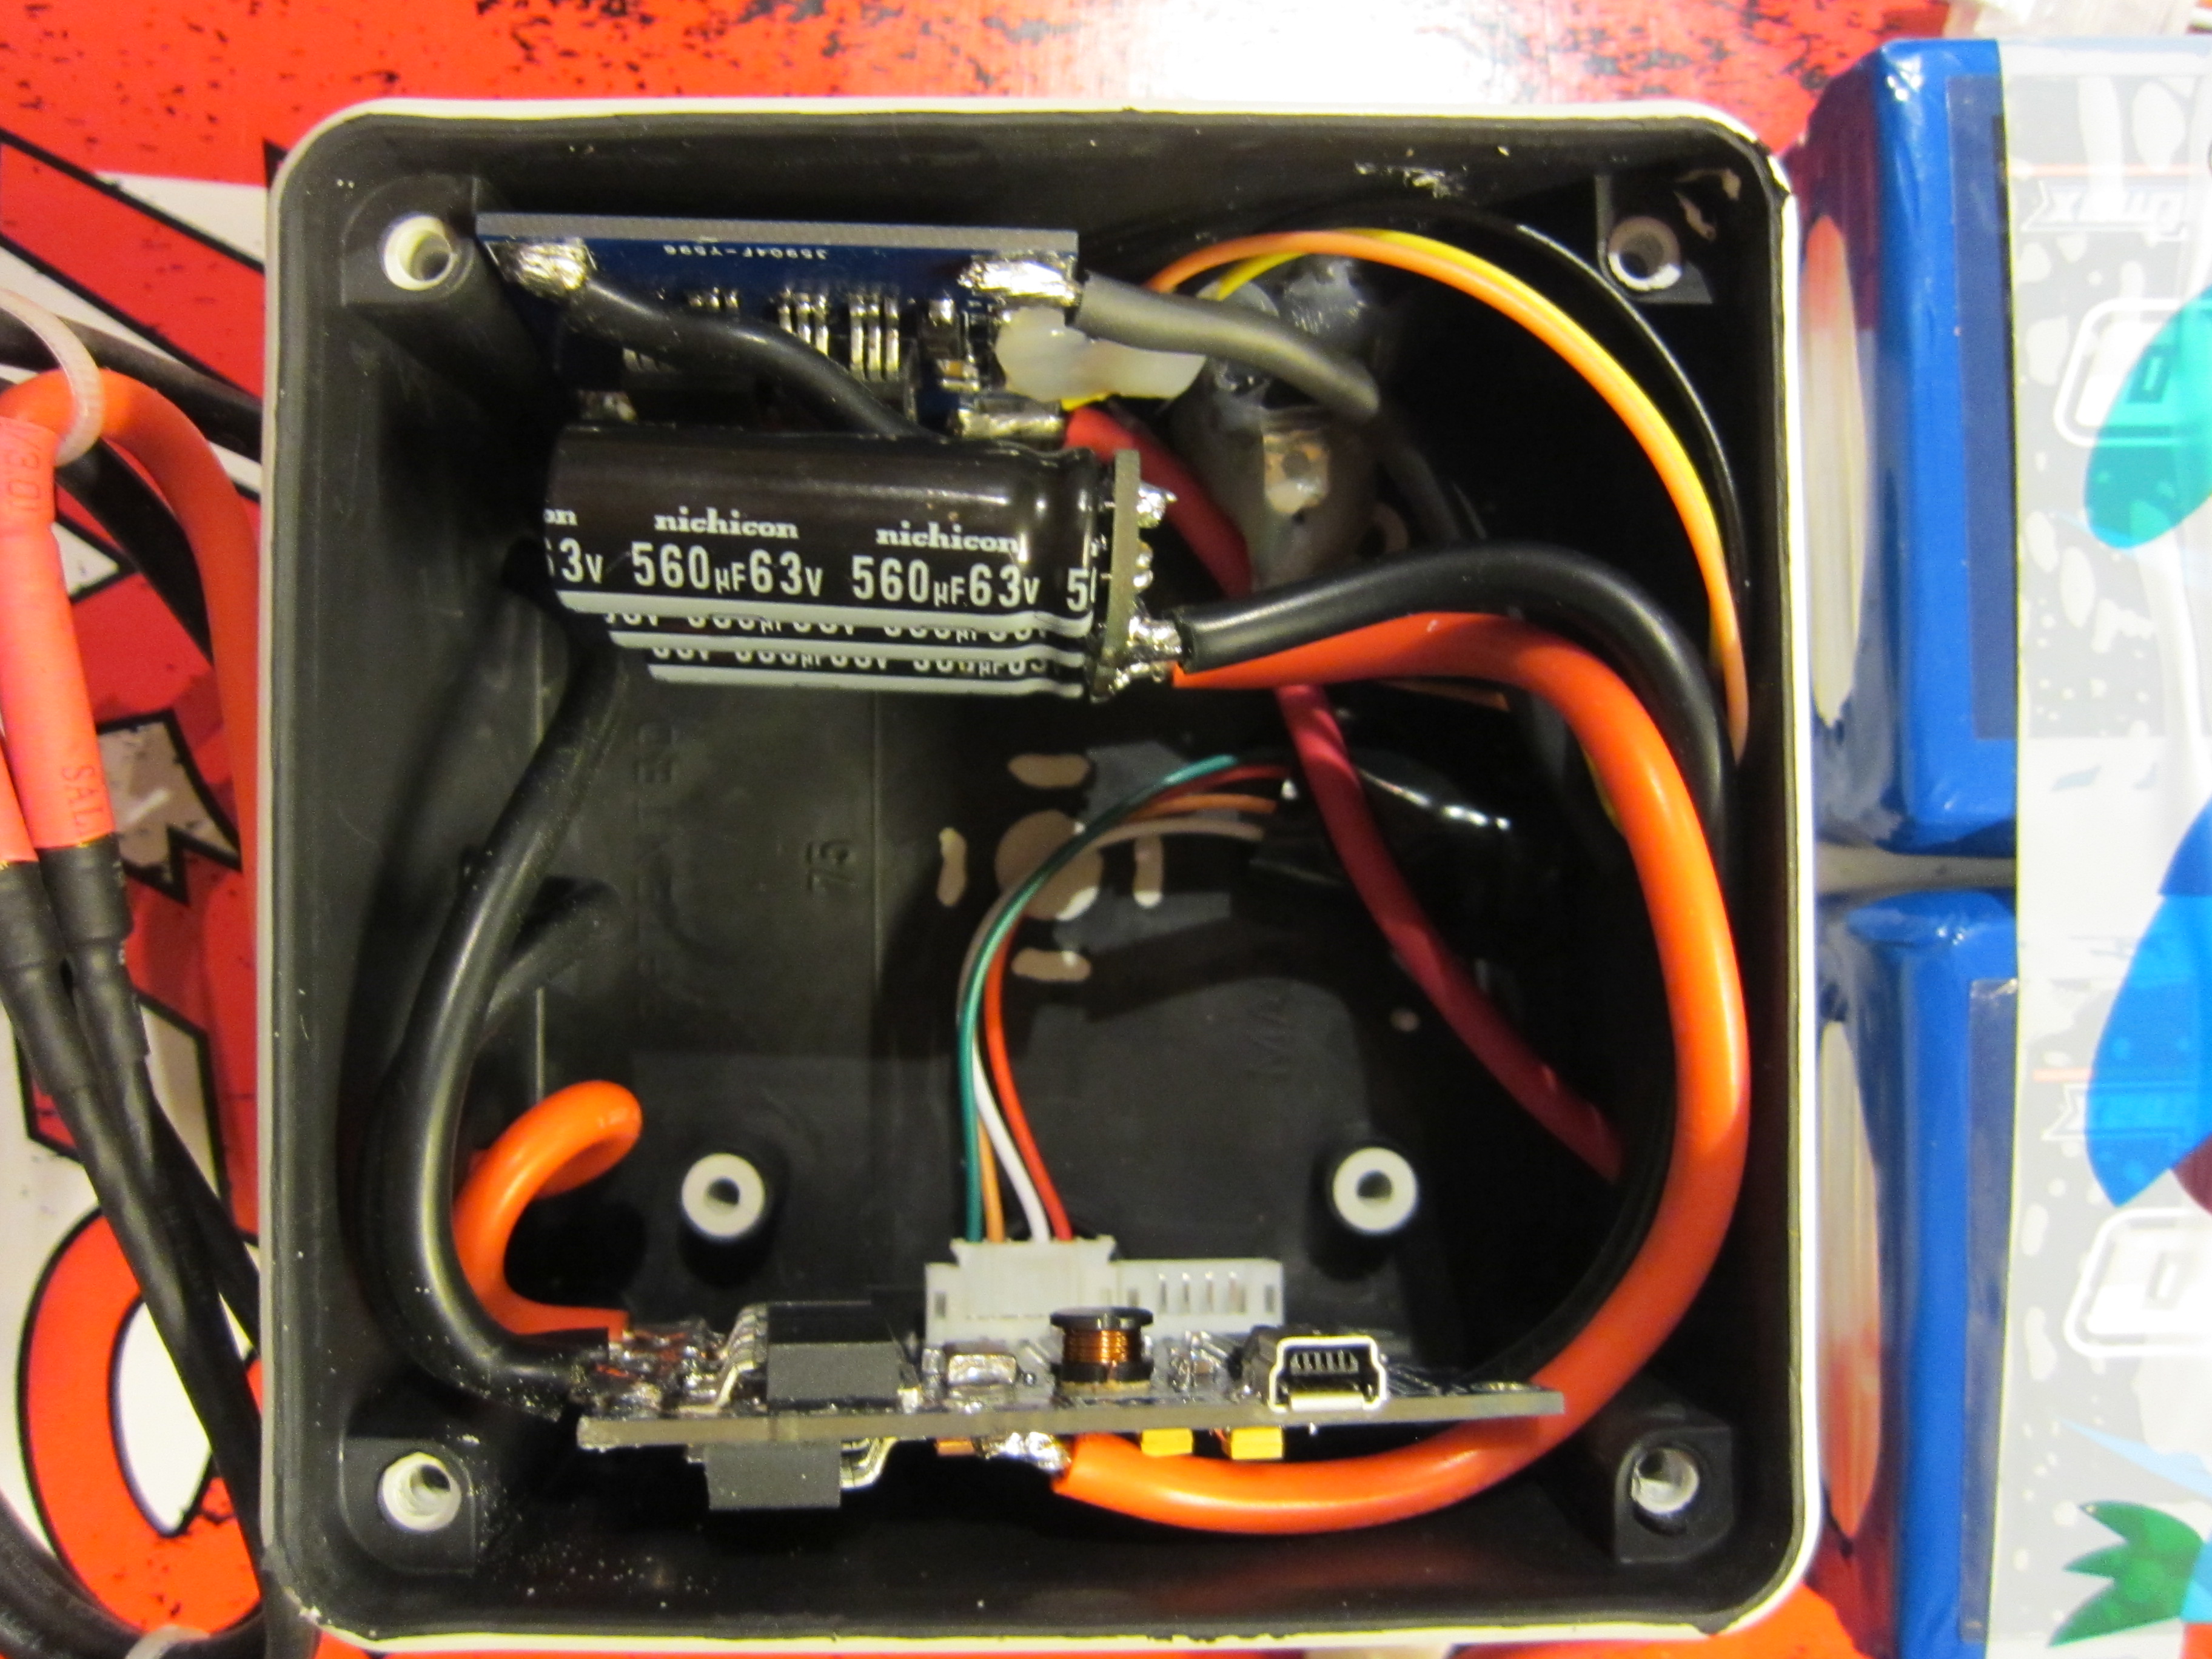
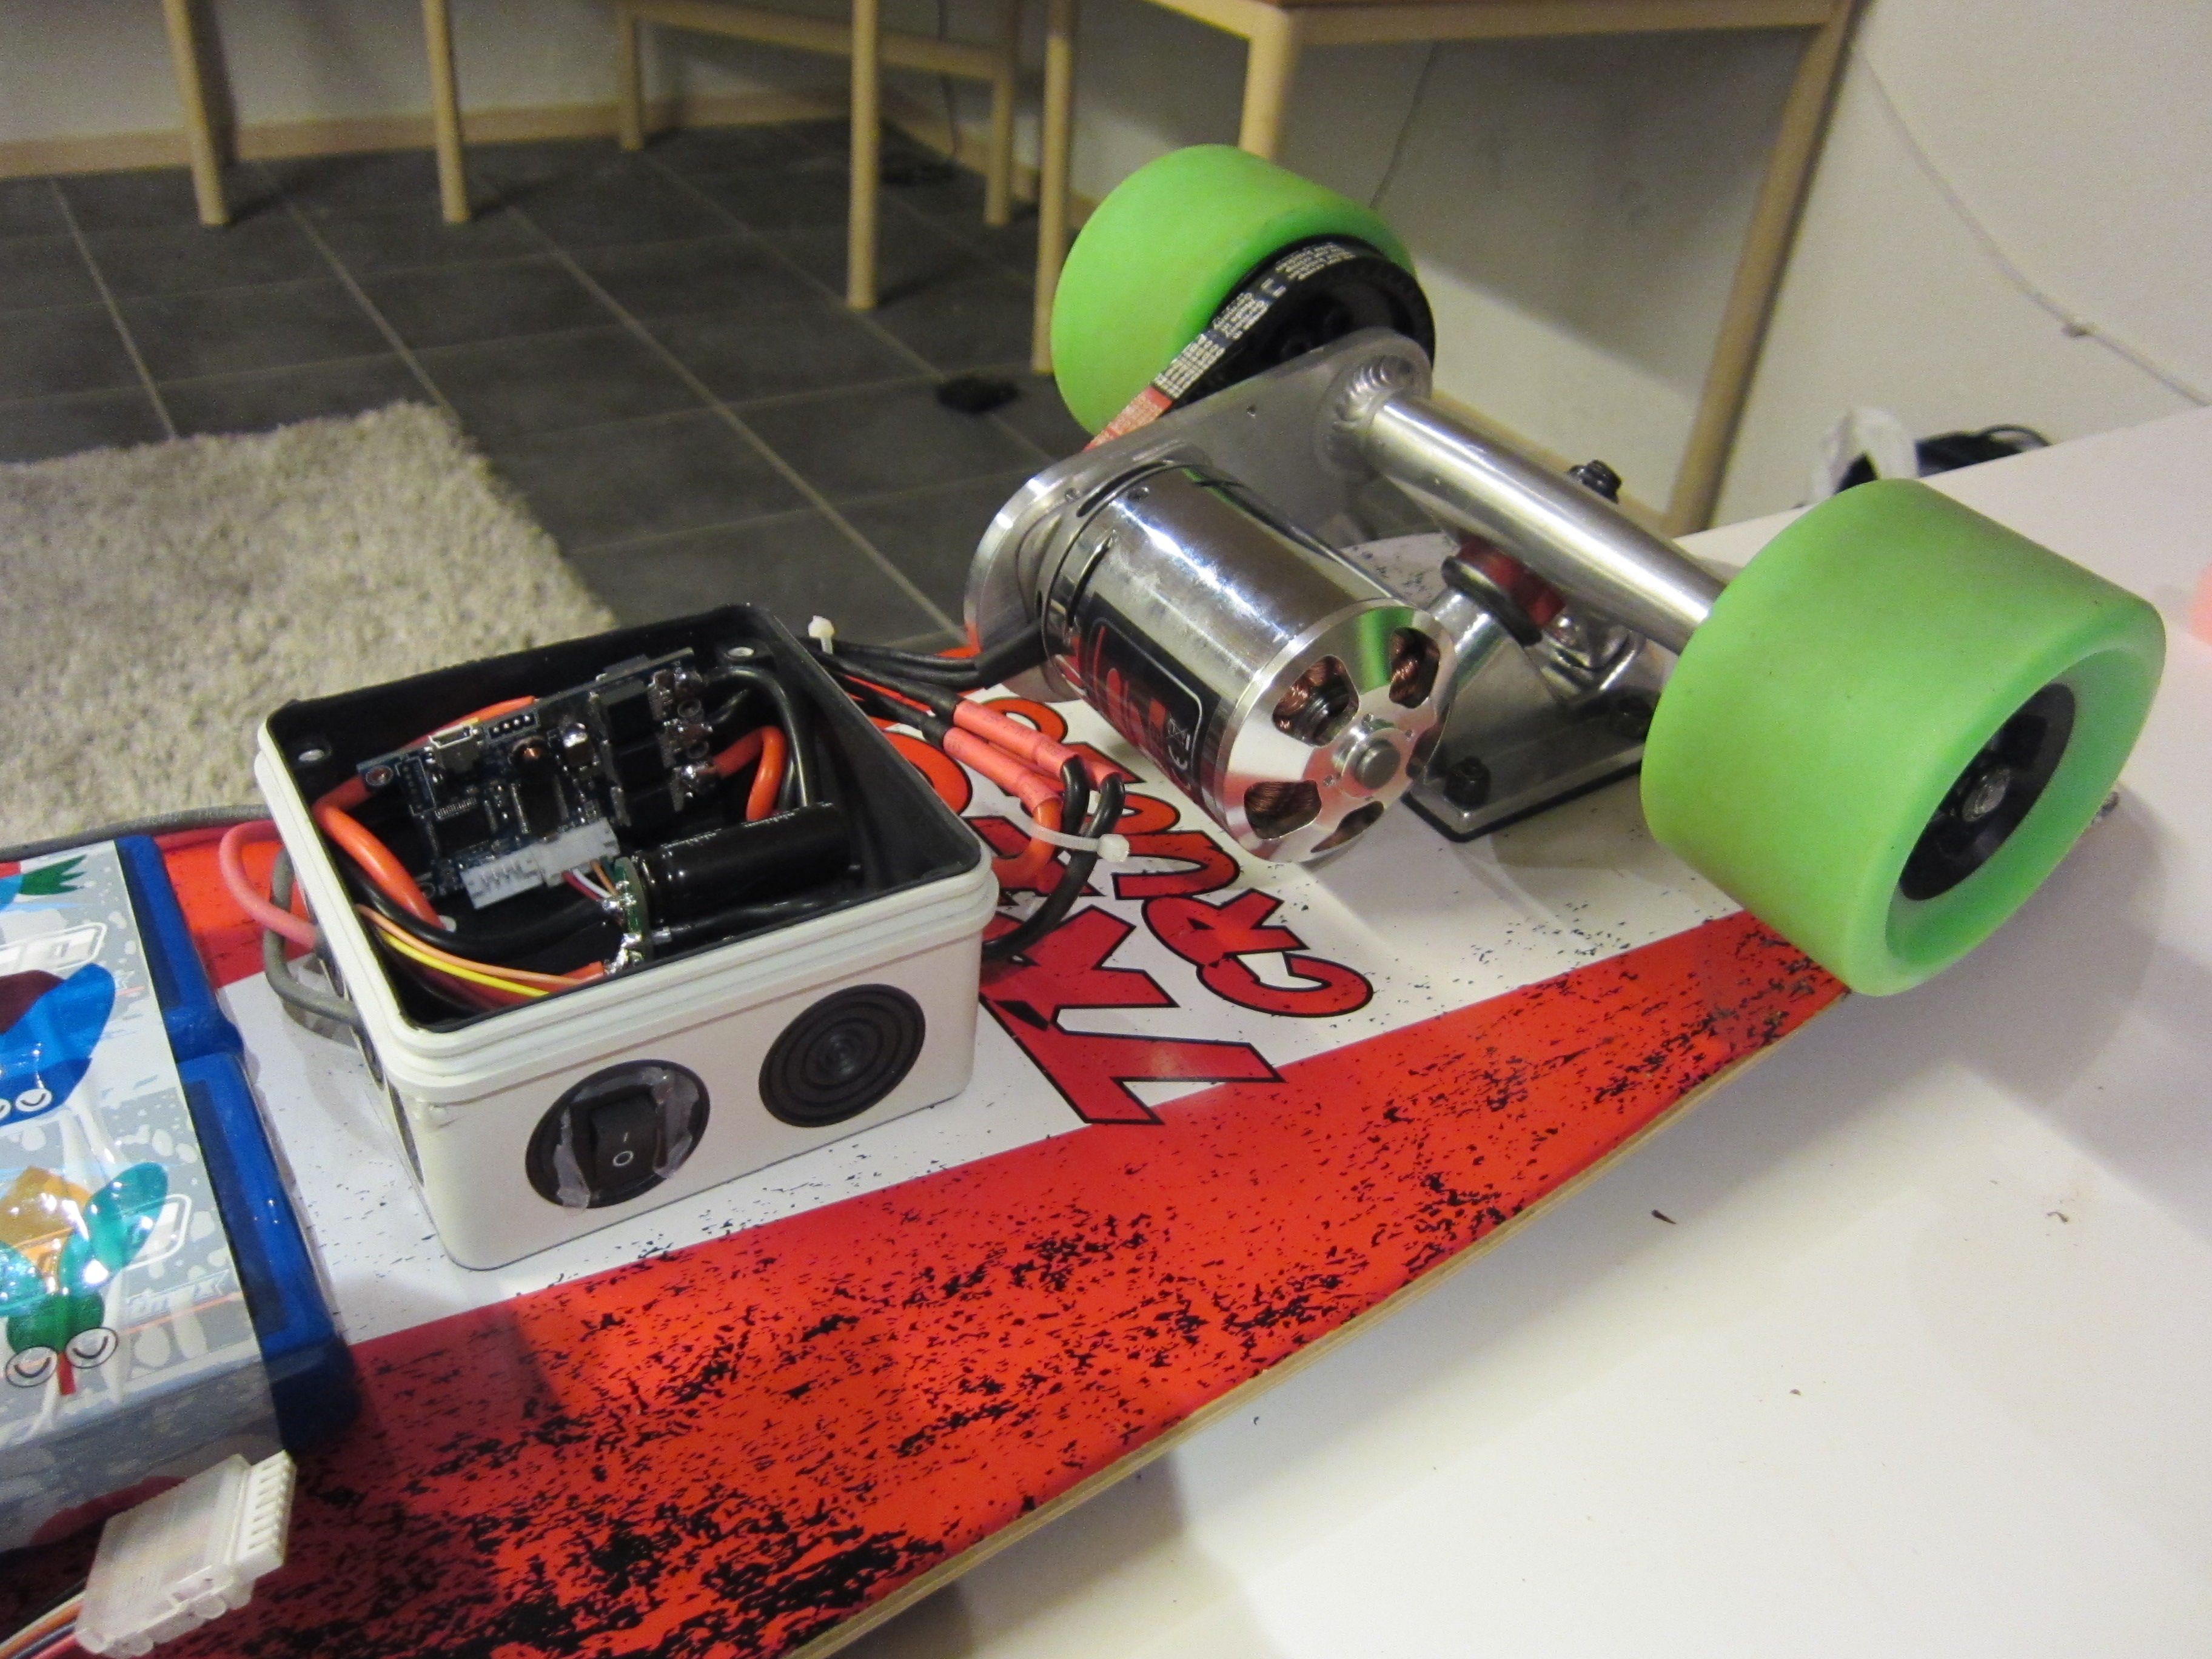
I used a nice IP67 rated rubber sealed case for the VESC (http://www.biltema.se/sv/Bygg/El/Fast-installation/Kopplingsdosa-2000021071/).
A big capacitor us coupled together with the VESC, it creates a big inrush current when the battery is plugged in. A big inrush current can create sparks that oxidizes the connectors and make big ripples in the voltage in to the VESC that can cause damages. Vedder made a small PCB that slowly charges the capacitor, it’s based on a charging schematic from the forum Endless Sphere.
The capacitors and the inrush limiter is hosted in the casing as well.
Wiimote nunchuck
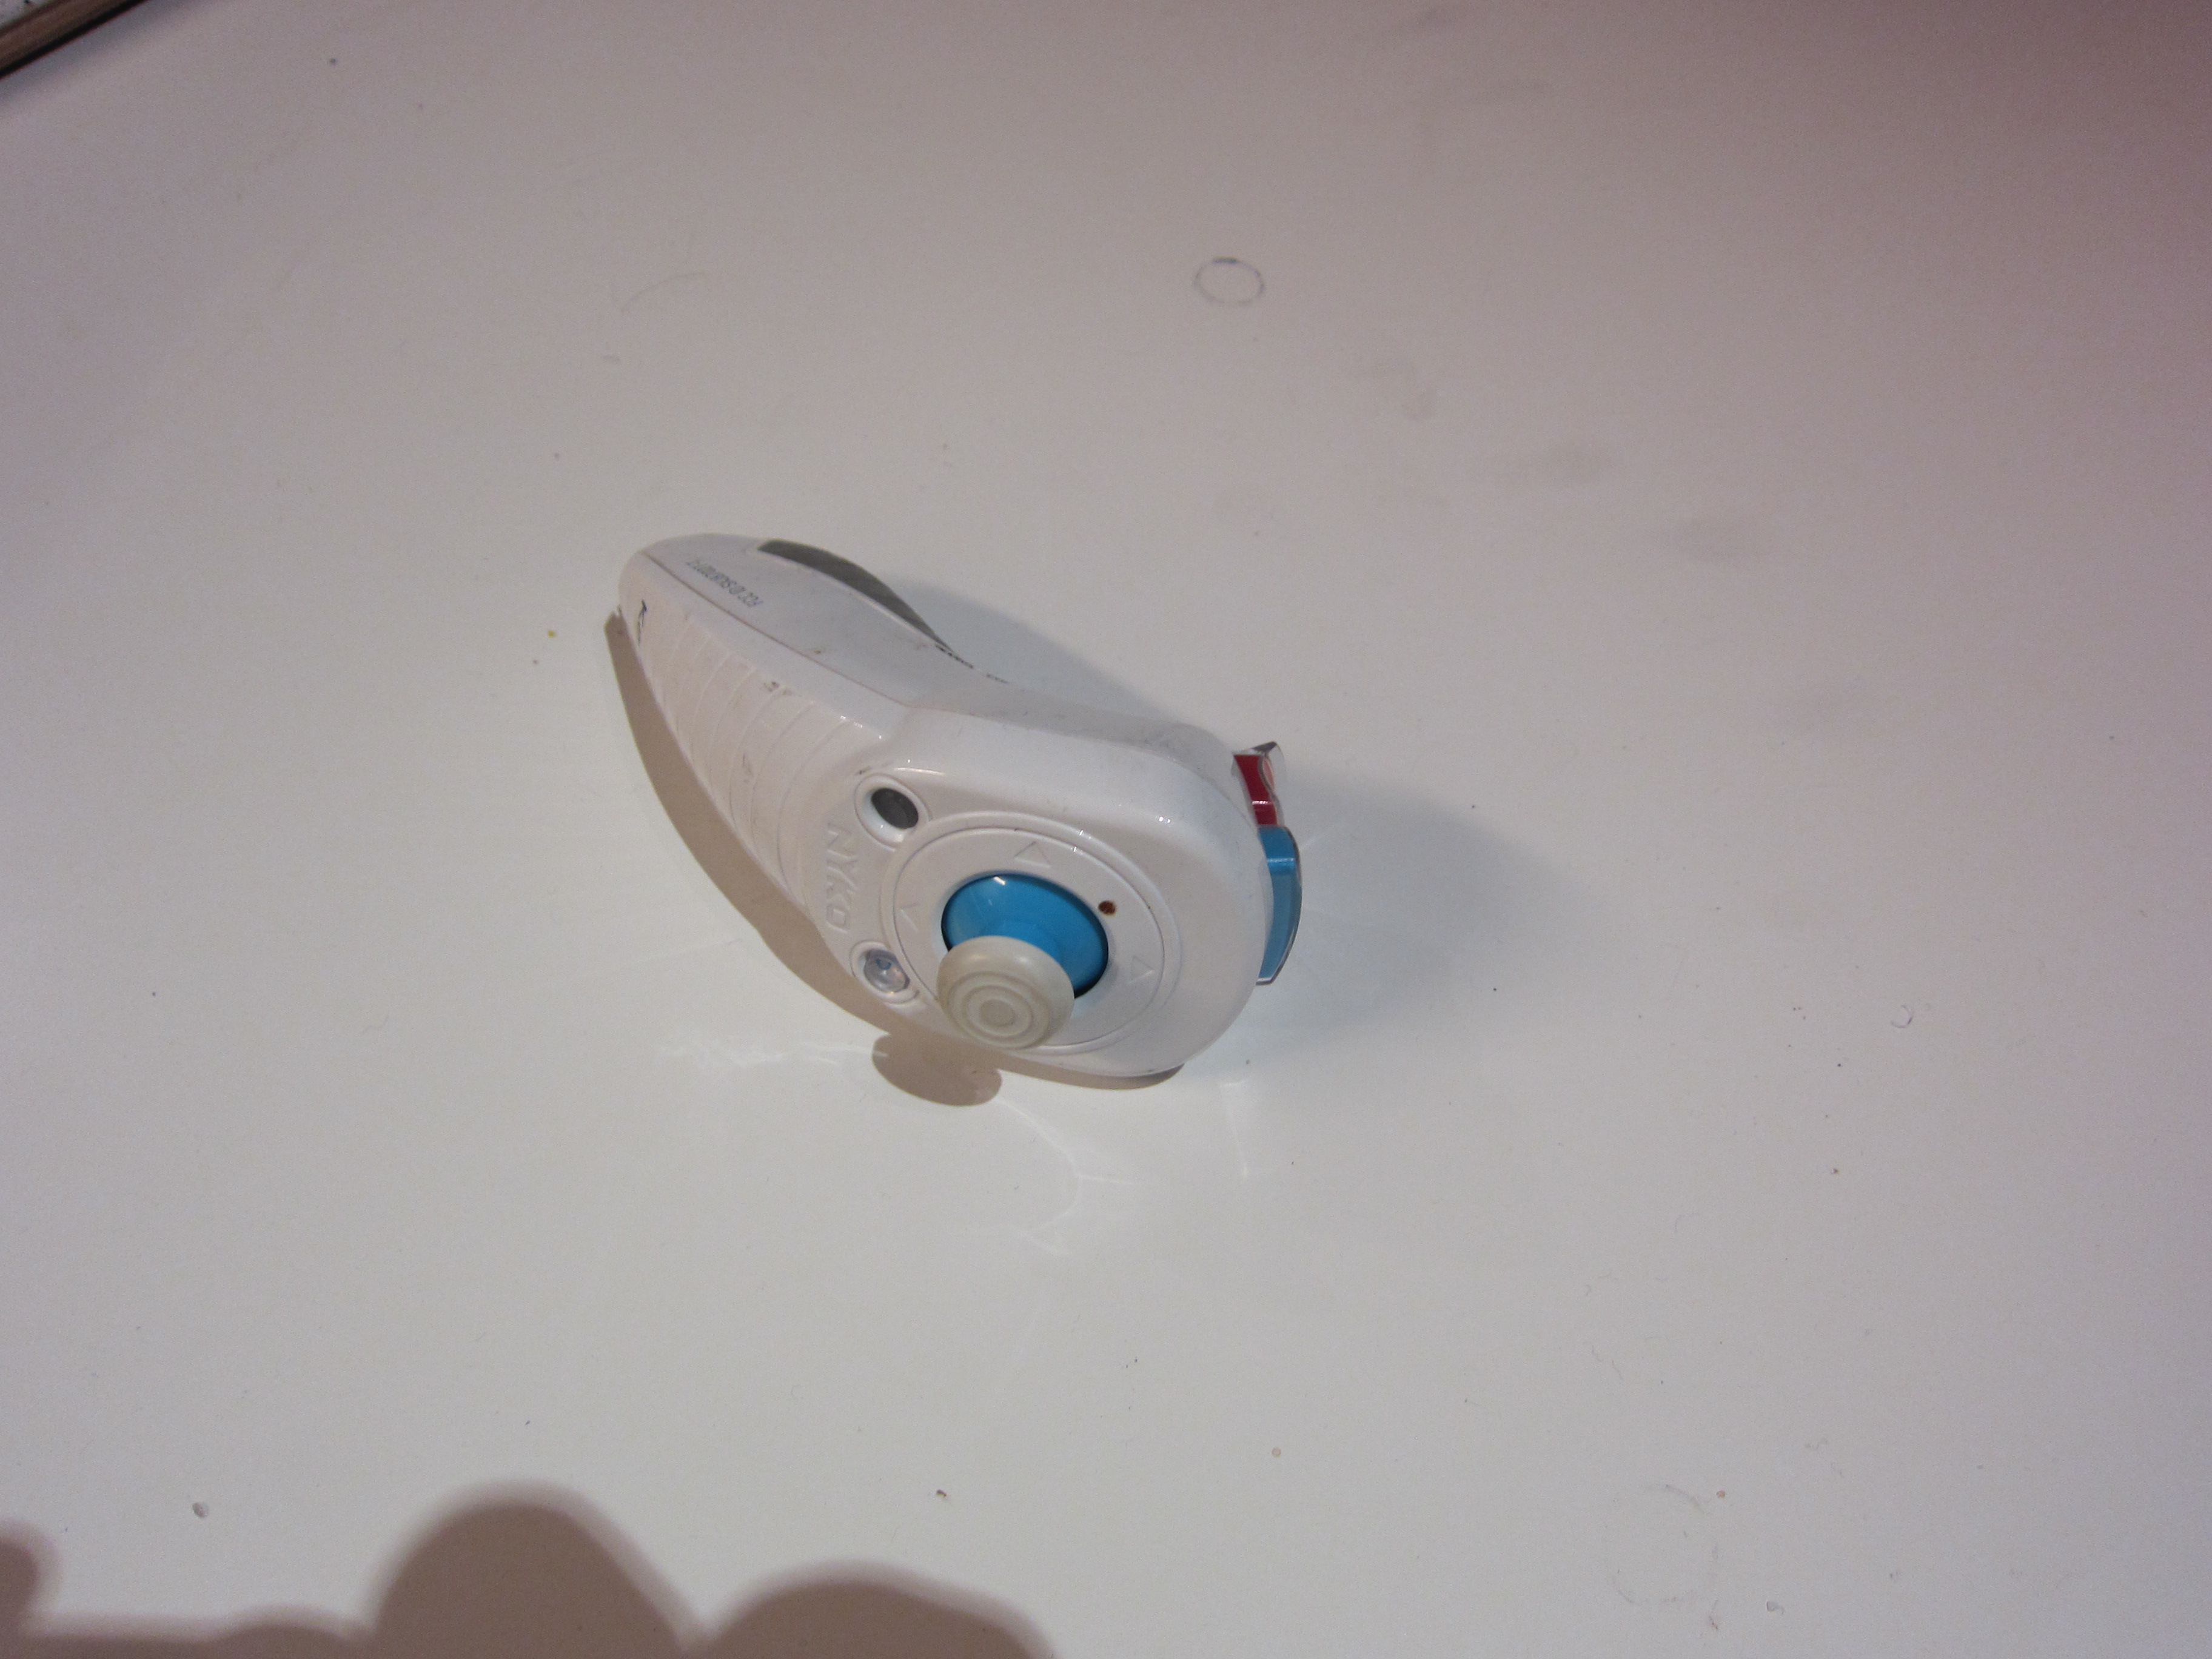
The Nunchuck for Wiimote has a nice grip and several extra buttons to use for extra functions. Nyko does make a wireless version of the Wiimote Nunchuck.
The Nunchuck is communicating with the Wiimote through I2C, so is the wireless receiver for the wireless version of the Nunchuck. The wireless receiver is stripped of its case and hooked in to a I2C bus on the VESC.
Because the Nuncuck is made for gaming it keeps sending the last known command on connection loss, for example so that the gamers gas pedal won’t be affected in game. This is not a good thing when you are driving for real.
Vedder has made a replacement PCB for the Nunchuck chassis that using the NRF24L01+ radio. It’s more safer and have a greater sending distance.
The longboard
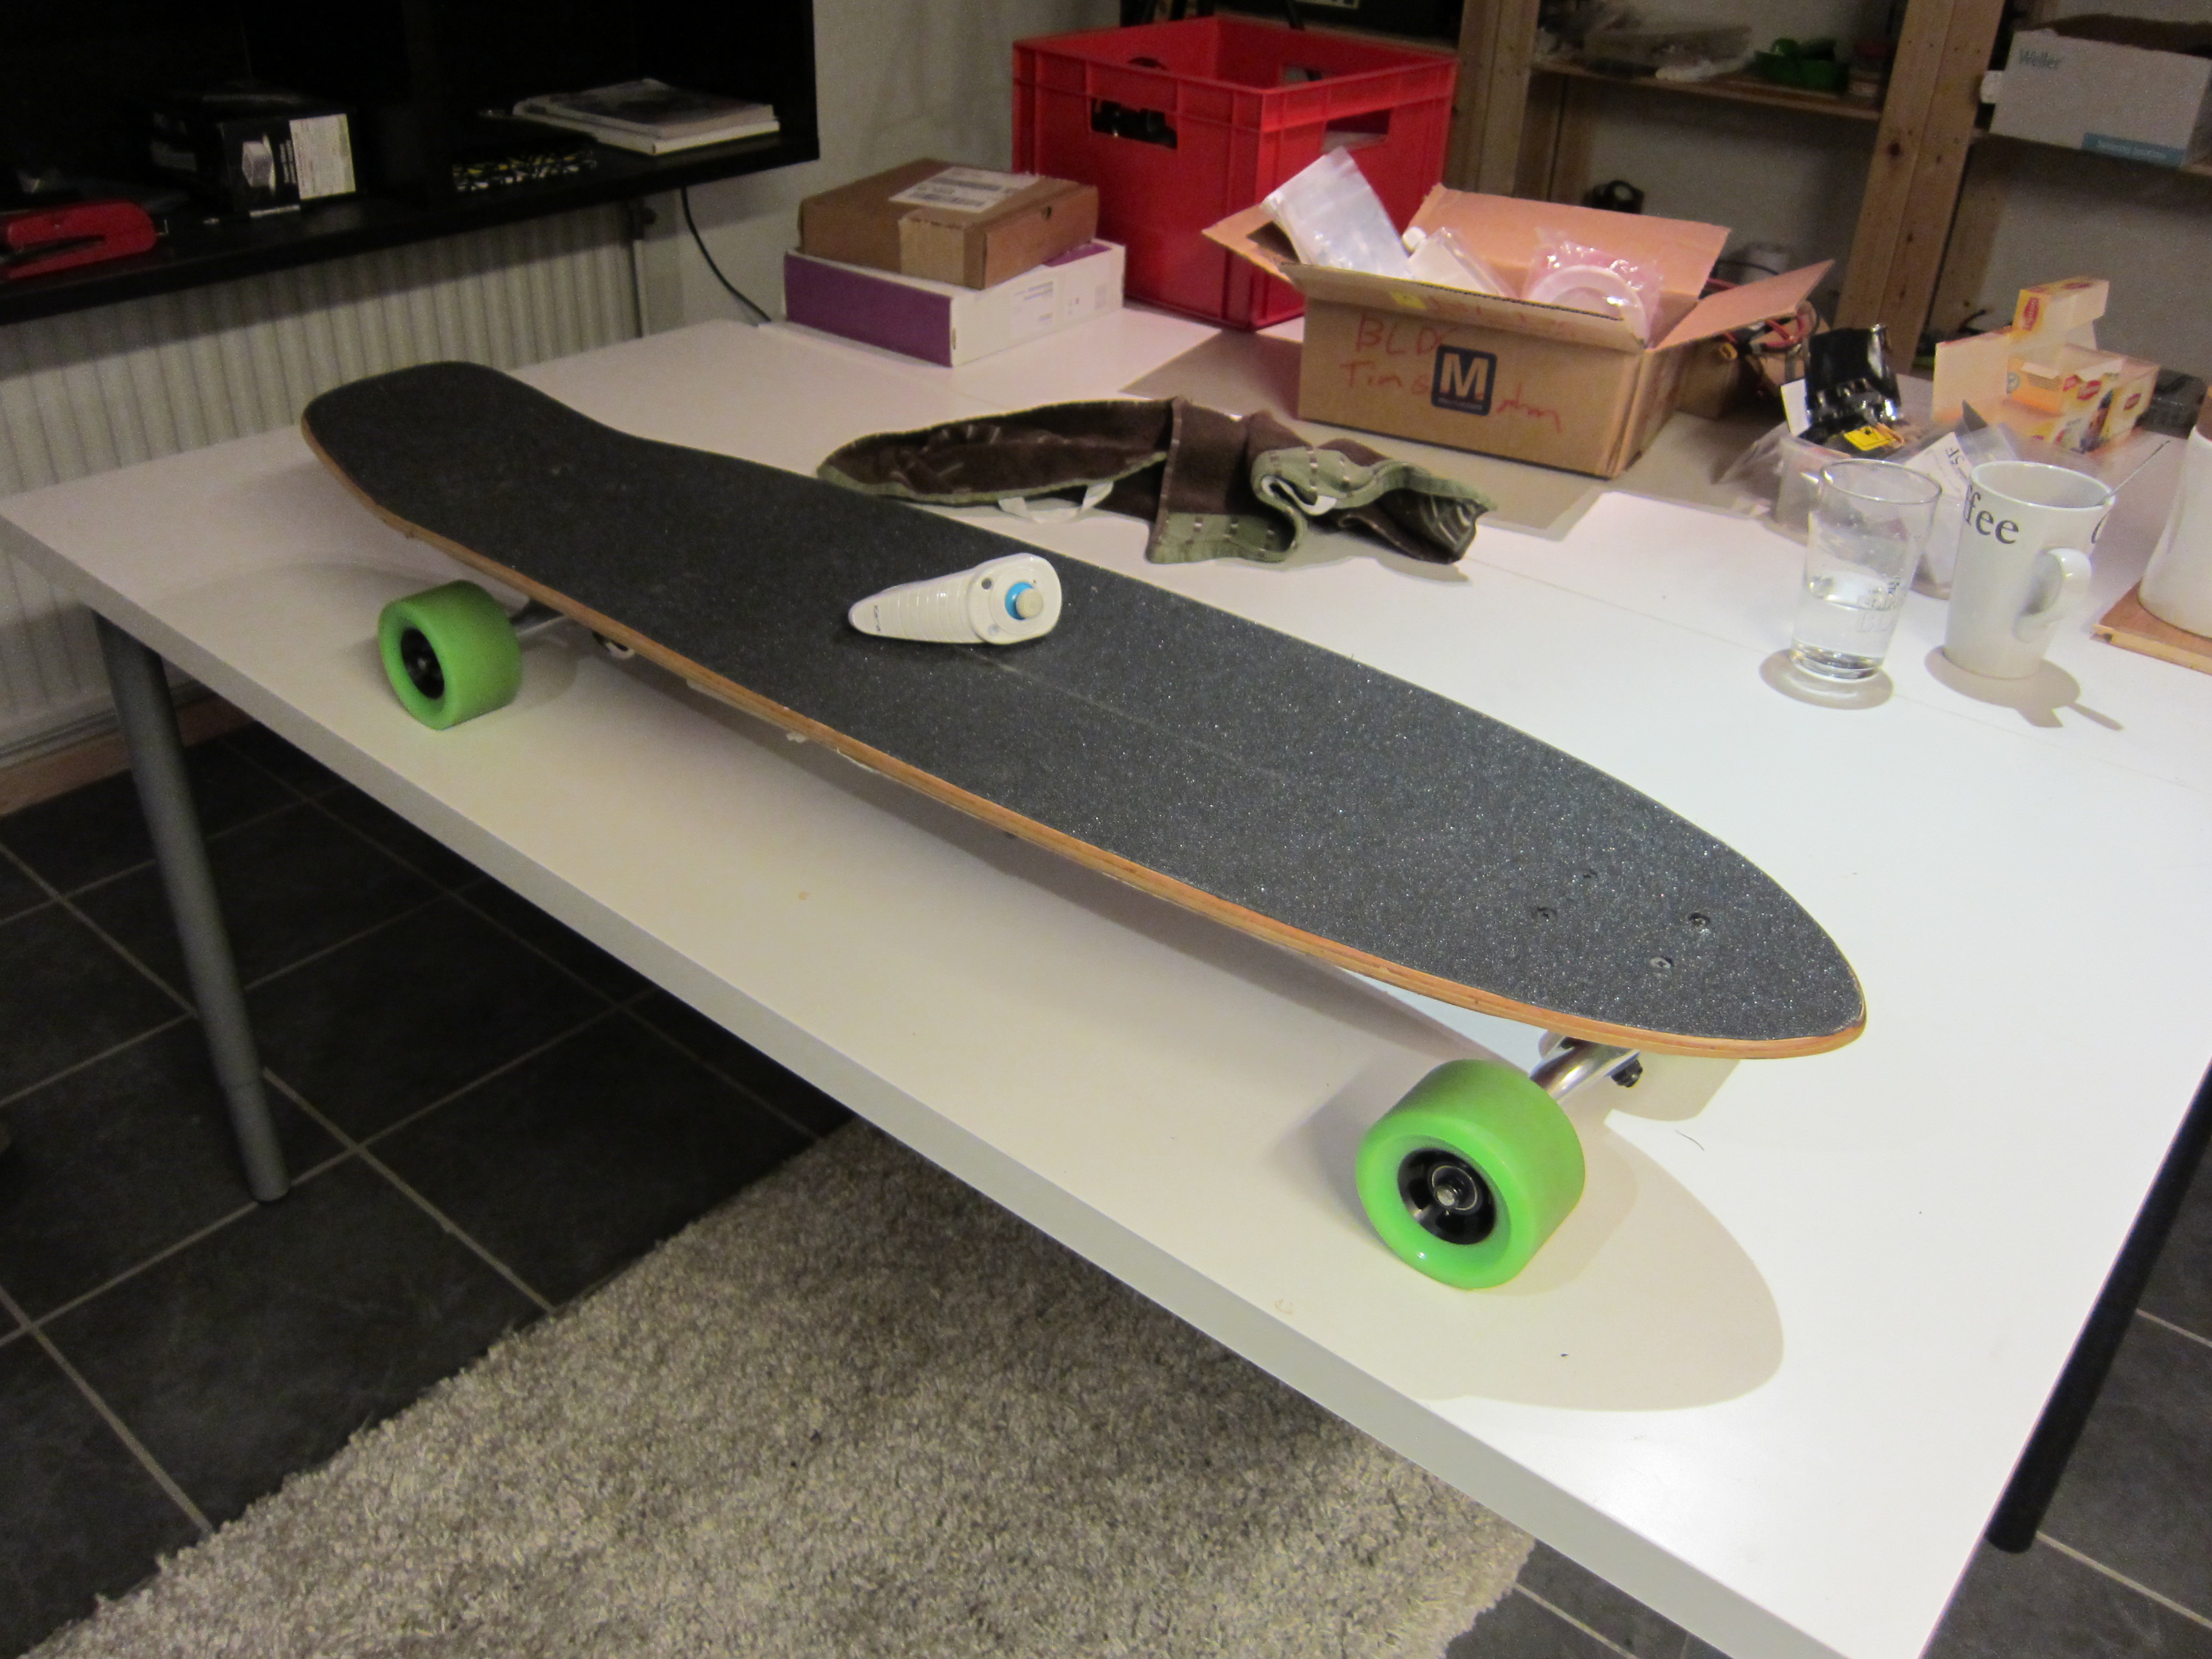
Driving experience
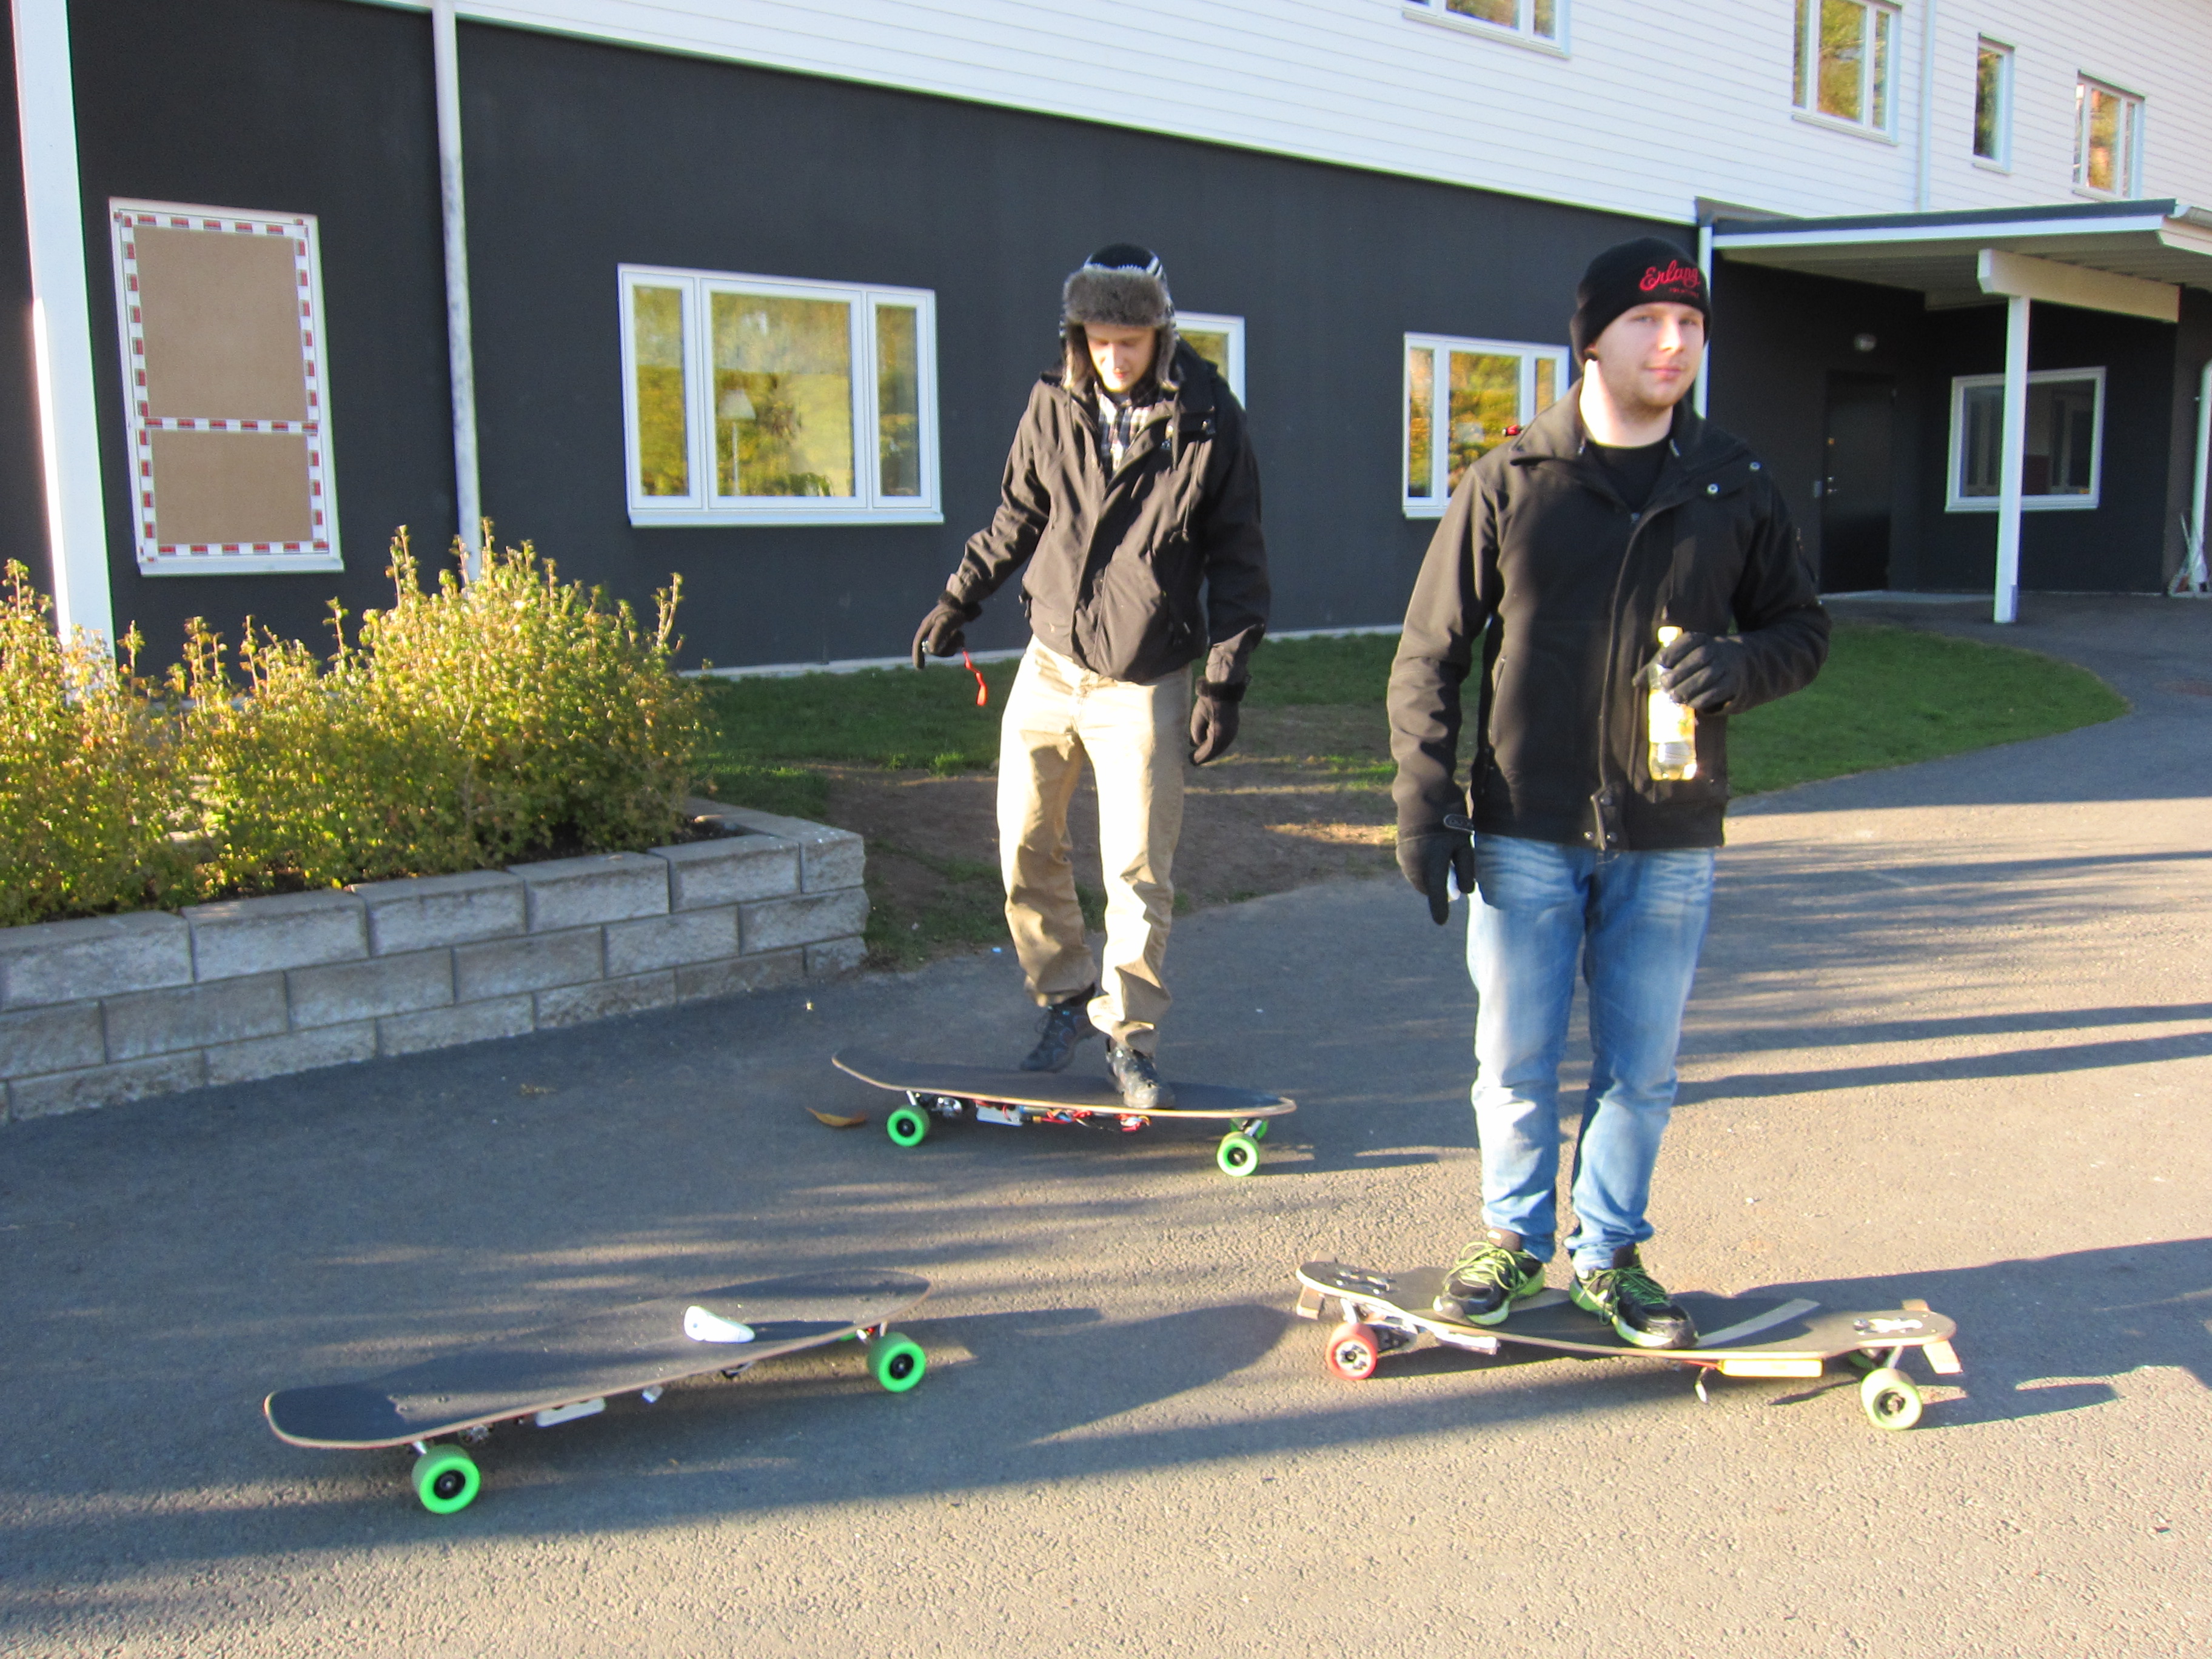
Although I have no longboarding or skateboard experience i found it quite easy to ride the electric longboard. I found it easier to keep my balance on the board while having constant power driving it forward. The ability to brake also makes it easier to get on and off.
It’s a really fun way of transportation, it’s fast and you can carry the longboard every where when don’t driving.
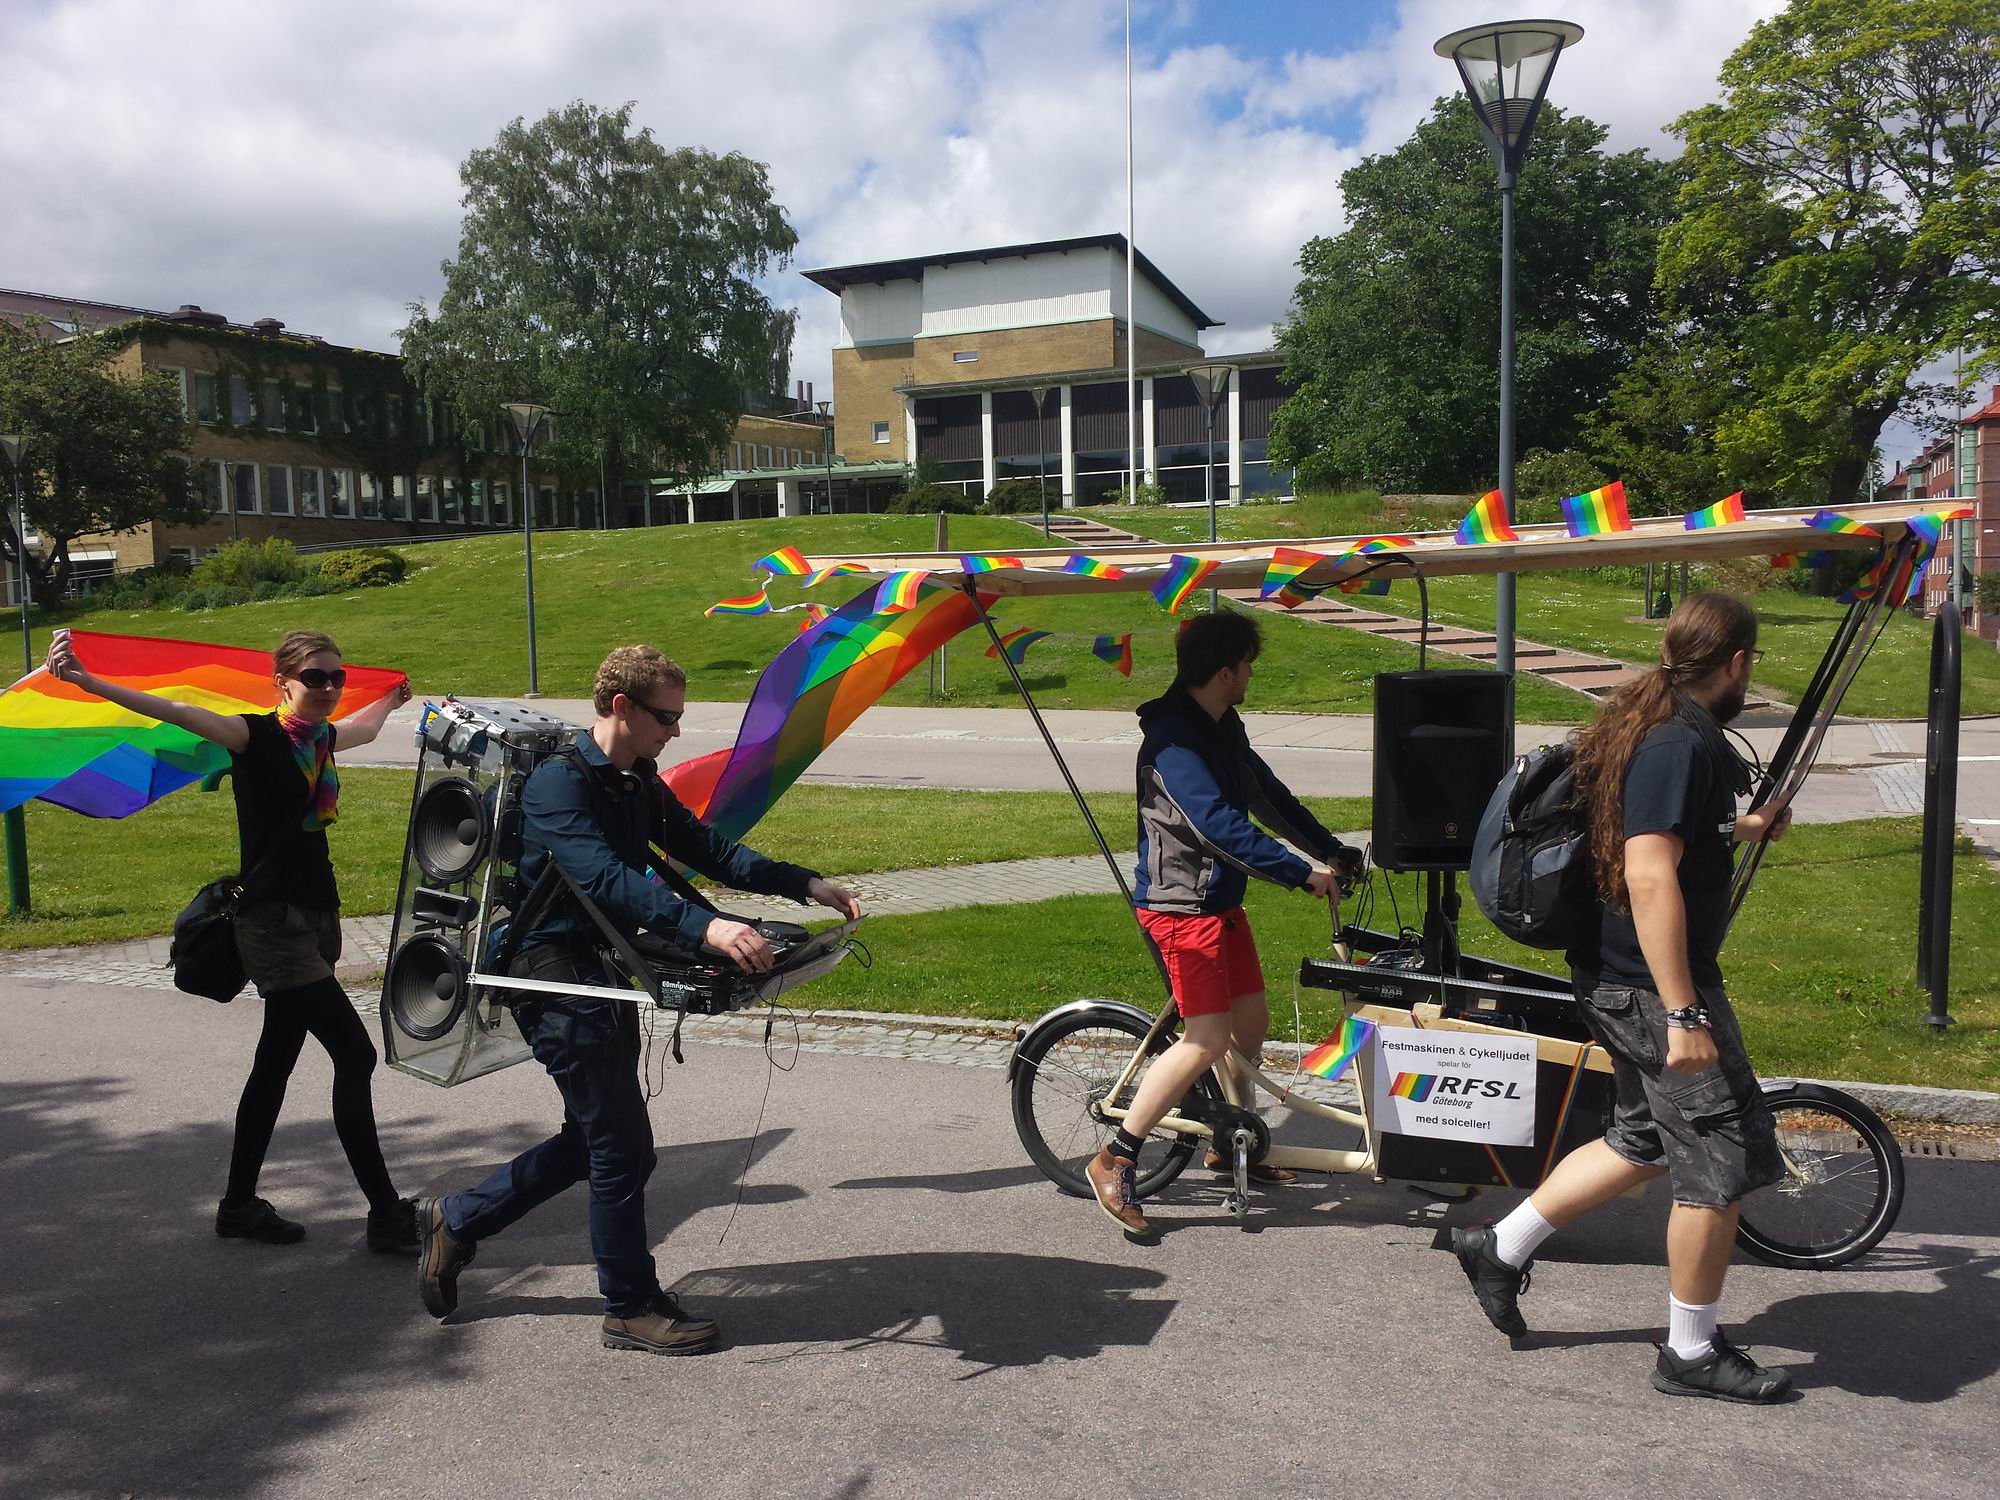
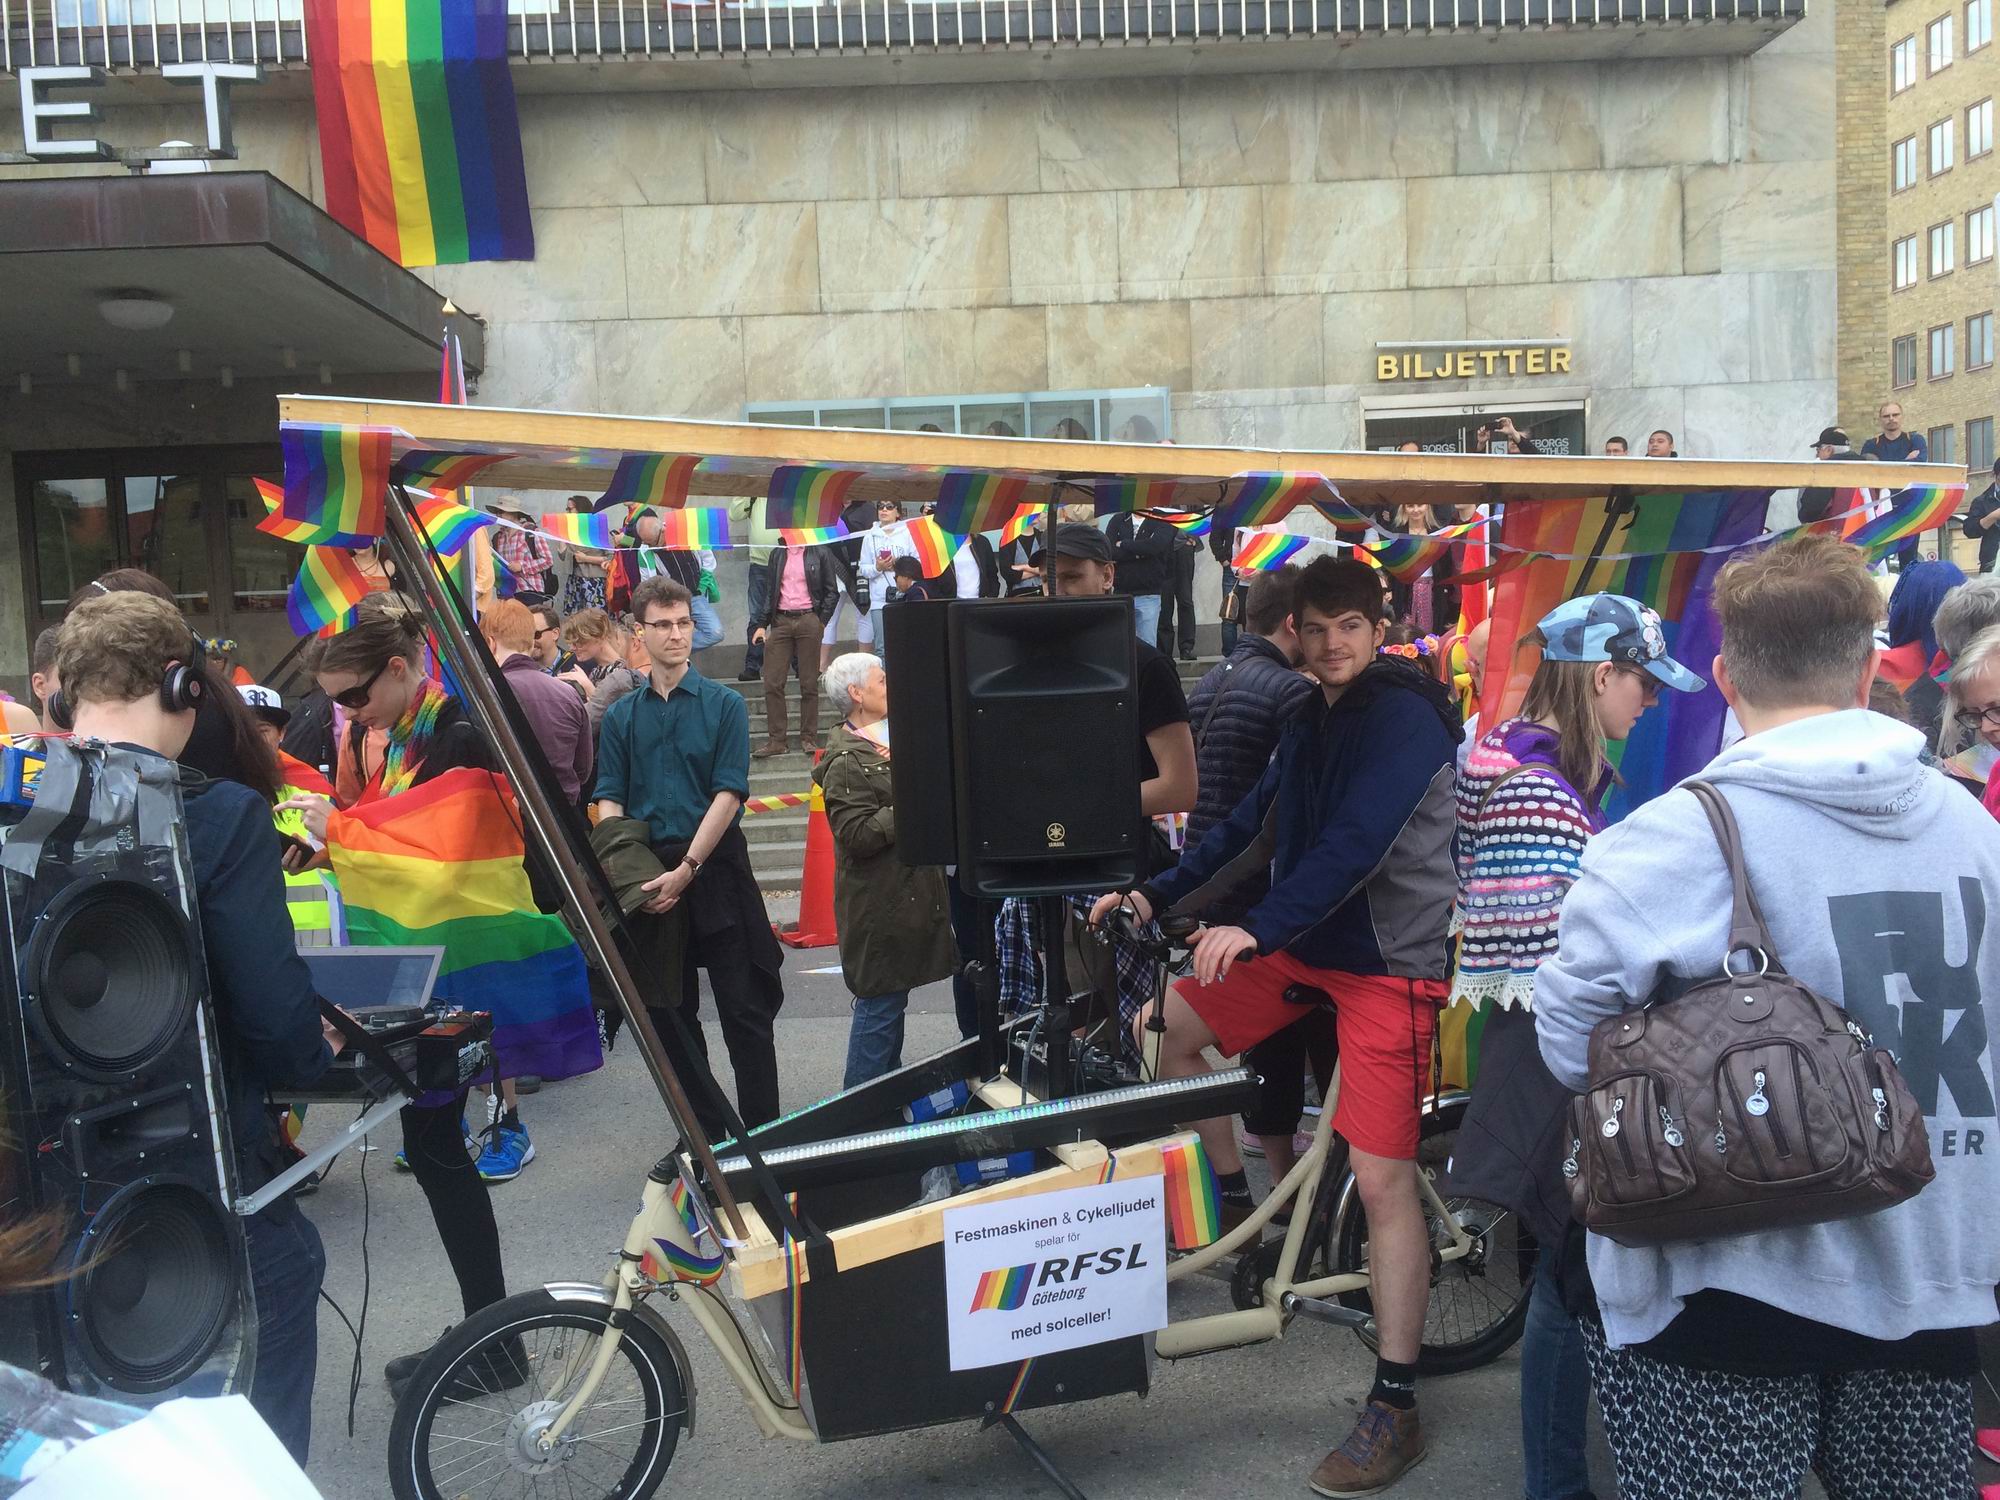
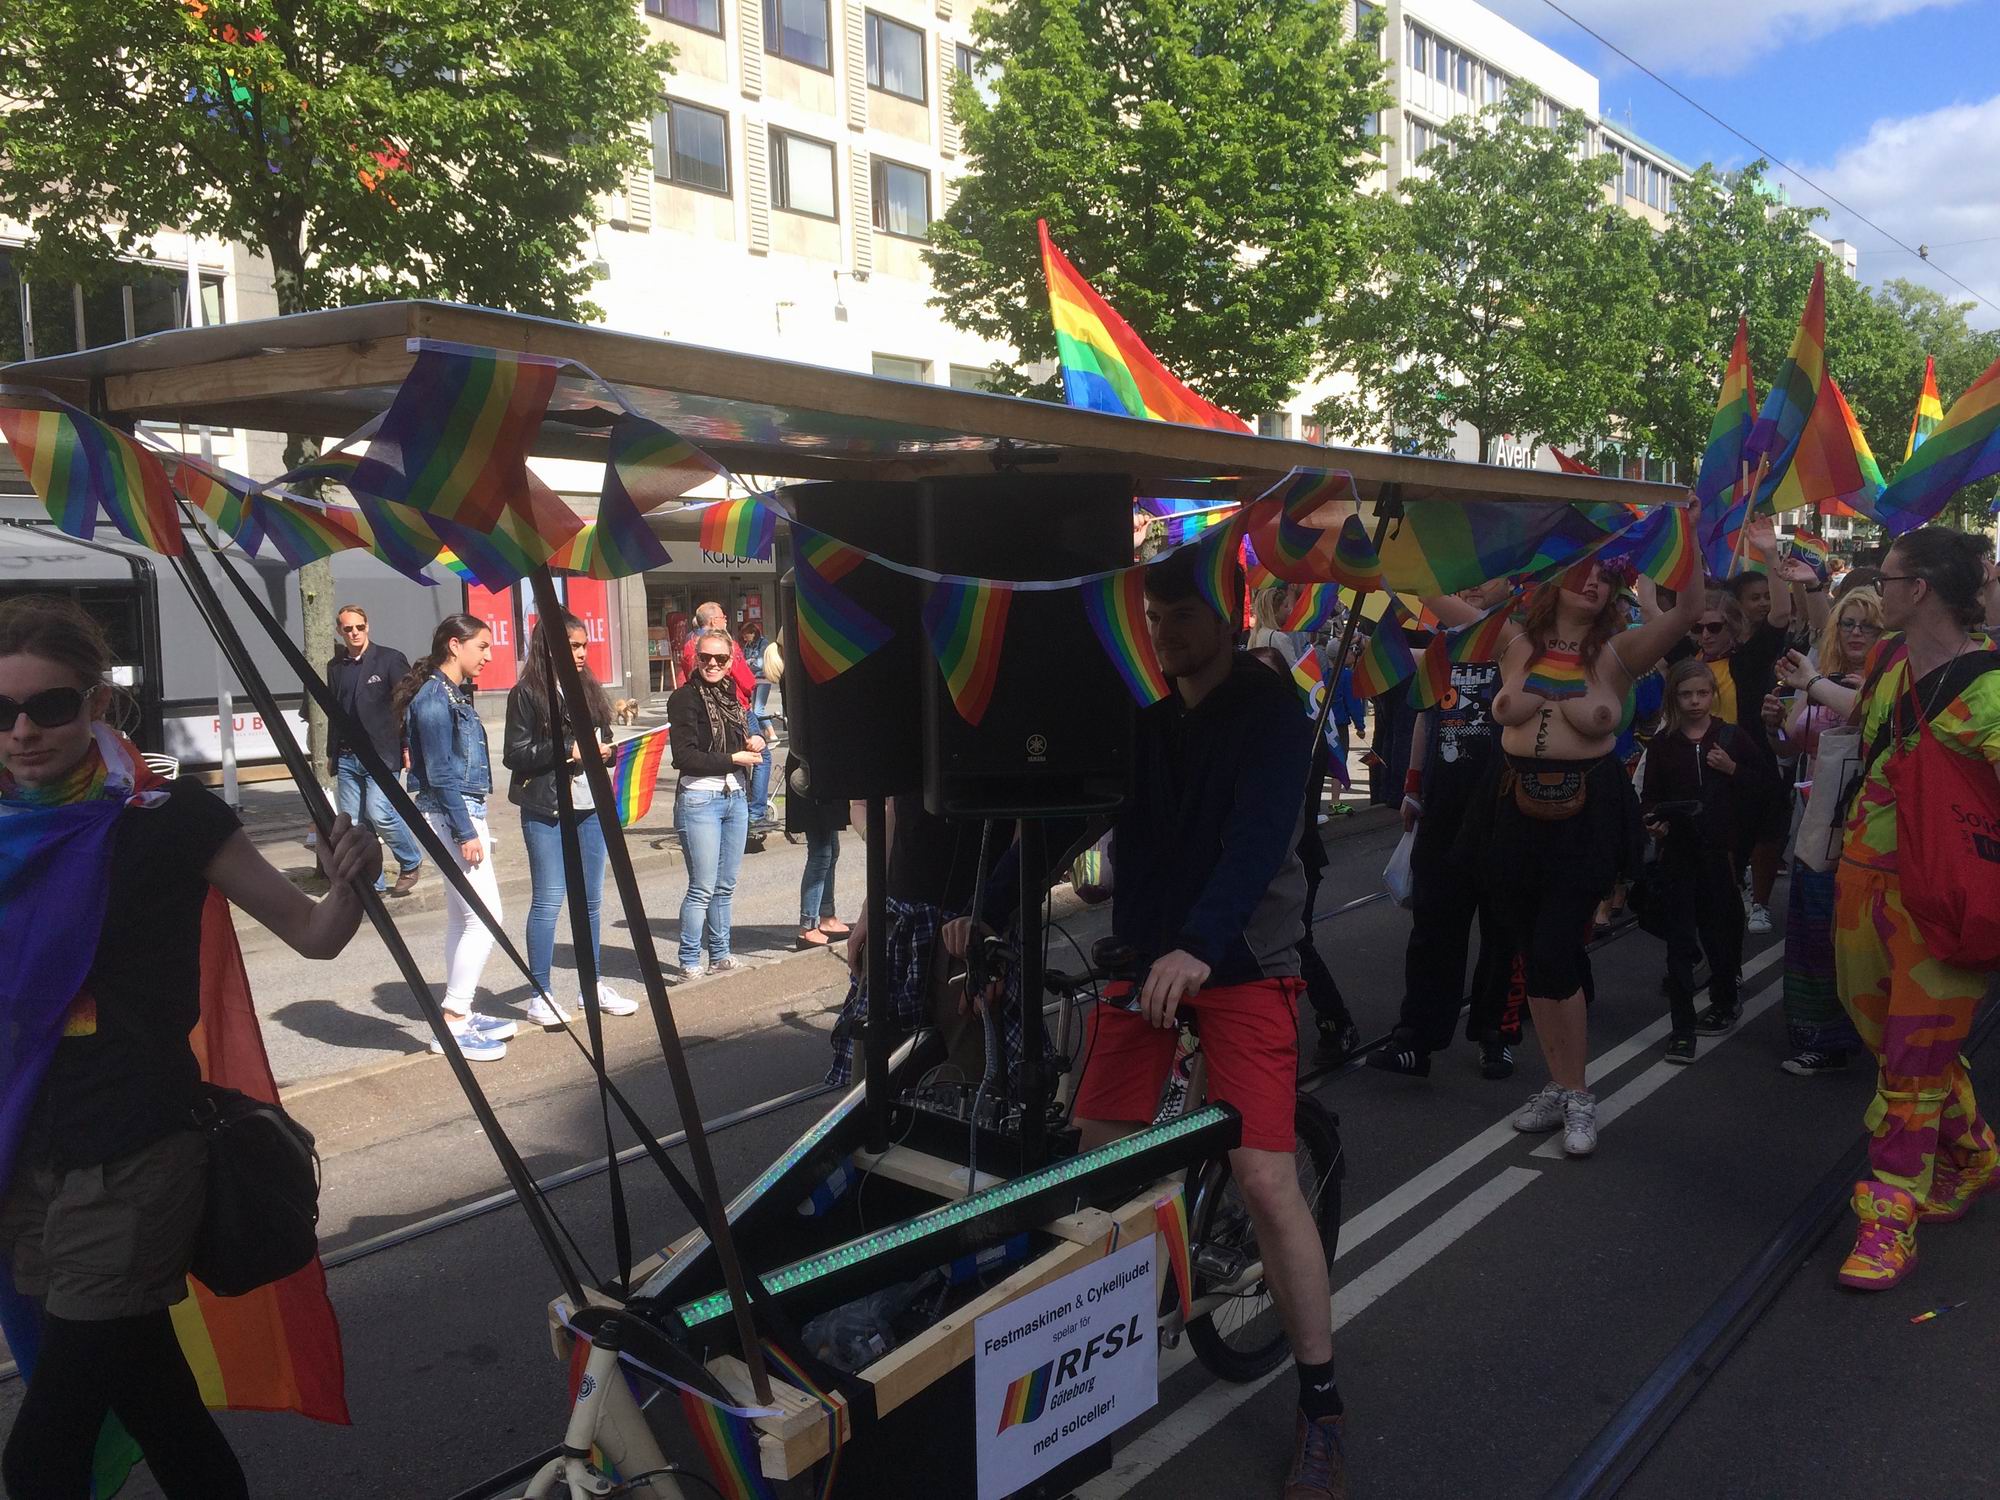
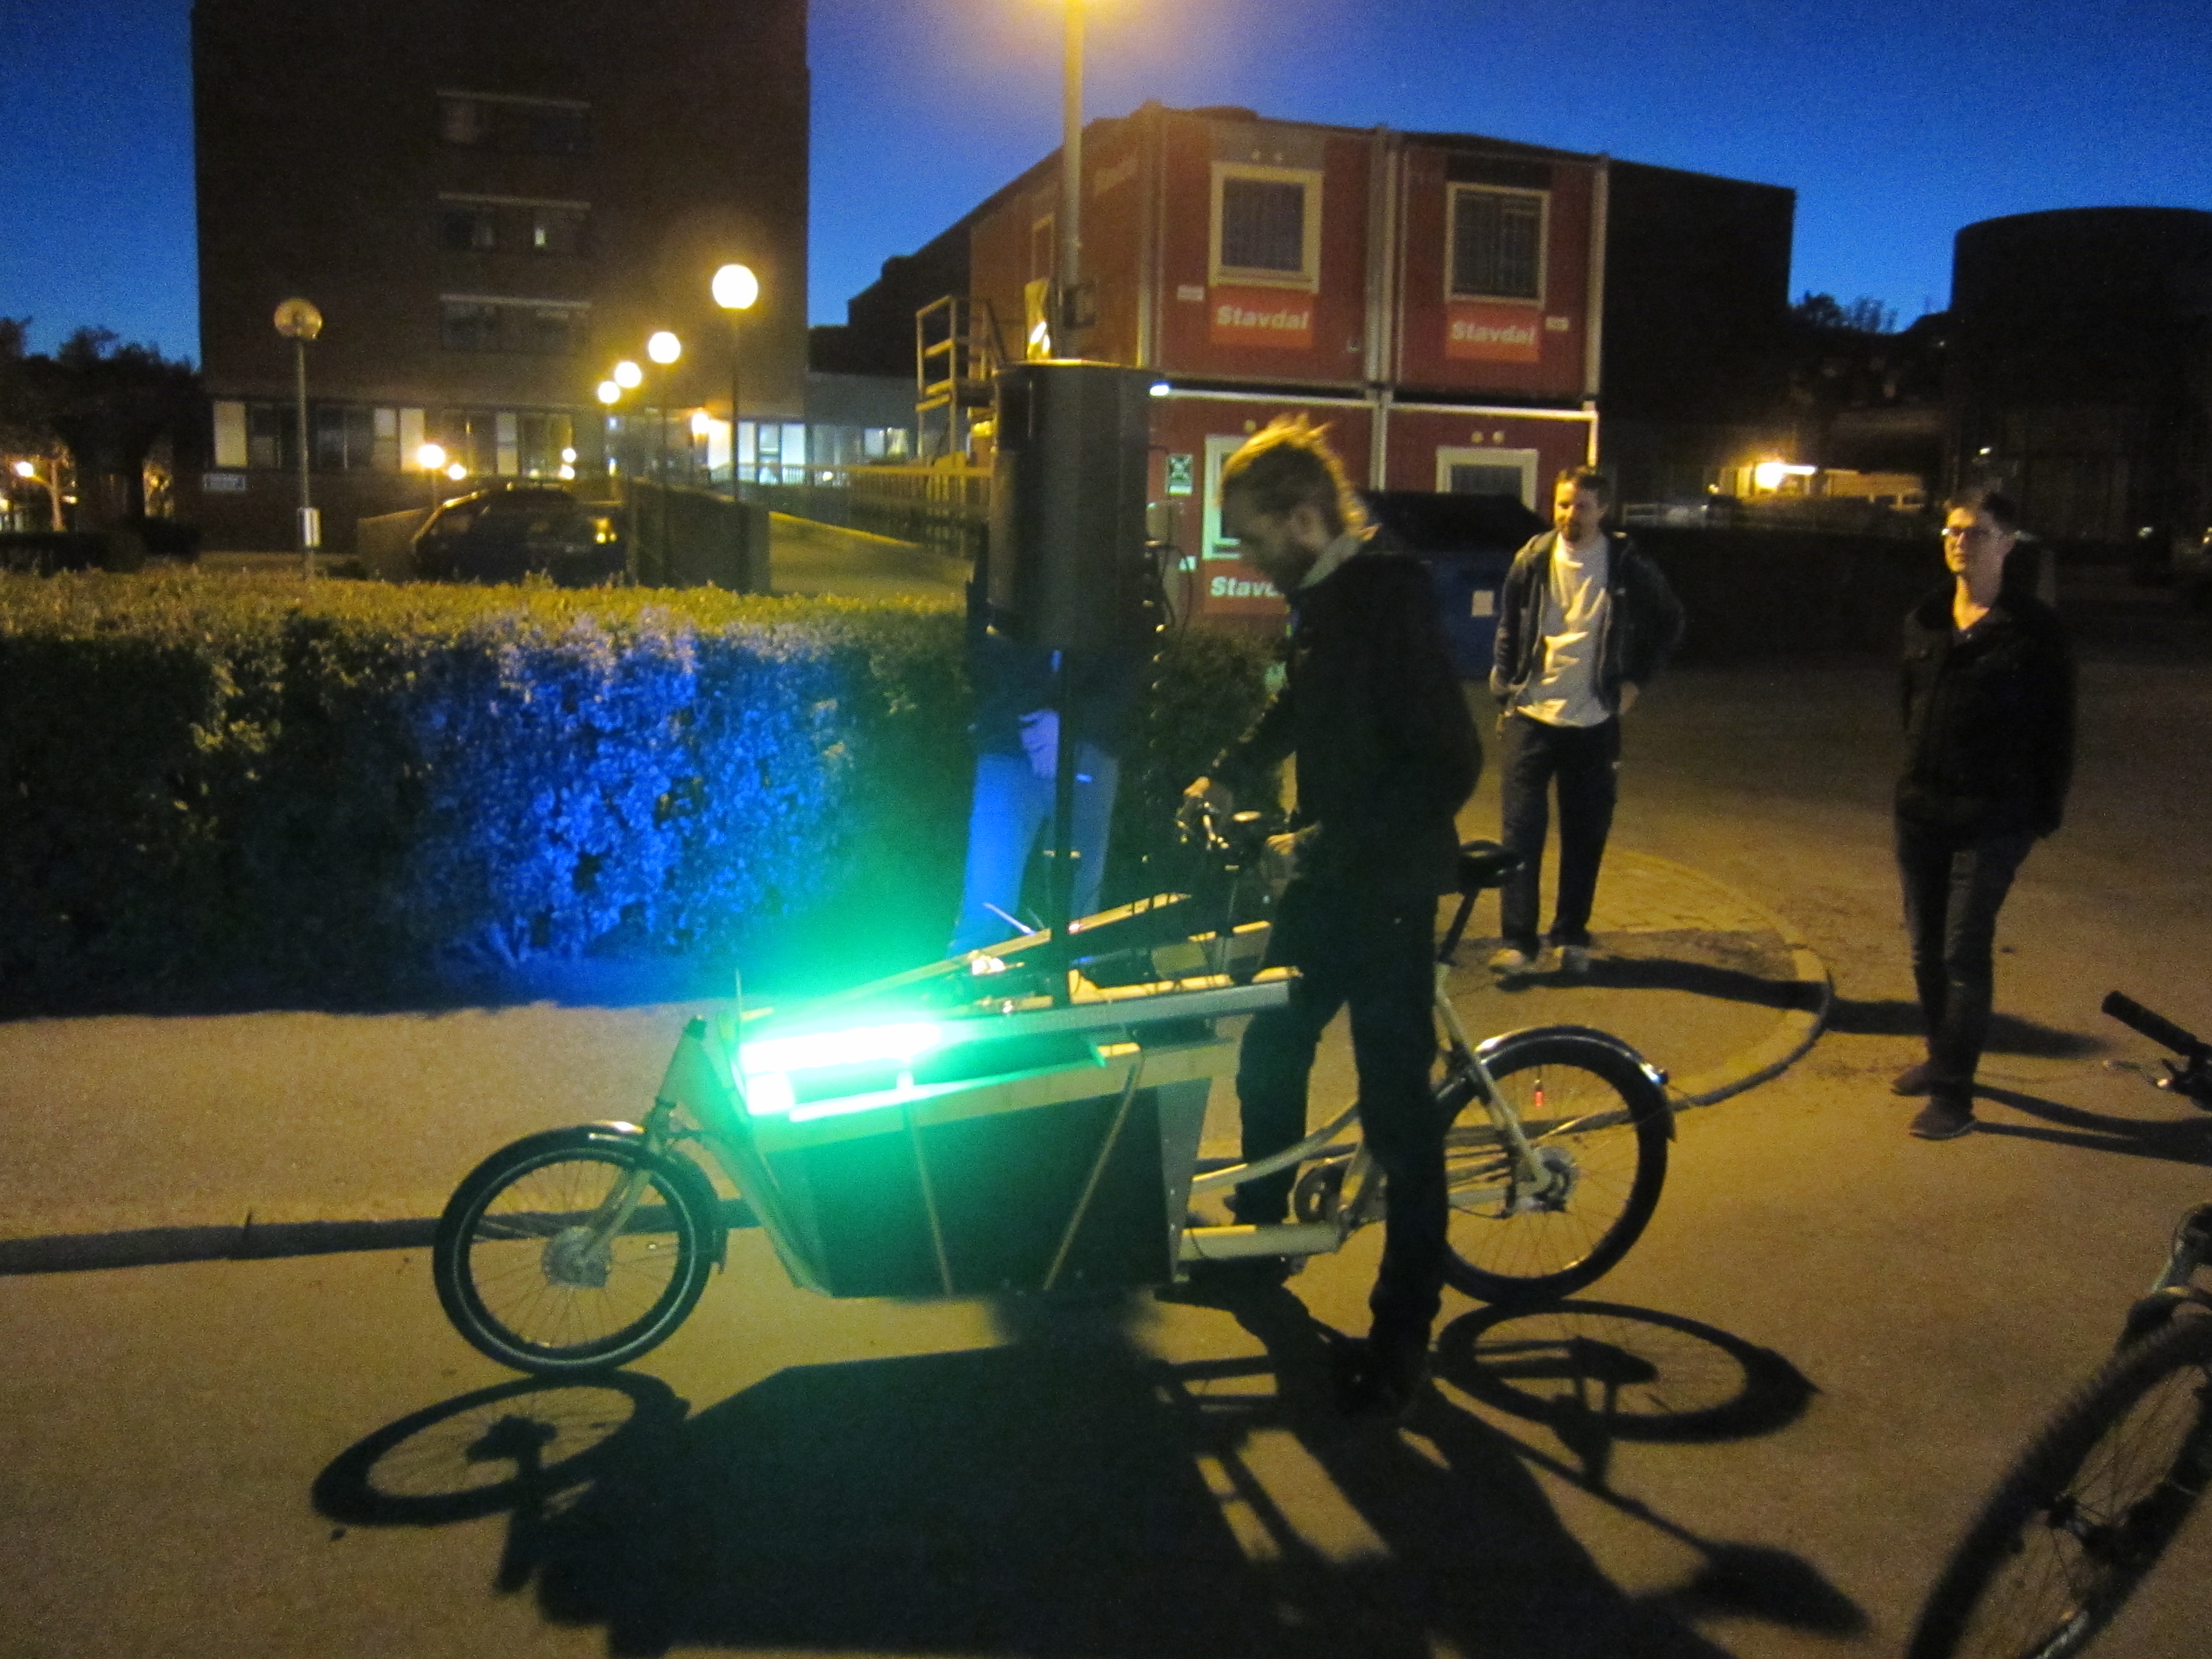
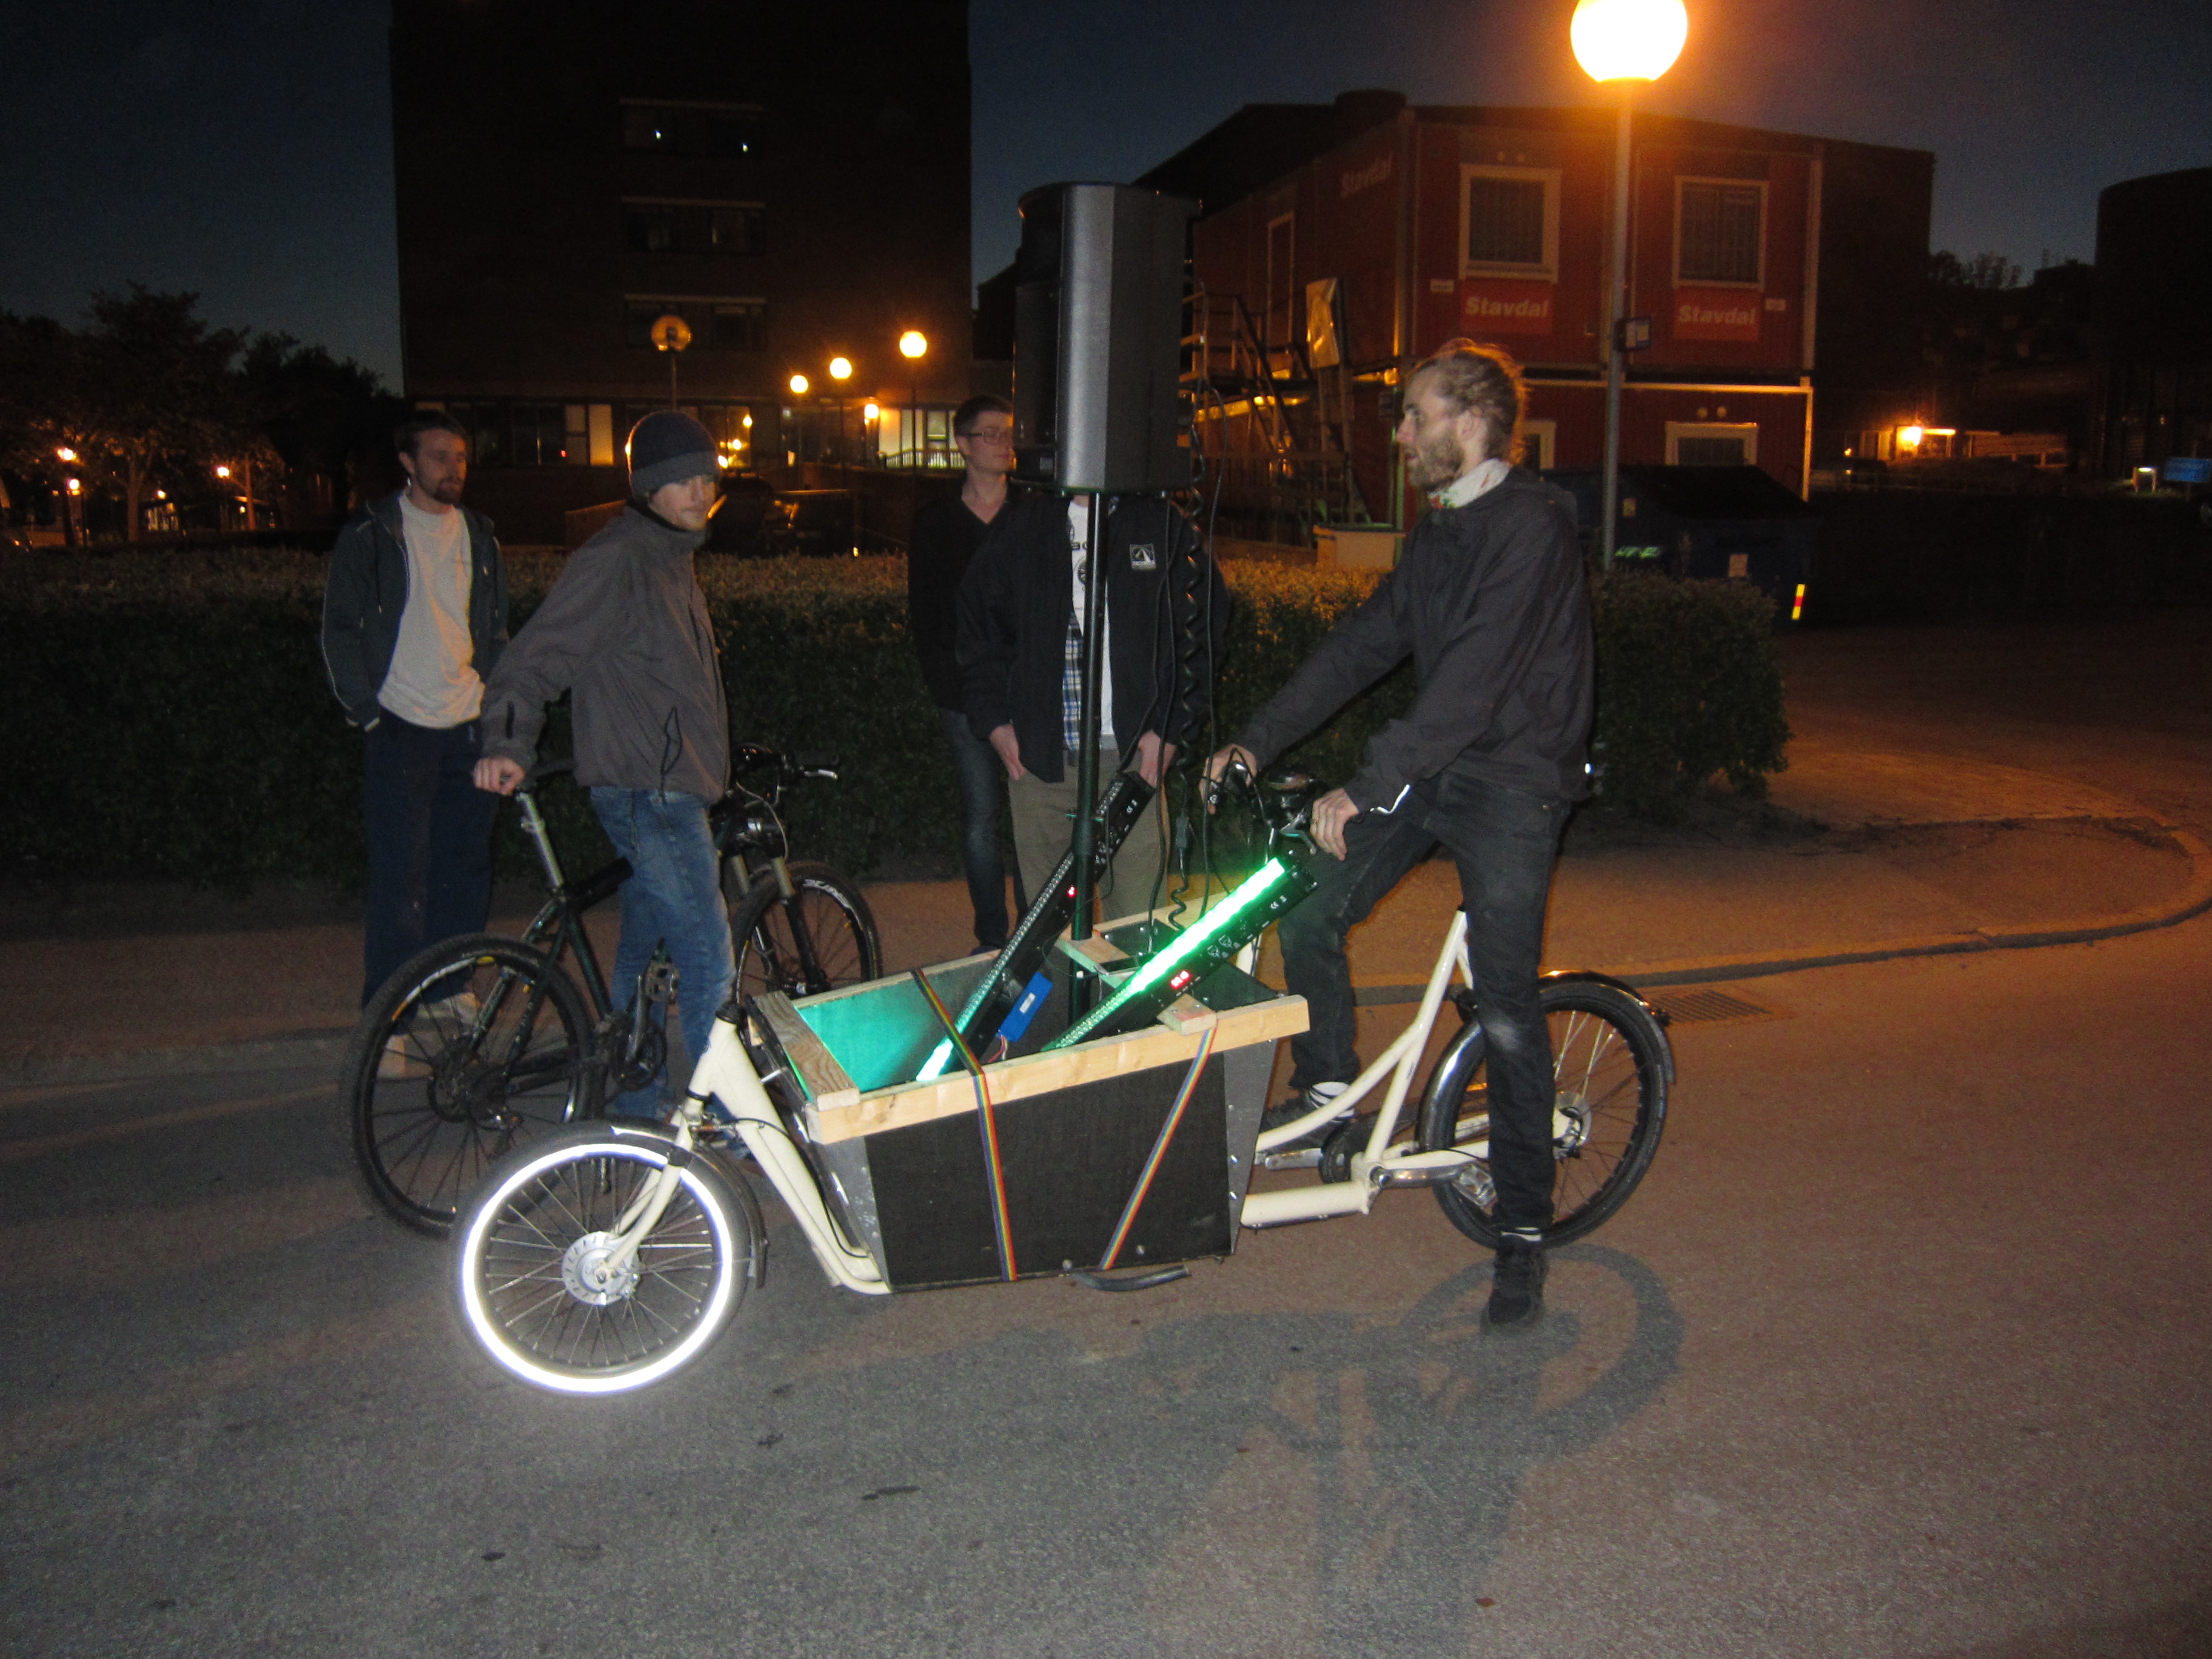
CyckelLjudet & Festmaskinen at Regnbågsparaden West pride Göteborg
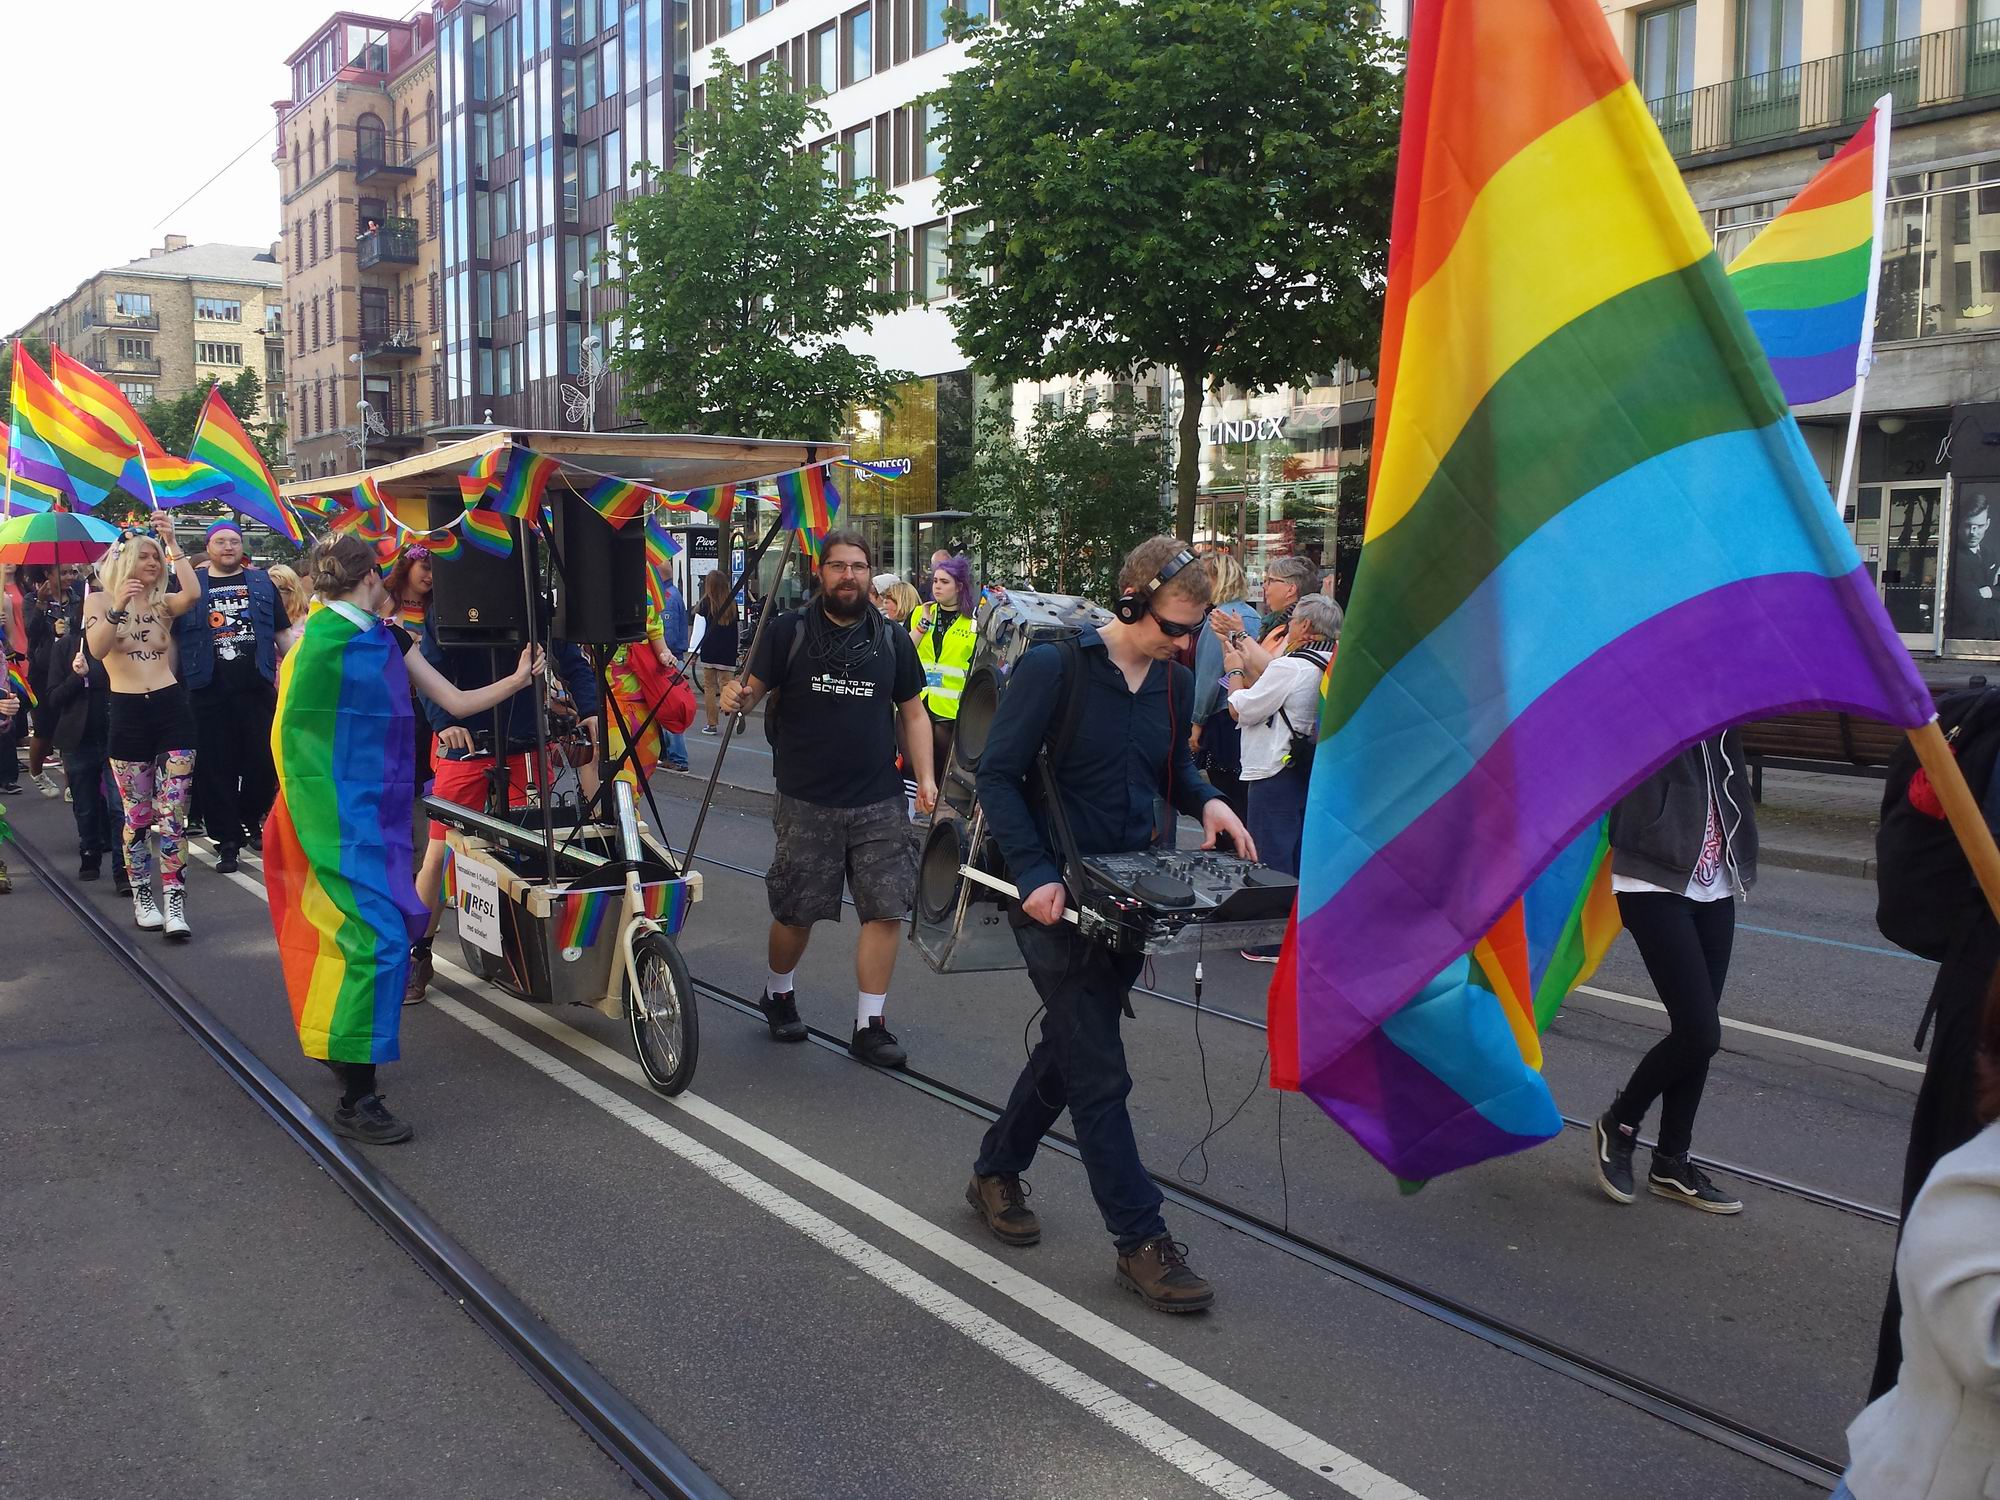
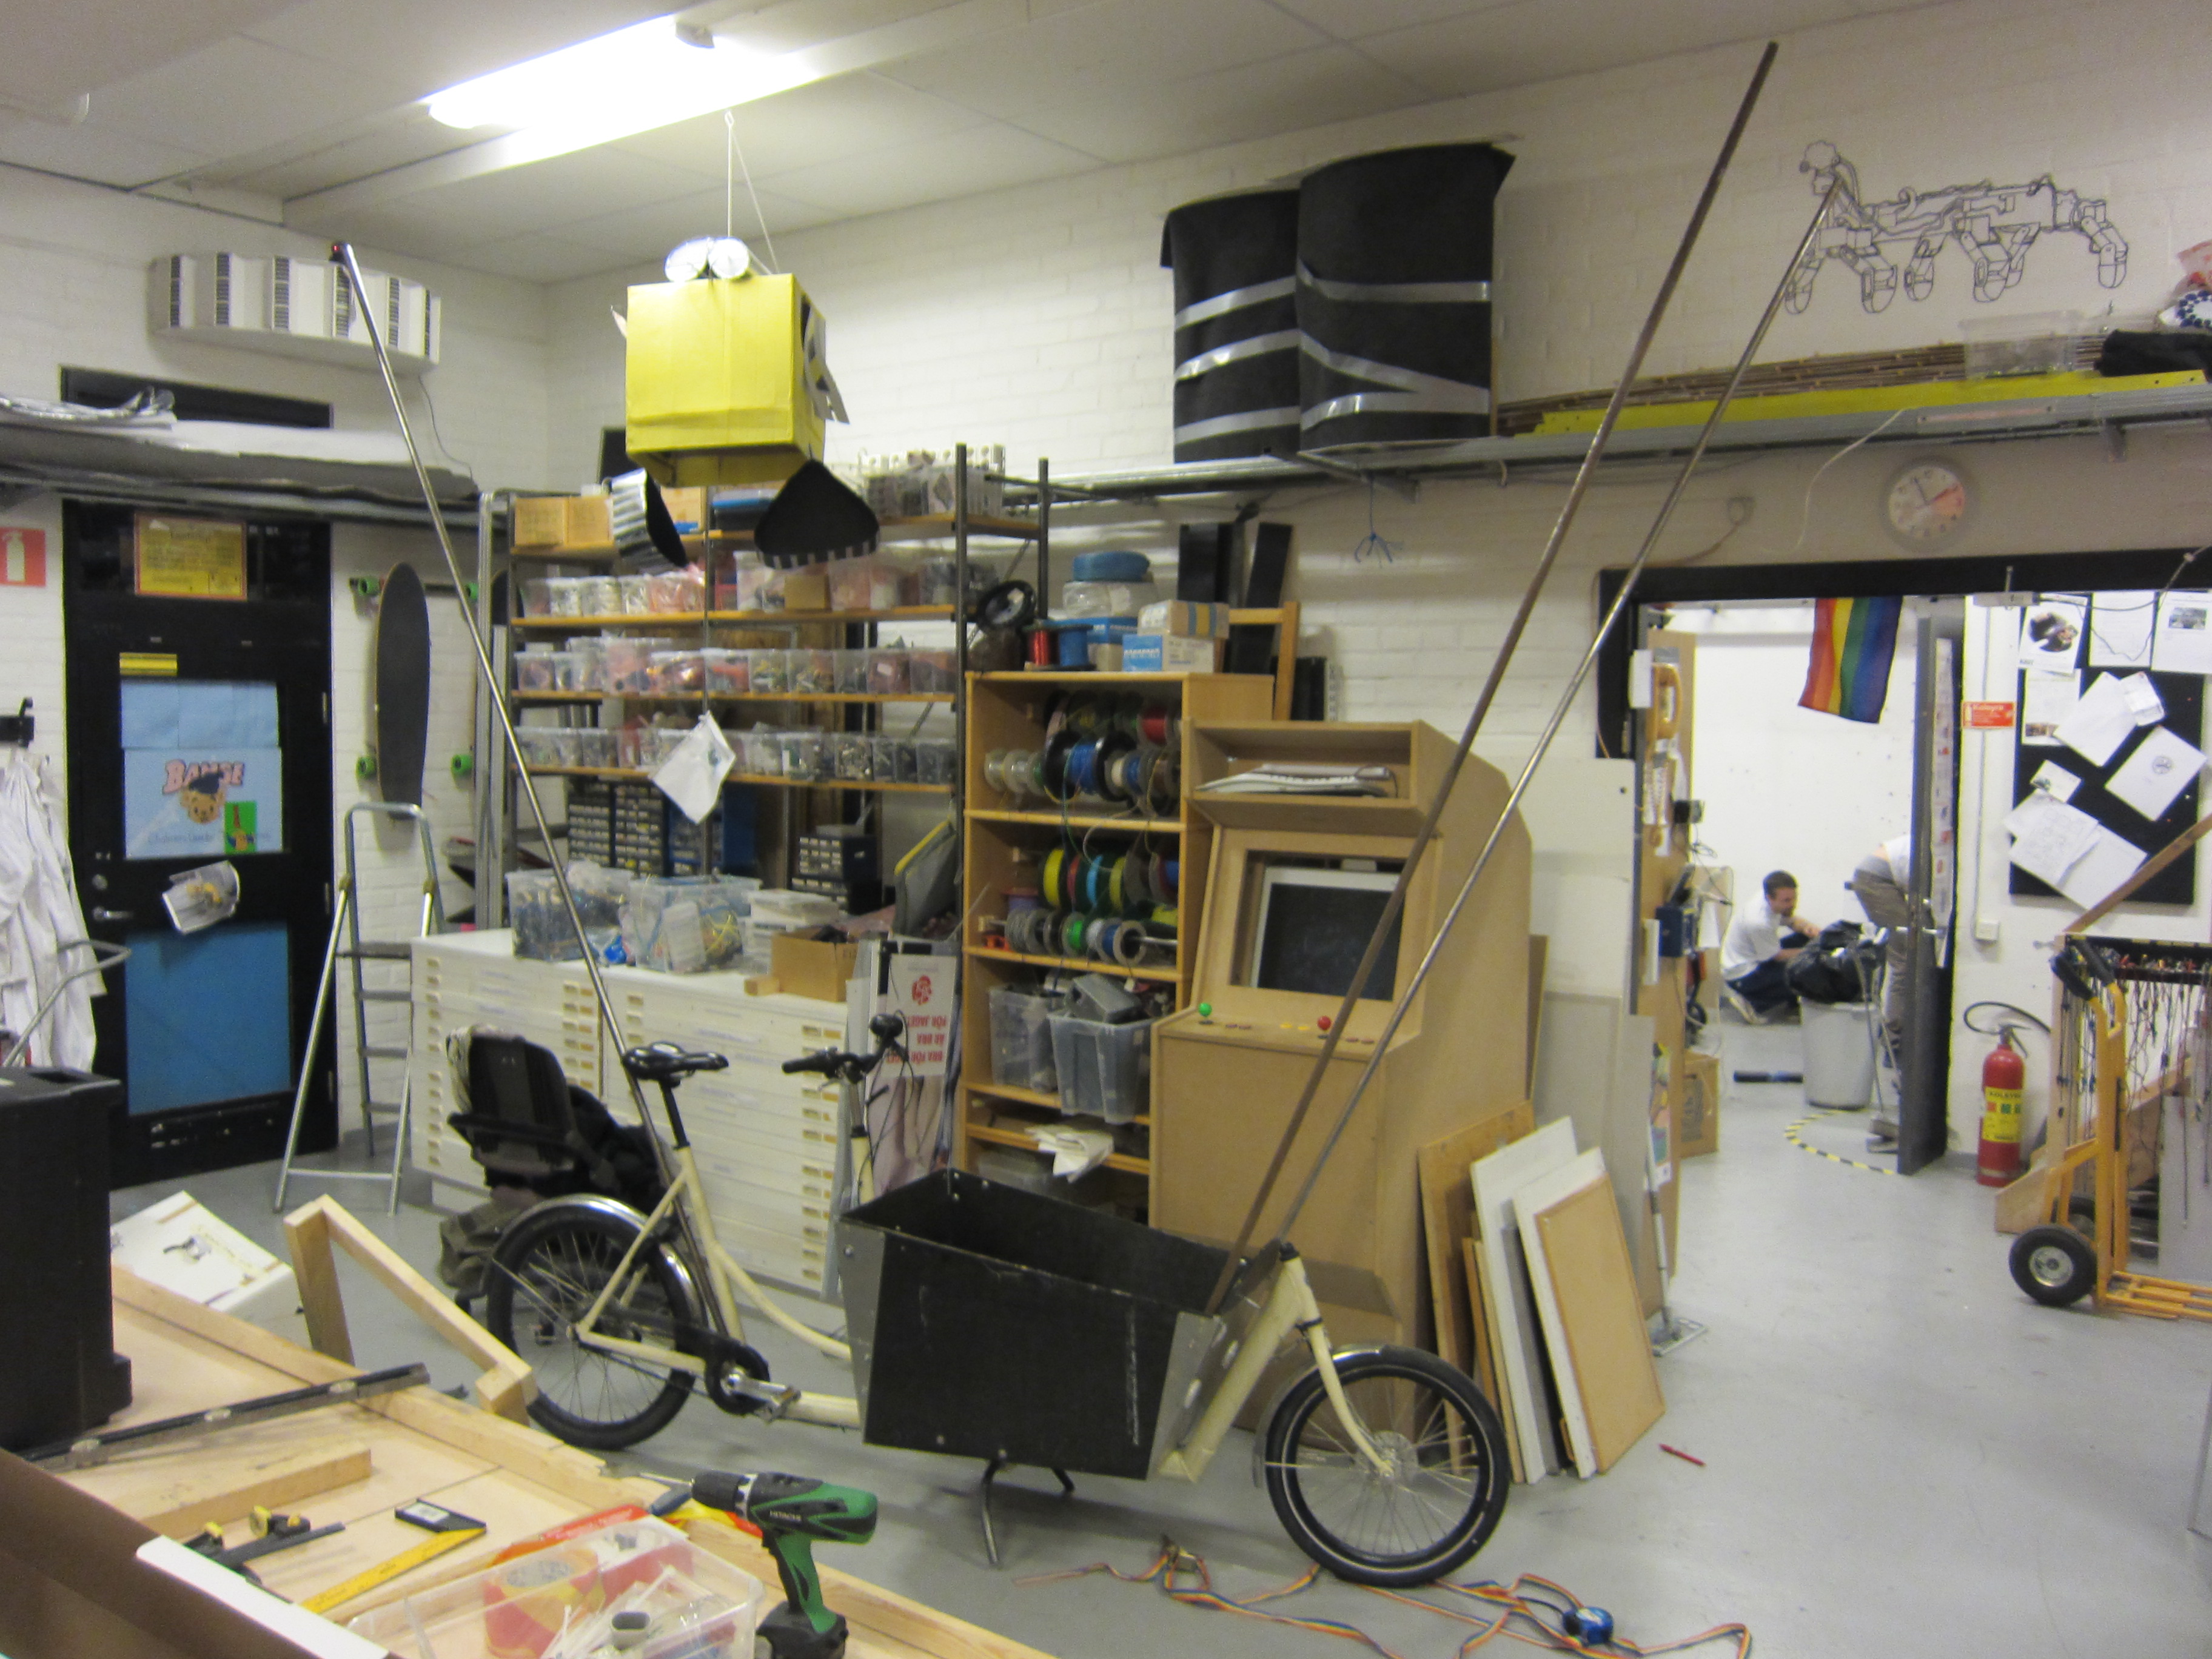
After assembling CyckelLjudet we managed to arrive at Götaplatsen were the parade Regnbågsparaden were supposed to start.
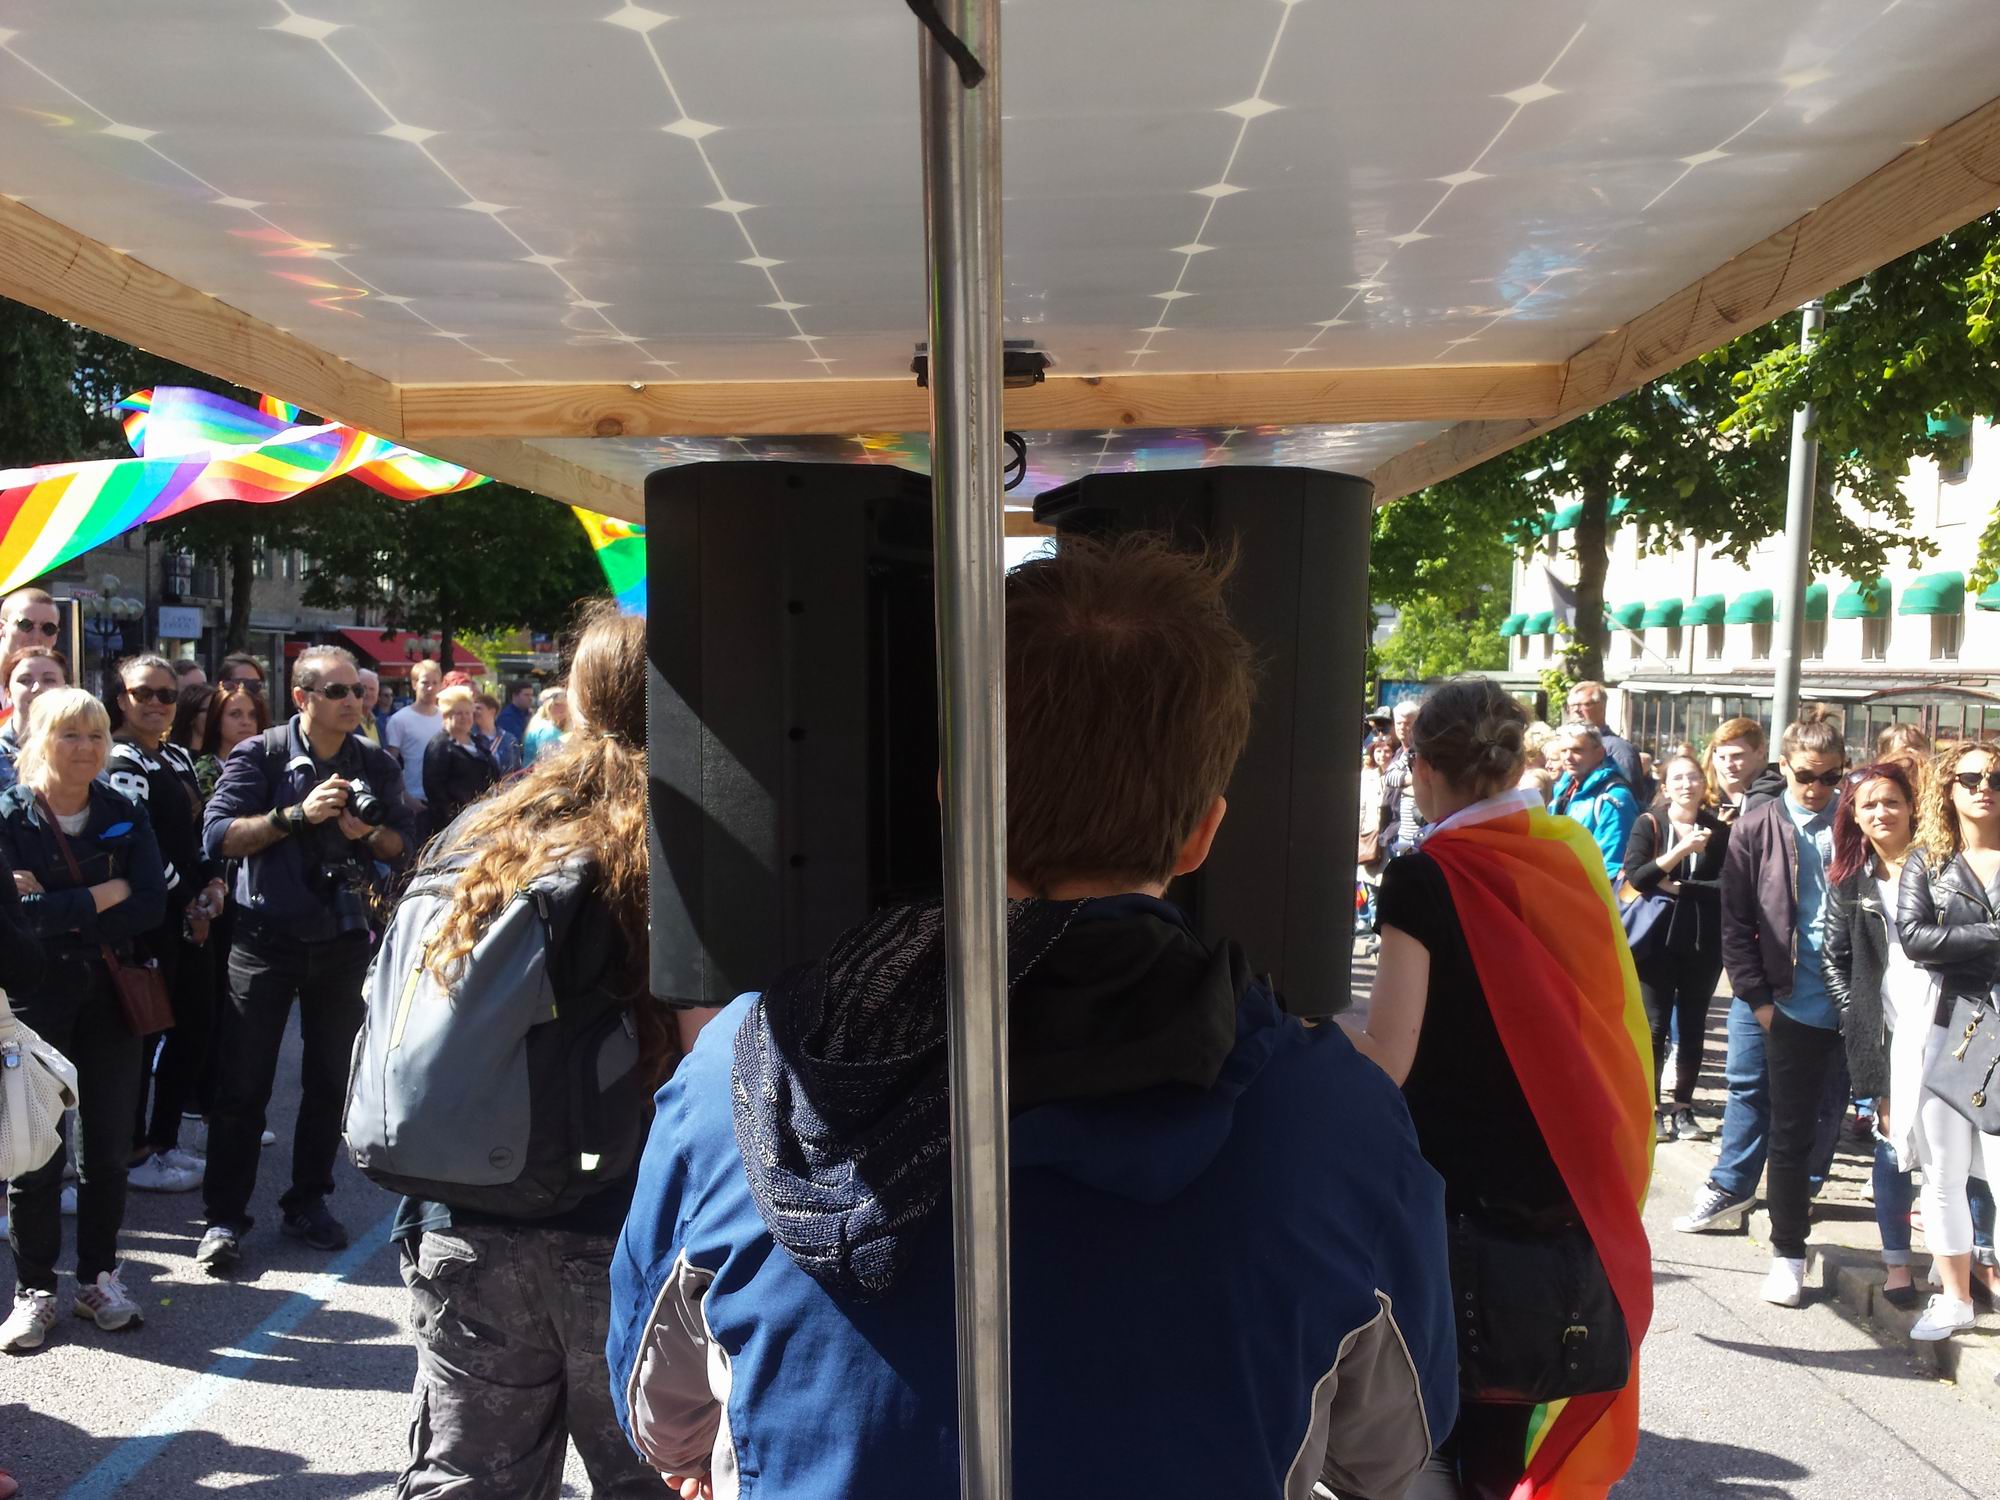
The solar panels worked really great, we had no trouble at all and the LiPo was charged nicely.
We did use an old Sennheiser wireless transmitter to send the audio from the DJ-booth at Festmaskinen to the PA-speakers at CyckelLjudet.
We had some problems with wireless interference, but it hold up well most of the parade. Go 80’s technology!


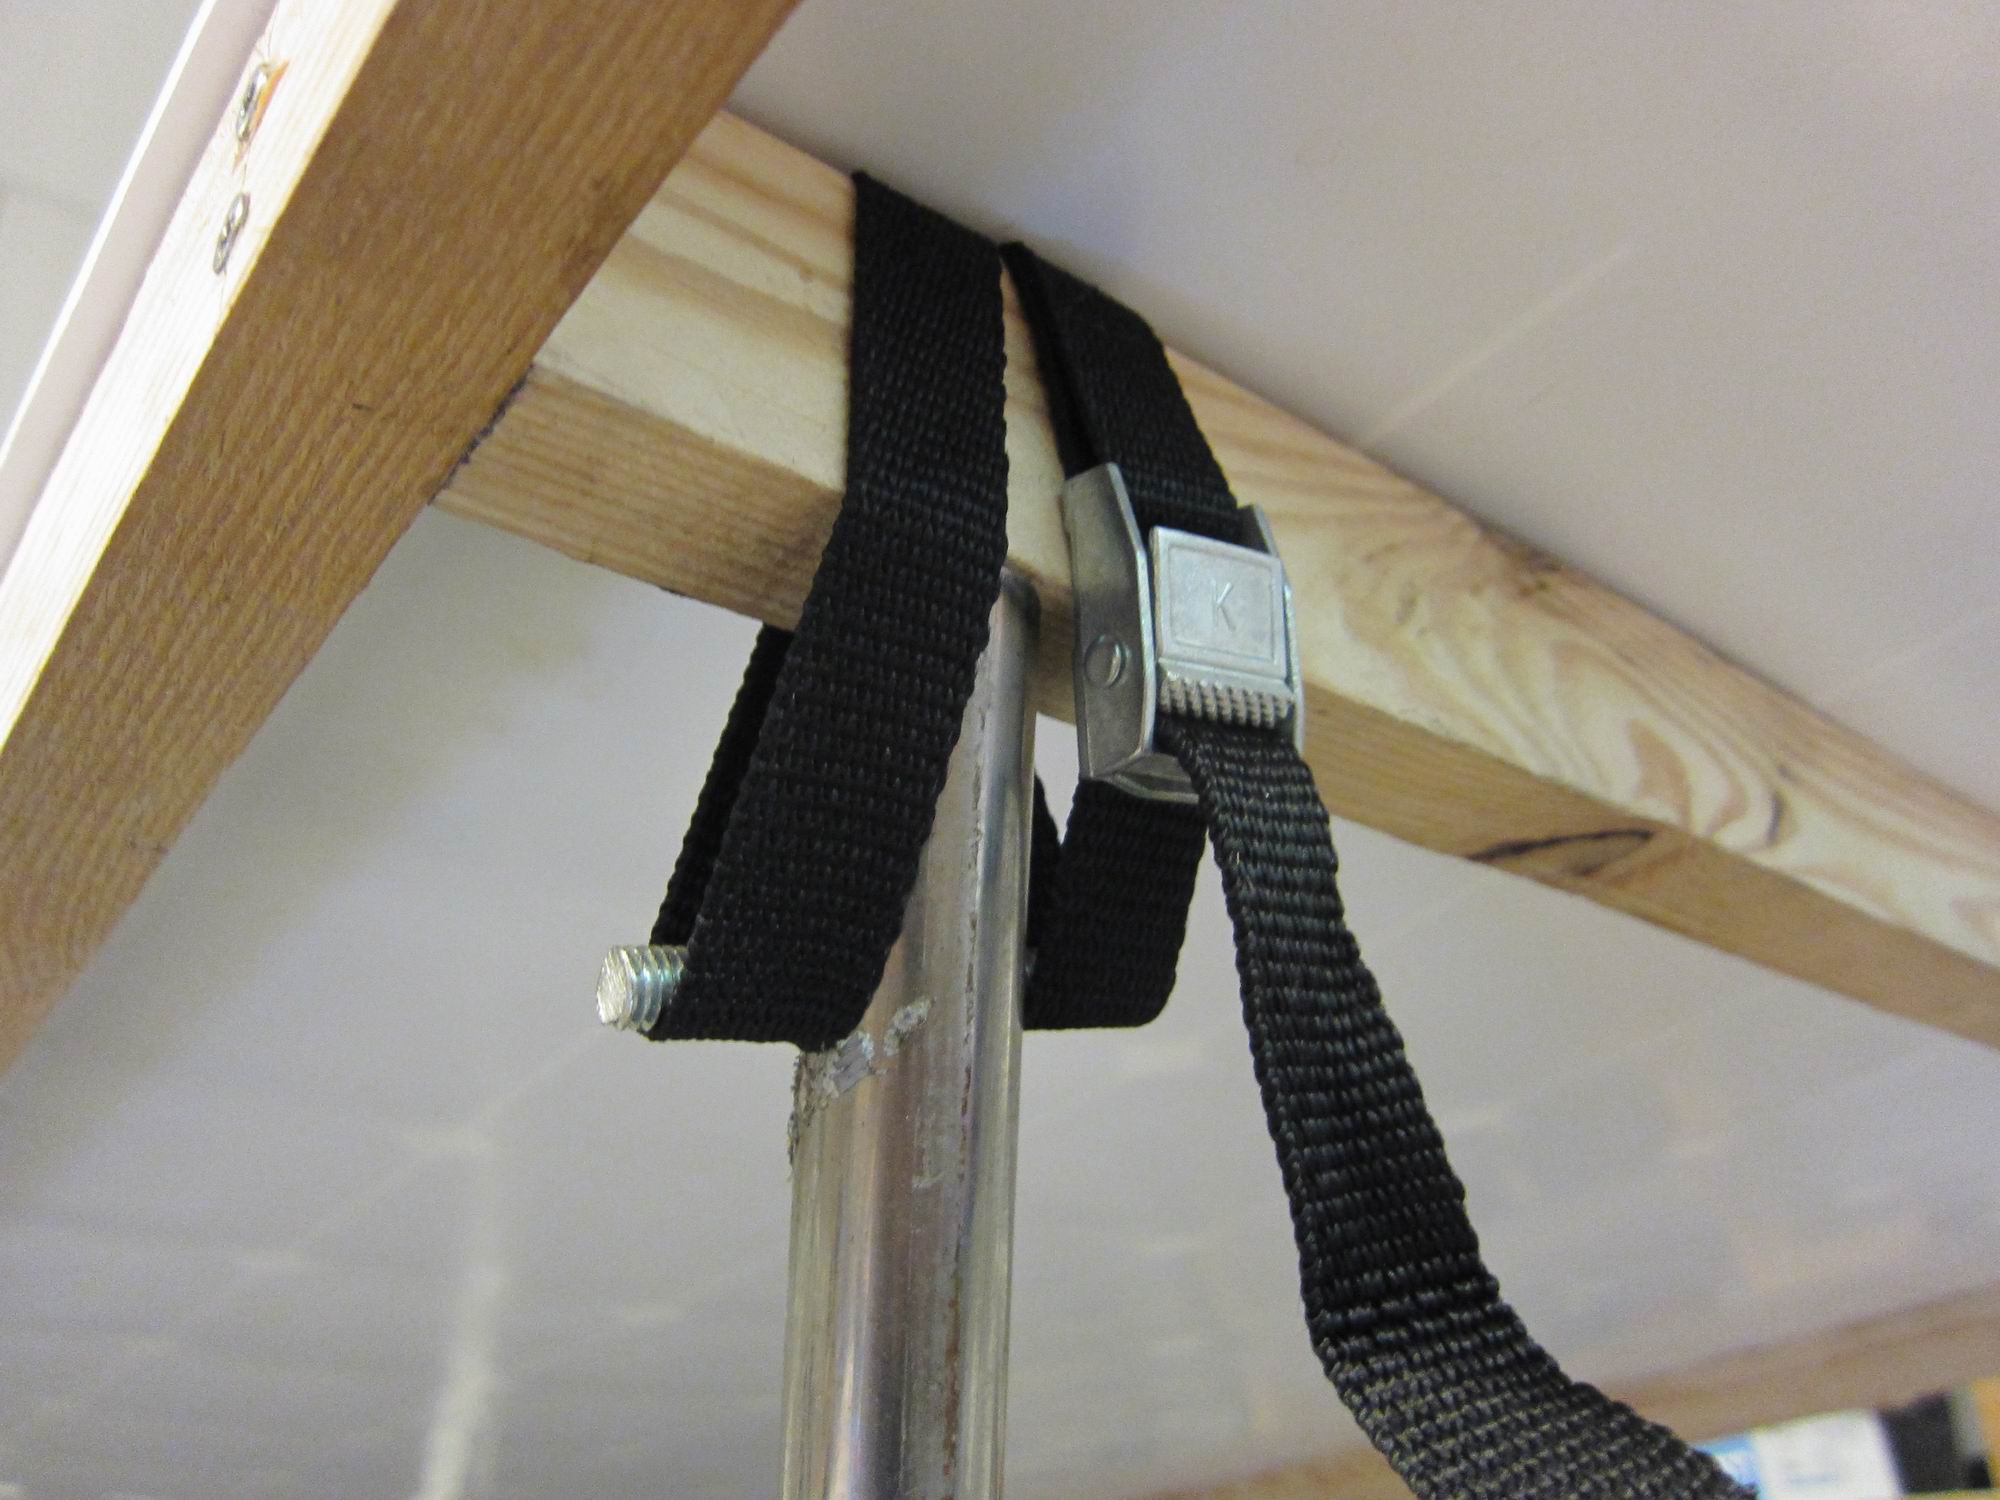
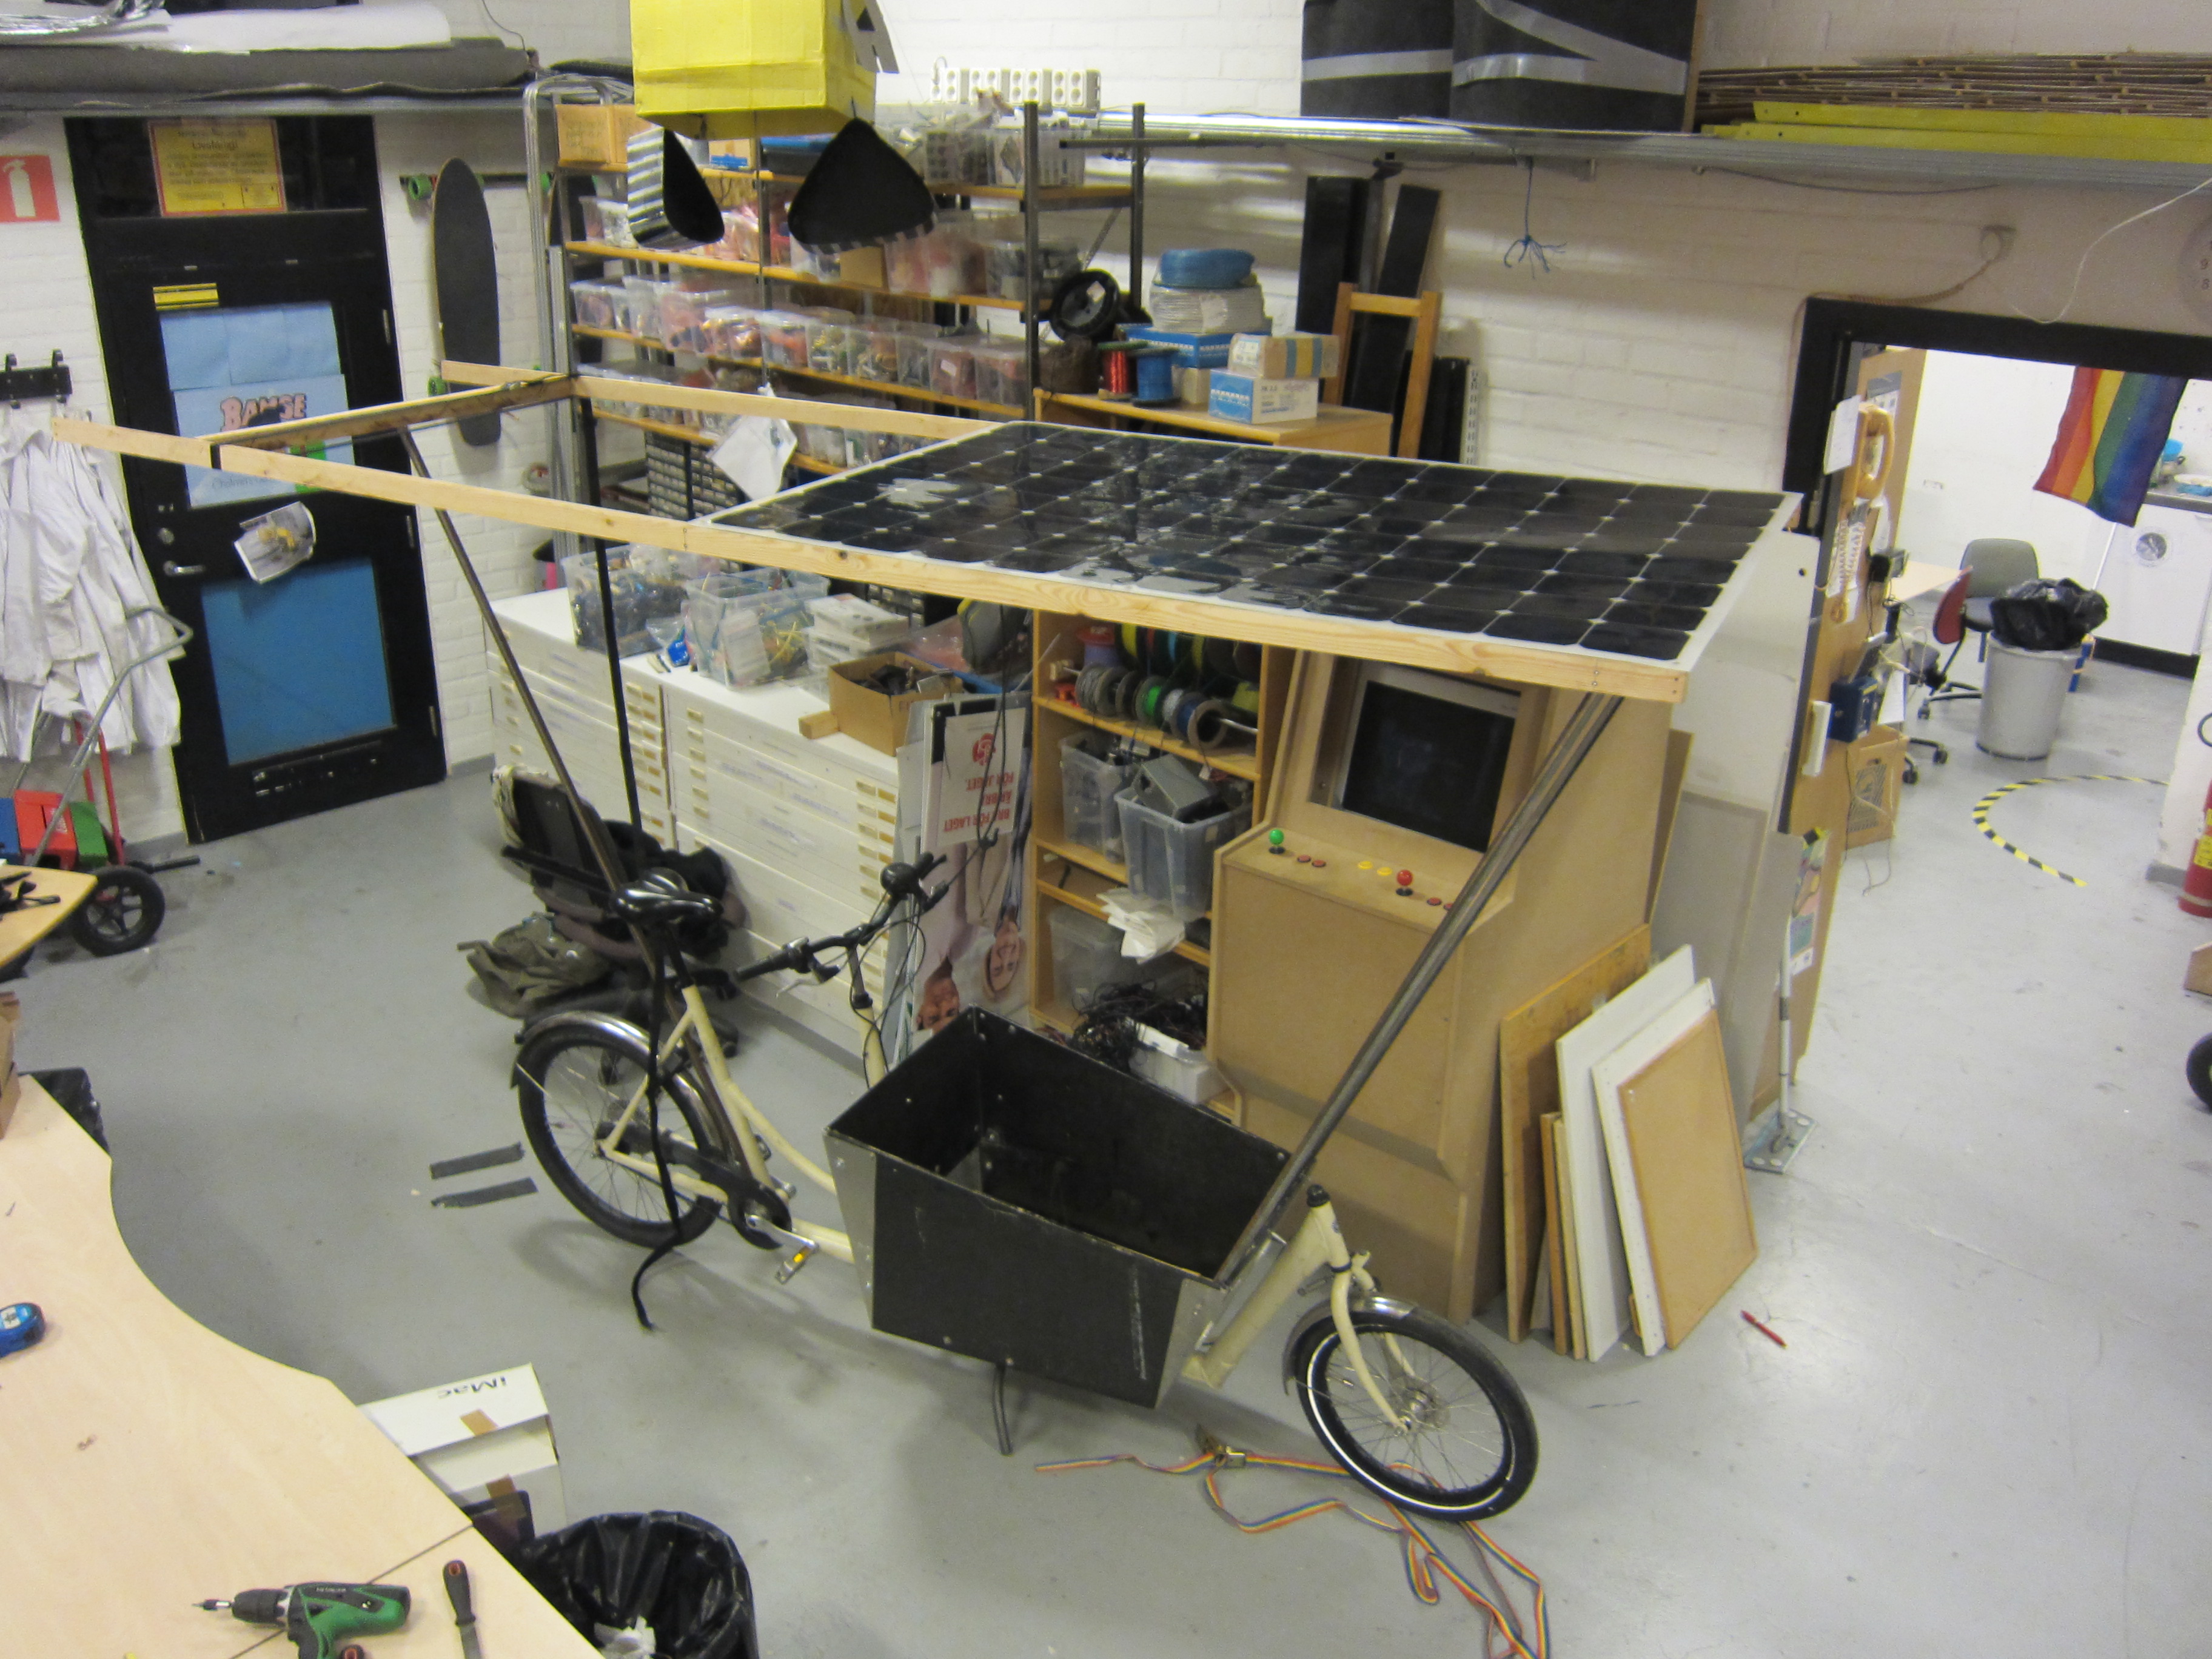
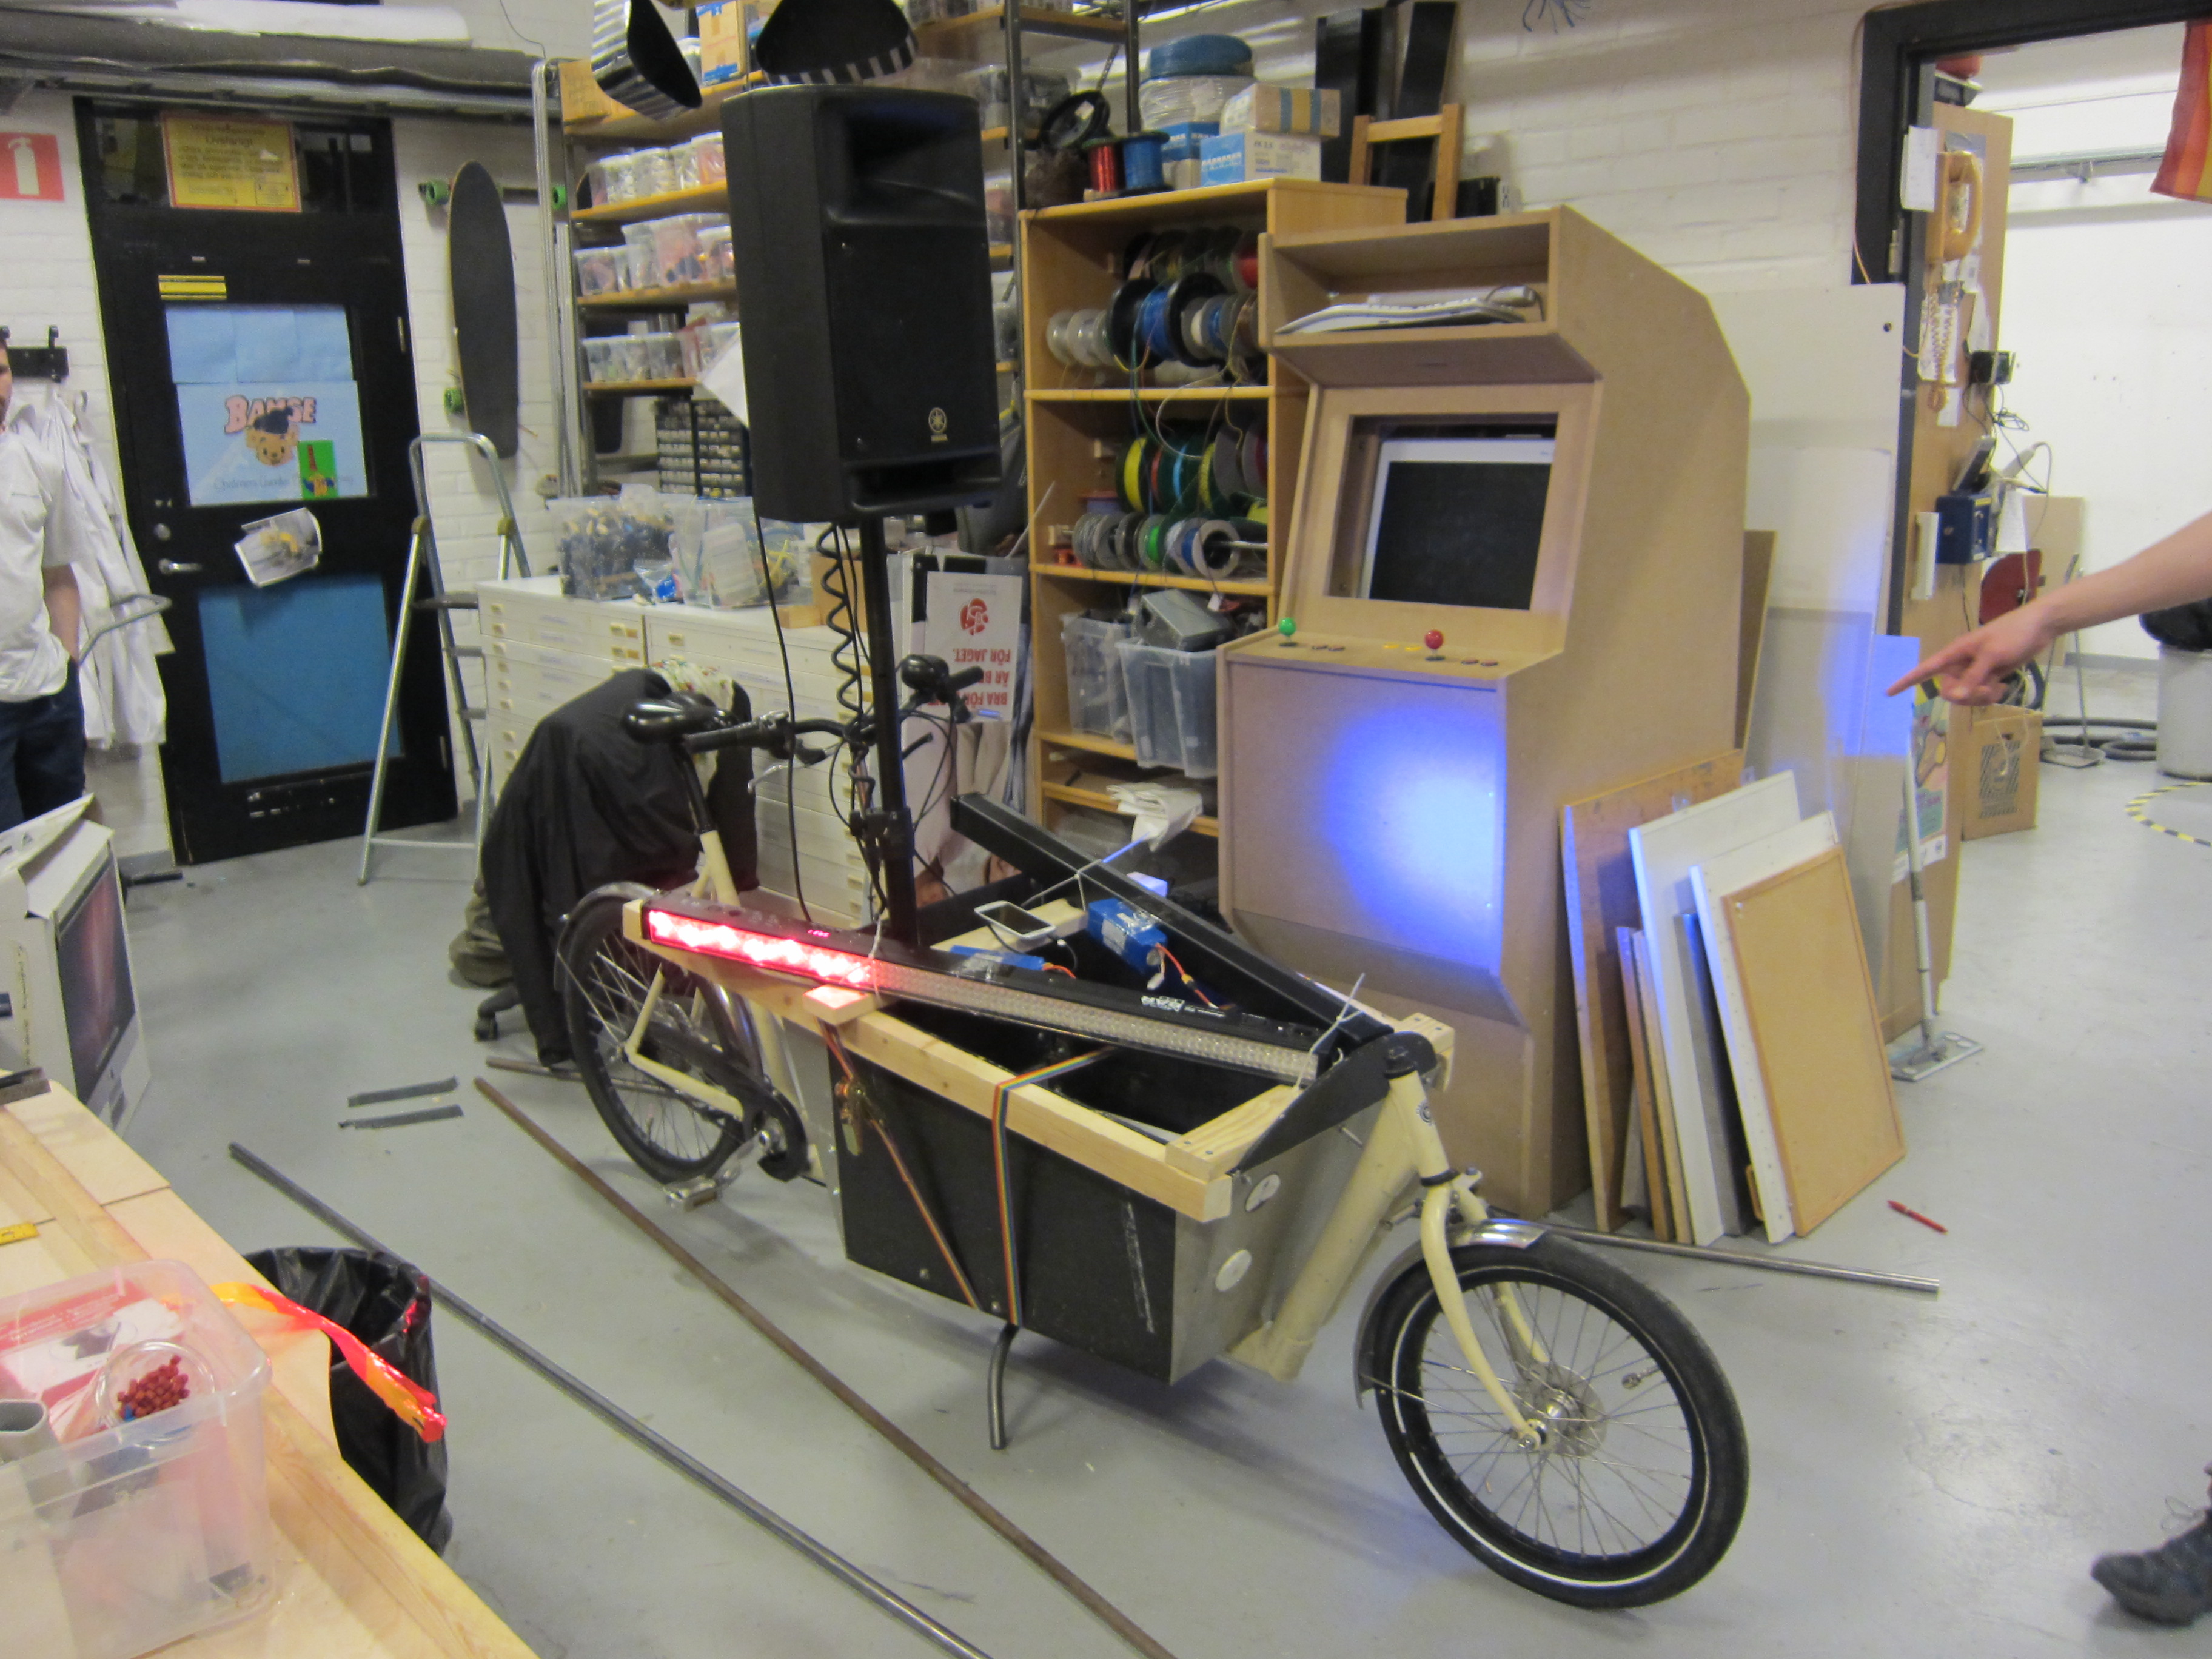
CyckelLjudet – Attaching electronics and solar panels
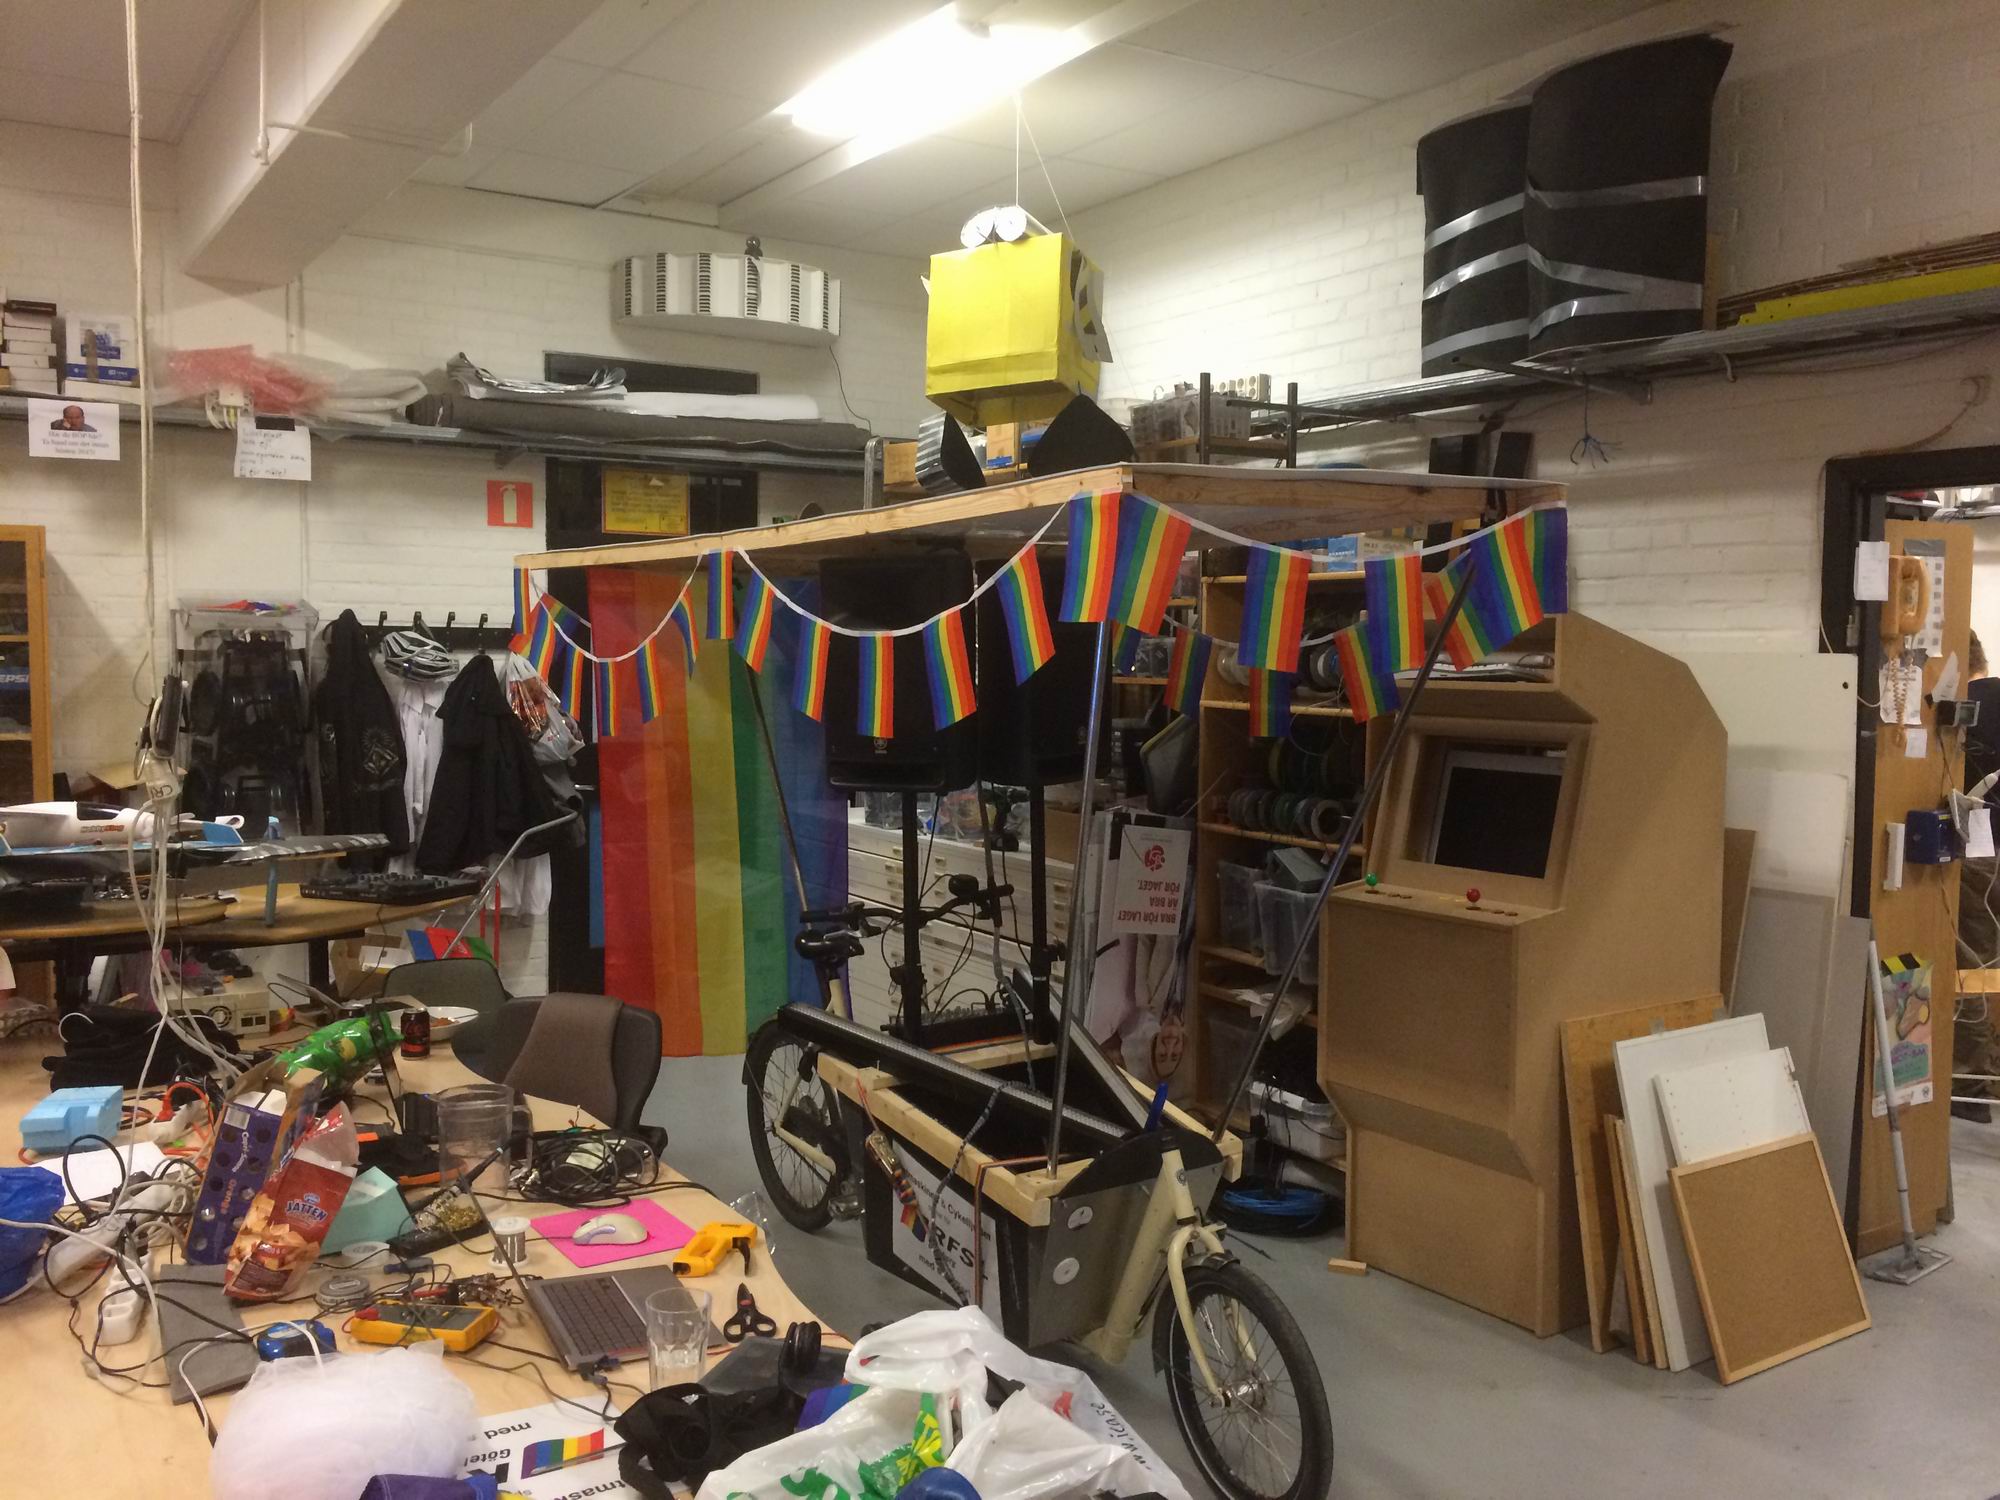
All pimped out and ready for the west pride parade Regnbågsparaden!
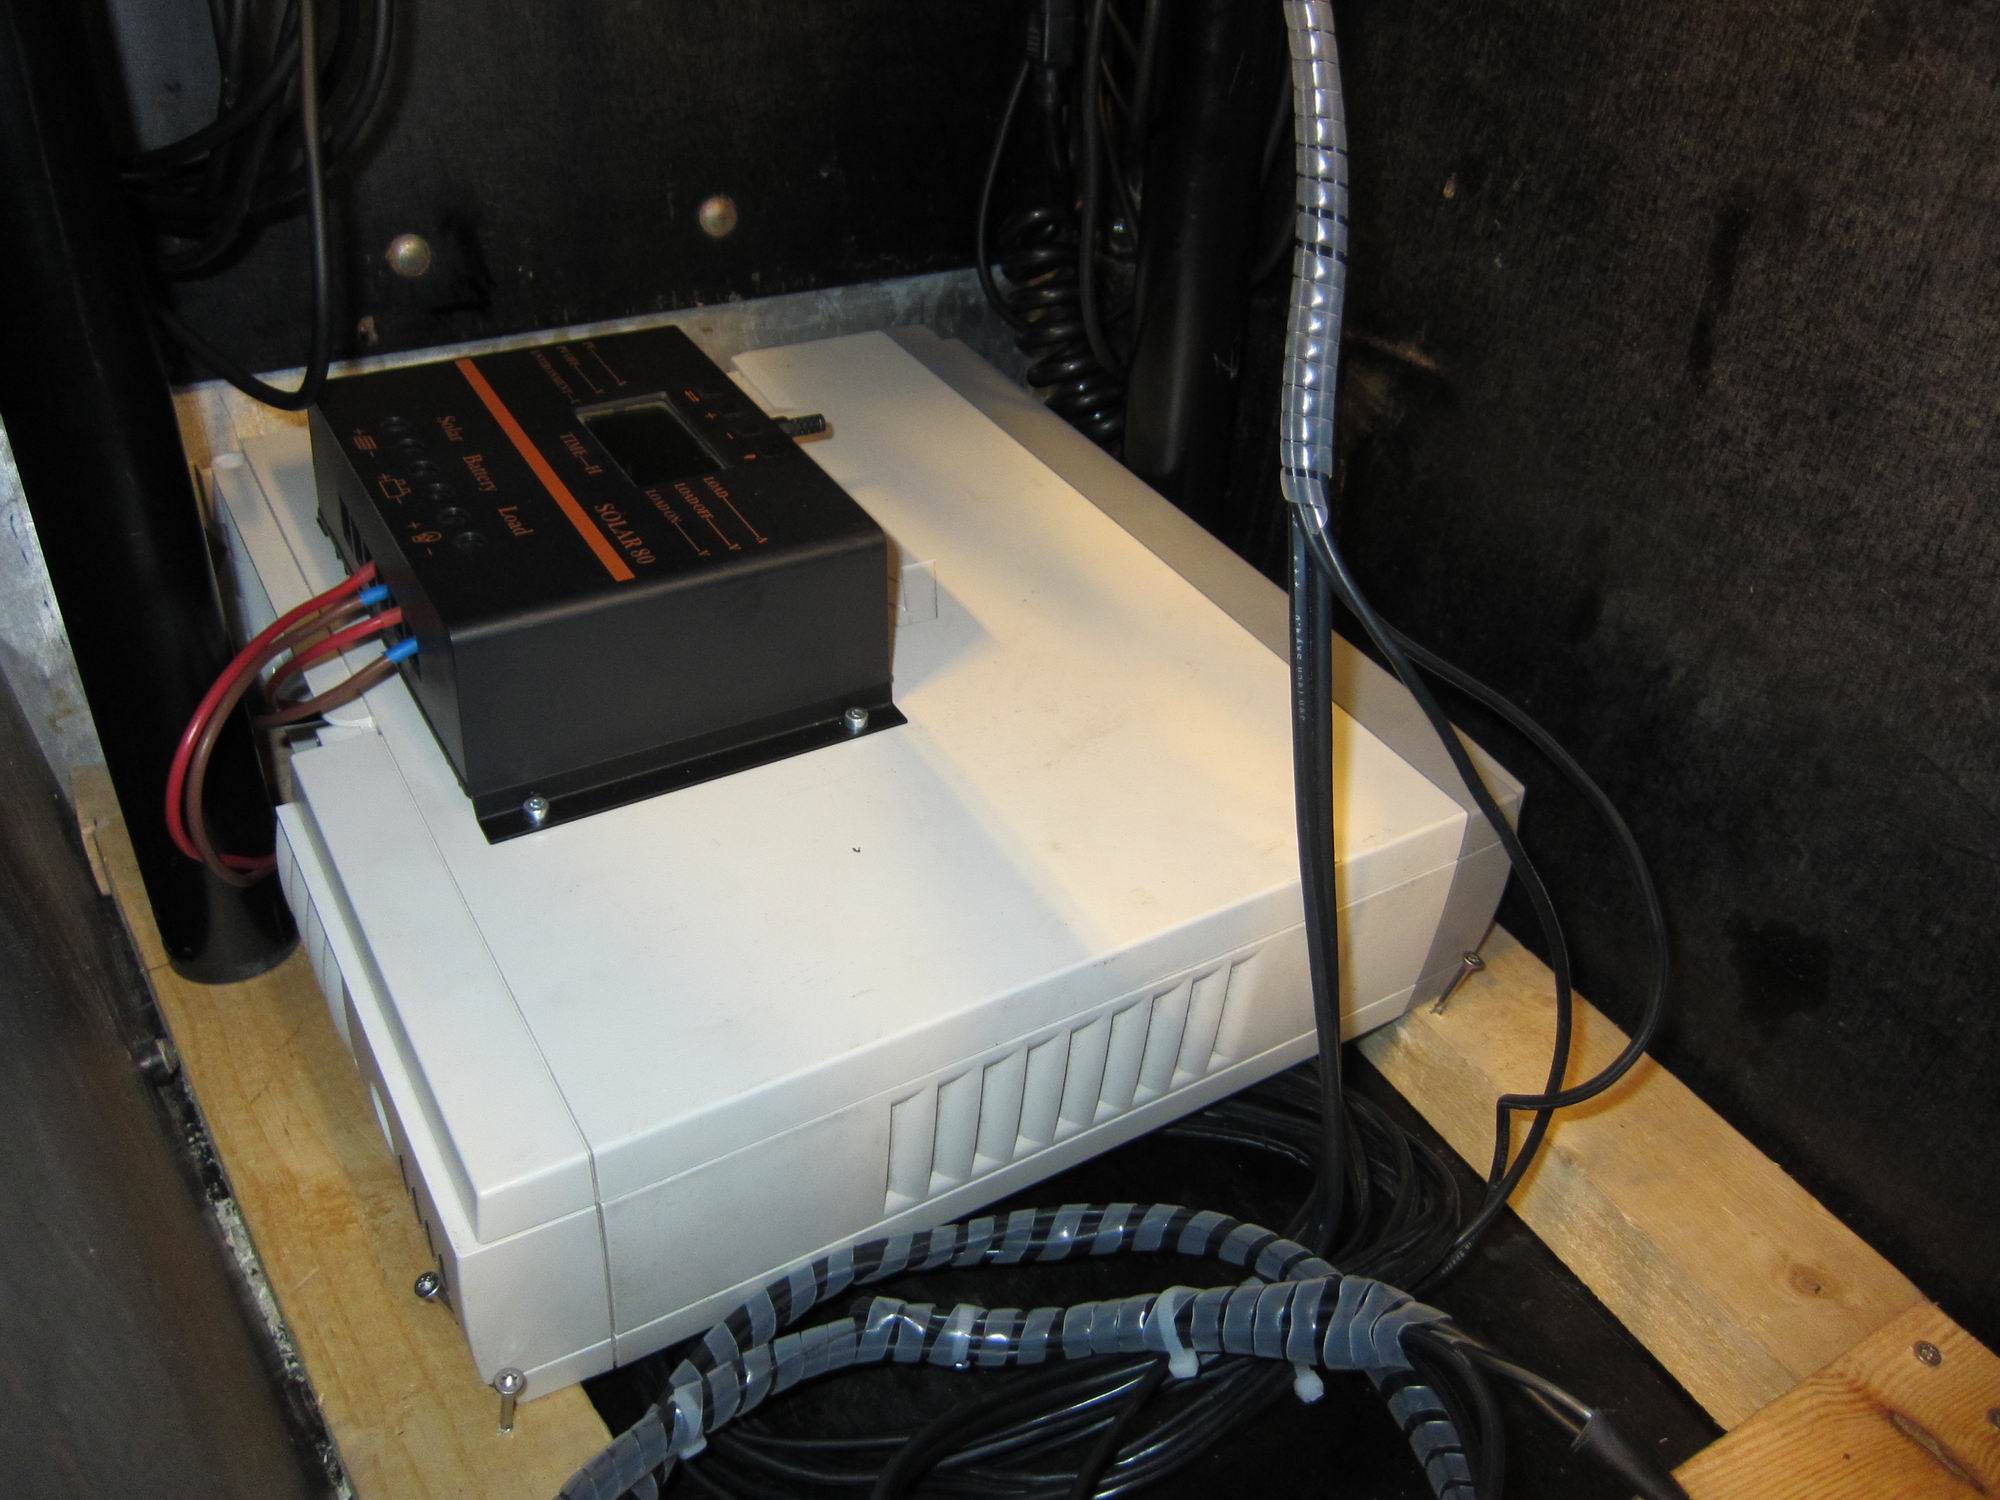
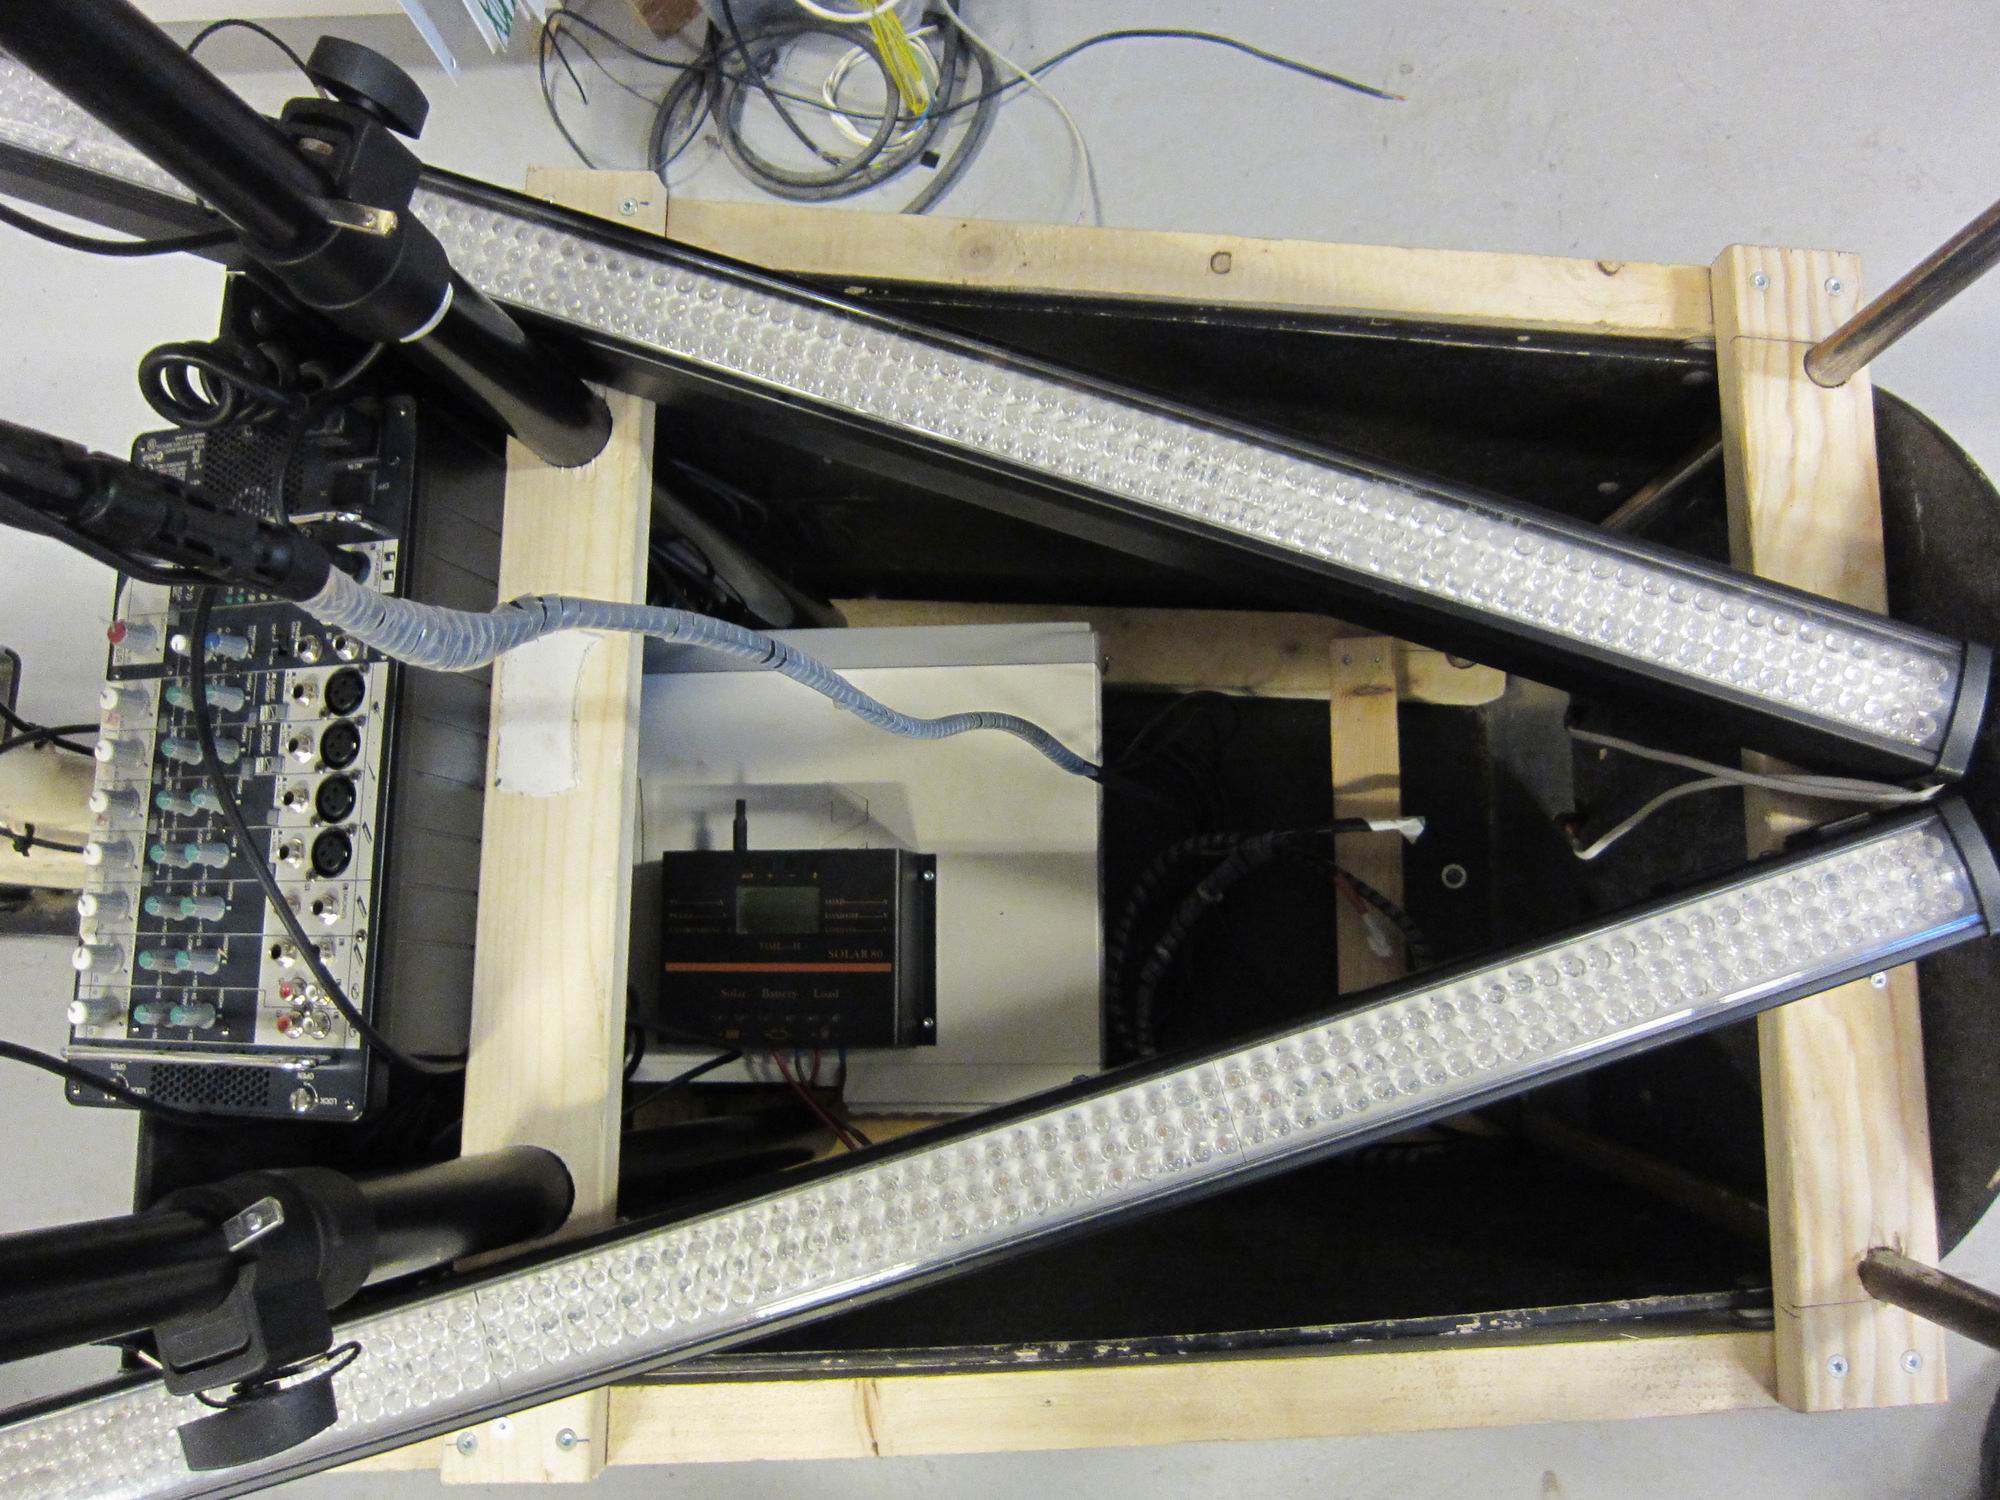
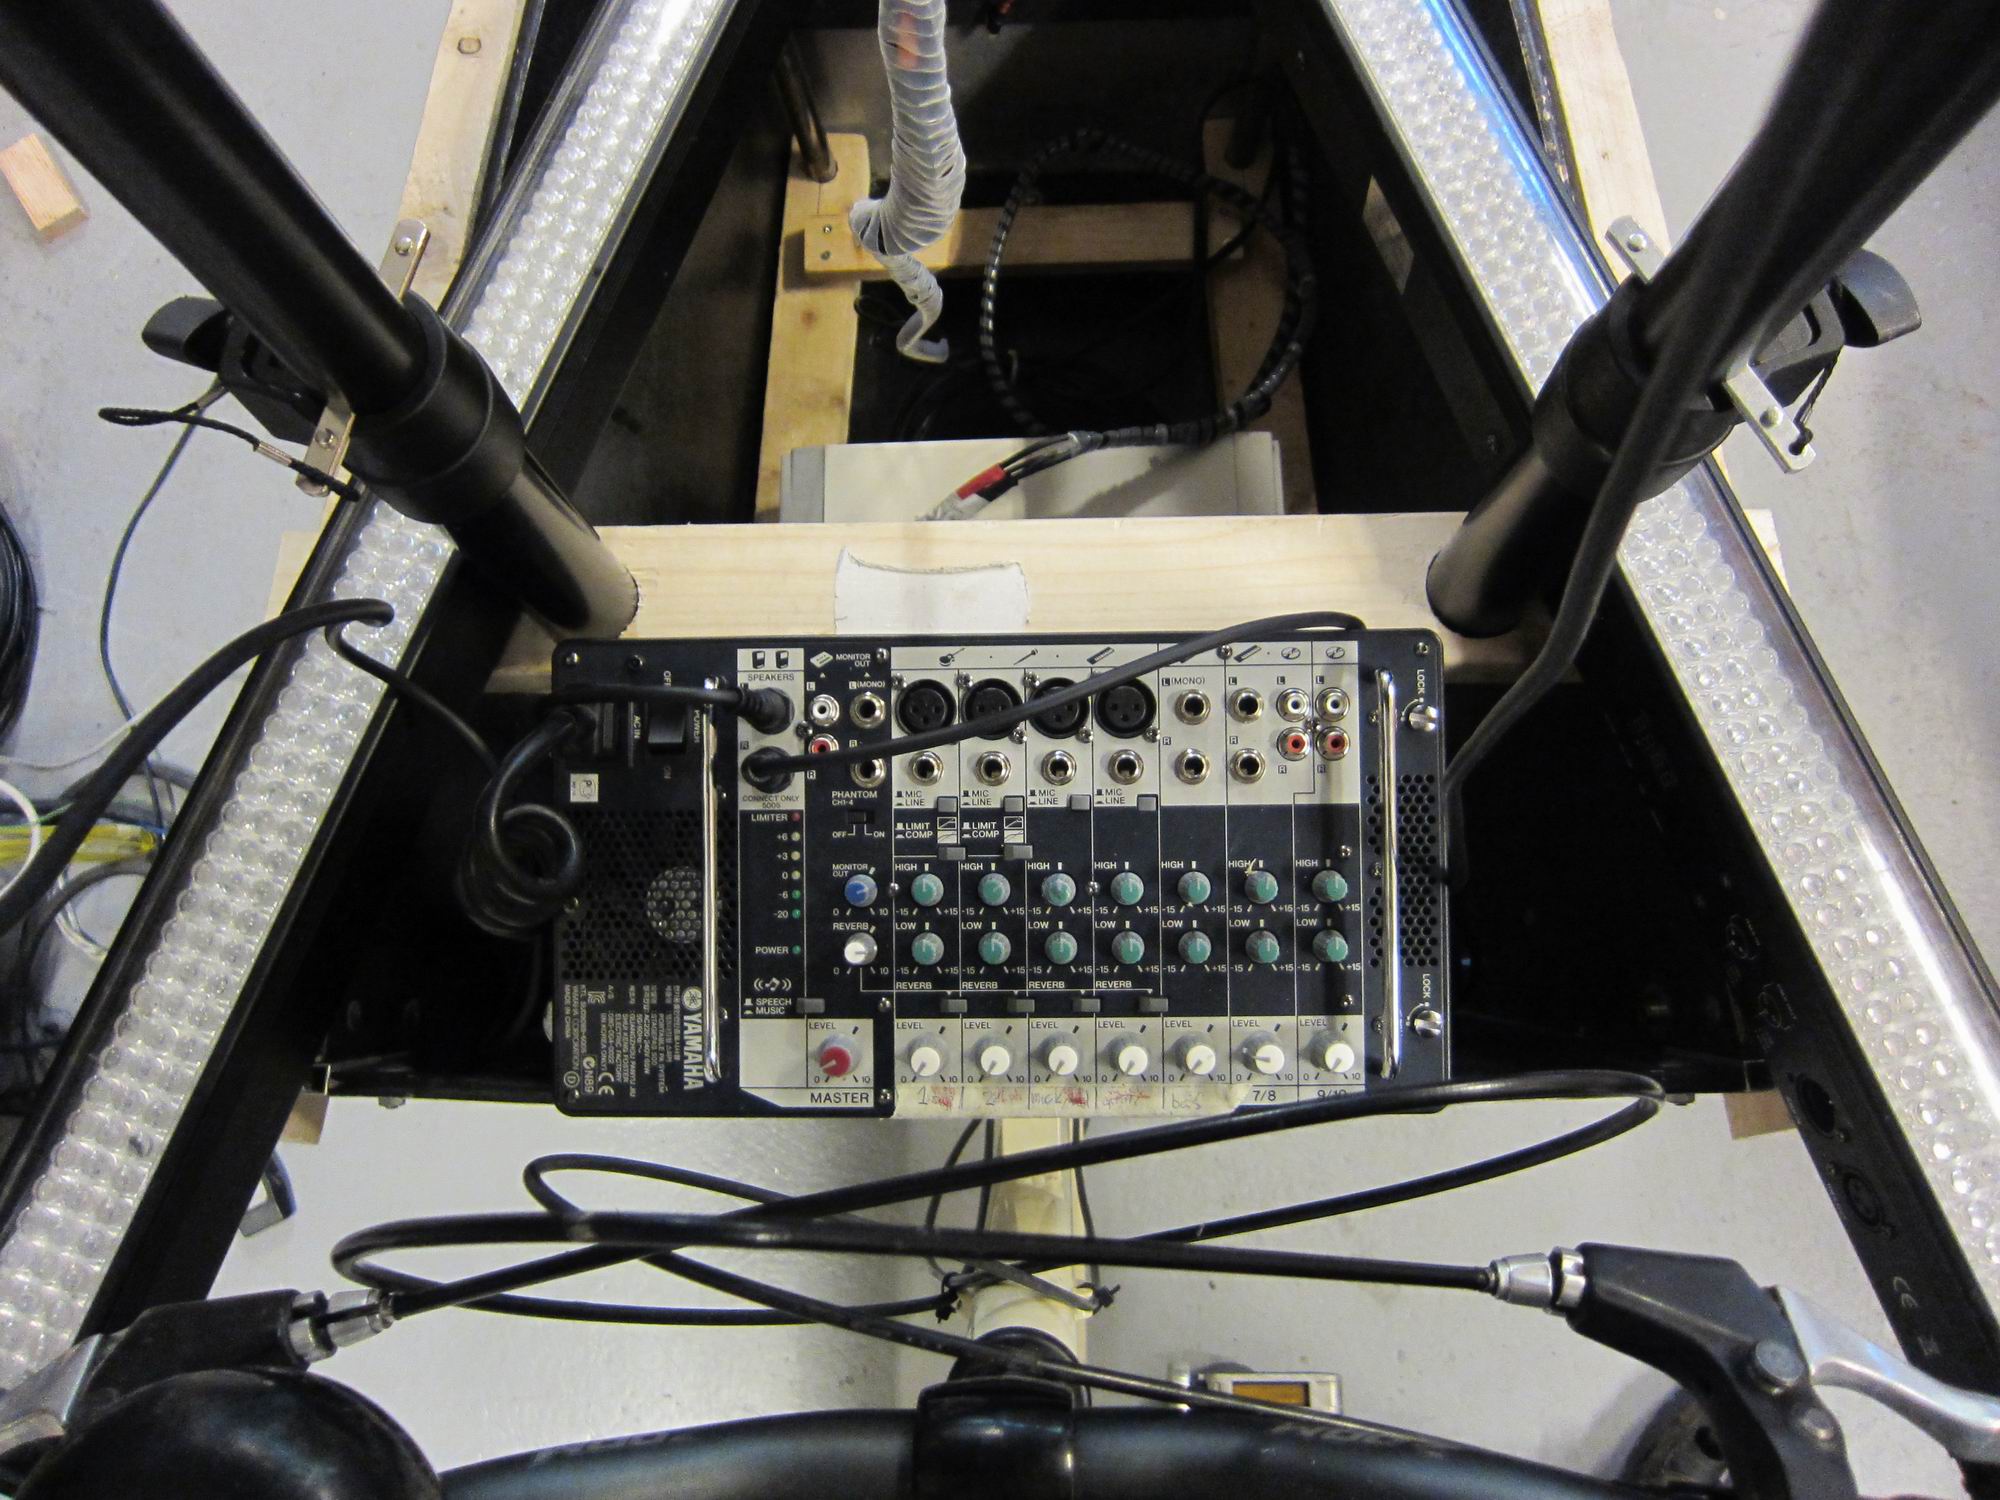
To be able to drive the amplifier for the speaker we use an UPS. On top of the UPS you can see the solar regulator Solar80.
The solar regulator is charging a 6S 8Ah LiPo battery pack. The solar panels will generate maximum of 600W of power, and the PA-system will draw about 65W of power, so the battery will be more of a buffer.
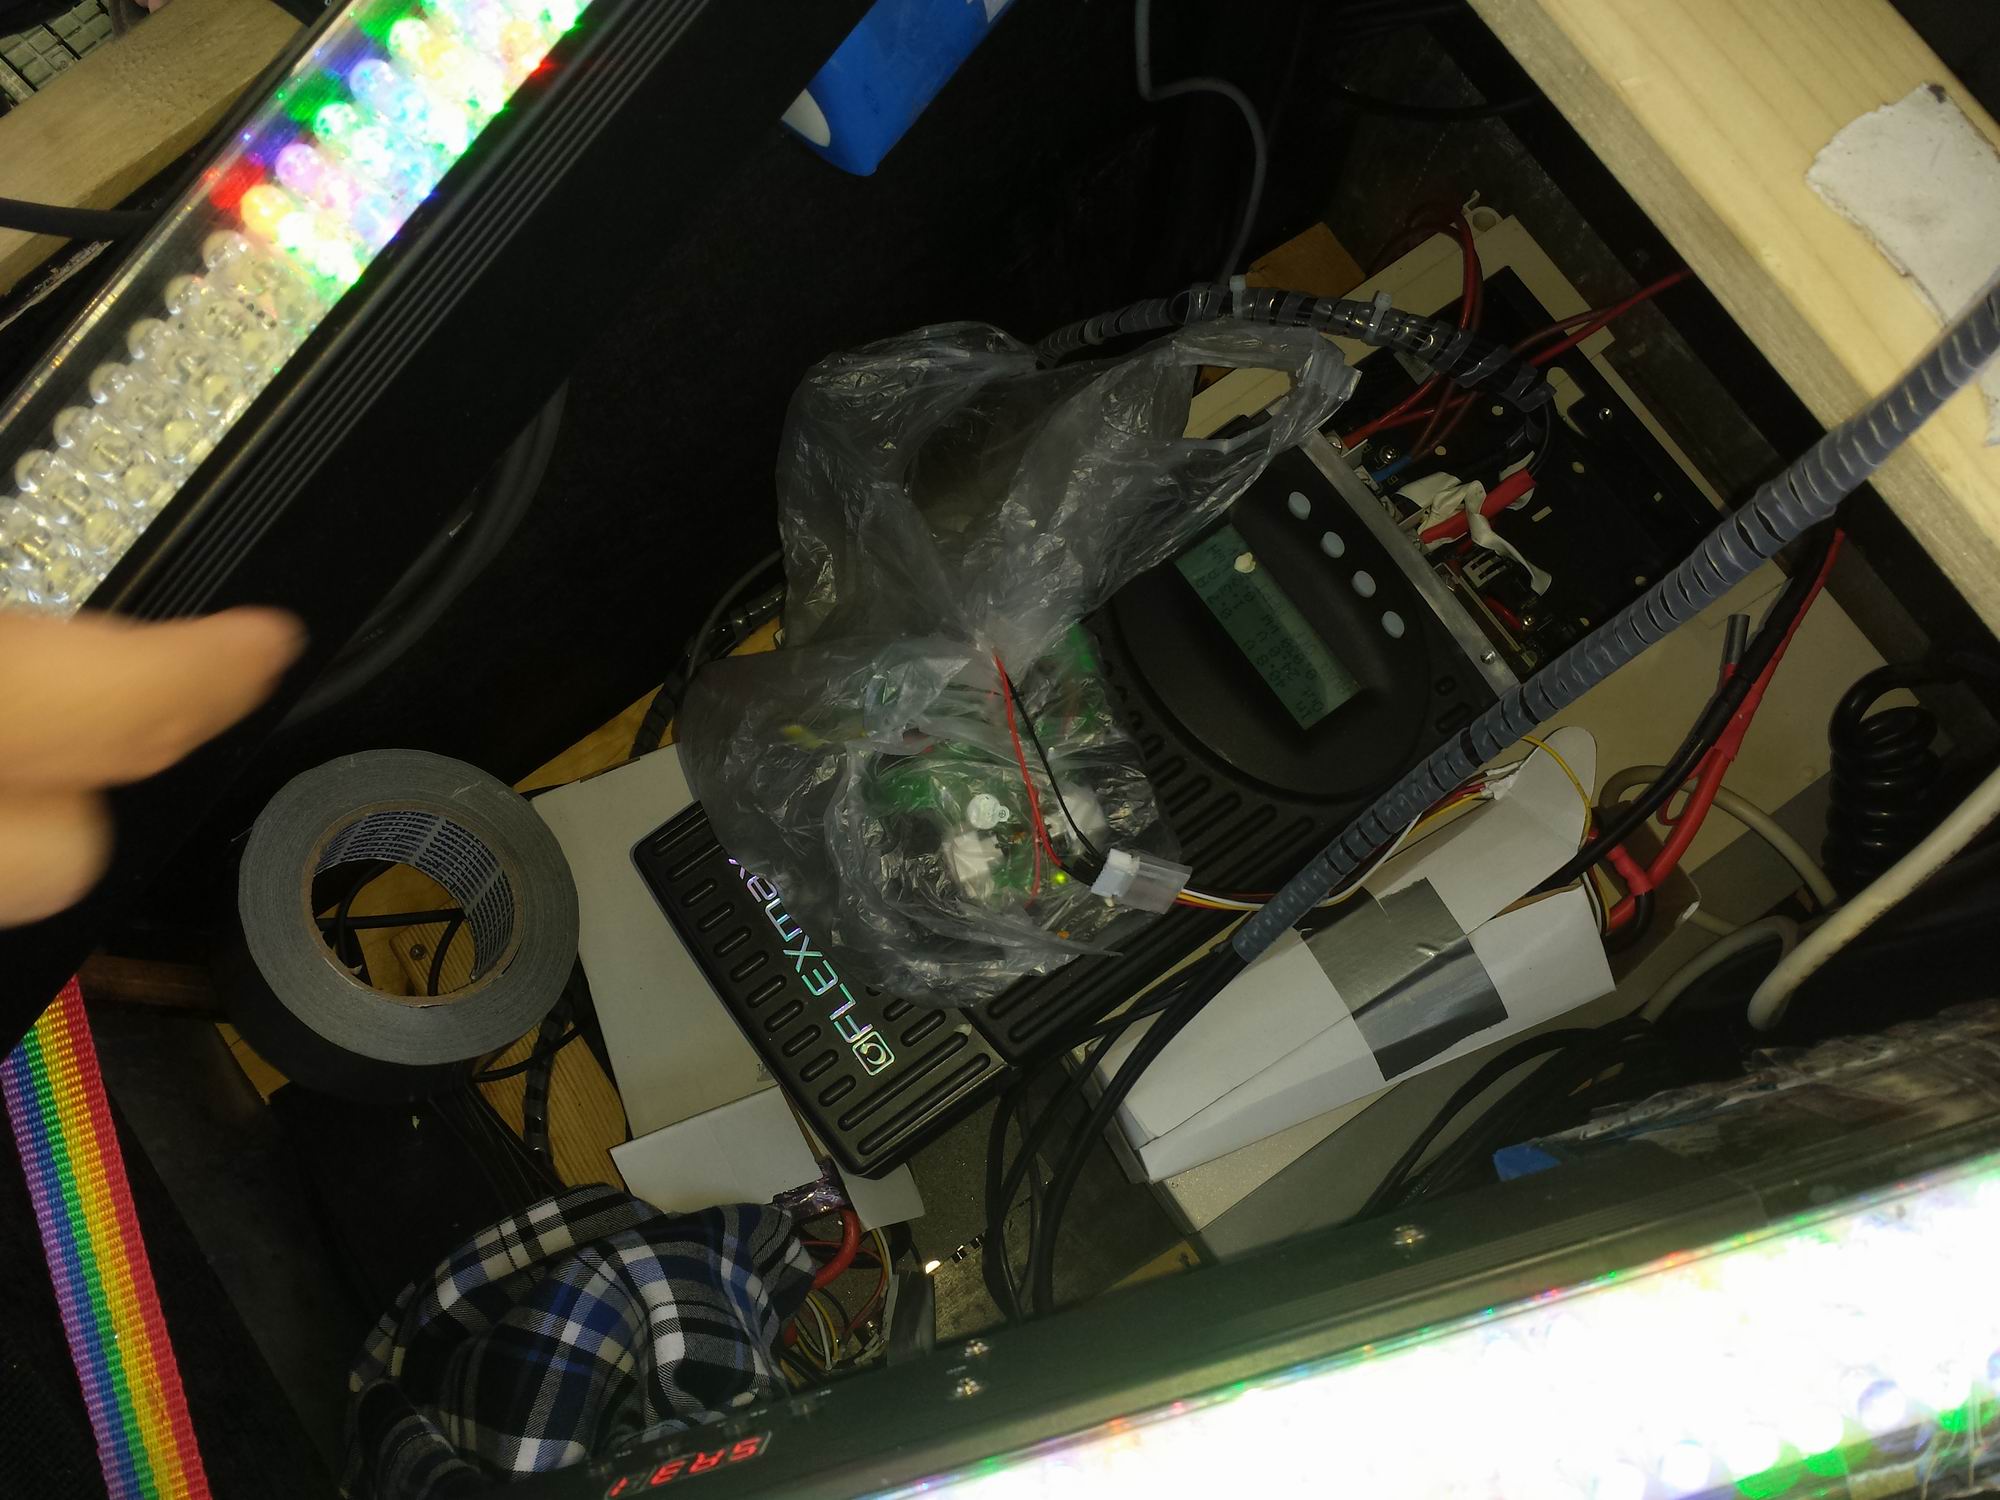
After some spec-readings we realized that the Solar80 wouldn’t handle the maximum of 70V that the solar panels could generate, it only supported 48V. So we switched it out for Flexmax 80.
Both the controllers were designed for lead-acid battery’s and not for LiPo battery’s. I was missing a parameter to set the charge voltage, also there was software limitations that you couldn’t go around, like the charging current for example, you could only go as low as 5A.
We’re trying out the solar panels and solar regulator in the sun charging the LiPo. The stop-charing-limit was set to 25.2V which is the voltage of a maximum charged LiPo, but the solar regulator was still inputing voltage well above 25.2V because the solar regulator is designed for lead acid battery’s. We then set the maximum-charging-voltage to 24.8V that seemed to help, the voltage over the battery didn’t reached over 25.2V.

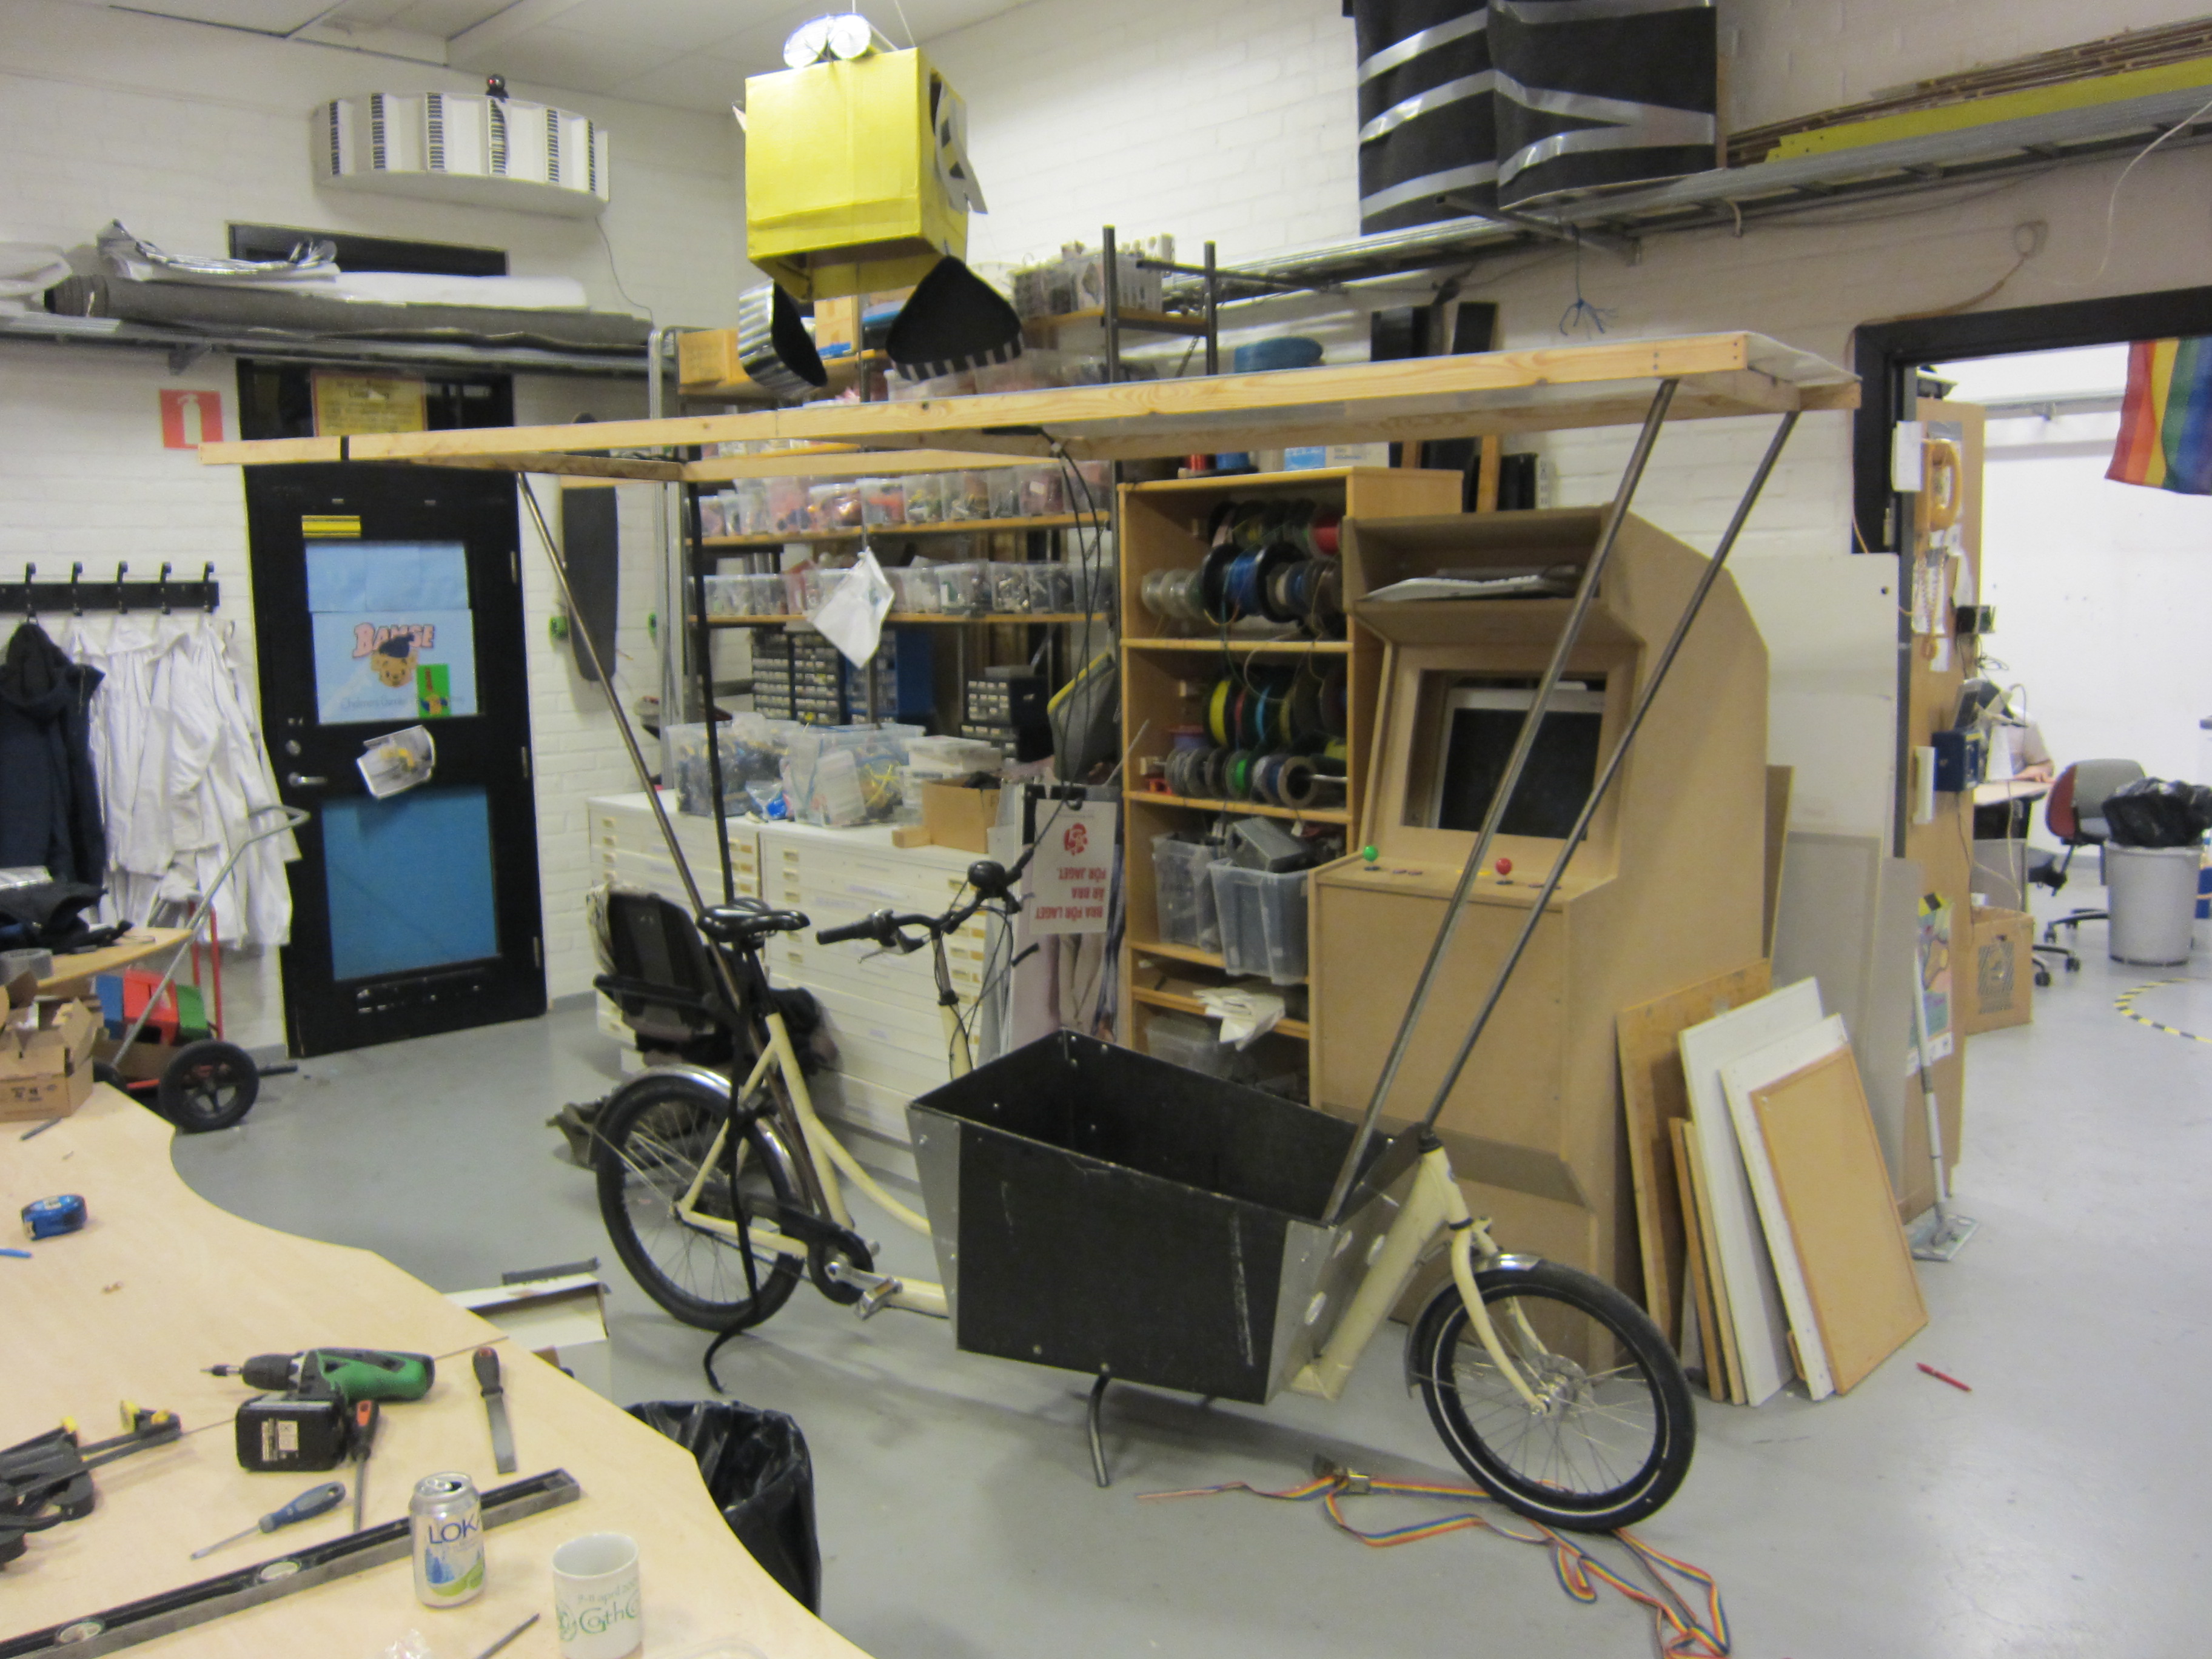
Cables from the solar panels.
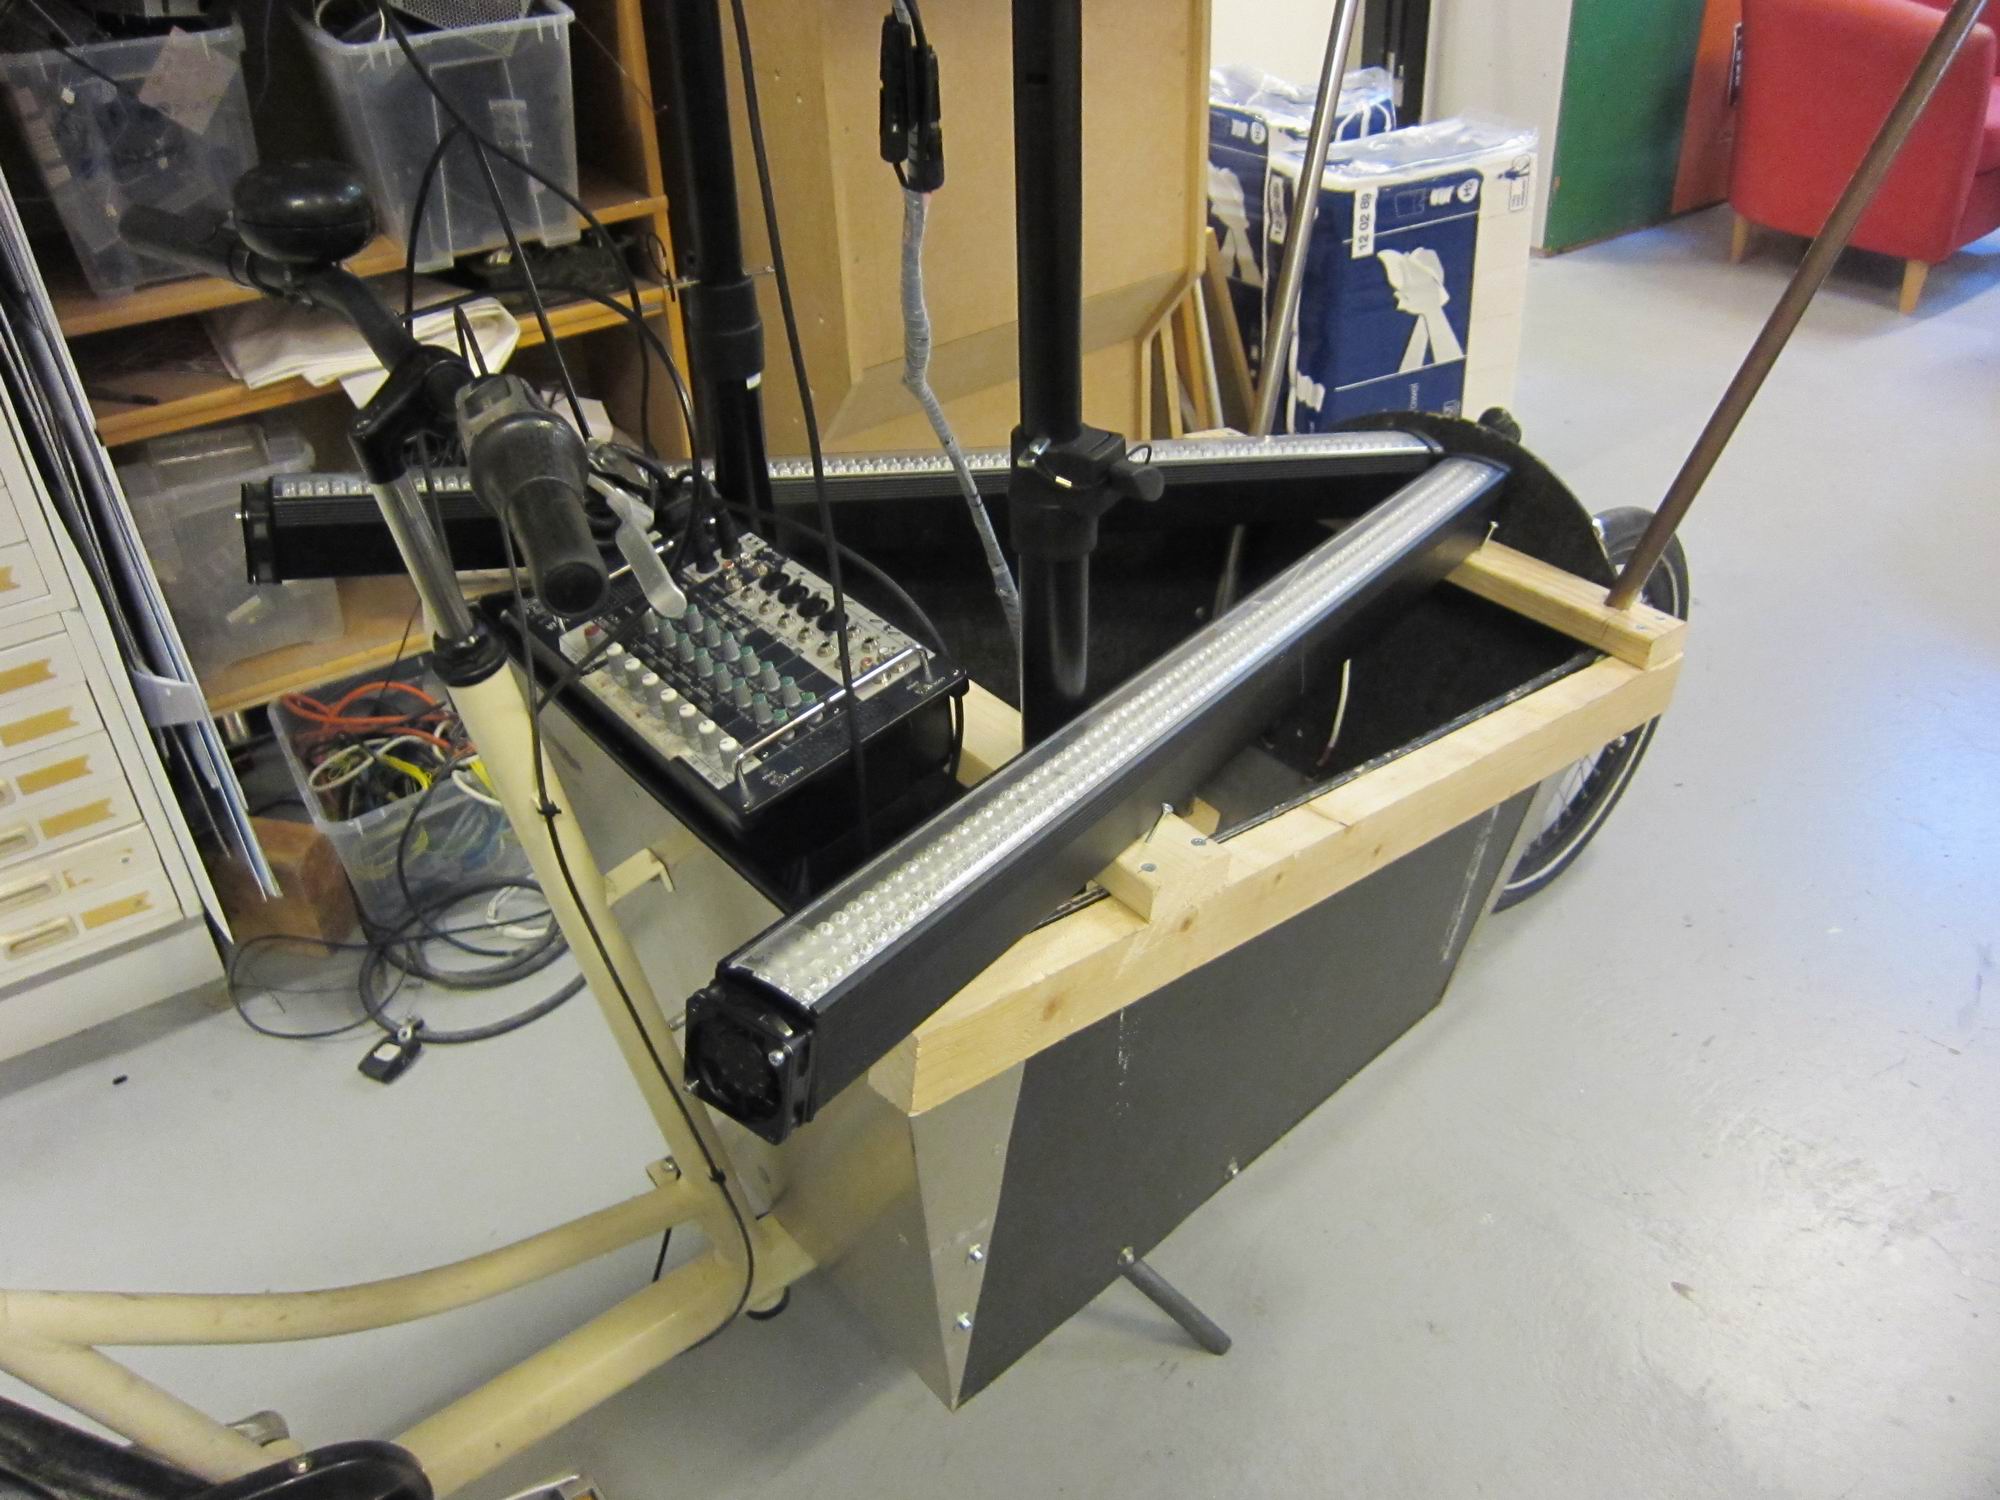
Amplifier/mixer in place, and so is the LED-bars.

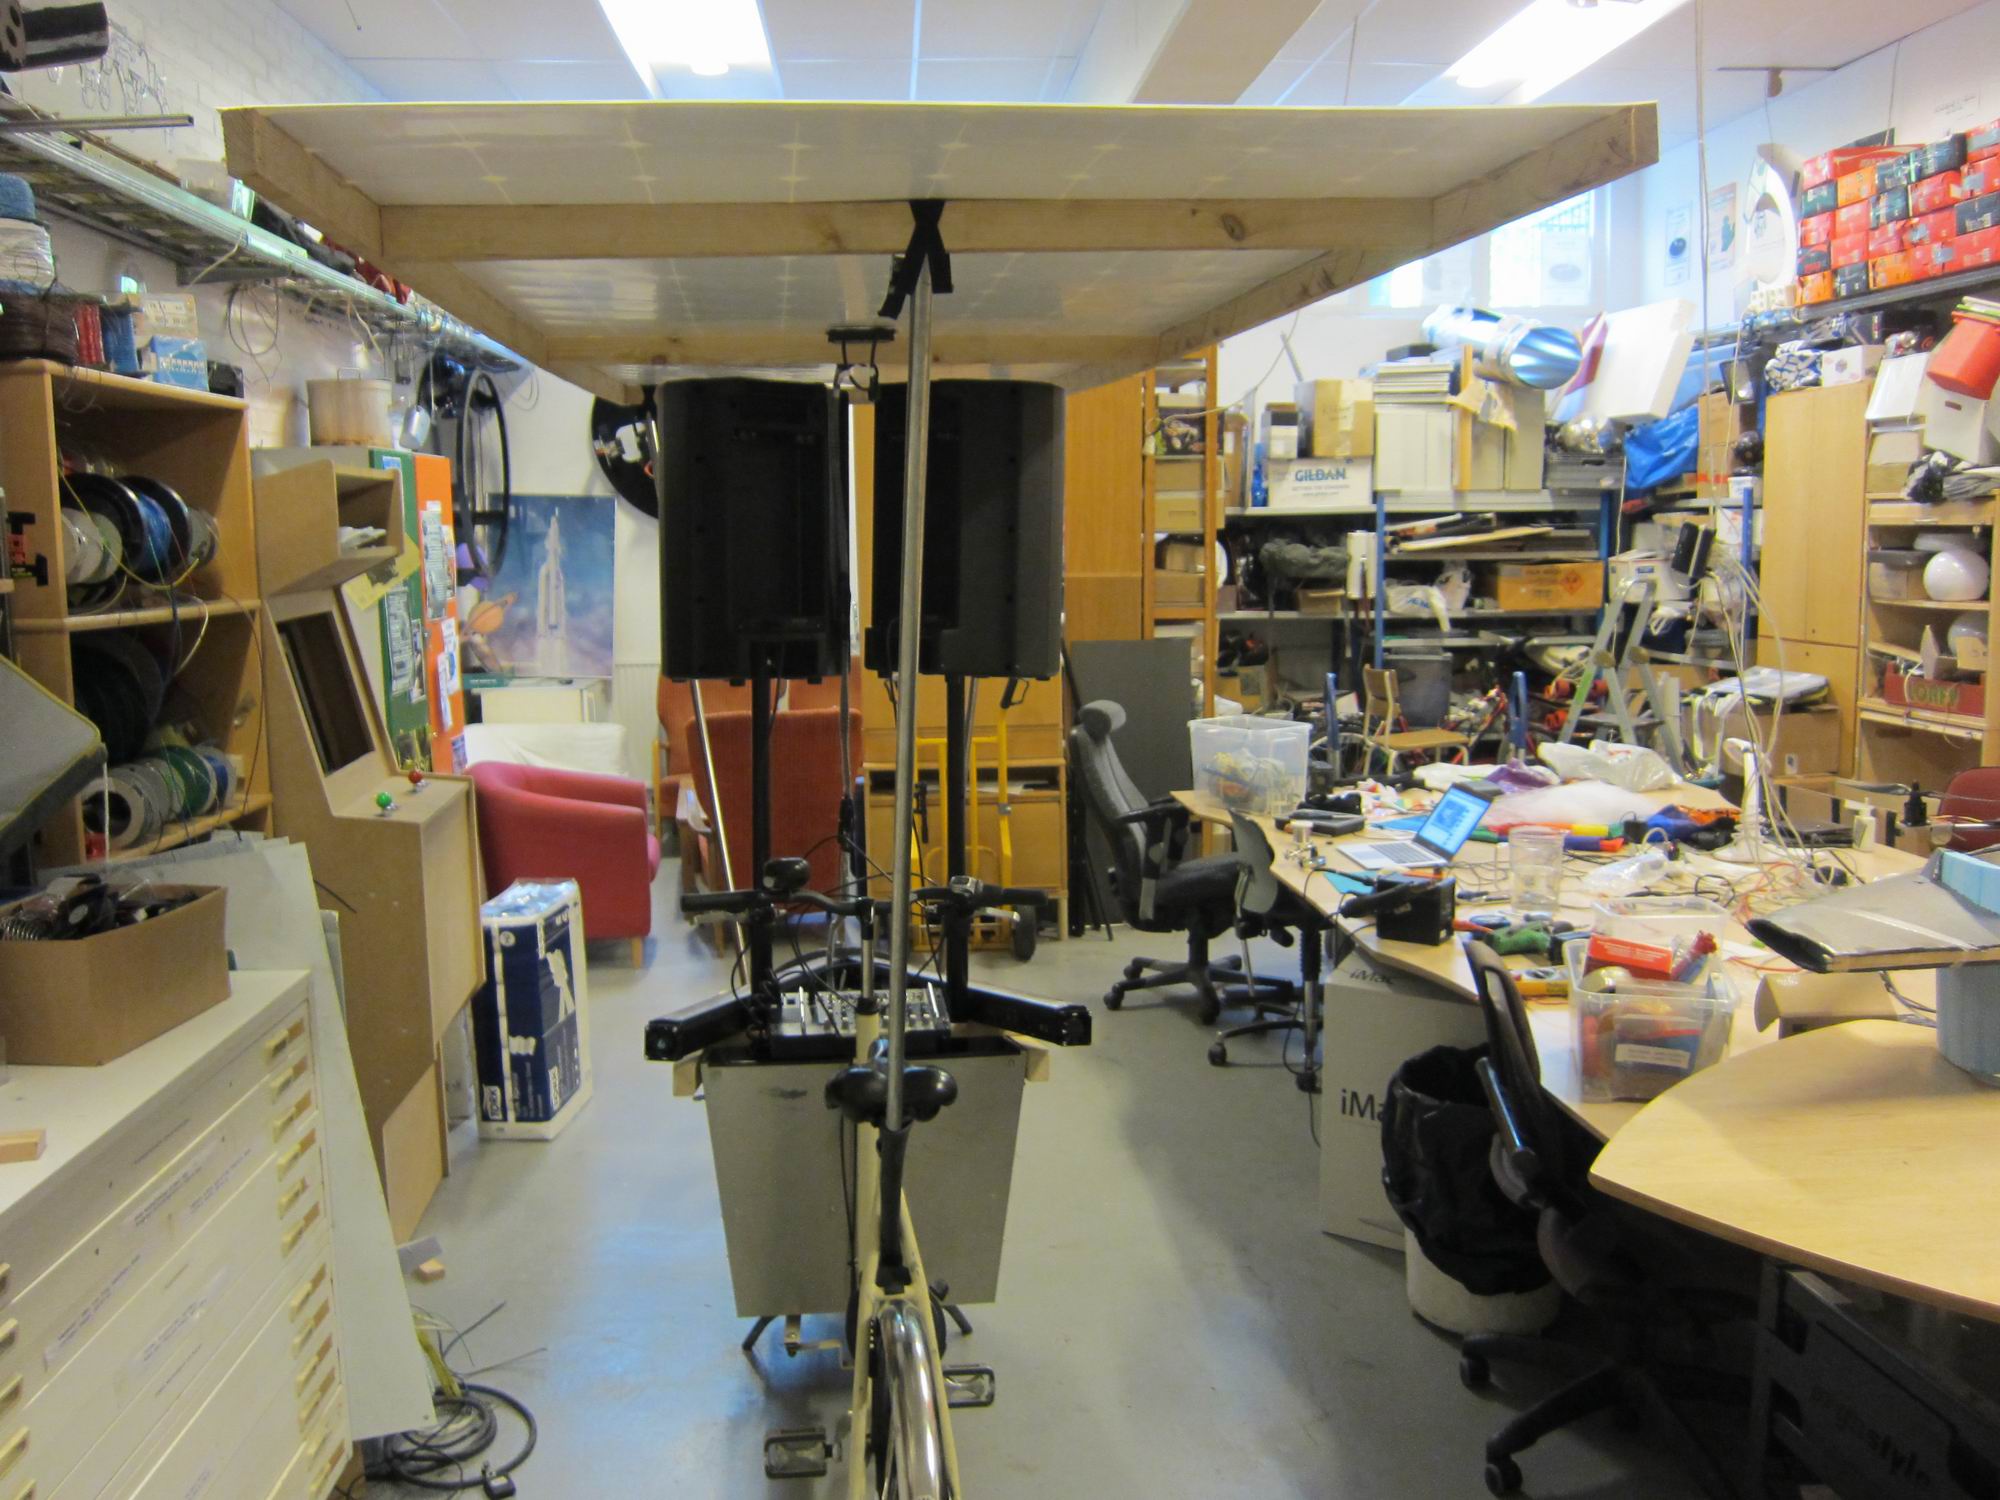
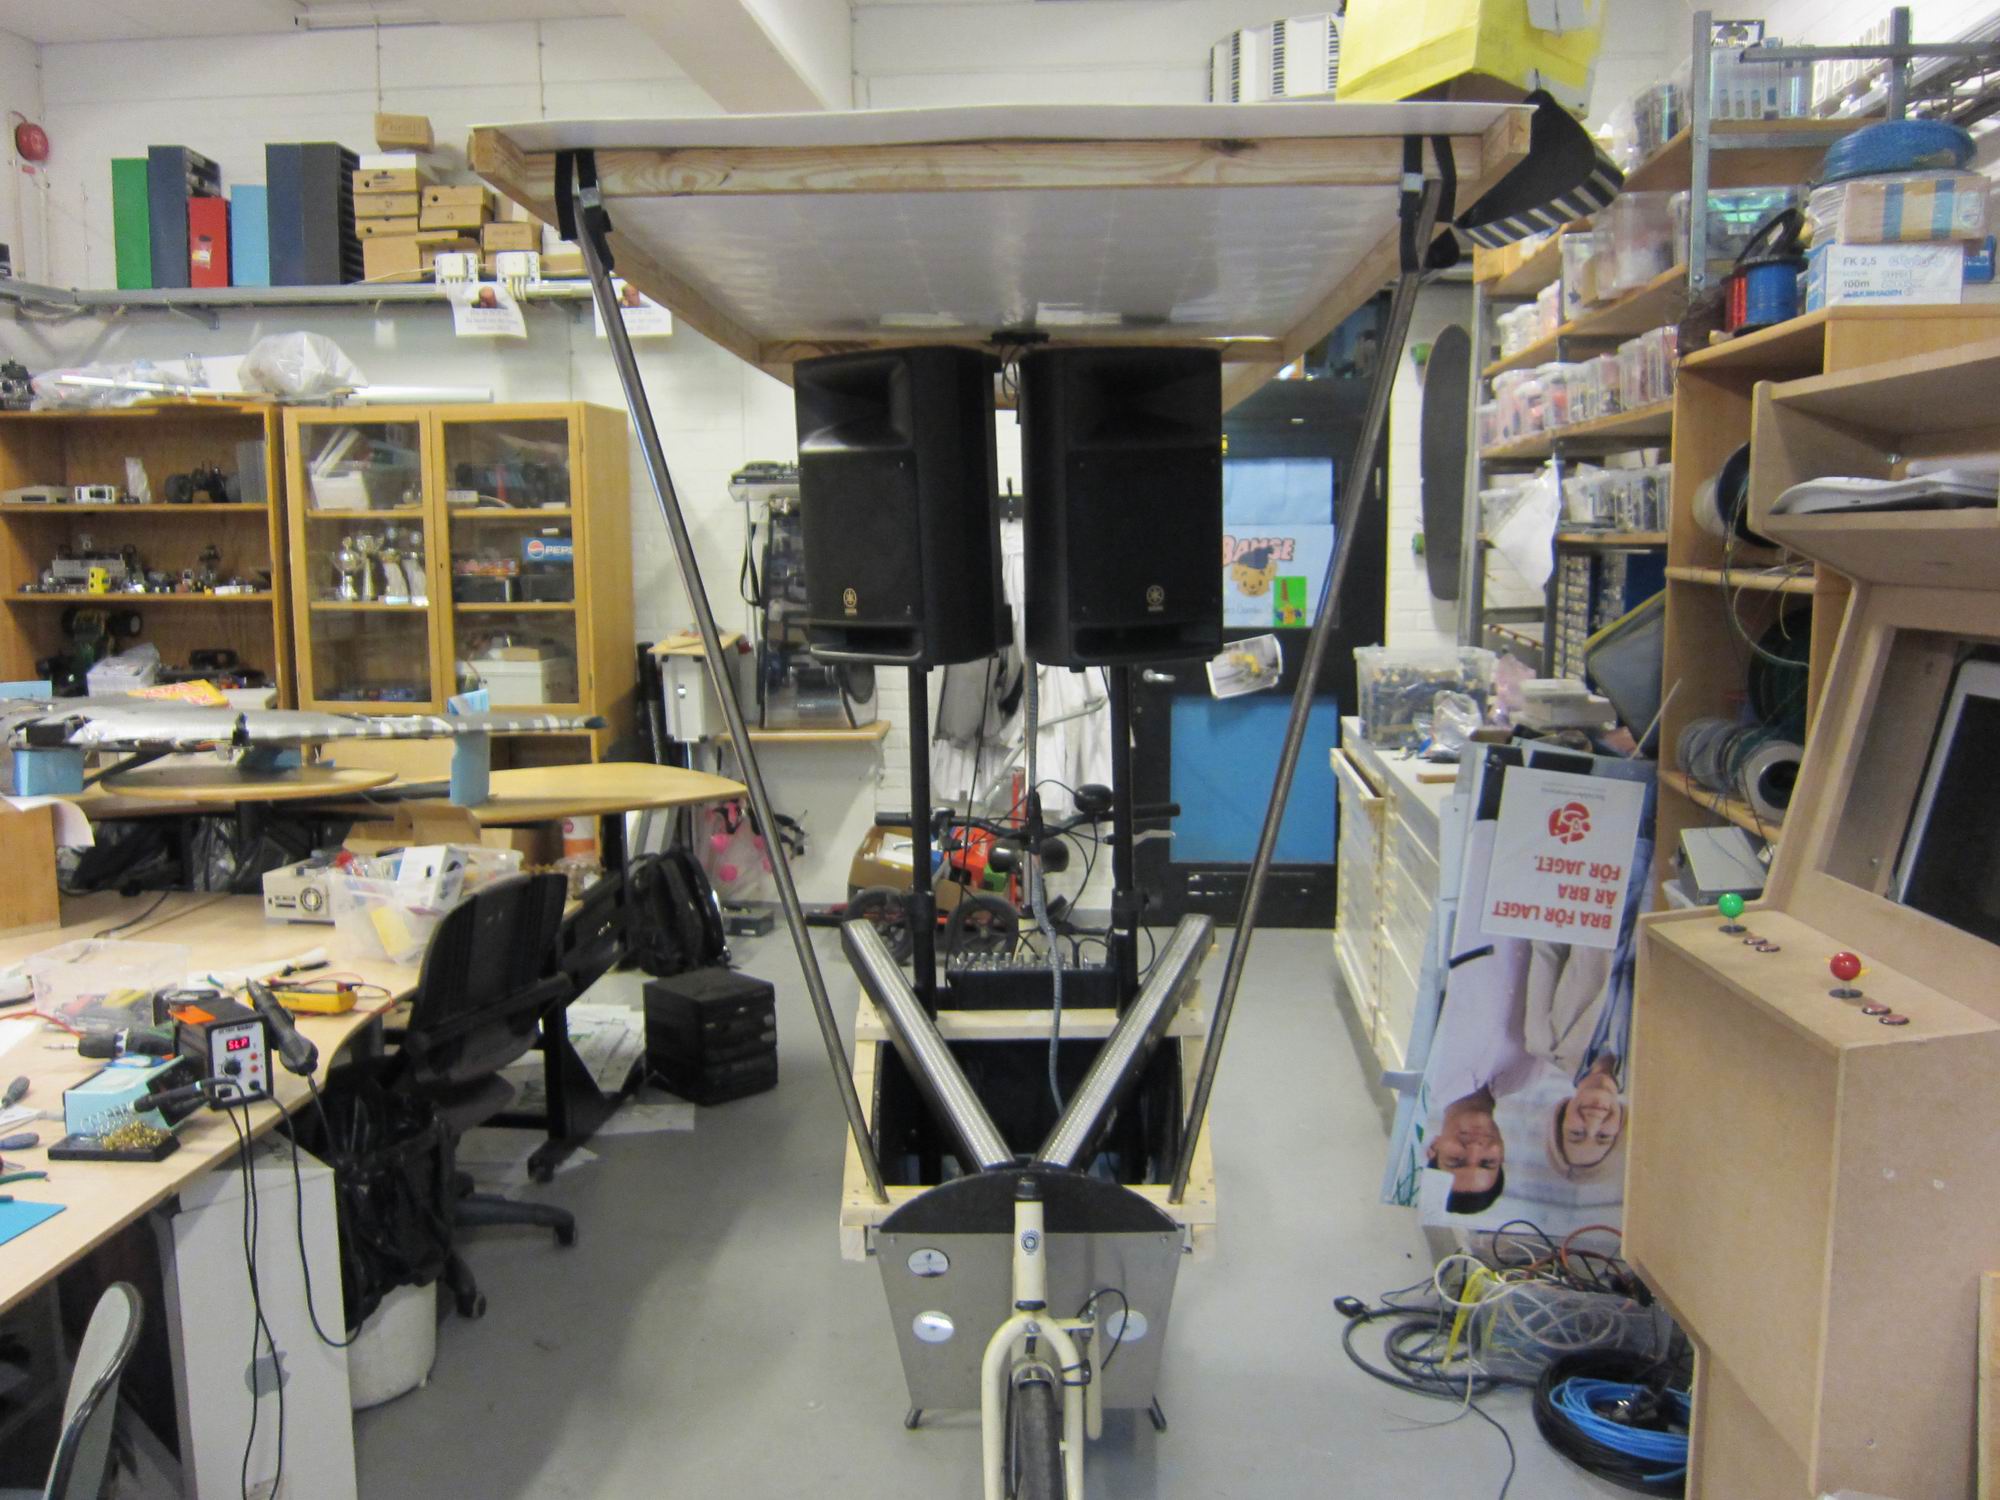
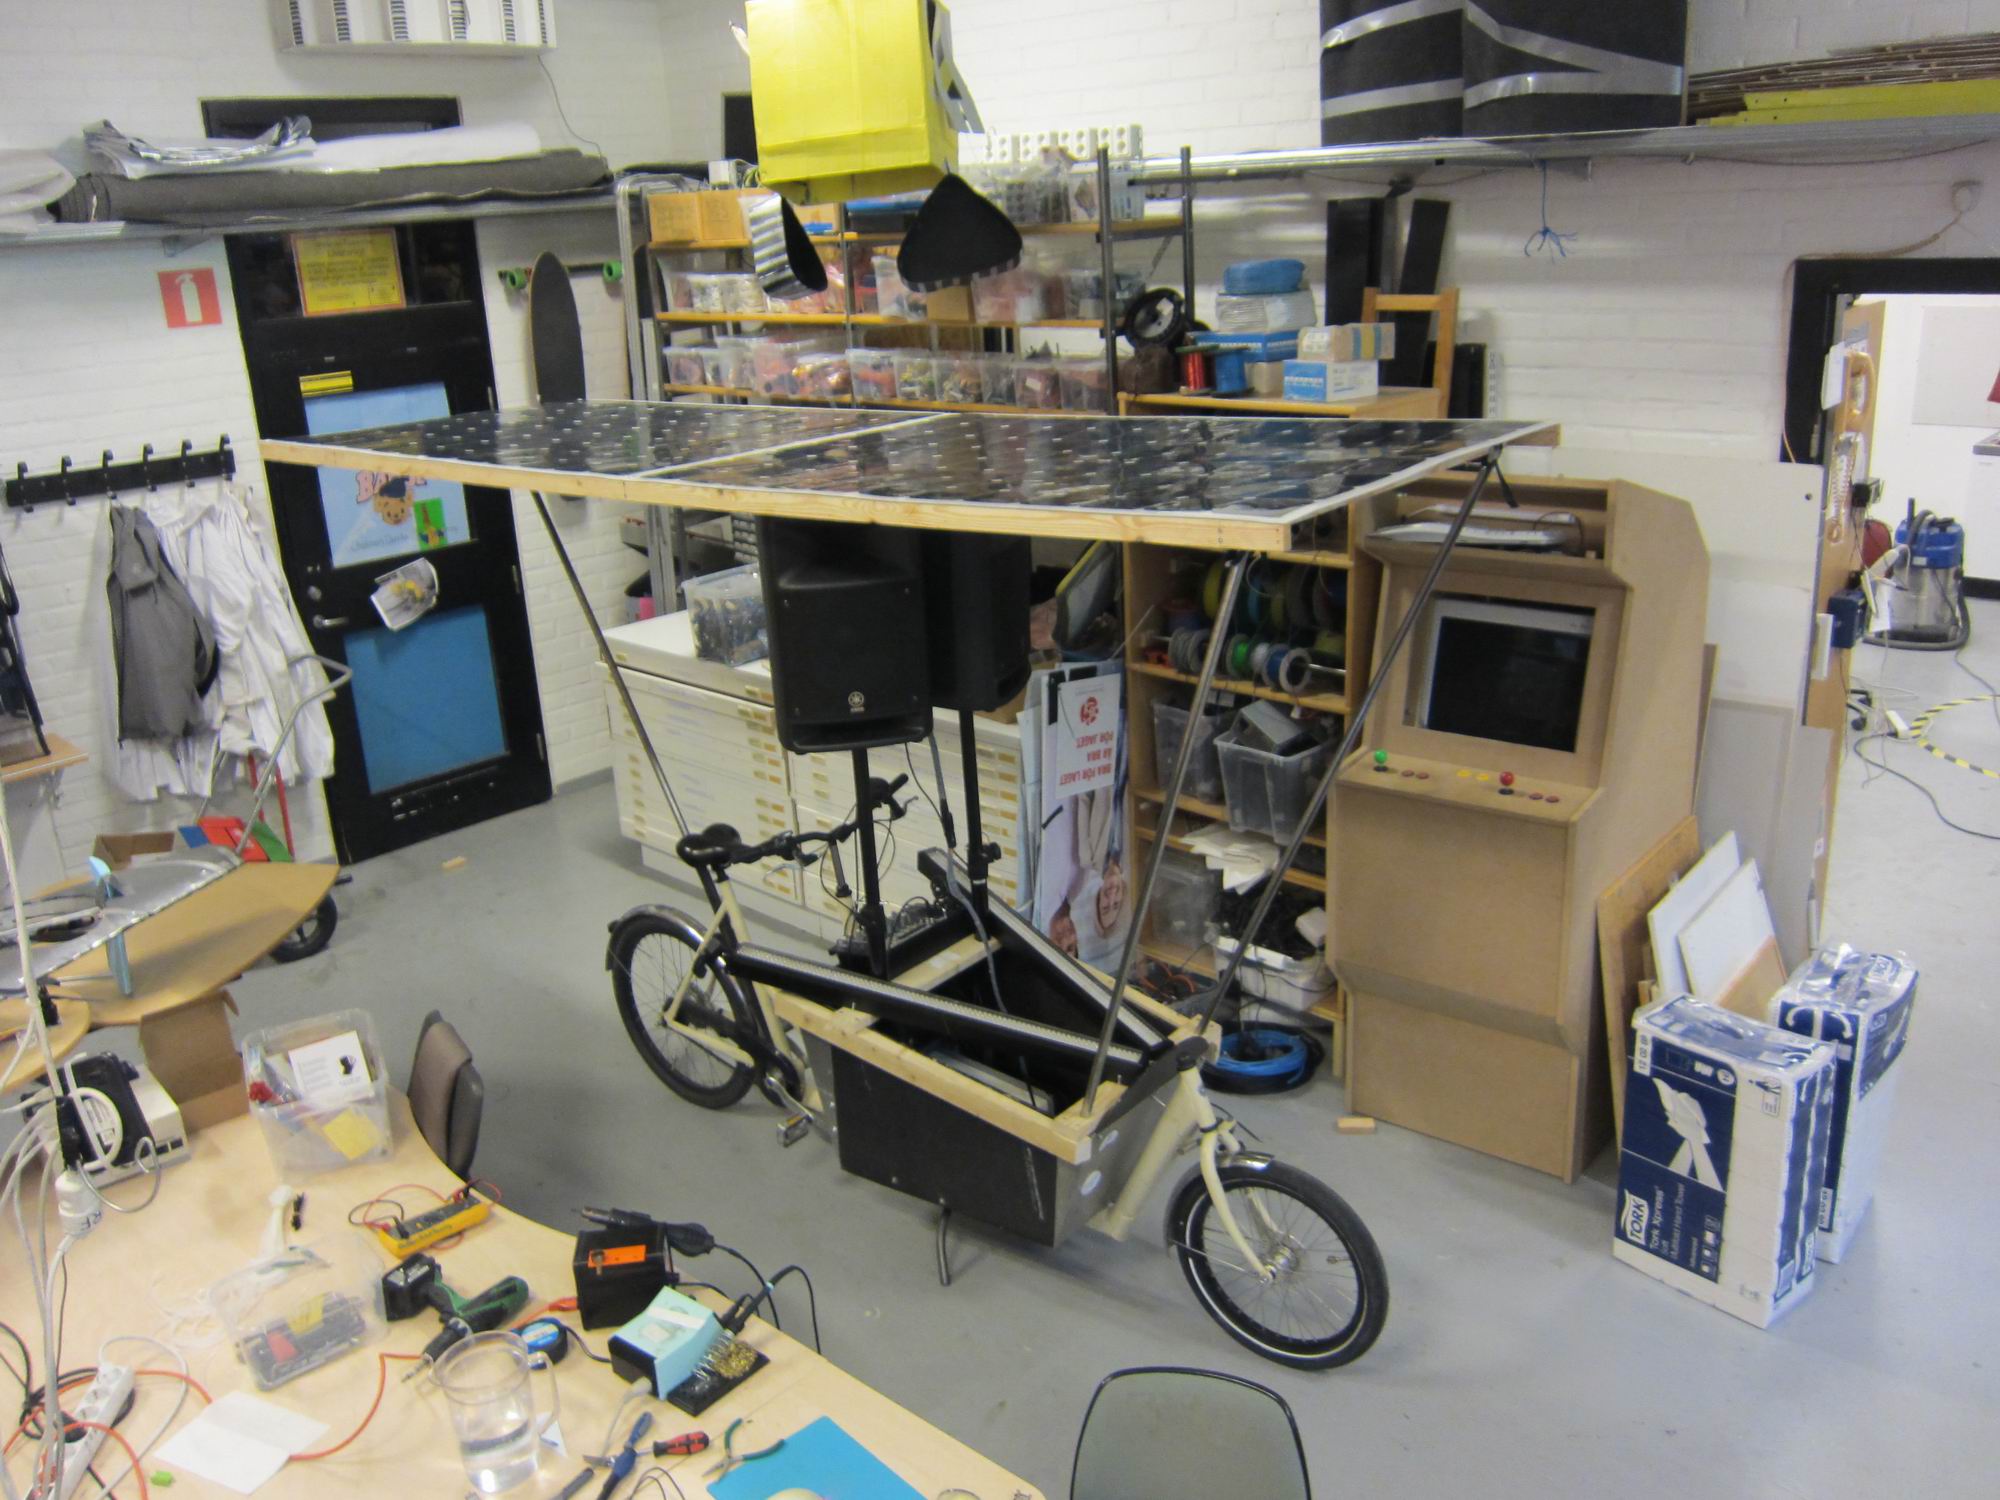
CyckelLjudet – a bicycle equipped with a PA-system, LED-lights and solar panels
 CyckelLjudet is a bicycle equipped with a PA-system, LED-lights and solar panels for taking your party with you.
It’s going to attend at the Westpride Parade in Göteborg 2015-06-14.
Longboard holder

I made a holder for longboards for me and my friends.
Two hooks that can be individually adjusted to the width of the trucks.


MonoGlasses – accessibility for people having problem with 3D-cinema

Some peoble having problems viewing 3D-cinema due to refractive errors in their eyes. Some social problems may arise because your friends want to watch a movie at 3d-cinema and you can’t.
But now you can! Introducing Mono Glasses.

Original 3D-glasses for cinema-usage.
It’s uses polarized filters to separate the left image from the right. By replacing the right filter with a left one you will have a pair of glasses that only could see the left image.
This requires you to have 2 spare 3D-glasses to remake into 2 new mono glasses.

Mark your glasses so you don’t mix them up later on.
Repeat on the other pair.


Snap the ends off.
Repeat on the other pair.


Snap the cover off will separate the glasses into two parts, exposing the two filters.
Remove one of the filters.
Repeat on the other pair.

Insert the filter from the other pair.
Repeat on the other pair.


Snap together, some glue may be required.
Repeat on the other pair.

A pair of two new mono glasses for 3D-cinema!


Do some optional branding.
Festmaskinen at Andra Långdagen
go:toTrash is watching you
go:toTrash is watching you. Throw your garbage in the bin.